Disclaimer: I would like to say that I have no affiliation with Kodama in any business sense and although they sent me the Kodama Trinus free of charge for the purpose of this review I will be completely honest with how I feel about this 3D printer. Michael was kind enough to give me this opportunity and I will do everything in my power to give it the best I can.
The purpose of this review is to inform you, the readers/viewers, of this product so you can make your own decision on whether it will fit into both your budget and your needs as a possible printer.
Kodama Trinus Specifications
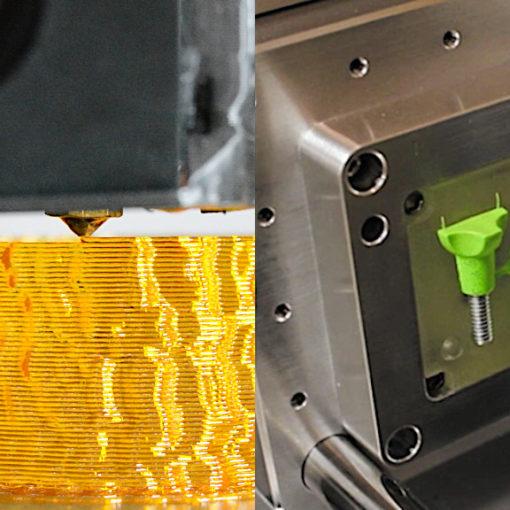
Printer Type – FDM (Fused Deposition Modelling)
Build Materials – Aluminium and Steel Machined Modules
Print Bed – 120x120x125mm Grid Machined Plastic
Print Speeds – Up to 70mm/s
Nozzle Size – 0.4mm (other sizes available)
Filament Size – 1.75mm
Layer Height – 0.05mm – 0.5mm
First off, you may think that the Trinus isn’t the largest printer you will find up for the offer. Don’t be fooled and do not underestimate this little machine because what it lacks in size it makes up for in build quality and its ability to just print and print very well. The 3D printer kit I received from Kodama was the standard base unit with no extras.

(Image: Kodama)
1 x Trinus Control Board
1 x Enclosed Extruder Assembly
1 x Steel Extruder Mounting Plate
4 x Colour Coded Axis Modules
1x 3mm Steel Base Plate
1x 5mm Print Bed4 x Rubber Feet
2 x Z-Axis Motor Covers and all the necessary hardware needed to put it together.
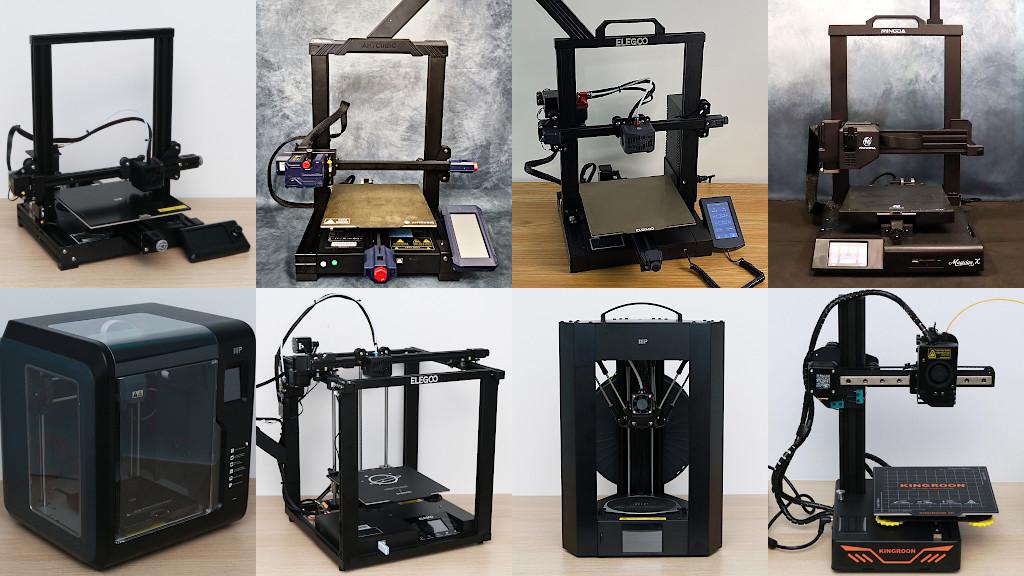
For a comprehensive comparison with other FDM 3D printers please refer to the detailed budget 3D printers guide.
Kodama Trinus – Build Quality
As you can see from the picture above the Trinus is designed in a modular fashion. Each axis has its own module and apart from the Z-Axis that has two all have a unique colour assigned to make the assembly a breeze and effortless.
The board also has colour coded ports again making it easy and intuitive besides making a breeze to find a particular axis if you ever need to problem solve.
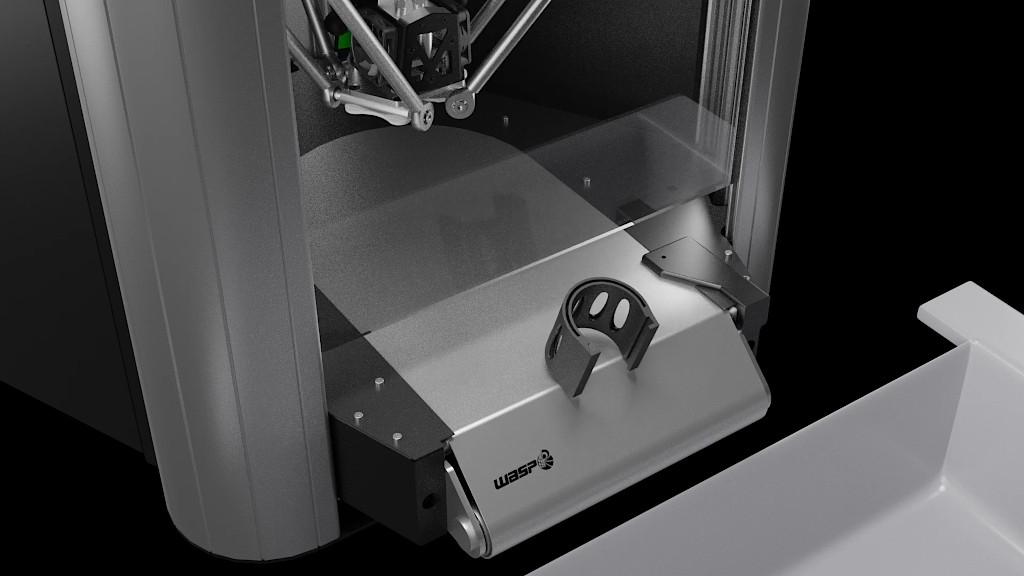
Let us look at these modules in more detail so you can see what you are getting when you order this kit. Each axis slider module consists of a machined body with 2 stainless steel smooth rods and an 8mm lead screw.

(Image: Kodama)
They all come pre-assembled with a Nema 17 stepper motor and a machined mounting carriage that rides on what I believe to be LM8UU bearings.
The lead screw is supported by a machined end cap that houses the guide bearing that seems to fit perfectly to the lead screw.
I say “seems” to fit because I have heard talk of some people having issues with the bearings coming loose although I haven’t had any issue personally.
As a reviewer, it is my job to provide you as much information as I have been able to find out about this printer.
Now following on from this look at the axis modules I can tell you that each of the 4 modules I received was as perfect as you could ask for. The powder coated/ anodized surface finish was flat and I saw no blemishes in the colouring.
Quality and rigidity seems to be the main goal with the Trinus with less focus on flashy features and more focus on producing a small scale machine that is built like a tank.
Fully assembled the Kodama Trinus weighs around 40kg owing to the fact that not only are the axis modules solid machined they sit on a very solid 4mm plate of powder coated steel. From the base to the board the Trinus is built to last.
Kodama Trinus – Setup and First Print
So after a pretty painless build process that you can find on my YouTube channel. I came to the setup and first print.
Reading and re-reading the Quick Start guide I was a bit skeptical about the instructions a really simple 3 step process.
I’ve built 3 printers at this point and none of them has been this simple something was telling me in the back of my mind that this sounded too good to be true. Oh, how wrong I was. I followed the instructions.
Plugged in – Check.
Lights Working – Check.
Load Filament – Check.
Insert SD Card – Check.
The double beeps sounded and the red indicator light to tell me the extruder was heating up started flashing. NO WAY!
After a few minutes, it went through the homing sequence and extruded a small amount of filament to purge the nozzle that I quickly had to grab still half in shock that it was really that simple. Then away it went printing its very first print.
First impressions as it laid down the first layers of Royal Blue PLA goodness were very good. The layers looked even and consistent, it was at that point I noticed something strange.
Strange in a good way if any of you are reading this and familiar with FDM printing you will know that most slicers print a raft that normally follows the general shape of the model being printed but this was different.
Kodama uses a slicing software called PangoWin and the software uses a hexagonal raft system that looks cool as hell. It builds hexagonal rafts that interlock with each other like honeycomb the same for the supports too. Hexagonal crystalline structures that barely touch the print surface and leave no residue or nasty gunk when you remove them.
Kodama Trinus – Print Quality
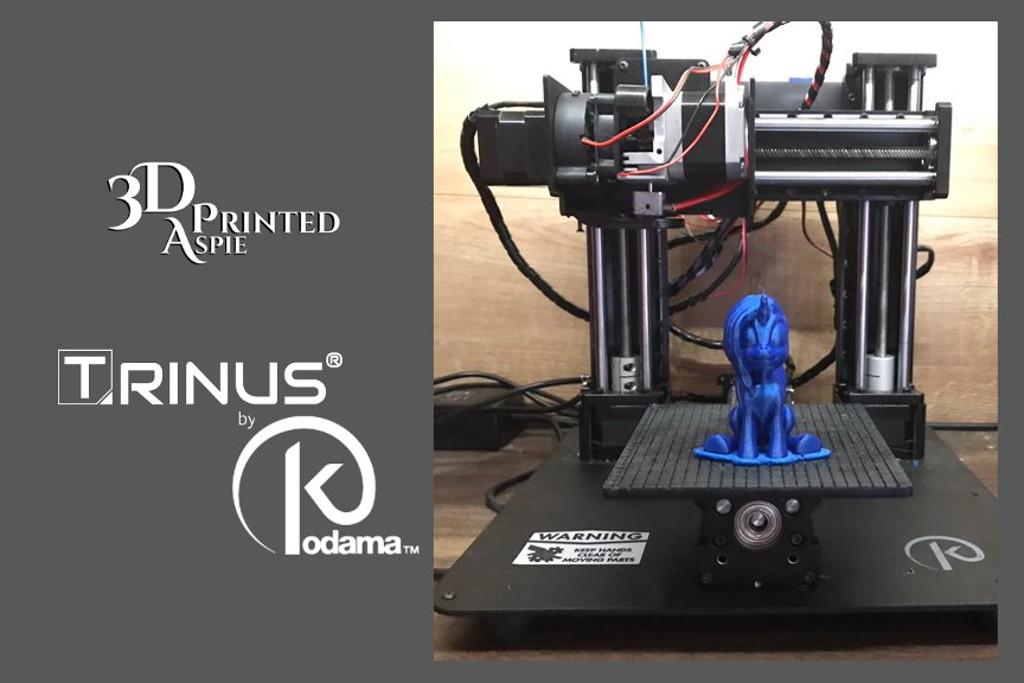
This was the result of that very first print and I should let this speak for itself but what kind of reviewer would I be if I did that. The file they had chosen to show off what the Trinus could do was a cute little Bulbasaur and I have to say I am very very happy with the results. As far as first prints go you couldn’t ask for more.

(Photo: 3DPrintedAspie)
No calibration, no bed levelling, no glue/hair spray nothing that you normally have to do to get a print to stick to the bed. If you also take into account that the stock Trinus has a static bed with no adjustment options. No fancy 12 point probe levelling system no heated bed just a very well designed simple print surface that screws directly to the Y-Axis carriage mount.
I’d say the Trinus stacks up really well to its competitors who are few and far between in the same price range and you definitely won’t find one for the same price with the same level of build quality. I have looked.

(Photo: 3DPrintedAspie)
Ever since owning the Kodama Trinus it has been used to print almost non-stop with only a few minor errors that were no fault of the Trinus itself and more user errors. Mainly trying to print with specialised filaments without a heated bed that leads to the prints warping terribly and after realising my mistake a quick swap of the filament back to PLA and it was off and printing perfectly.
Now I don’t mean perfect in a sense that the Trinus prints perfect models without layer lines. I mean perfect in a sense that once you slice a file in Pango and send it to the Trinus it Beeps-Heats-Prints, every time without failure as of the time I wrote this review.

(Photo: 3DPrintedAspie)
Now I know a great many people will be turned off because of the size of this printer but if like me you just love watching a well-designed machine just doing what it was designed to do then the Trinus might just be the perfect printer for you.
Let me explain my reasoning for recommending this 3D printer to anyone that asks me about it.
The kit I have is a standard bare bones kit. Meaning no luxury features. No heated bed, no auto-levelling, no adjustable bed, no LCD screen and do you know what?
It doesn’t need any of those things to be an absolutely outstanding machine. Yes, it can be enhanced by adding such features as a heated bed or the LCD screen but it doesn’t “need” them to make it a great 3D printer.

(Photo: 3DPrintedAspie)
Kodama Trinus – Summary and Final Thoughts
To summarise the Kodama Trinus I’m going to ask a few questions I normally ask anyone who comes to me for advice on what printer to buy.
Q1) What is your budget?
Under £500 as a low-income family. Kodama has seen to this need as the Trinus base unit is £332.56 or $379.00 at the time of writing this review. Add-ons and extra modules can be bought such as a TFT screen, laser engraver, heated bed, levelling system, enclosure. They aren’t needed as I mentioned earlier as the base unit while limited to mostly PLA will handle prints without issue.
Q2) What do you want to use the 3D printer for?
To print my digital sculpts and toy prototypes. Is the Trinus suited to achieve this goal? Yes without question. It is my personal opinion that although limited by its size the Trinus build quality and print quality will compete with most printers on the market under the £/$1000 price bracket. In fact, it might even compete with a few £/$1000+ machines too.
Q3) How well do you know your way around basic everyday tools?
Personally, I am confident using hand tools you would find in most workshops. Again the Kodama Trinus 3D printer scores high on this aspect too. The modules fit together effortlessly and the module based design makes it an exceptionally easy build. I would go as far as to say that with a bit of guidance only due to the weight of the parts, The Trinus would be a perfect first kit for a child looking to get into 3D printing. (Testing with my children to follow at a later date)
Q4) Would I suggest the Kodama Trinus to others?
Yes, I would and I do on a regular basis. For me, it’s not about having the biggest machine on the block or the fastest or the most advanced. It’s about having a machine that will work when you want it to without a 10 step process of faffing and messing around. I would take a printer with no LCD that prints tethered or via SD card every time over a printer with a full-colour touch screen that only prints half the time.
Q5) Who would I recommend this printer for?
I would suggest this printer to anyone that is interested in the technology and want to get started in 3D printing. In fact, for the price and the quality of the Trinus, I would say that it would be a perfect addition to any workshop. Small enough to fit on or under a desk, even on a strong shelf. The print quality isn’t perfect but with some simple settings tweaks, it will print to a 0.3mm tolerance so even small mechanical prototypes can be achieved with little to no fussing. Add on an enclosure and heated bed and you upgrade it to be capable of printing a wider choice of materials.
Q6) What I didn’t like about the Trinus?
Honestly, nothing. It’s small perhaps but even that is a stretch.
STL Files:
Unicorn https://www.thingiverse.com/thing:2316291
Smiling Owl Pot https://www.thingiverse.com/thing:2125599
Kodama Tree https://www.thingiverse.com/thing:2243196
Pinkie and Brain https://www.thingiverse.com/SparkyFace5
High Poly Bulbasaur https://www.thingiverse.com/thing:1576163
Source Links:
Trinus UK – https://eu.kodama3d.com/collections/trinus/products/trinus-3d-printer
Trinus US – https://us.kodama3d.com/collections/trinus/products/trinus-3d-printer
Twitter – https://twitter.com/3DPrintedAspie
Thingiverse – https://www.thingiverse.com/3DPrintedAspie

(Image: 3DPrintedAspie)
Read More & Compare
Read more about desktop 3D printer builds and processes. Type, volume, FDM or Resin, all to consider. Or jump to the latest 3D printer reviews.
For a comparison with other FDM 3D printers please refer to the
detailed budget FDM 3D printers guide.