

All Activity
Today
-
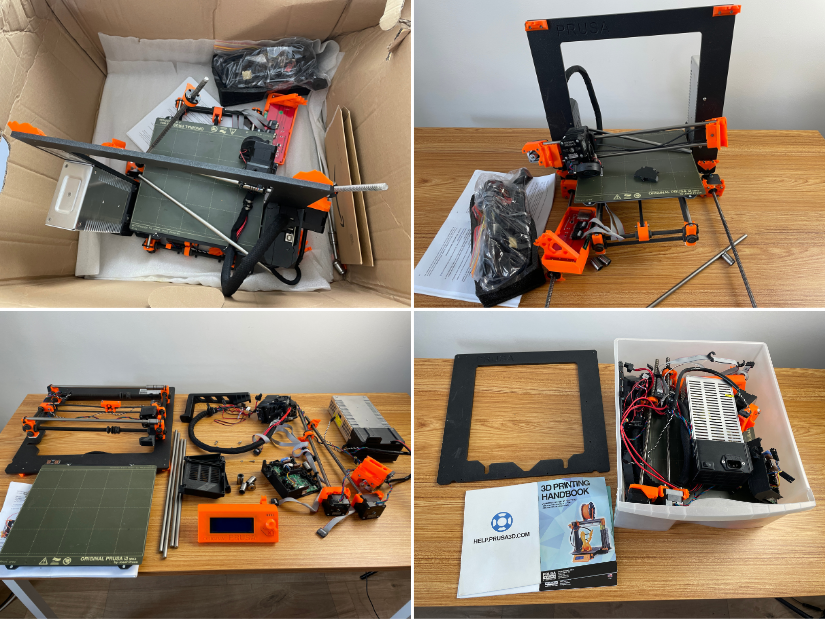
After an unlucky transportation attempt, all I could do was perform a final autopsy on the iconic machine that made me believe in #3Dprinting. Bye-bye, my friend. It was a great journey! 🫡 My original Prusa i3 MK2.5S retired, but definitely not forgotten. https://3dwithus.com/original-prusa-i3-mk2-mk25s-upgrade
-
I've always been curious about one question: Does spending more money on a 3D printer actually make a big difference? Many beginners struggle with the same decision: Should I buy an affordable printer first and learn along the way, or save money and get a higher-end machine from the beginning? So I decided to do a simple comparison. I printed the same model using: The same PLA filament The same 0.4mm nozzle The same 0.2mm layer height Similar speed settings The only difference was the printer itself. Here is what surprised me. Print qualityHonestly, the difference was smaller than I expected. Both printers were able to produce a good-looking print. But after looking closer, I noticed some differences: The more expensive printer handled overhangs better Surface quality was more consistent There was less ringing on sharp edges However, the cheaper printer was still much better than I expected. The biggest difference wasn't the final print — it was the process.The more expensive printer saved me a lot of time: Less calibration Fewer failed prints Less troubleshooting More time actually designing and printing The cheaper printer was not bad at all, but it required more patience and adjustment. My personal conclusion:I think many beginners focus too much on the final print quality. The truth is, most modern 3D printers can produce impressive results. The bigger difference is the user experience. A cheaper printer can teach you a lot about 3D printing, but a more expensive printer allows you to spend more time creating instead of fixing problems. I'm curious: Would you rather buy a cheaper printer and learn everything yourself, or pay more for a smoother printing experience? What was your first 3D printer, and would you buy the same one again?
-
Ryan2333 joined the community
Last week
-
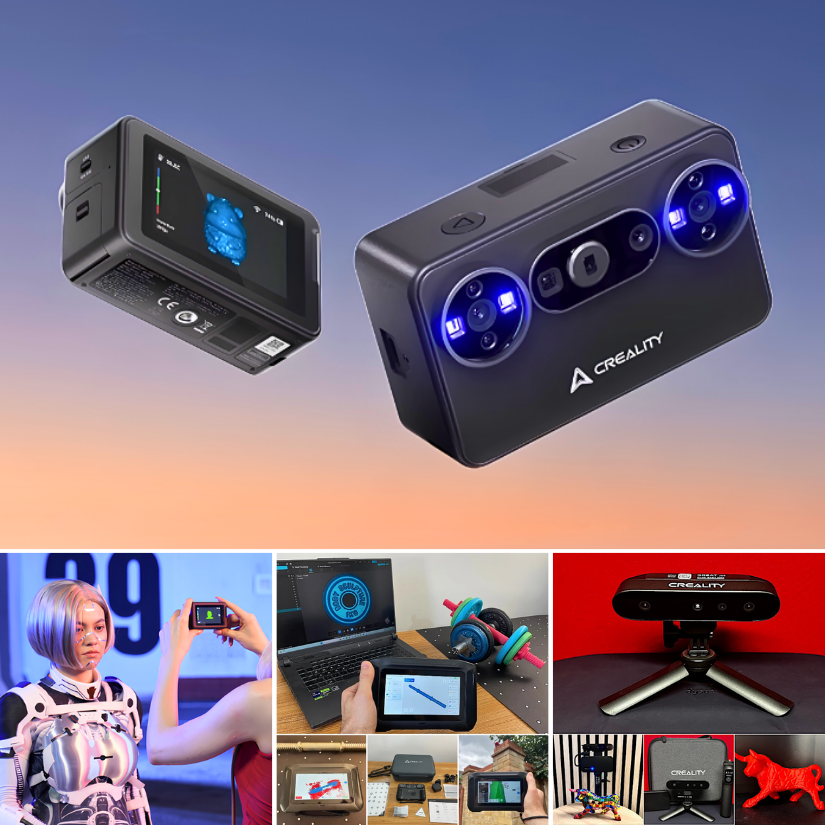
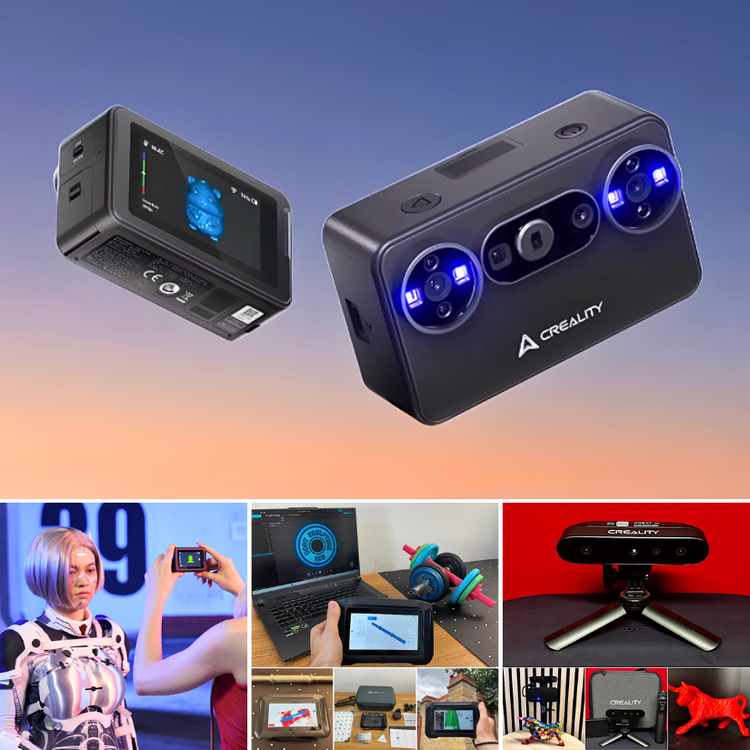
Creality’s 3D scanner lineup is interesting. From the tiny new Pika to the standalone Sermoon P1 and more. Still waiting for Pika to arrive. Here is the first look: https://3dwithus.com/creality-new-3d-scanners
-
Interesting development. SLS PEBA for footwear is definitely one of the more practical AM applications, especially for midsoles and performance testing. The durability numbers are worth watching, as long-term compression and fatigue are still key questions for 3D printed footwear.
-
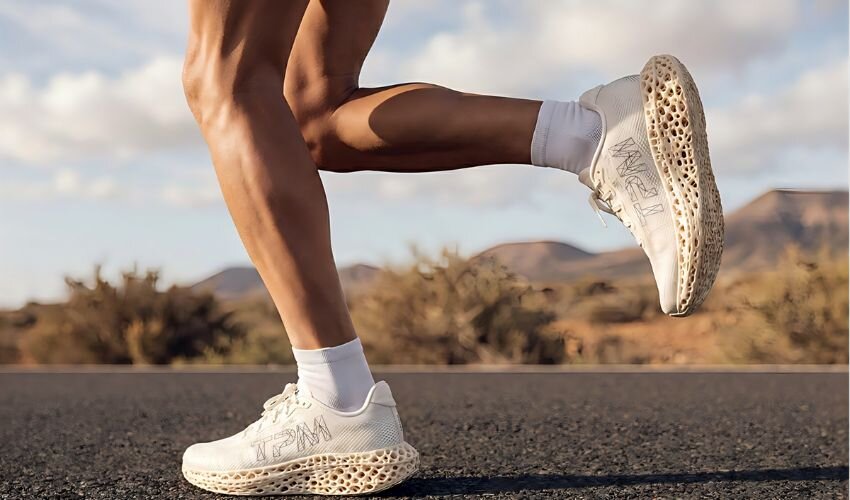
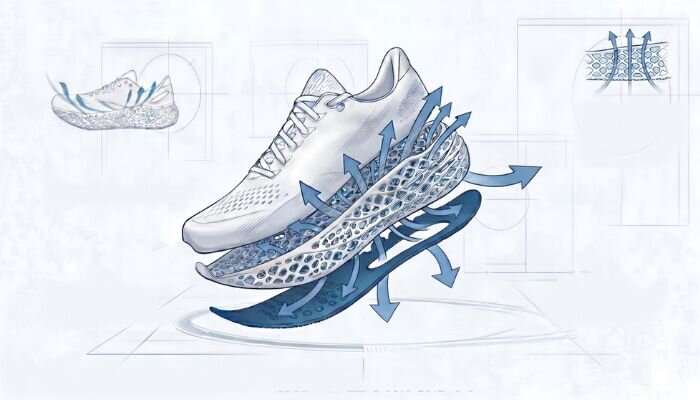
TPM3D announced that it has reached a significant milestone with the industrial-scale integration of selective laser sintering (SLS) and high-performance PEBA elastomers for footwear manufacturing. https://www.3dnatives.com/en/tpm3d-sls-peba-footwear-18052026/#! Durability and long-term mechanical degradation have remained significant challenges for 3D-printed midsoles in high-performance sports applications. TPM3D says it has worked to address this “durability gap” through rigorous engineering and testing. According to internal testing, the company’s SLS PEBA components demonstrate a compression set of 22% to 26%, with no irreversible deformation observed after 200,000 dynamic flex cycles.
-
paco joined the community
-
Uliphant joined the community
-
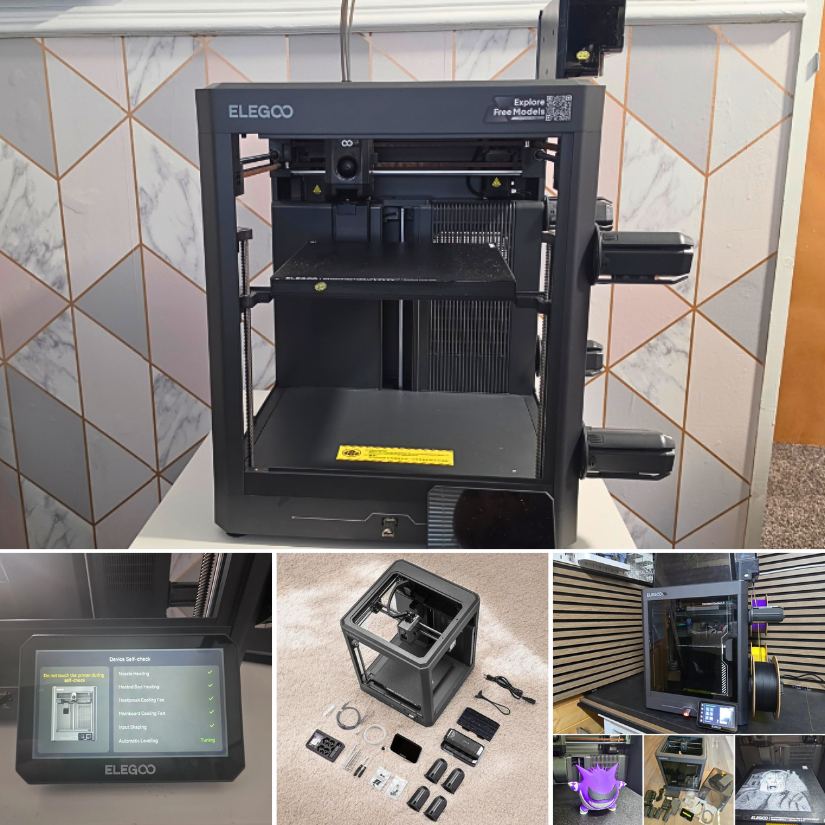
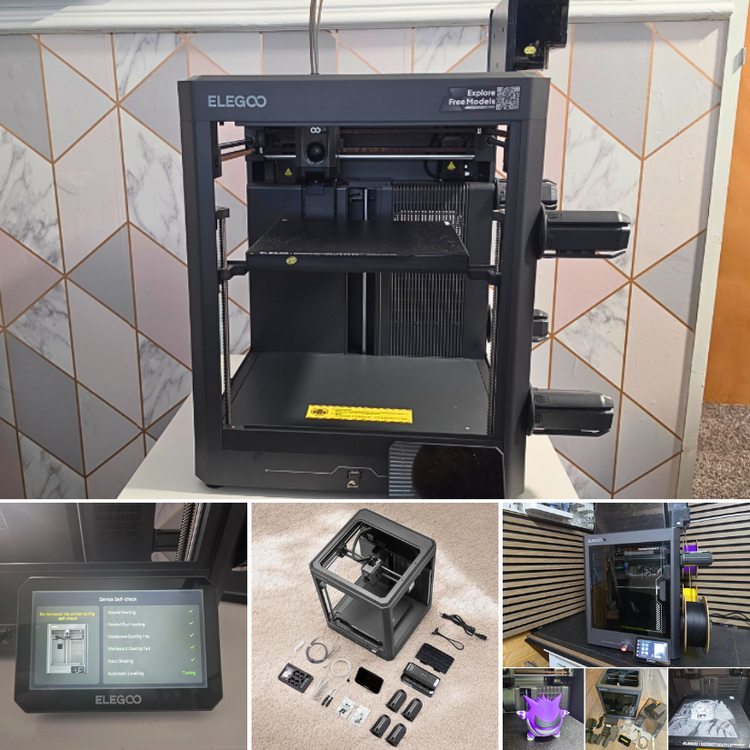
I recently had a closer look at the new Elegoo Centauri 2 Combo. 📹 https://youtu.be/9a95vRu0310 ✍ https://3dwithus.com/elegoo-centauri-2-combo-overview This is an overview rather than a full hands-on review, focusing on the design, setup, CANVAS multi-colour system, and the main differences compared with the Centauri Carbon 2.
-
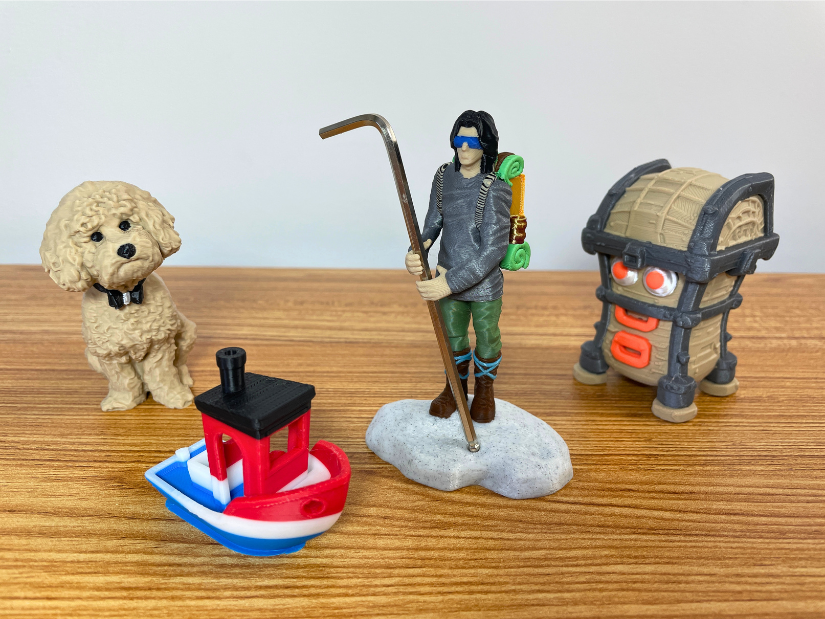
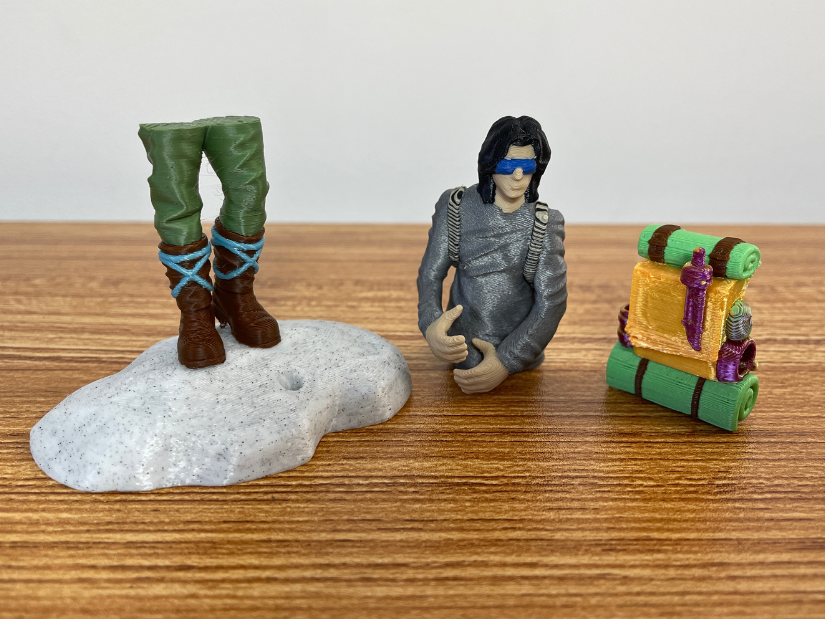
Printed the Guardian figurine/tool holder using 12 colors + 2 mixed shades on the Snapmaker U1. Color mixing would work better if I scaled the model up. Very happy with this segmentation experiment.
-
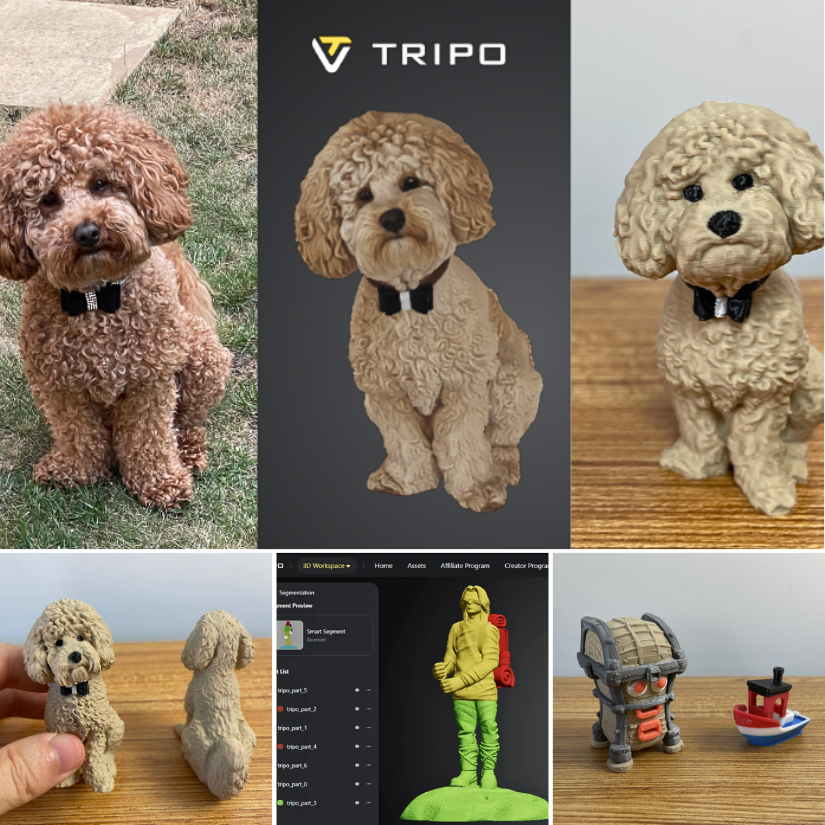
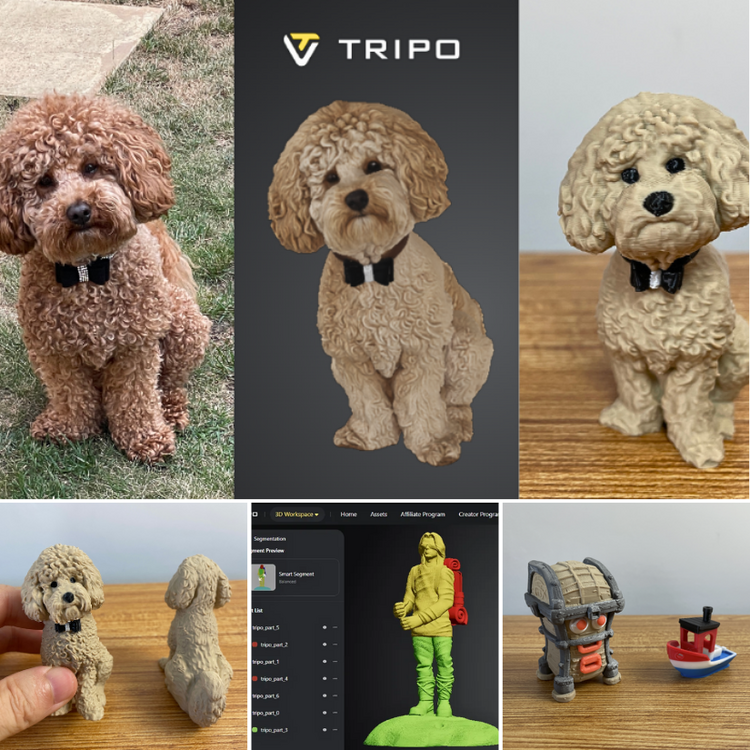
Testing Tripo AI for 3D printing. Text-to-3D, photo-to-3D, Refine, Segmentation, Blender cleanup, 3D printing... I went a bit deeper than planned. Full review: https://3dwithus.com/tripo-ai-review-3d-printing Please share your own Tripo AI results and prints
-
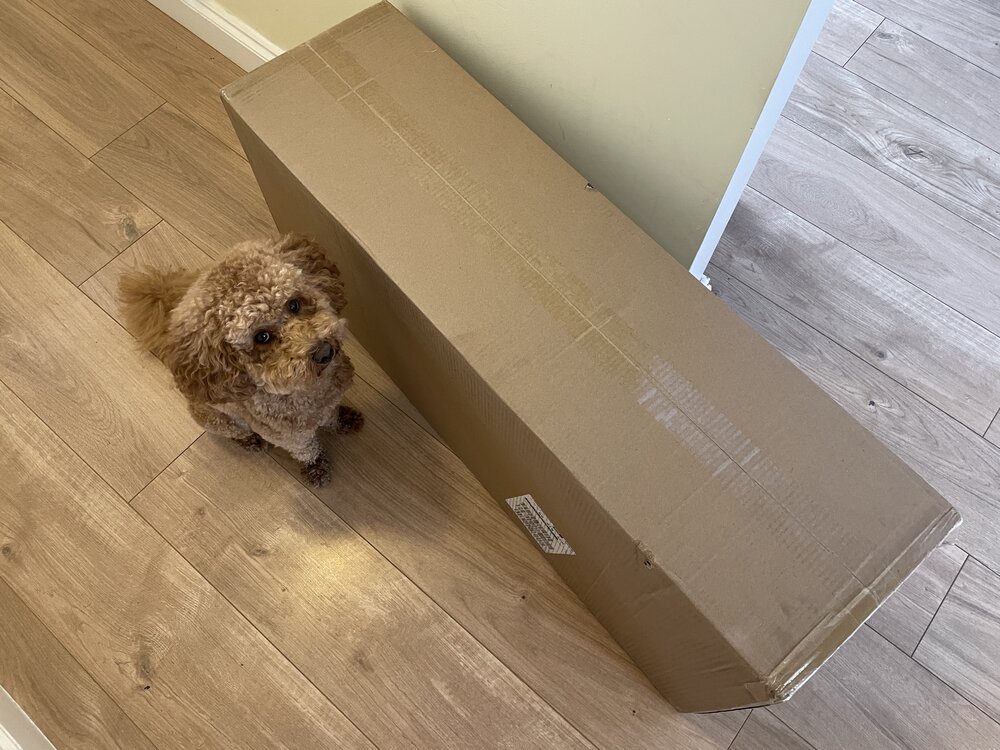
🐶 'Daddy cmon - do it already' 🐾 The Revopoint Trackit SR has arrived. All in one big box. Size-wise, I can feel the difference straight away, as the original Trackit came in two big, heavy-duty cases. Hands-on testing soon...
Earlier
-
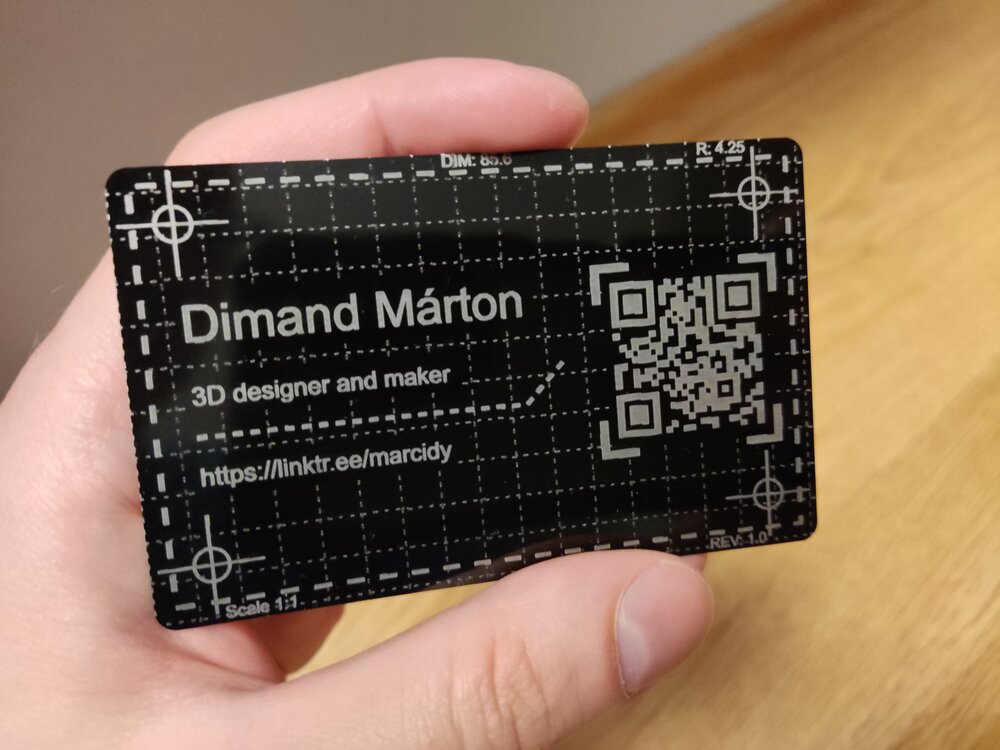
Your business card looks awesome! Great design. And the QR code works very well. 👍
-
And the work has begun... (Engraved anodized aluminium card) I am still waiting for a few accessories and materials to arrive, but I just couldn't wait any longer, so I ran my first project. It came out pretty nice and sharp :)
-
Hi everyone, I'm curious how people here calculate the real cost of their 3D prints, especially those who sell prints regularly. Filament cost and print time are easy enough to calculate, but once I started looking deeper, there were many other costs that can easily be overlooked — electricity, machine wear, failed prints, labor, packaging, marketplace fees, maintenance, etc. That's what led me to build a small Excel-based 3D Printing Profit & Pricing System that combines these costs and calculates selling price, profit and margin. I've recently finished it and I'm looking for feedback from people who actually sell 3D prints. If you'd like to take a look: Calculator on Gumroad: https://aipowersystems.gumroad.com/l/rvmwhm I'd also be interested to hear how you currently price your prints. Do you use a spreadsheet, an online calculator, or just a fixed markup over material/print time?
-
Nemanja Stanimirovic joined the community
-
Good idea! Once I've used it for a while, I'll share my experience with it.
-
Nice 2-spool holder. I use my X4 nonstop. I dry my desiccant dehumidifier sachets there as well. If you want to write a review about it, it would be great. Here are a few examples: https://3dwithus.com/filament-dryer-boxes-and-diy-solutions
-
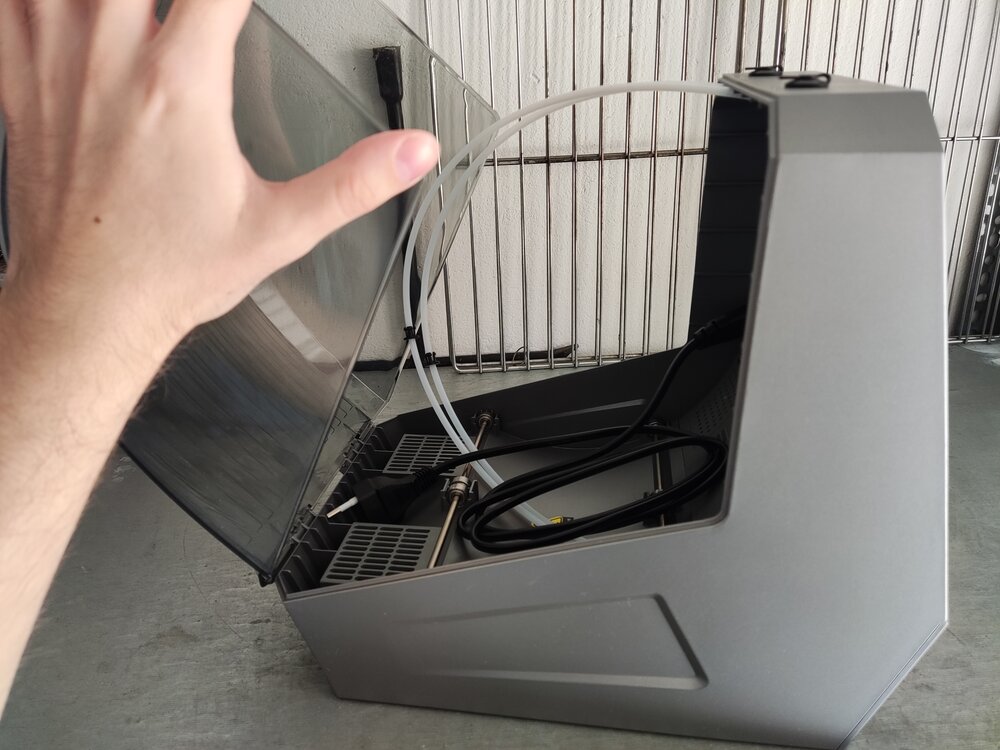
Just received a Space Pi Plus by redeeming my points on Creality cloud. I haven't had the chance to use it yet (most of my spools are already dry enough), but looks great. Now I can finally dry filament properly :D.
-
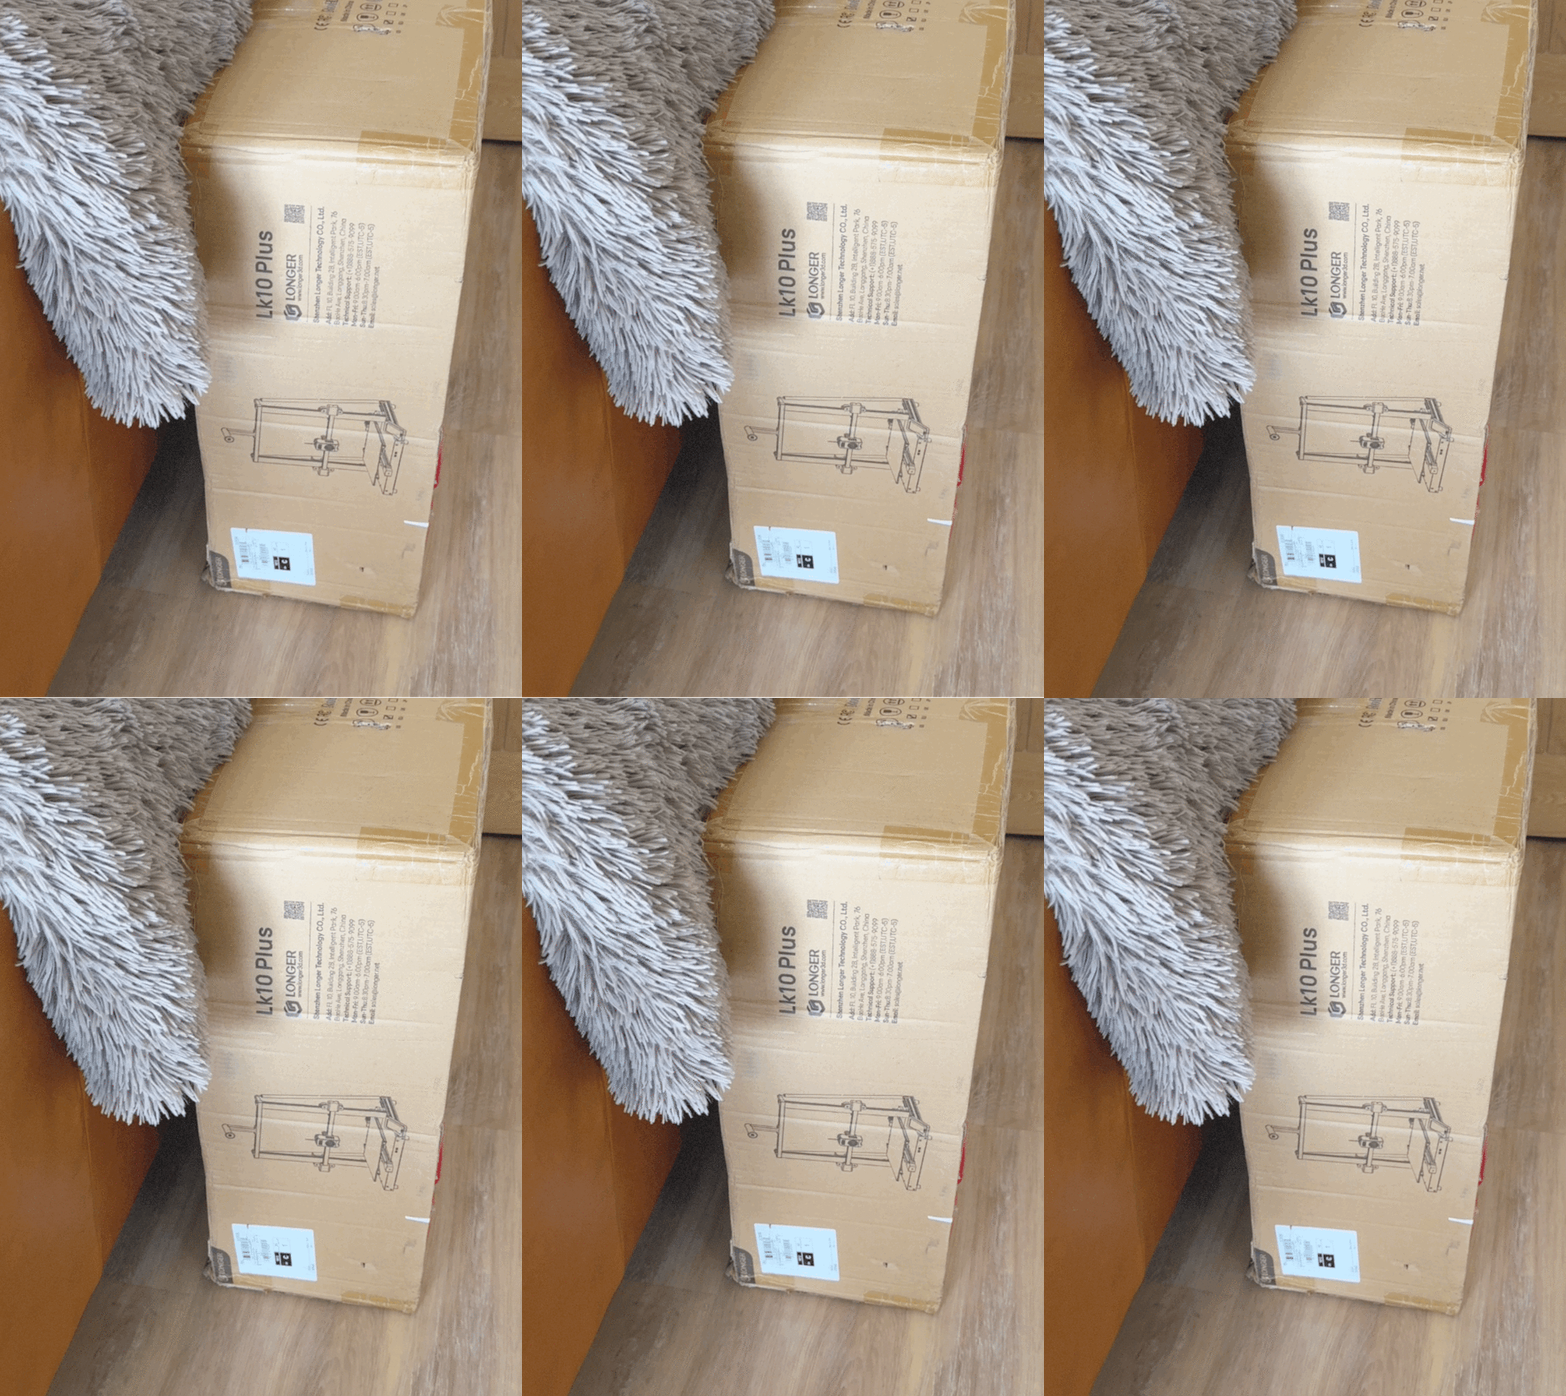
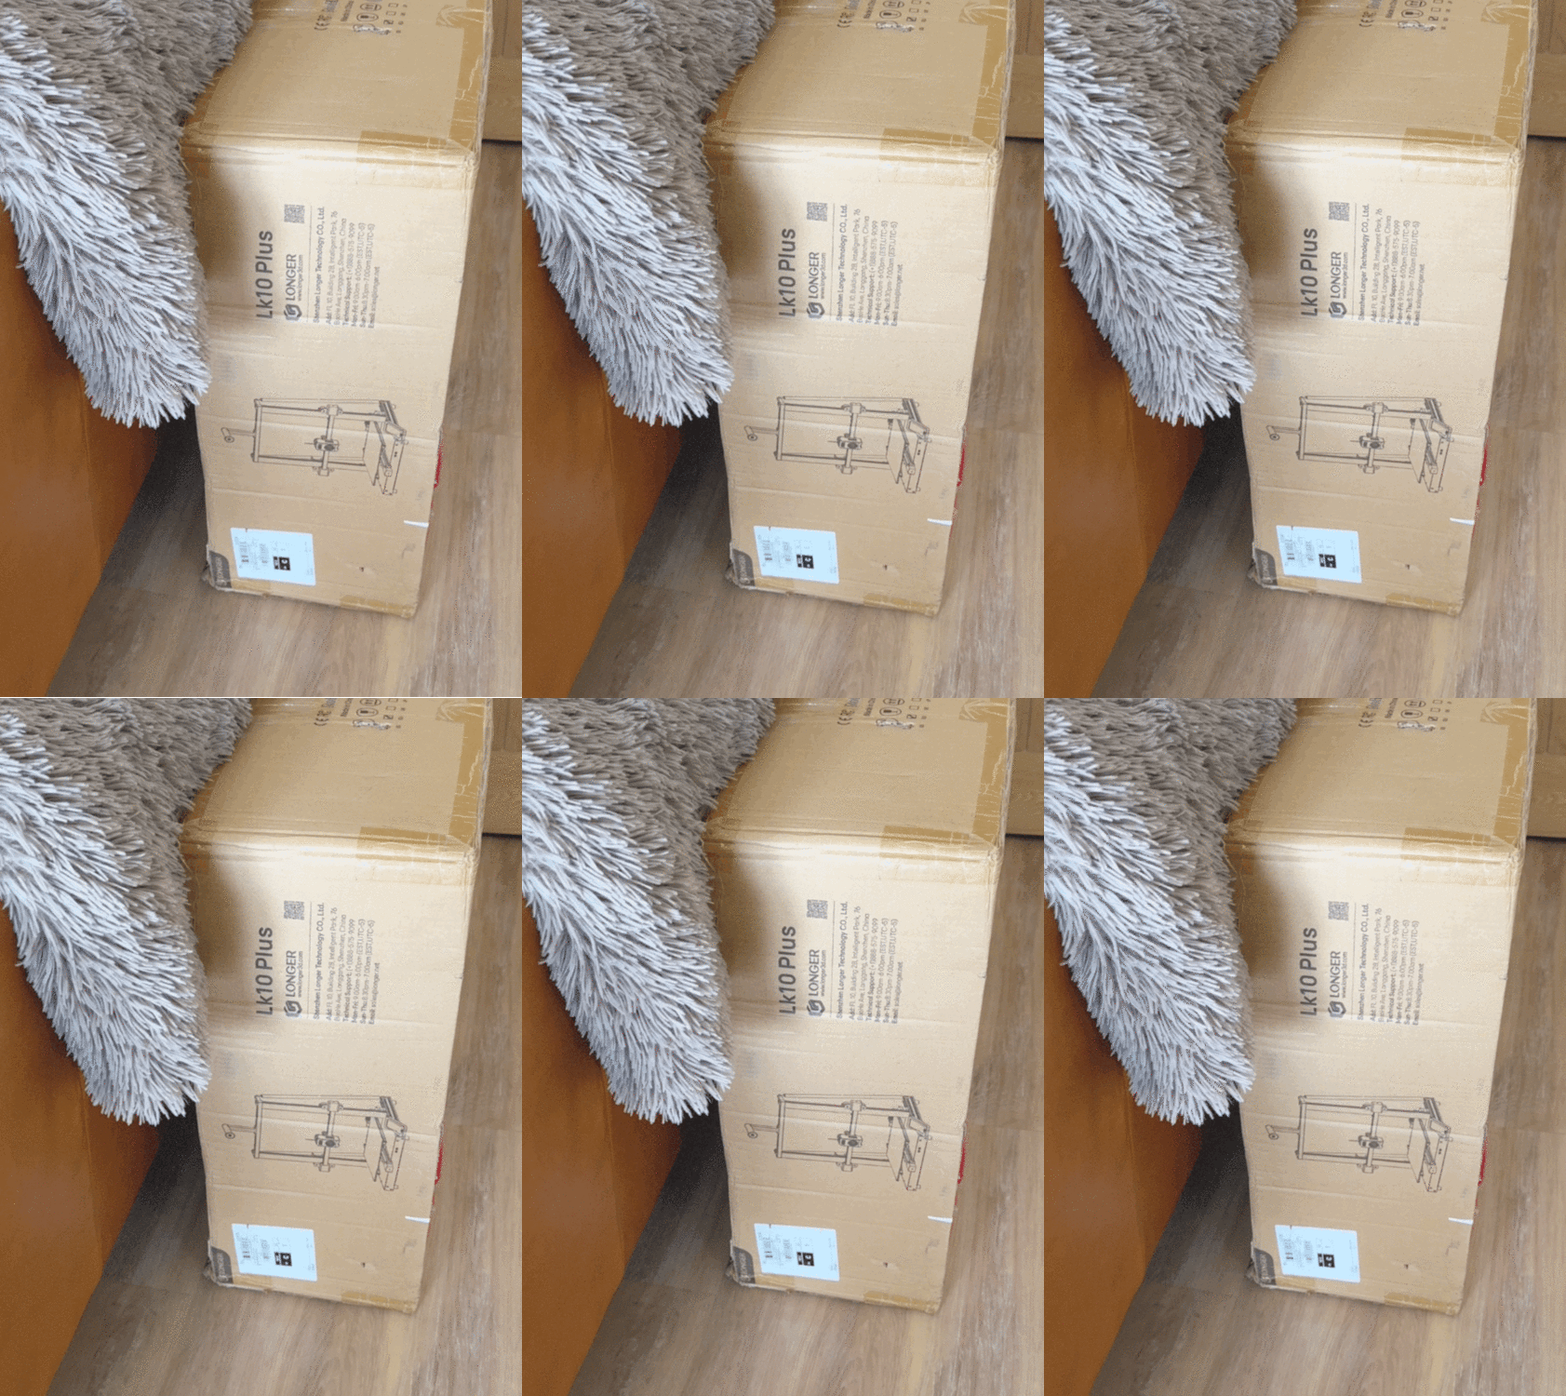
Longer LK 10 plus in for test and review the LK 5 series was a good printer when they first came out a couple of years. So let’s see if it has evolved to fit in with the new 3D printers that are available.
-
Annette Jebb joined the community
-
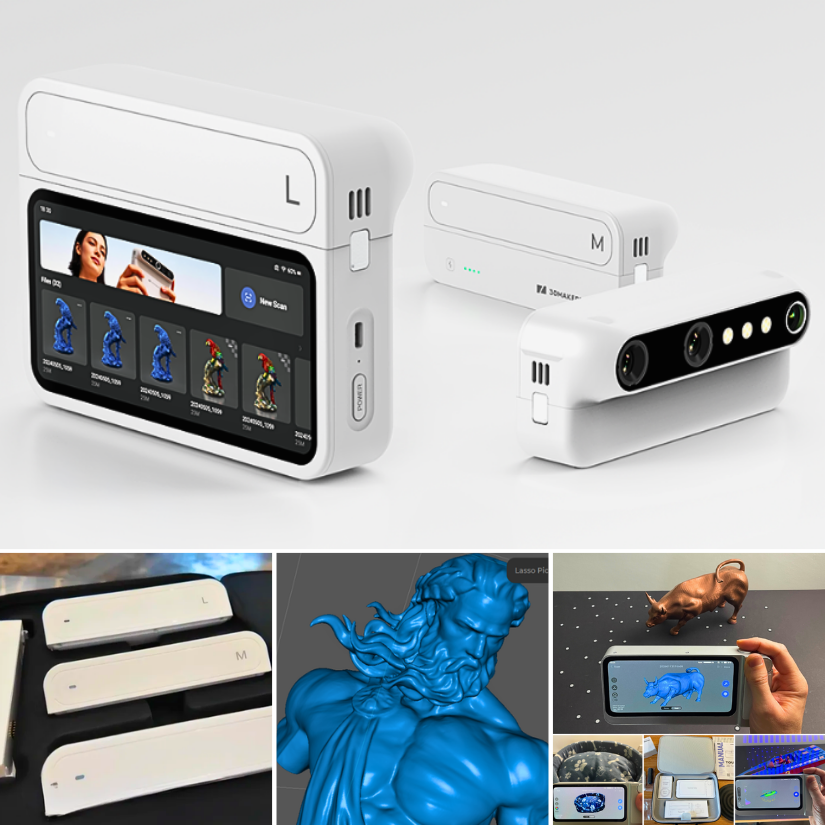
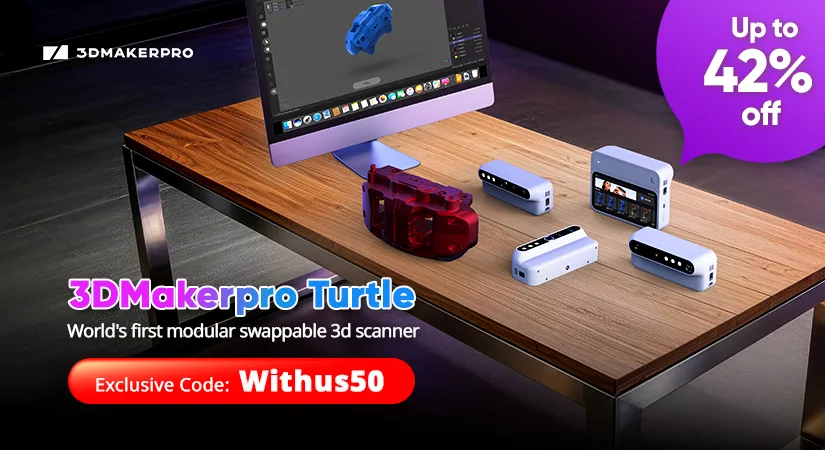
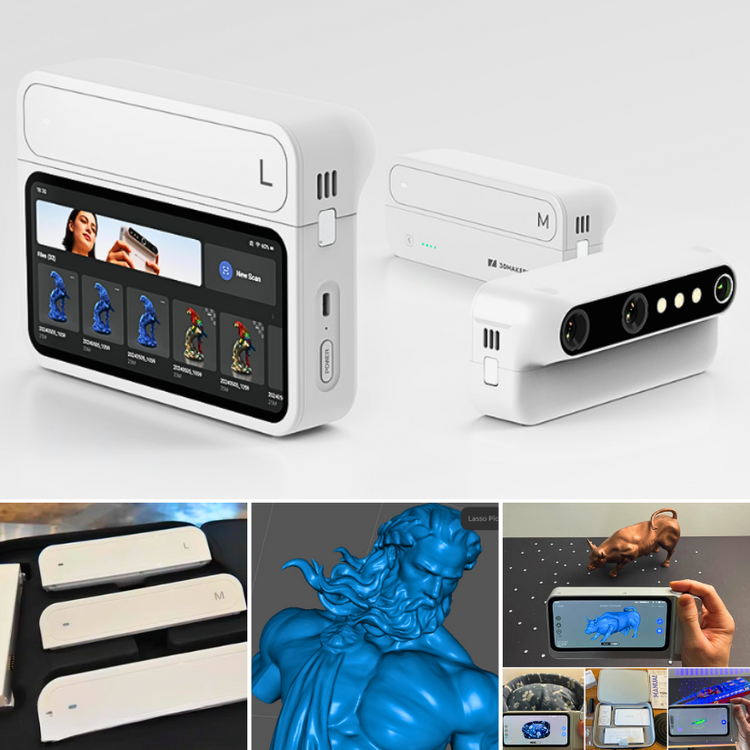
3DMakerpro just launched the world's first modular 3D scanner: Turtle. Building on the standalone Toucan, Turtle introduces interchangeable S, M, and L scanning modules. https://3dwithus.com/3dmakerpro-new-3d-scanners#turtle
-
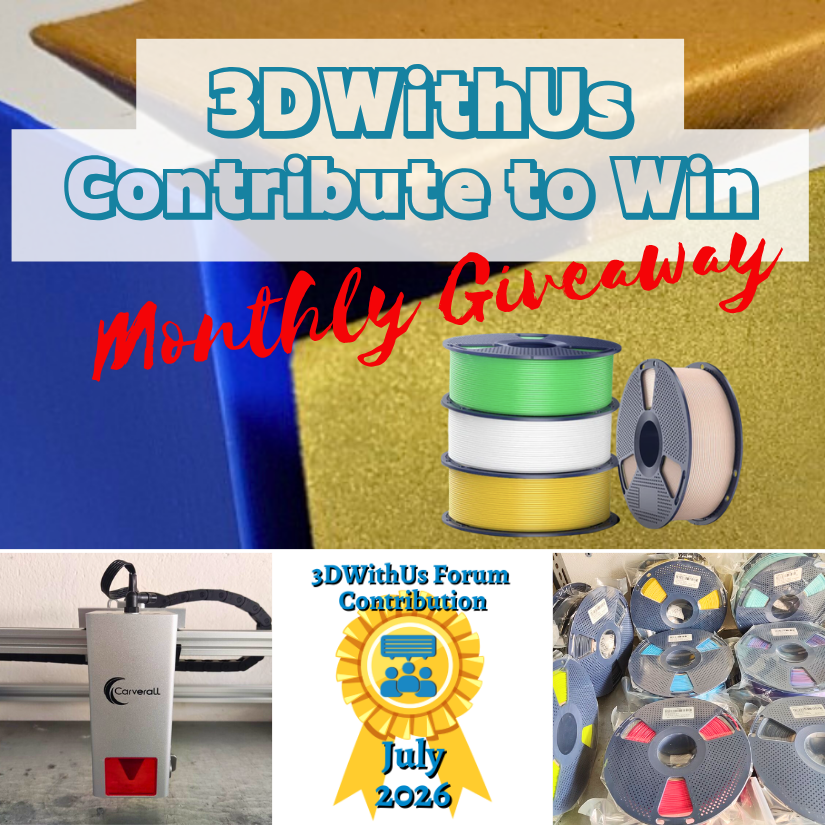
Congratulations! 🎉 This post won 1 filament spool in the Contribute to Win - July 2026 giveaway. We will contact you shortly to arrange the delivery of the SUNLU filament spool. Giveaway Rules: https://3dwithus.com/forum/topic/973-contribute-to-win-monthly-giveaway

-
Congratulations! 🎉 This post won 1 filament spool in the Contribute to Win - July 2026 giveaway. We will contact you shortly to arrange the delivery of the SUNLU filament spool. Giveaway Rules: https://3dwithus.com/forum/topic/973-contribute-to-win-monthly-giveaway

-
🎉 July Giveaway Completed — August Giveaway Is On The Way! Huge thanks to our forum supporters! We're excited to award our filament prize to forum contributors 🙌 🏆 Winning contributions: Carverall JL9 Discussion: https://3dwithus.com/forum/topic/1152-carverall-jl9-discussion Giveaway Filament Print Examples: https://3dwithus.com/forum/topic/1004-sunlu-giveaway-filament-print-examples/#comment-1375 Two SUNLU filament spools are now on their way 🎁 What's Next✅ The August giveaway is live ✅ SUNLU filament spools will be awarded to 1–4 contributors whose posts or comments add the most value to the community and forum. ✅ All helpful & creative contributions count. Share your projects, tips, questions, fails & wins. Every contribution helps grow the community and puts you in the running. If you were considering posting but haven’t jumped in yet, this is the perfect time to start. Sign Up Here https://3dwithus.com/forum/register/
-
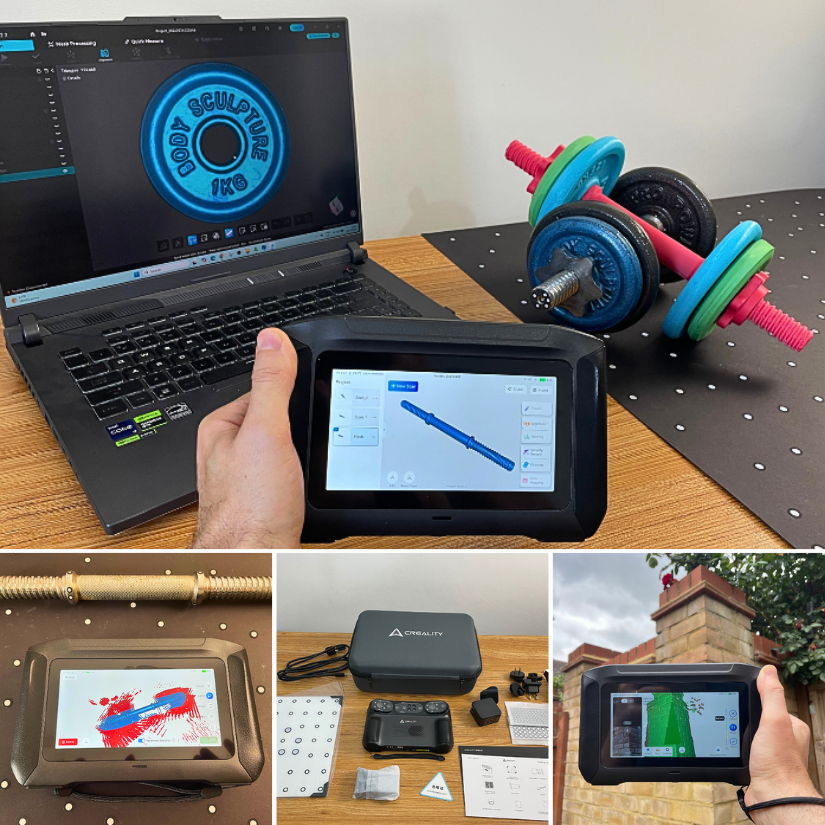
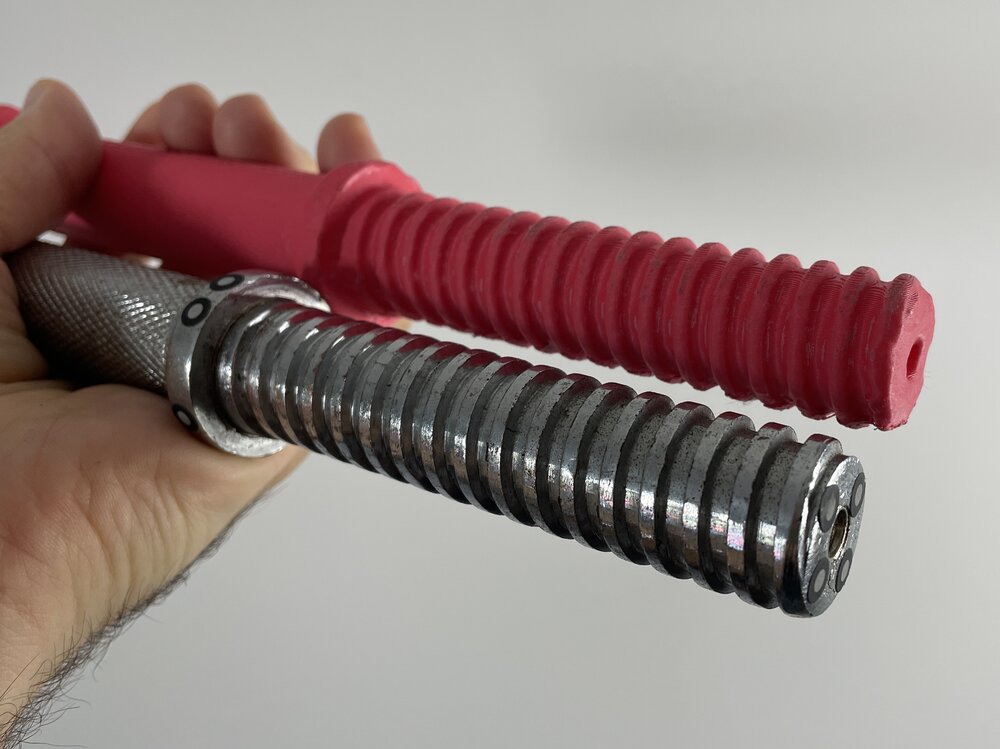
People were surprised that I didn’t need to recreate the threads. I didn’t. The original threads were scanned accurately. The key was placing the markers correctly to make marker alignment work reliably.
-
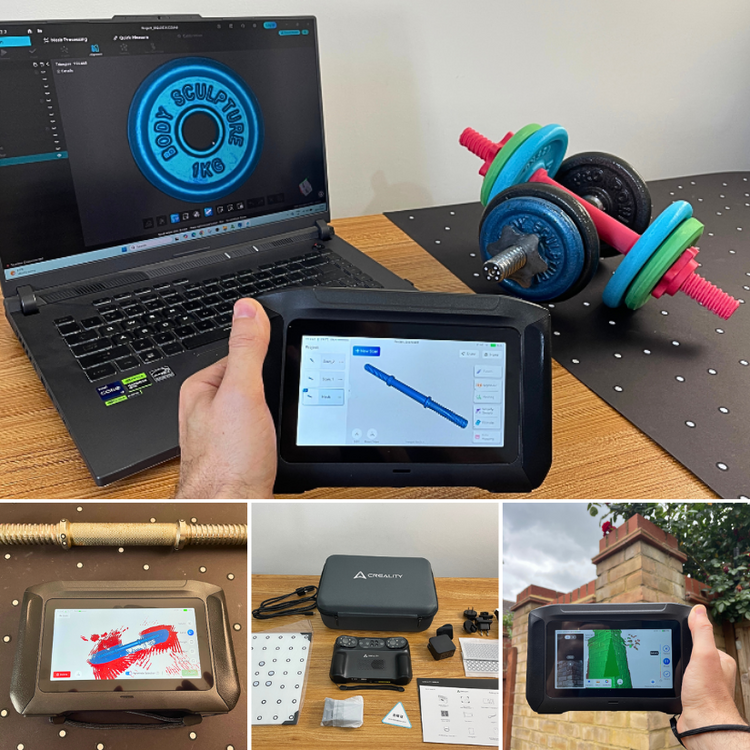
After several weeks of hands-on testing, my Creality Sermoon P1 review is now live. https://3dwithus.com/creality-sermoon-p1-review I evaluated the scanner across real-world projects including reverse engineering metal parts, standalone and PC workflows, outdoor infrared scanning, and complete scan-to-print examples. I'd be interested in hearing about and seeing other people's projects.
-
Nice! Thank you for sharing. Good luck on the setup. We changed the title to Carverall JL9 Discussion, since it is sort of a working thread. We will link to it from the main article and vice versa.
-
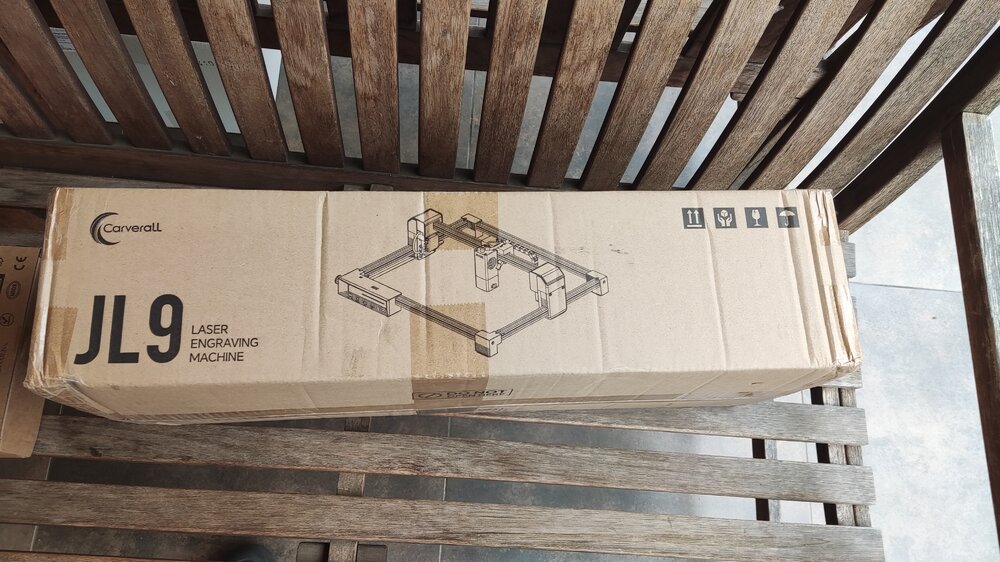
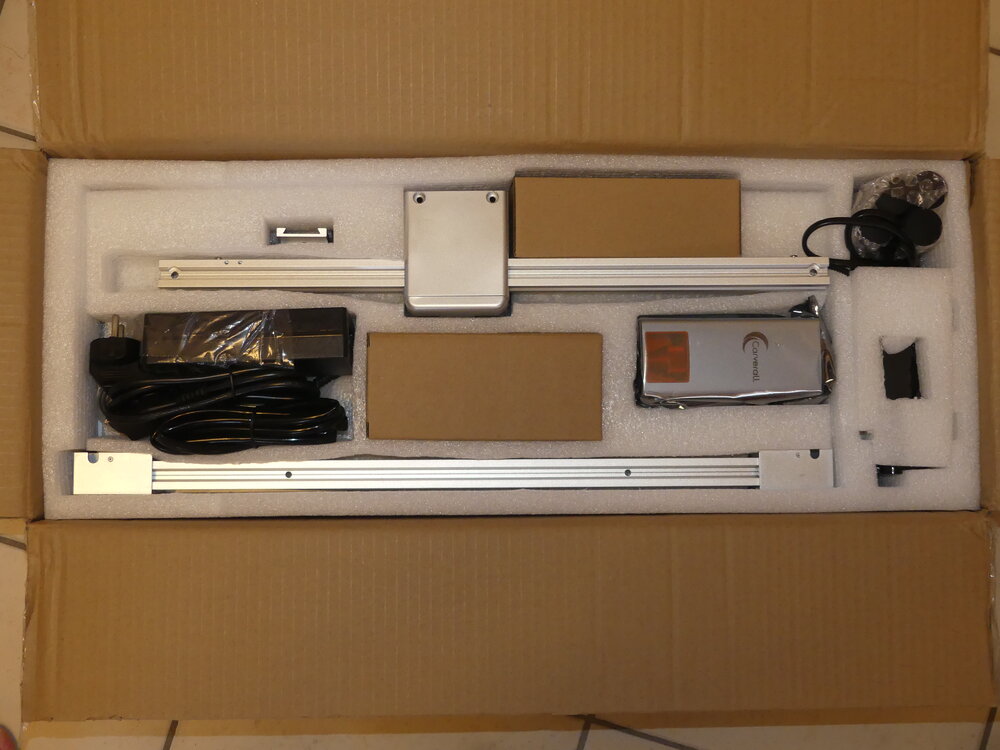
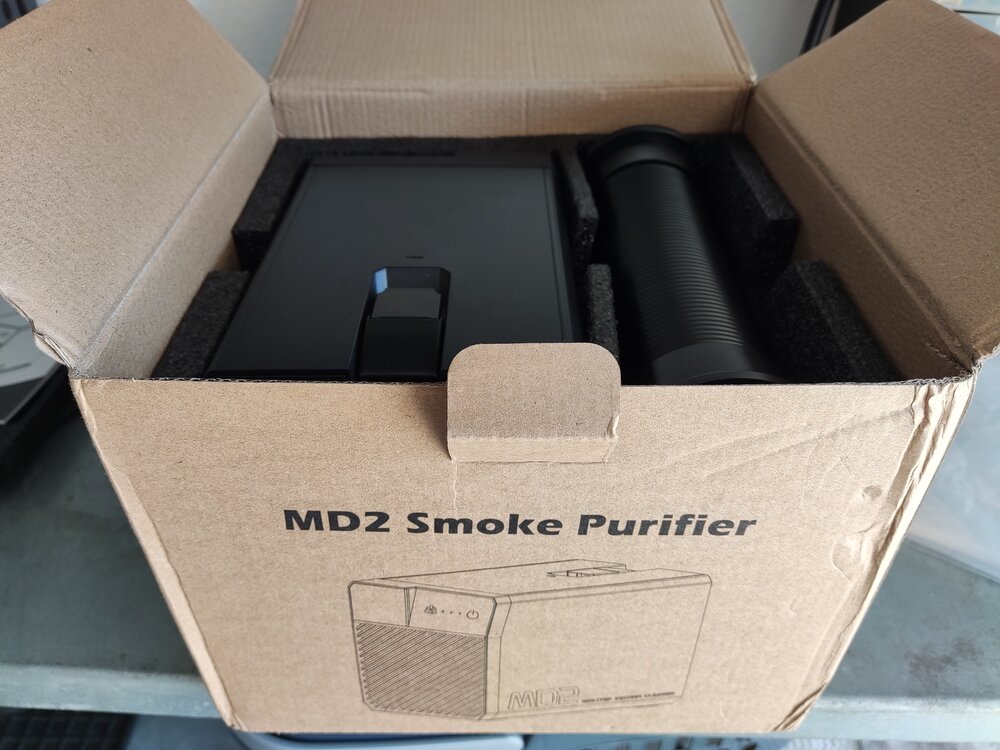
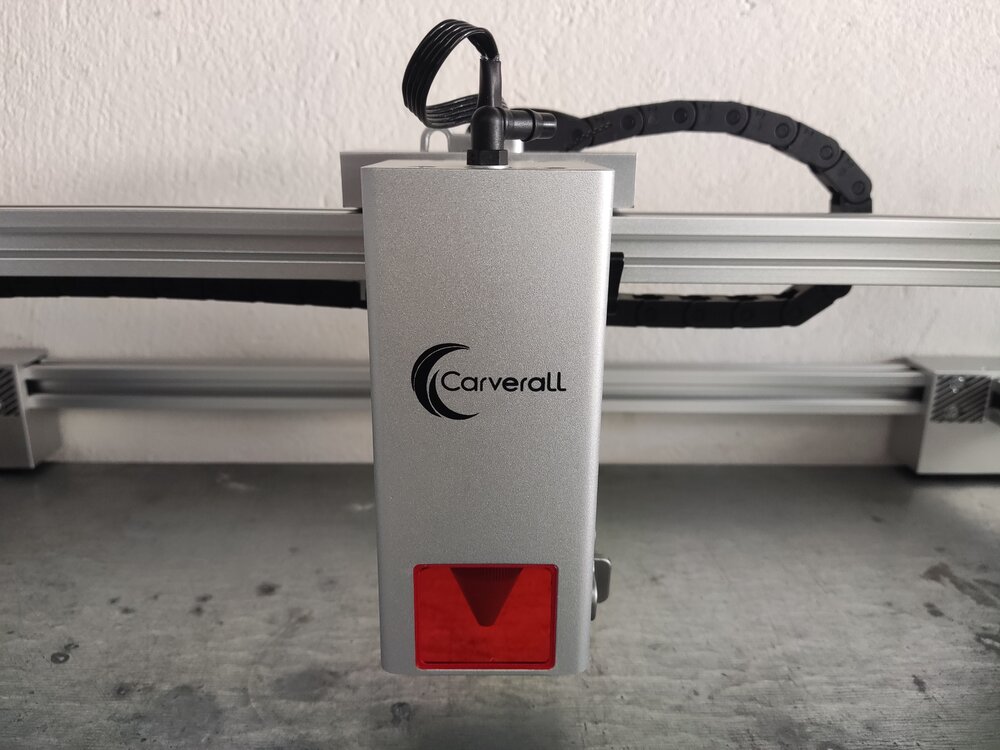
Just received these packages recently. Assembly is still in progress as I am waiting on some accessories and materials, but hopefully, the work can start soon! I am really excited to be part of this collab with 3DWithUs and Carverall!
-
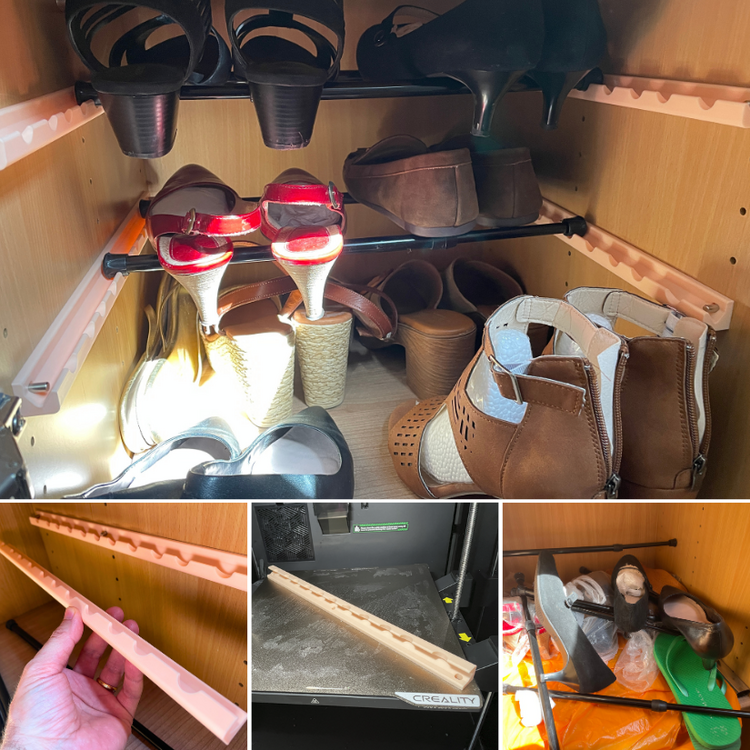
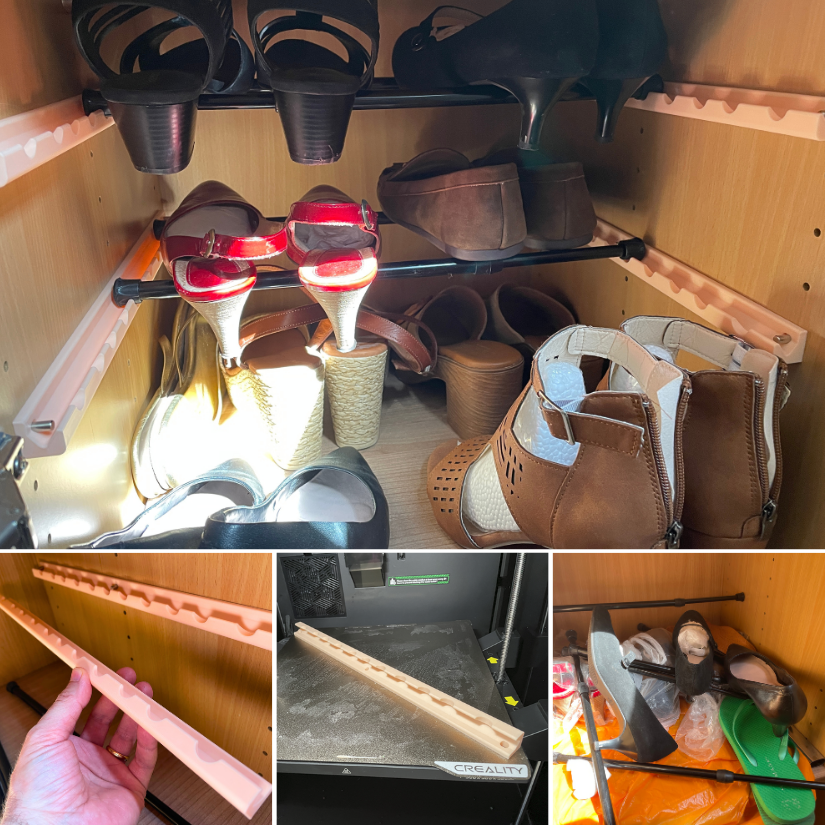
10 years of playing with 3D printers, and I still get a kick out of fixing something around the house 👠 My wife’s shoe rack used telescopic rails that kept falling down, so I quickly designed and printed proper supports.