All Activity
- Today
-
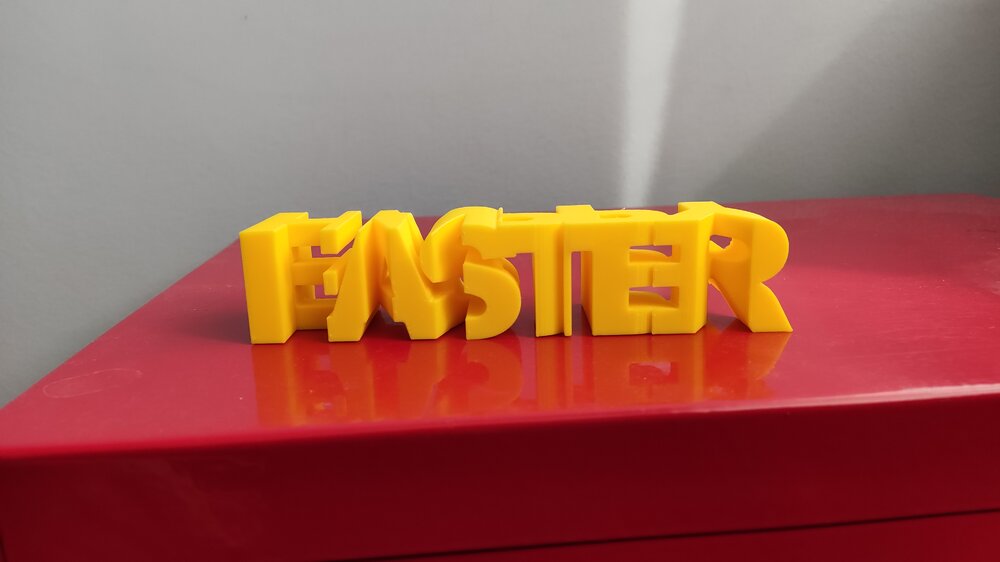
 Thank you very much for your really kind words and support. I sincerely appreciate it. I am really happy to hear the tutorial was easy to follow, and I hope it helps you design your own text-flips. Your print and photos are great, and I am really sorry about the supports; they are unfortunately a byproduct of this type of design and this model especially.
 - Yesterday
-
 Really cool! The tutorial is great as well and easy to follow. I downloaded one of your models to try it out. It came out great. The supports were a little bit inconvenient to remove, but i managed. Thanks!
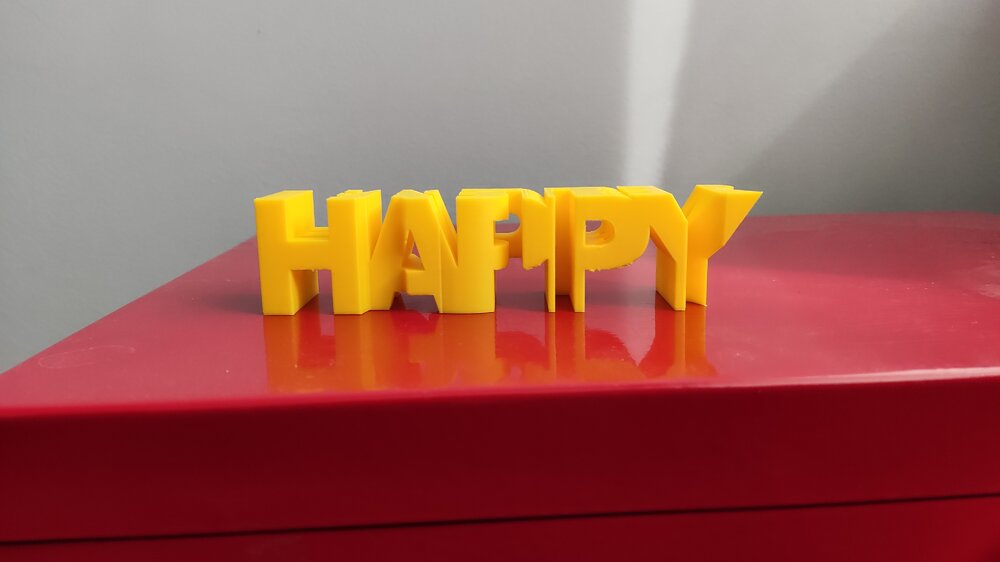
-
 Hi Henry, thank you for sharing your experience. That does sound frustrating, especially with both assembly issues and the broken acrylic part. I will ask my EiBOS contact about it and see whether a replacement part or another solution is available.
 - Last week
-
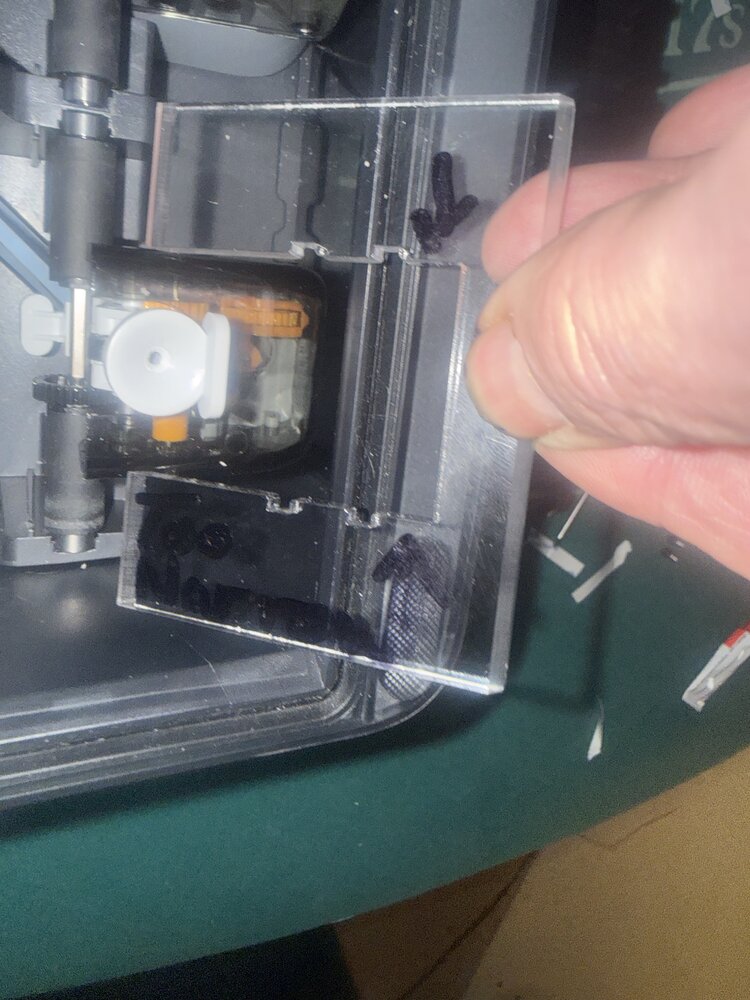
 I tried assembling my exciting new purchase, a Series X Tetras filament dryer . It is an upgrade kit for my AMS 2 Pro that came with my bamboo H2 C printer. It allows individual temperature settings for each of the four spool bays and is compatible with in-use conditions so you can print and dry with four different spools simultaneously! However, I am stymied at two different points in the assembly and product integration with my existing bamboo AMS. The first issue, which is more of an annoyance than a showstopper, there are four new pedestal feet that mount to the underside of my existing AMS 2 Pro. There are supposed to be pre-existing mounting holes in the bottom of the unit to attach these feet onto. I sent in a service ticket to bamboo labs about the lack of mounting holes. They were surprisingly aloof and acted like they had never heard of the AMS two pro upgrade kit by EIBOS. Again,Not a big deal, but irritating. The real showstopper is the internal integration of the upgrade kit into the main body of the AMS two pro. There are four rough, poorly machined clear acrylic baffles that mount in back of the filament guide entrance, call the filament pedestal. a black plastic bracket snaps into it from the front side of the filament pedestals. This step has two flaws. The thin acrylic baffles which you would normally injection mold were shaped by machining. A large slot nearly bisects the acrylic baffle, and where the slot ends was left completely sharp, no attempt at a fillet or radius at the deep end of the slot. Acrylic is very brittle and so they created a stress concentration point that makes the part maybe 1/4 as strong as it would be if they had a radius at the bottom of the slot. one of the four parts broke exactly at that location, because both the acrylic baffle, and the black plastic shroud that attaches to it won't fit around the filament pedestal, as it's about 1 mm wider than the parts they supplied. All in all I'm quite disappointed that I've had both of these issues coupled with cheap manufacturing and additionally I've not heard back from their customer service regarding the issues. It will be sent back tomorrow if I don't hear from them. I really wanted this system to work like the enthusiastic reviews that I read. Has anybody else had assembly and integration issues like this?
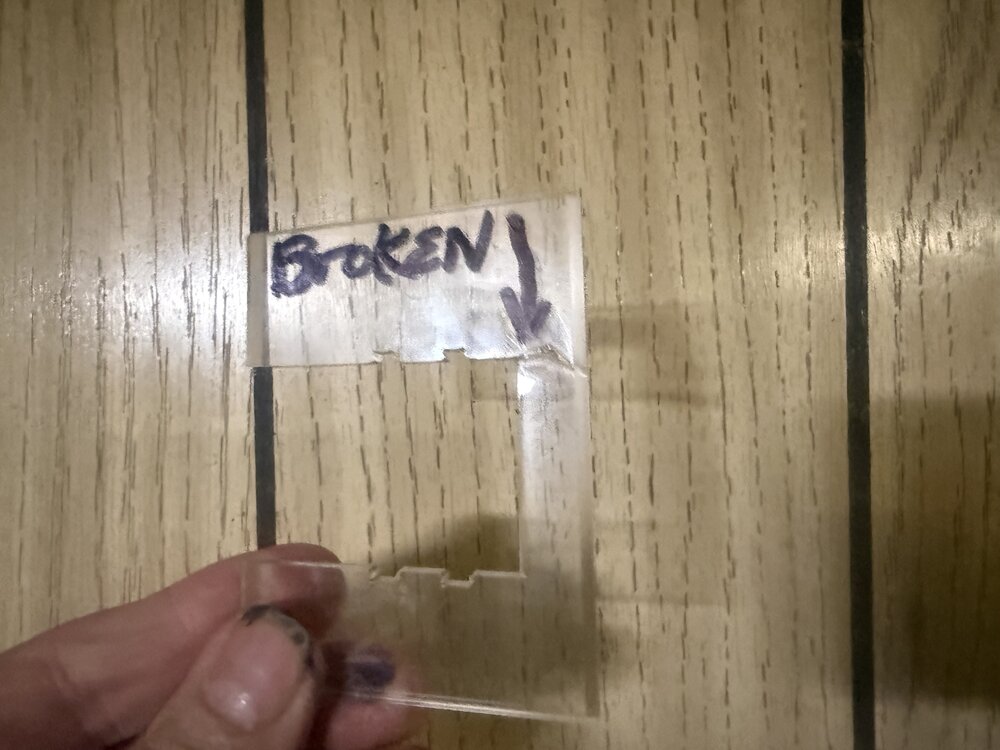

-
HenryF joined the community
-
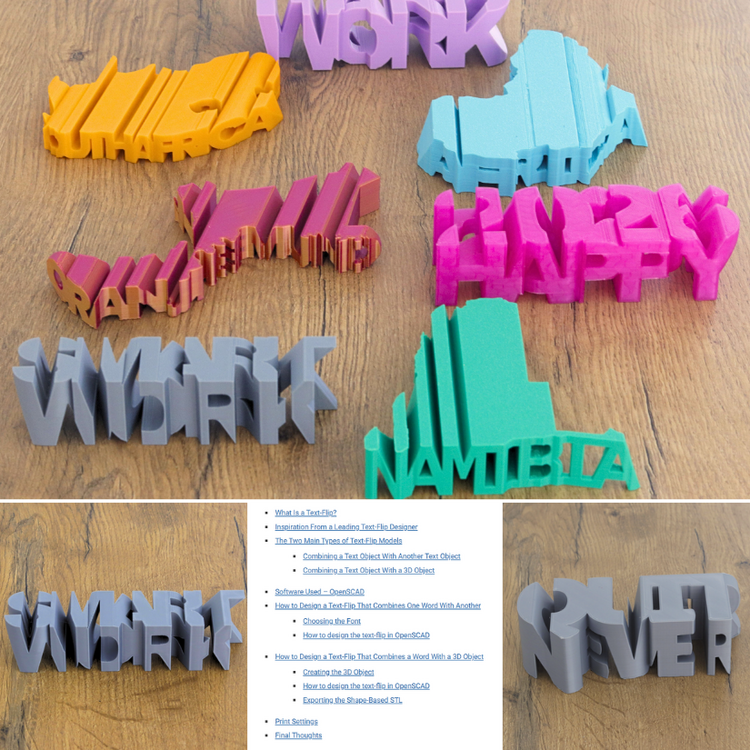
Learn more about Text-Flips and how to design them. https://3dwithus.com/text-flips-how-to-design-and-3d-print-your-own If you printed or designed text-flips, do not hesitate to share them with us here or in a new thread.
- Earlier
-
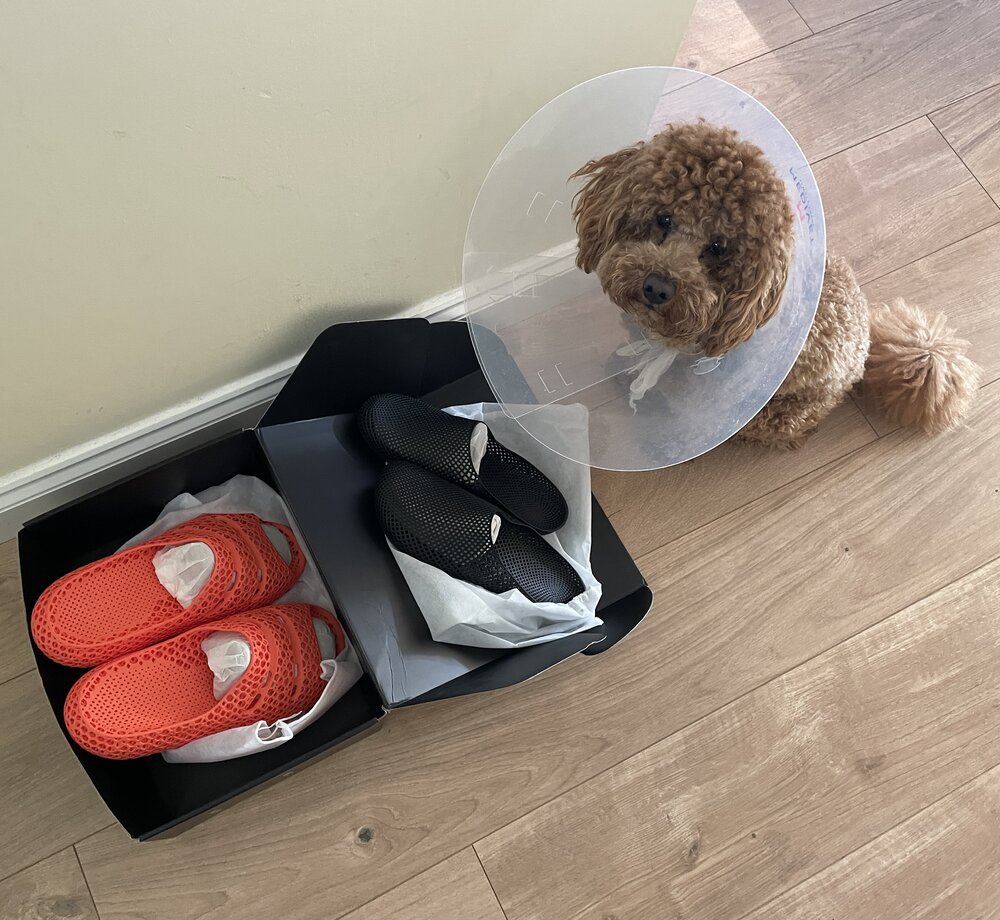
New PollyFab 3D printed shoes just arrived. Unfortunately, our Chief Inspector Teddy is currently on light duty after surgery… but still insisted on supervising the unboxing 🐶 These are Airpuff One Pro (Orange) and Airpuff One.

-
Thanks! Great work, the way you aligned the music is spot on. I wish you were on socials, I would tag you there too 🙂 Really appreciate you sharing this, I am sure SUNLU (and Anycubic) will love it. You can now find your video across the 3DWithUs socials. Here is the YouTube Short as an example:
-
 Rylan joined the community
 -
Yes, it is a native, Kobra S1 time-lapse video. The inbuilt camera is not the best in terms of quality, but speeding up the timelapse (30s -> 5s) makes it look a little bit better (Also cut it to match the 9:16 aspect ratio of my phone). I didn't share it on socials, so feel free to do so if you like :)
-
Nice video. Time-lapse is very clean. Is it an Anycubic Kobra S1 native time-lapse video? Did you share this video on socials? Can I share it on 3DWithUs (https://linktr.ee/3DWithUs) social media channels?
-
Made another vase as well. I wanted to use this video for a giveaway submission, but later realised it needs easter themed designs. So i edited it a little and I am uploading it here. 0315.mp4 Sources: 3D Model: Scaled to 250mm tall (Only Z-Axis Scale) Filament: SUNLU dual-color Orange+Red Matte Video Editor Background Music Thank you again SUNLU and 3DWithUs!
-
The dual color indeed looks cool! Printed some pen holders with it. The models are not mine: https://www.printables.com/model/108872-pen-holder https://www.printables.com/model/198641-hex-vase-cup

-
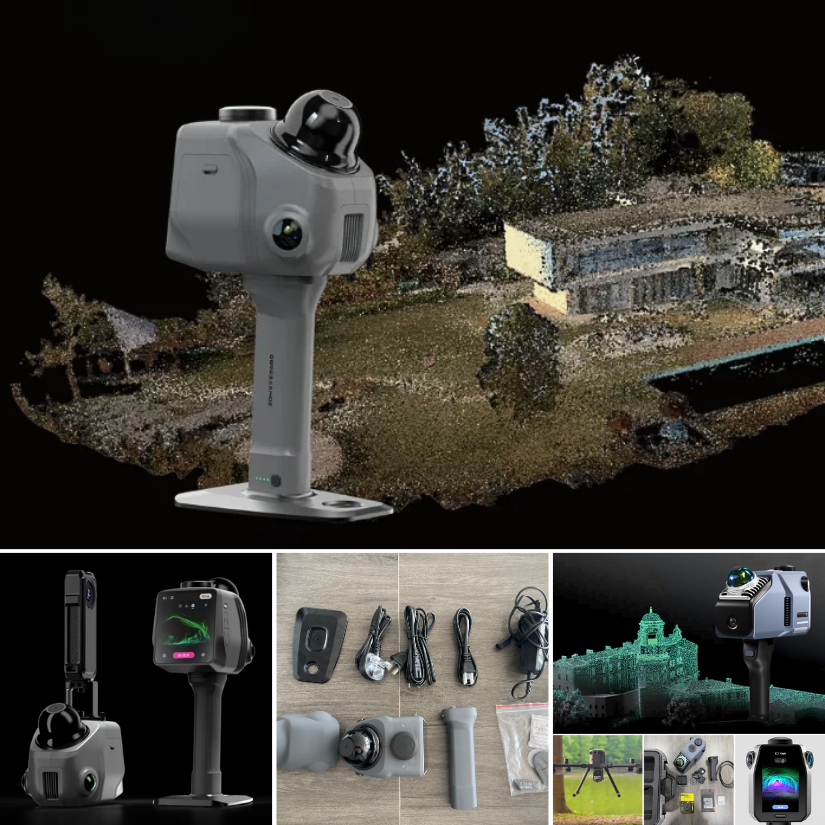
3DMakerpro just launched the Raven LiDAR spatial 3D scanner. Budget version of Eagle or something more? https://3dwithus.com/3dmakerpro-new-3d-scanners Interesting to see LiDAR spatial scanning technology becoming more accessible.

-
Interesting question. Let me check with my Elegoo contact about the silicone nozzle wipers for the Centauri Carbon 2 Combo, and I’ll get back to you shortly. In the meantime, please let us know here if you happen to find a compatible source or solution.
-
 Anyone knows where to buy the silicone nozzle wipers for the ECC2 ? The ones for the Centauri Carbon are not compatible... Thanks!
 -
TonyB joined the community
-
 PhiLho joined the community
 -
 Alongside with this hands-on review, I also recorded a detailed video showing the JAYO FilaDryer J1 setup, drying process, and real-world testing with filament prints. The video gives a closer look at the unit’s design, controls, and how it performs during everyday use.
 -
Will do! I just already have too many filaments opened up and waiting to be used. I am still waiting for some reusuable vacuum bags to arrive, so i can store them efficiently after printing.
-
Love dual color filaments ♥️ You'd better print something. Not sure how SUNLU feels about it 😅
-
Giveaway filament arrived!I got: Refill PLA+ Red Matte Dual-Color Orange-Red Thanks you SUNLU and 3DWithUs! (I am starting to run out of storage space :D)

-
 pinkhape joined the community
 -
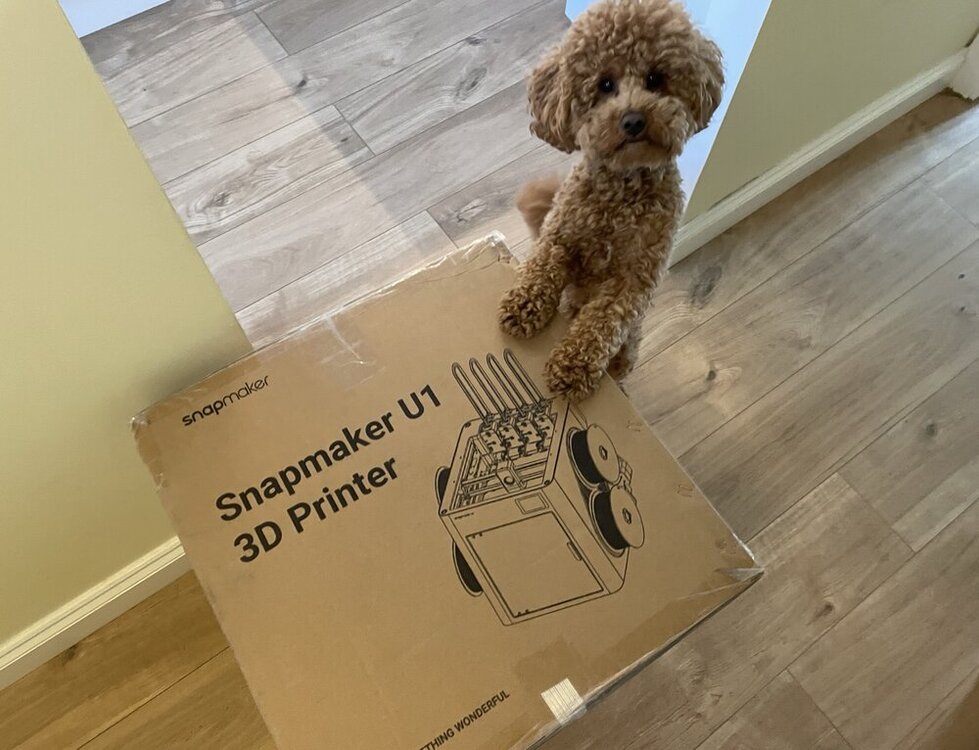
It’s here. Snapmaker U1 has officially landed. Chief Inspector Teddy 🐾 has already approved the delivery. Setup and testing coming soon.
-
 Congratulations! 🎉 This thread won 2 filament spools in the Contribute to Win - February 2026 giveaway. We will contact you shortly to arrange the delivery of two SUNLU filament spools. Giveaway Rules: https://3dwithus.com/forum/topic/973-contribute-to-win-monthly-giveaway
-
Congratulations! 🎉 This thread won 2 filament spools in the Contribute to Win - February 2026 giveaway. We will contact you shortly to arrange the delivery of two SUNLU filament spools. Giveaway Rules: https://3dwithus.com/forum/topic/973-contribute-to-win-monthly-giveaway
-
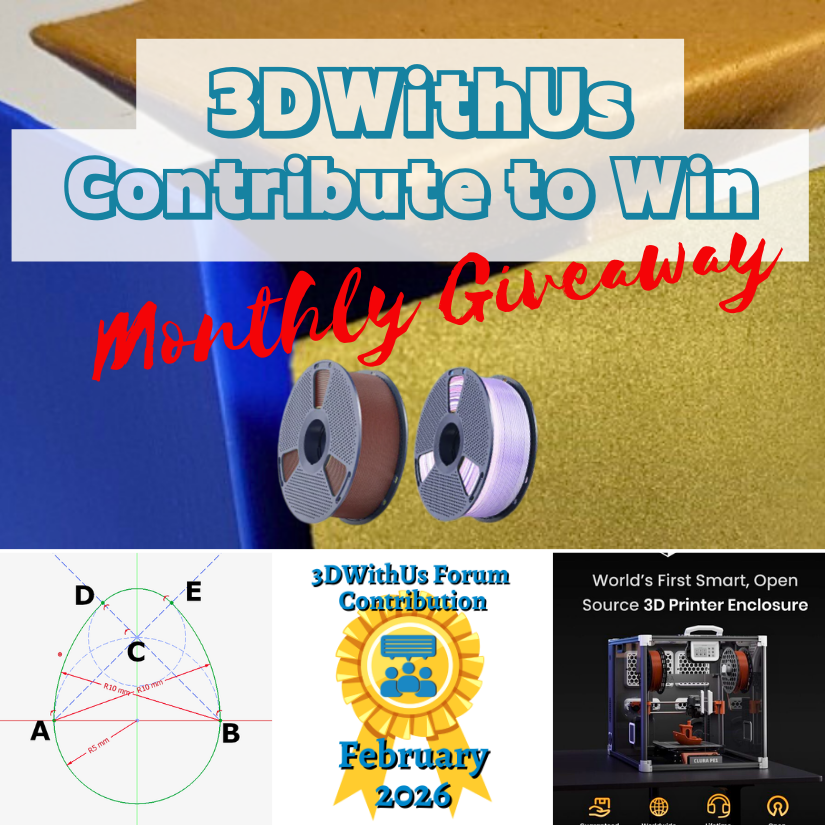
🎉 February Giveaway Completed — March Giveaway Is On The Way! Huge thanks to our forum supporters! We're excited to award our filament prize to forum contributors 🙌 🏆 Winning contributions: Smart Enclosure with Air Filtration & Filament Tracking: https://3dwithus.com/forum/topic/998-we-built-a-fully-open-source-smart-enclosure-with-air-filtration-filament-tracking-now-live-on-kickstarter/ How to sketch/draw an egg: https://3dwithus.com/forum/topic/999-how-to-sketchdraw-an-egg-tutorial Four SUNLU filament spools are now on their way 🎁 What's Next✅ The February giveaway is live ✅ 2 × SUNLU filament spools will be awarded (Best Post and/or Best Comment) ✅ All helpful & creative contributions count Share your projects, tips, questions, fails & wins. Every contribution helps grow the community and puts you in the running. If you were considering posting but haven’t jumped in yet, this is the perfect time to start. Sign Up Here https://3dwithus.com/forum/register/

-
Update: It is probably an anti-record, as I have been building this since April 2025, but there has been some progress. Electronics left 😅 Update: First test of the freshly built DeathRacer. Finally running in the wild. The gears need a little fine-tuning, but I’m very pleased with the result. Getting ready for @SamPrentice’s DeathRacers show at @The_SMF_ #SMRRF #3DPrinting DeathRacer 3DWithUs 720.mp4 Update: Just in case my DeathRacer gets destroyed 😬 at #SMRRF, I decided to preserve it in 3D. Maybe even as a keychain. Einstar Rockit did a great job.
-
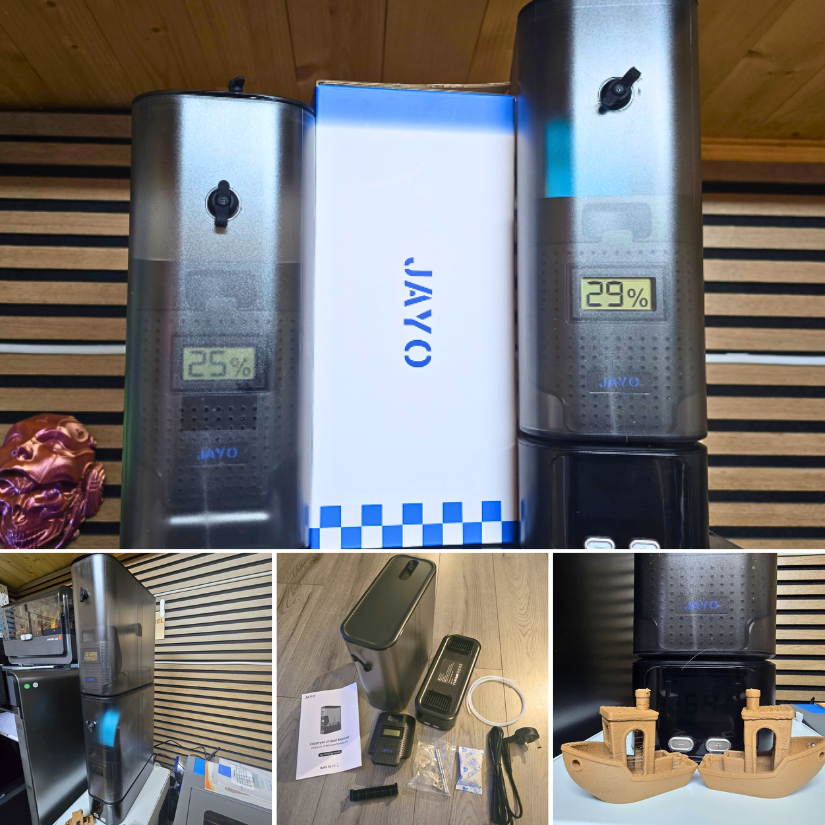
JAYO sent us the FilaDryer J1 to test. As usual, we thoroughly tested it by printing Benchy in WOOD PLA blend. Here is my detailed review, and my YouTube video is coming soon. https://3dwithus.com/jayo-filadryer-j1-filament-dryer-review Please comment here if you have any questions or want to showcase specific setups and mods.

-
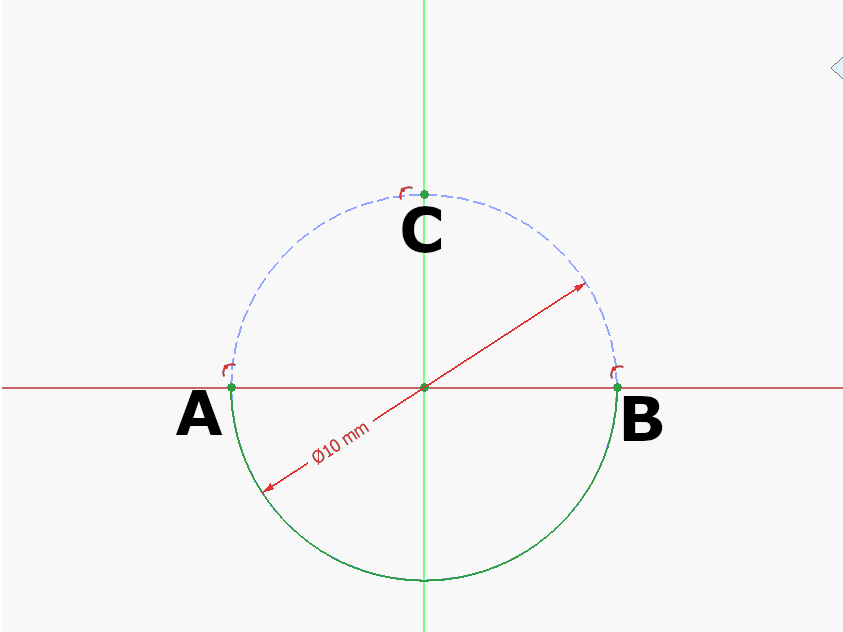
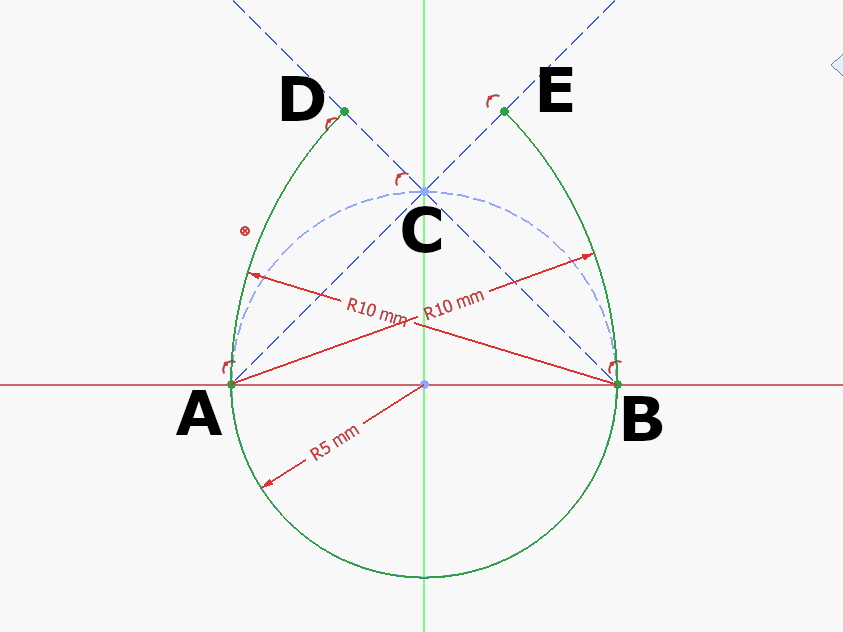
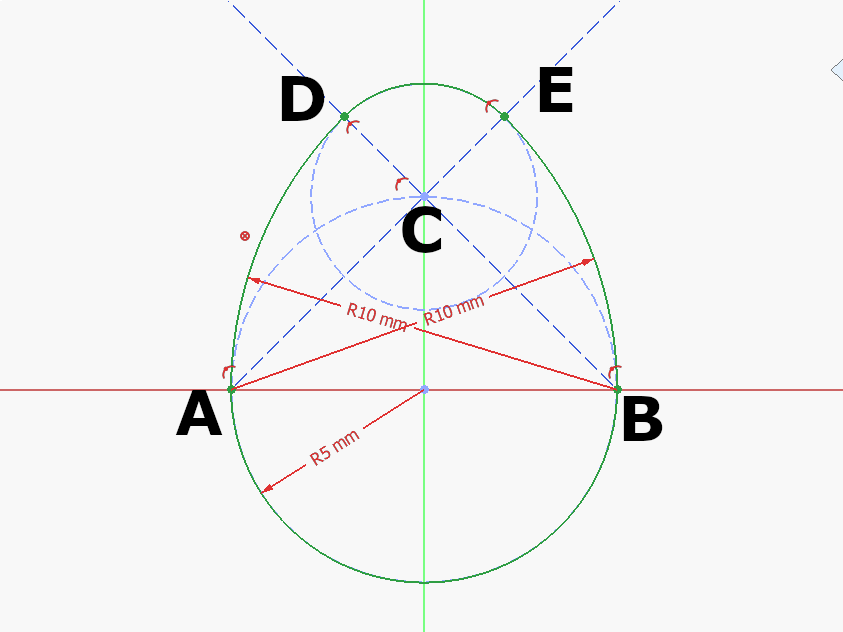
Step 1: Draw a construction circle at the Origin. Mark A, B, C where the circle meets the Y and Z Axis as seen above. Draw the half circle at the origin between A and B. Step 2: Draw a construction circle at the Origin. Mark A, B, C where the circle meets the Y and Z Axis as seen above. Draw the half circle at the origin between A and B. Step 3: Draw an arc centered at C between D-E: 🥚 Good job!The full tutorial project is available at Printables with the finished 3d model and FreeCAD file: https://www.printables.com/model/1615557-egg-tutorial-model