
Max Funkner
Members
-
Joined
-
Last visited
-
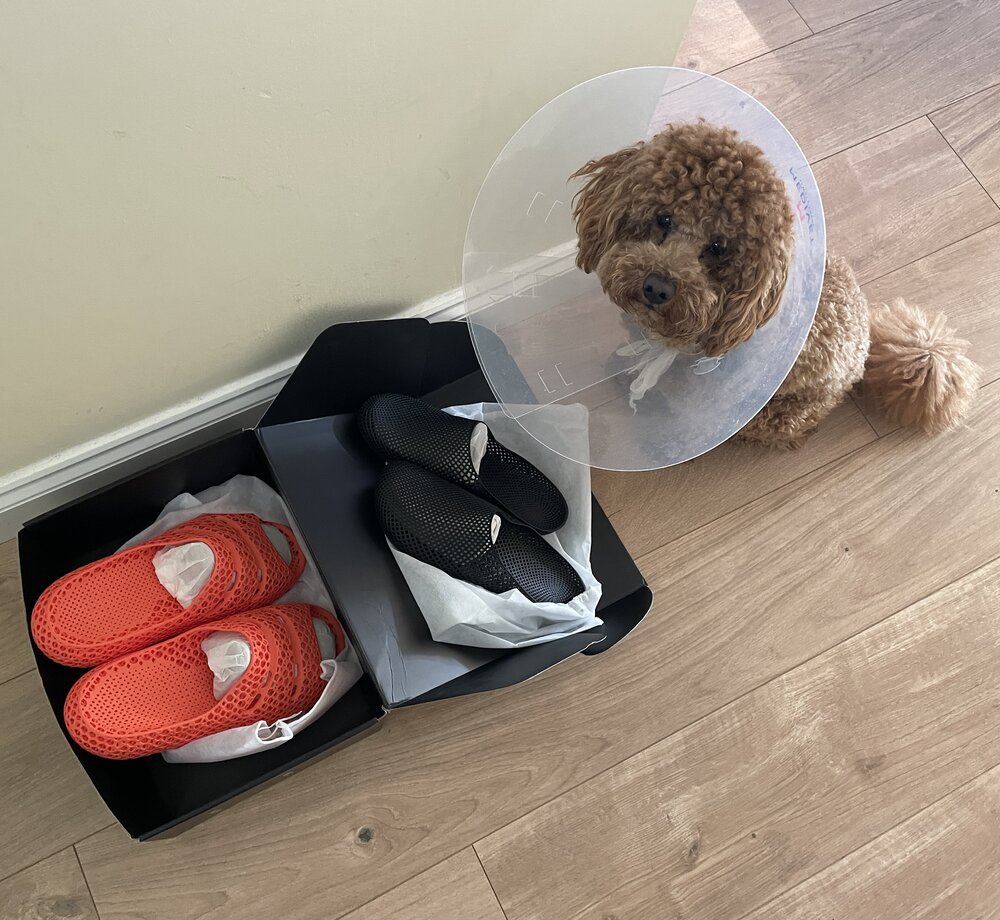
 New PollyFab 3D printed shoes just arrived. Unfortunately, our Chief Inspector Teddy is currently on light duty after surgery… but still insisted on supervising the unboxing 🐶 These are Airpuff One Pro (Orange) and Airpuff One.
-
Thanks! Great work, the way you aligned the music is spot on. I wish you were on socials, I would tag you there too 🙂 Really appreciate you sharing this, I am sure SUNLU (and Anycubic) will love it. You can now find your video across the 3DWithUs socials. Here is the YouTube Short as an example:
-
Nice video. Time-lapse is very clean. Is it an Anycubic Kobra S1 native time-lapse video? Did you share this video on socials? Can I share it on 3DWithUs (https://linktr.ee/3DWithUs) social media channels?
-
3DMakerpro just launched the Raven LiDAR spatial 3D scanner. Budget version of Eagle or something more? https://3dwithus.com/3dmakerpro-new-3d-scanners Interesting to see LiDAR spatial scanning technology becoming more accessible.

-
Interesting question. Let me check with my Elegoo contact about the silicone nozzle wipers for the Centauri Carbon 2 Combo, and I’ll get back to you shortly. In the meantime, please let us know here if you happen to find a compatible source or solution.
-
Love dual color filaments ♥️ You'd better print something. Not sure how SUNLU feels about it 😅
-
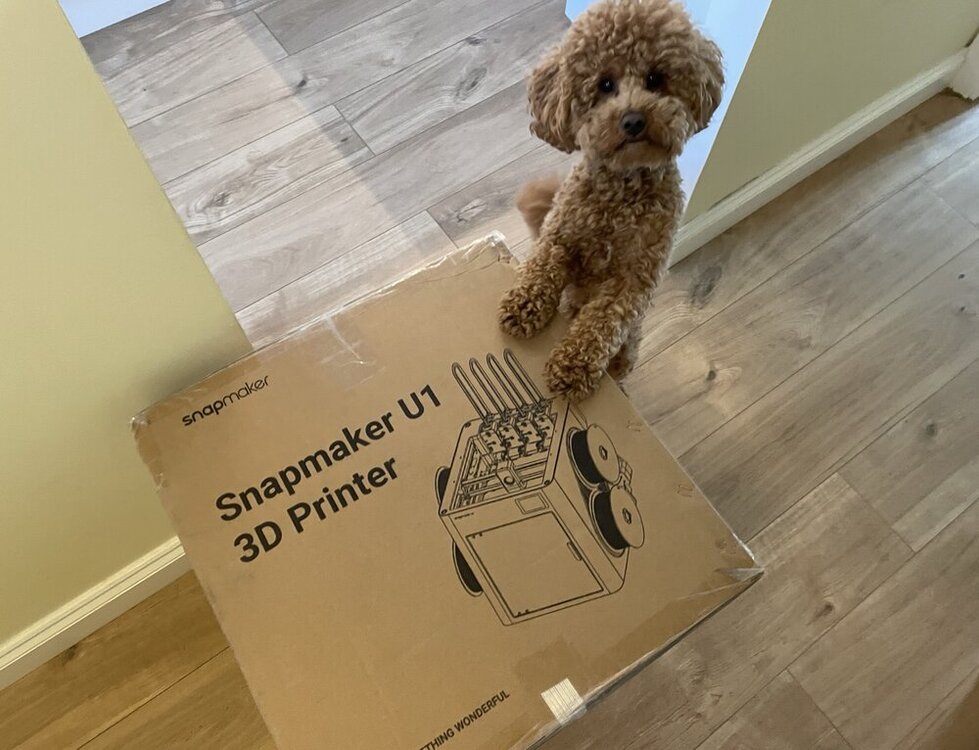
It’s here. Snapmaker U1 has officially landed. Chief Inspector Teddy 🐾 has already approved the delivery. Setup and testing coming soon.
-
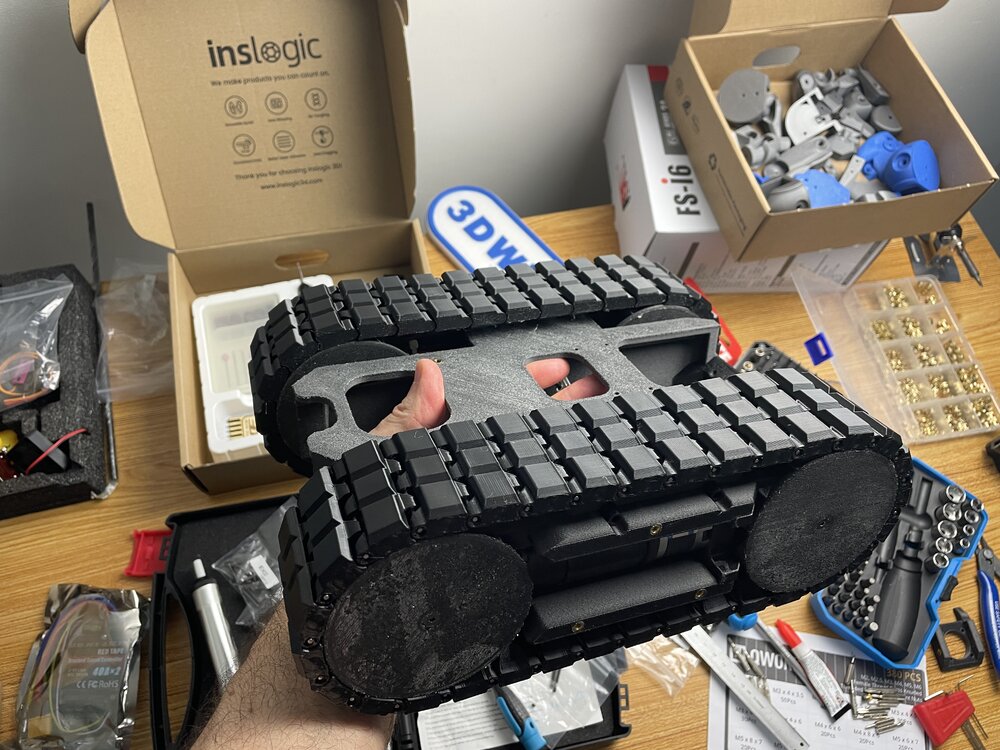
Update: It is probably an anti-record, as I have been building this since April 2025, but there has been some progress. Electronics left 😅 Update: First test of the freshly built DeathRacer. Finally running in the wild. The gears need a little fine-tuning, but I’m very pleased with the result. Getting ready for @SamPrentice’s DeathRacers show at @The_SMF_ #SMRRF #3DPrinting DeathRacer 3DWithUs 720.mp4 Update: Just in case my DeathRacer gets destroyed 😬 at #SMRRF, I decided to preserve it in 3D. Maybe even as a keychain. Einstar Rockit did a great job.
-
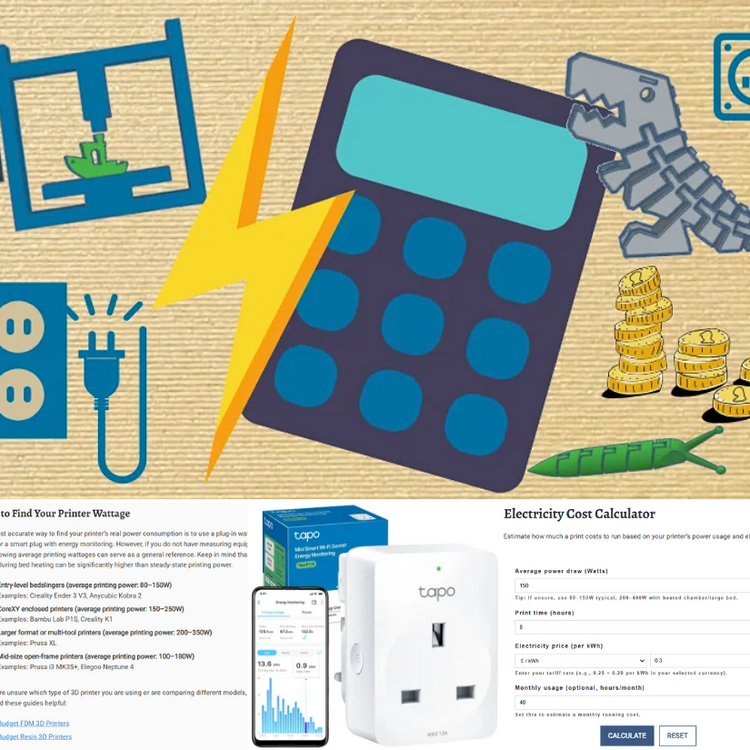
This online calculator will help you estimate the costs involved in creating a 3D-printed object, taking various factors into account. 💰 https://3dwithus.com/3d-print-cost-calculator If you need to justify your 3D printing hobby at home, here’s a handy electricity cost calculator 😉 Spoiler: it doesn’t use as much power as you might think. For UK folks, it’s even more reasonable. ⚡https://3dwithus.com/3d-printer-electricity-cost-calculator We will be getting more handy tools to fill our Interactive Tools & Calculators category. Any requests? Do you have interesting examples of 3D printing costs? Share them here.
-
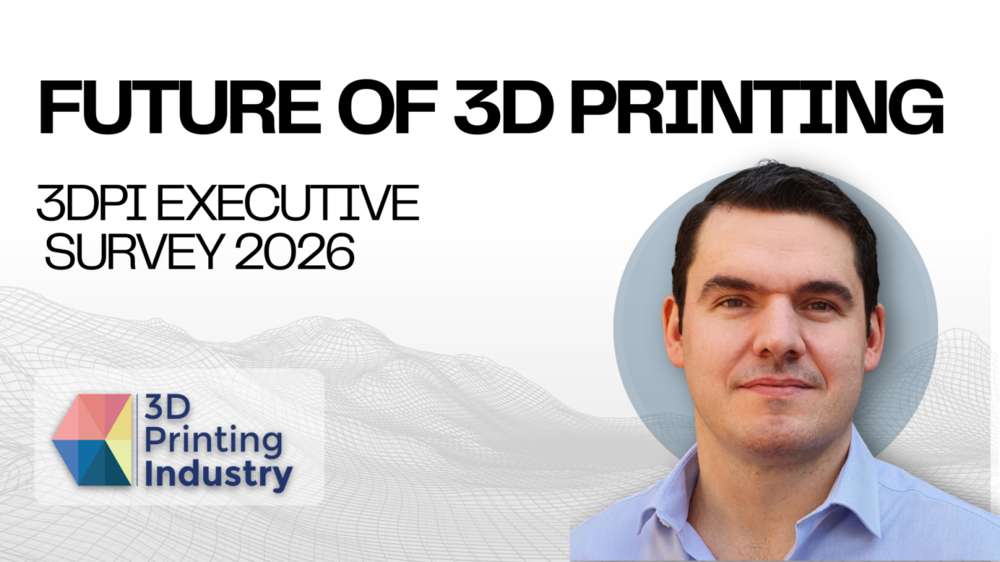
The 2nd 3DPI Executive Survey 2026: What does 3D printing look like in 2036? In addition to the 2026 forecast, I also shared my 5–10 year outlook on where personal 3D printing may be heading by 2036: As we have already witnessed, investor confidence and substantial funding are flowing into Chinese personal 3D printing companies, and the next five to ten years will likely reveal the full impact of these investments. This may translate into faster innovation cycles. The scale of current investment suggests that long-term structural shifts in the personal 3D printing market are inevitable. As a similar shift has already happened in the 3D scanning industry, where industrial-grade scanners have gradually become affordable for prosumers, and we are now seeing comparable trends in 3D printing, with industrial technologies such as SLS moving toward more compact, desktop-scale systems. AI is also expected to play a much more practical role in everyday 3D printing workflows. In particular, slicer software will become significantly easier to use, with AI-driven systems actively preventing common user errors. For the personal market, automated error avoidance, smarter material handling, and predictive adjustments are likely to become the norm rather than premium features, lowering the barrier to reliable printing. Full article with other industry voices: https://3dprintingindustry.com/news/the-future-of-3d-printing-the-end-of-additive-manufacturing-249099/
-
I was invited to contribute to the 3D Printing Industry 2026 Executive Survey. Based on what I see daily in the personal and prosumer market, here is my perspective on where 3D printing is heading: AI generators made a noticeable leap last year, and in 2026, this trend will continue with further optimization and wider adoption. What is especially interesting is how quickly chat-based AI tools are starting to generate simple, printable 3D models. While still basic, these tools are already lowering the barrier to entry, and in 2026 we will see more users actively relying on AI not just for ideas, but for producing usable starting points for 3D printing. Another trend that will clearly carry over into 2026 is the success of tool-changer systems in the personal and prosumer 3D printing segment. What proved itself in 2025 will not be ignored by the wider market. More brands are expected to introduce their own versions, as the benefits are difficult to overlook: significant material waste reduction, faster multi-material workflows. Finally, toward the end of 2025, we saw increasing investor confidence and substantial funding flowing into Chinese personal 3D printing companies. While 2026 may still be too early to judge the full impact, it is reasonable to expect the first results of this investment. It can be seen as faster product iteration, tighter hardware-software integration, or more aggressive market expansion. Full article with other industry voices: https://3dprintingindustry.com/news/the-future-of-3d-printing-additive-manufacturing-expert-forecasts-for-2026-249050/ Thank you, Michael Petch, Oscar Milani Gallieni, and Nick Stent, for organizing this again.
-
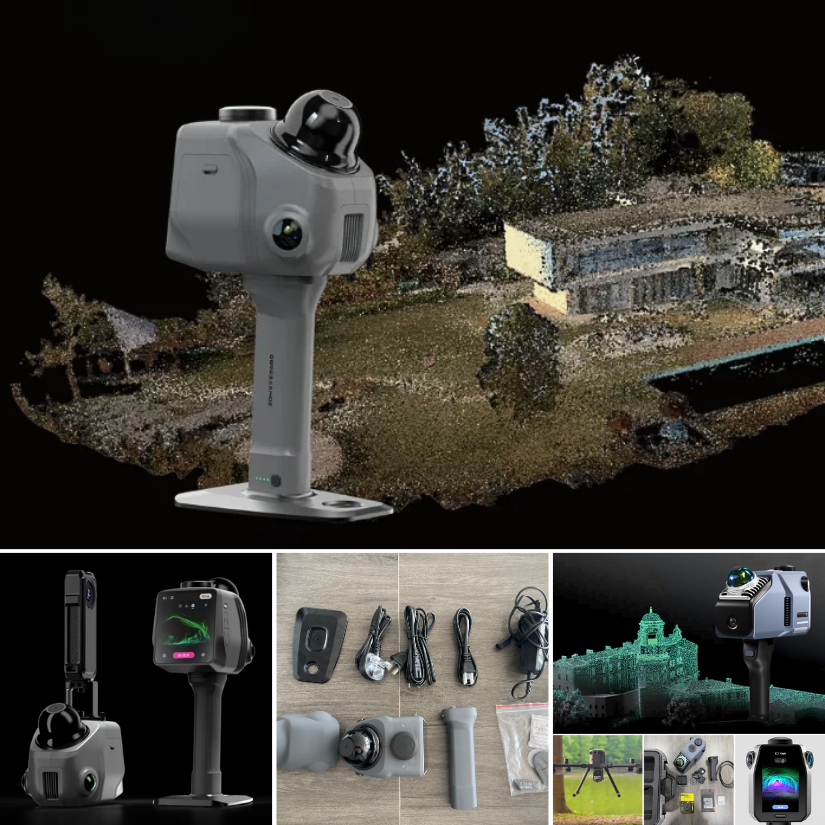
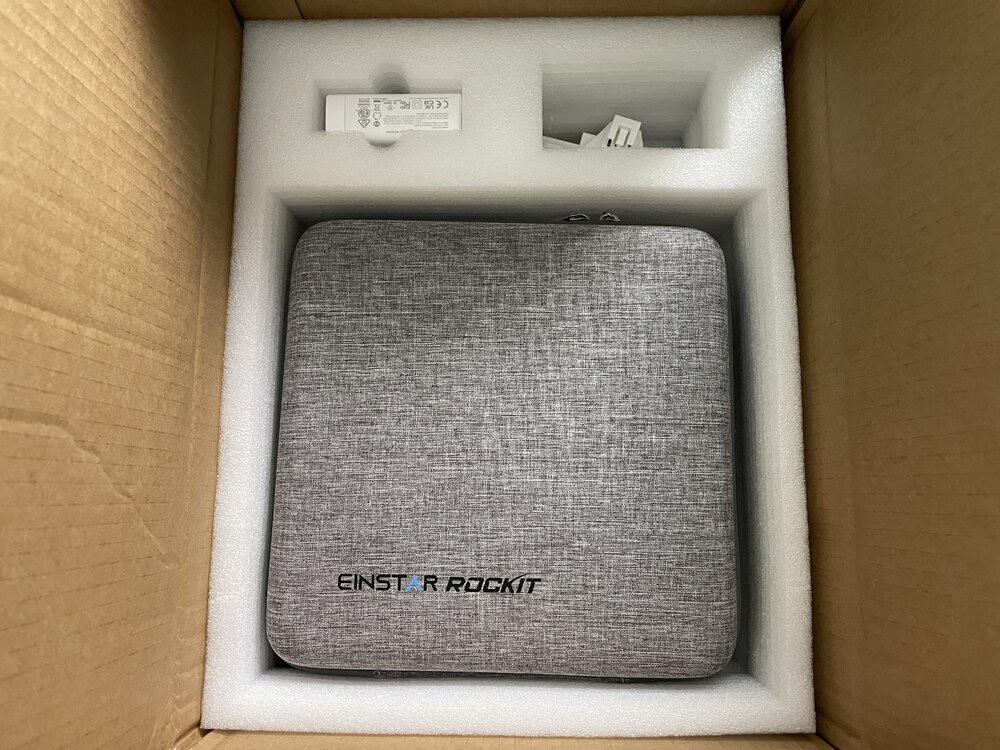
I will be doing hands-on testing of EINSTAR Rockit soon. Here are the first images: If you have any questions or want me to scan anything specific, please let me know.

-
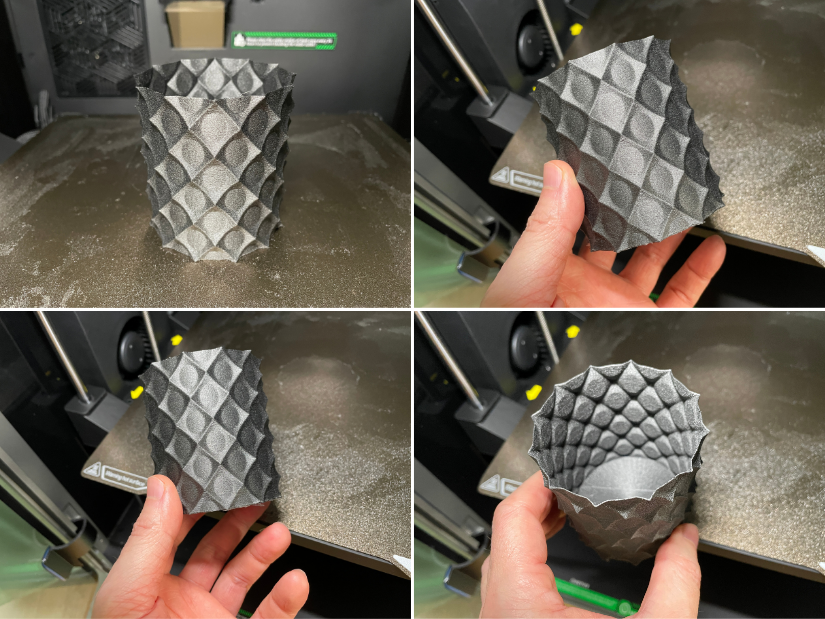
Here is one of the models, 3D printed on Creality K2 Pro in engineering-grade material PA12-CF. Looks nice, and the finish resembles popular galaxy composite filaments. This Anti Sphere - looks great. This is the default size. For functionality, I would print it bigger and with a larger nozzle.
-
Less than one month to go until SMRRF 2026 in Manchester. I hope the most challenging part is done. Wish me luck! Apart from downloading files and a guide from Printables I used a few good videos to help me with my process: https://www.printables.com/model/1134616-piranha-death-racer The DeathRacers Builders Group on Facebook was immediately helpful, answering my questions: https://www.facebook.com/share/g/1Zekw3spkx/?mibextid=wwXIfr
-
Thanks! Yes, I tried a few mobile scanning applications in the past and wrote detailed guides featuring them. Here is the main thing to consider. Mobile LiDAR scanning (on phones/tablets) may not be that precise. Photogrammetry/Object Capture can be OK, but the workflow includes uploading files to the cloud, which may be a limitation for privacy, turnaround time, or frequent re-scans and refinements. 3D scanners offer a range of workflow solutions and greater precision. Stone Pillar 3D Scan Taken by Polycam: LiDAR Texture and Mesh vs Photo Mode Texture and Mesh Here is Andrew Sink's "The Best 3D Scanning Apps" would be a good guide to explore. LiDAR and Photogrammetry, Object Capture features offered by such apps can be enough for casual scanning for a 3D printing workflow.