

Creality MakeNow CubeMe 2D to 3D Generator Results

Featured Replies
Topics
-
I reached 10,000 downloads on Printables and I wanted to say thank you to everyone who supported me and my models! Moreover, I wanted to share a few things about my journey and what comes next. I started making and uploading 3D models in October 2025. I made my first designs in TinkerCAD and Blender. Then I discovered FreeCAD, and I have been using it ever since. I have been designing all kinds of decorative, functional and miscellaneous things with them. I have also been taking part in contests
-
3DWithUs offers advertising and sponsored content options for 3D printing, 3D scanning, maker-tech, and related niche brands. https://3dwithus.com/advertise We also now offer consultancy services for companies looking for strategic support rather than direct advertising. Consultancy can be useful for brands that want help with technical content, contributor-led publishing, website and social media strategy, community-building ideas, or improving their reputation within the niche. More details ca
-
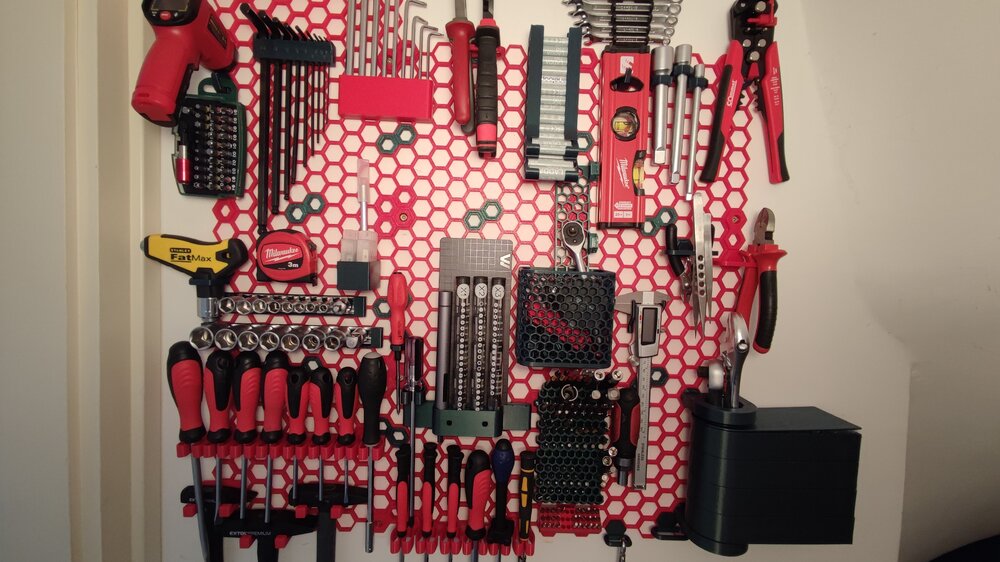
This was my very first time trying out PETG to print something that needs to be more durable than PLA. I suggested this Honeycomb Storage Wall project to my father and we aggreed to try it out with PETG. It went much easier than excpected. A little bit of stringing here and there, but the final result was good and worth it. Now we are thinking of printing another one for the garage wall as well :D I used CR-PETG for the red parts. Green one is from 3dk.berlin. After i ran out of both I started t
-
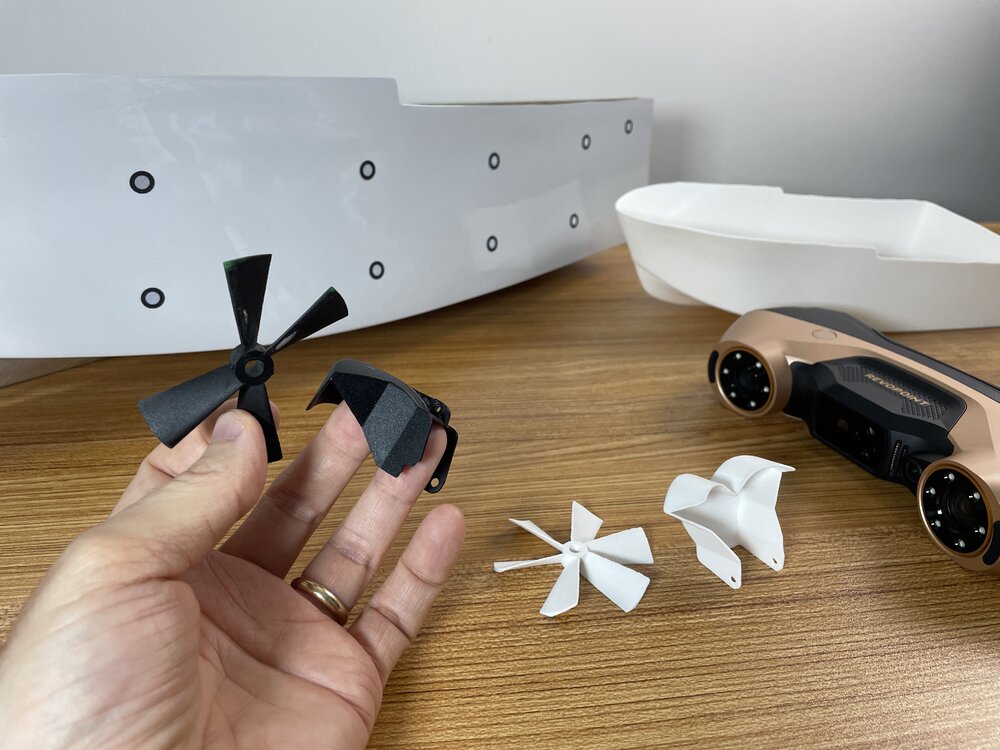
I had a blast 3D scanning and repairing RC boat parts with the @Revopoint3d MetroY Ultra. I think I’ve just unlocked Level 2 of 3D scanning… thanks to a few tricks. 😄 Full article next week.
-
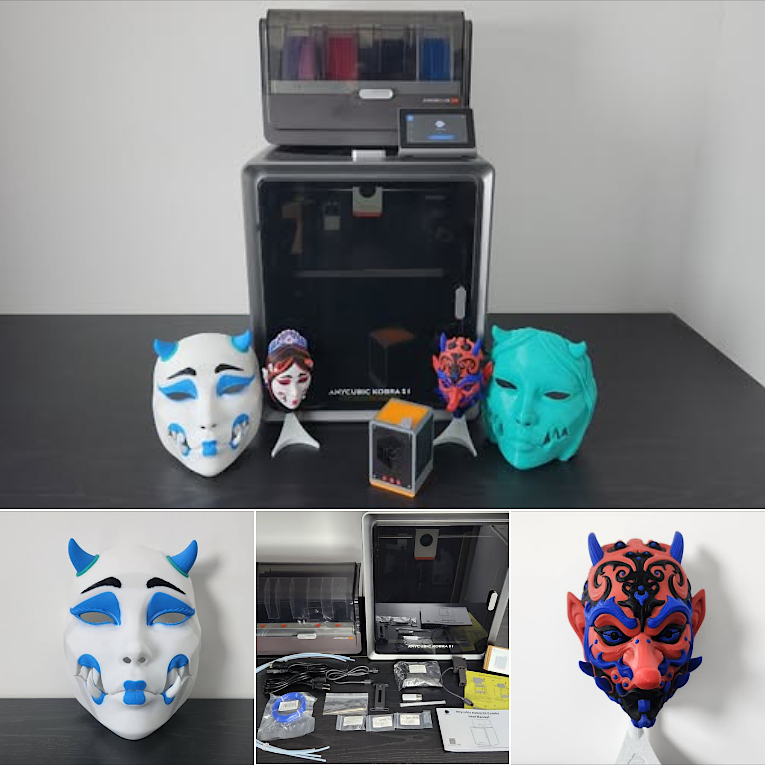
Unboxing, setup, and first prints with the new Anycubic Kobra S1 Combo. From multi-material masks to practical test prints. Featured: Pipe Cox's Masks Have you tried this machine or plan to? Share your own prints, setup experience, or ask a question below! 👉 Full review: https://3dwithus.com/anycubic-kobra-s1-combo-review-3d-printer-tests-tips-and-settings


Join the conversation
You can post now and register later. If you have an account, sign in now to post with your account.