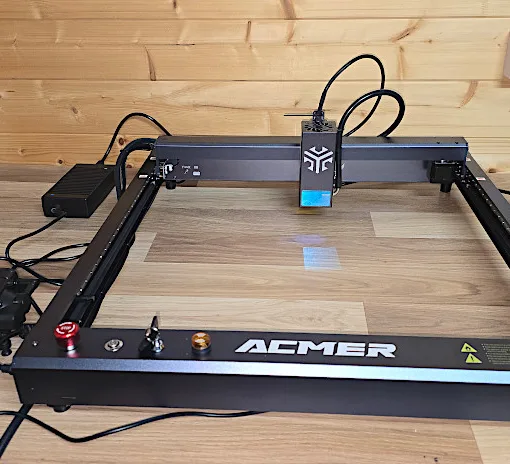
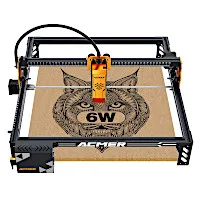
ACMER is quickly becoming a popular company known for producing laser engravers with a variety of models and specifications to meet most needs. The ACMER P1 S Pro 6W is one of their most affordable models on the market. Featuring a 6-watt laser unit, it offers a decent range of applications. This compact laser performed impressively across various materials, handling both engraving and cutting tasks effectively. In this review, I’ve aimed to showcase what this budget-friendly laser can achieve, and its performance certainly did not disappoint. Below, you’ll find images of my laser projects along with a list of pros and cons to help you make an informed decision.
Disclaimer: Laser cutting and engraving may be hazardous if improperly operated. Please make sure to follow the safety guidelines such as wearing eye-protective goggles and using the machine enclosure while operating.
Table Of Contents
- Specifications
- Unboxing and Setup
- Laser Unit Calibration
- Features
- 6-Watt Laser Module
- Tested Materials
- Materials and Supplies
- General Material Settings
- Enclosure and Air Purifier
- Compare to Other 3D Printers
- Conclusion and Pros & Cons
ACMER P1 S PRO 6W Specifications
6W laser output
Full metal structure
10000mm/min engraving speed
380mm x 370 engraving area
0.06 – 0.08 engraving accuracy
0.01 motion accuracy
Compatible with Lightburn, LaserGRBL and ACMER App
Power Supply 24v/3A
WIFI Connect to APP
Connection USB cable and Micro SD card
Price: $177 – $354
Product affiliate links: 3DWithUs is supported by its audience. Purchases via some links may earn us a small commission at no extra cost to you. This helps us to continue bringing you high-quality content. Our guides and reviews remain unbiased and independent.
Unboxing and Setup
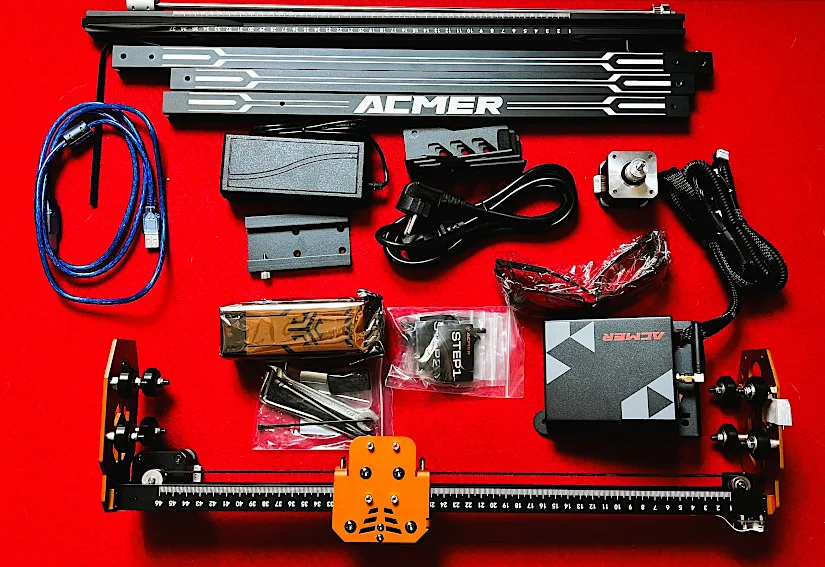
The ACMER P1 S Pro came well-packaged and took about 30 minutes to assemble with easy-to-follow instructions and all the necessary tools included. First, I assembled the frame and the gantry, which all fit together easily; the holes all lined up perfectly. Then, I installed the laser unit and connected the cables.
©3DWithUs – Photo: Richard Hirst
You also need to install LightBurn or LaserGRBL on your PC and the app on your phone. On the USB, there was lots of information and files to get you started, plus a material guide on settings for both cutting and engraving, which I thought was good for people buying their first laser engraver.
Laser Unit Calibration
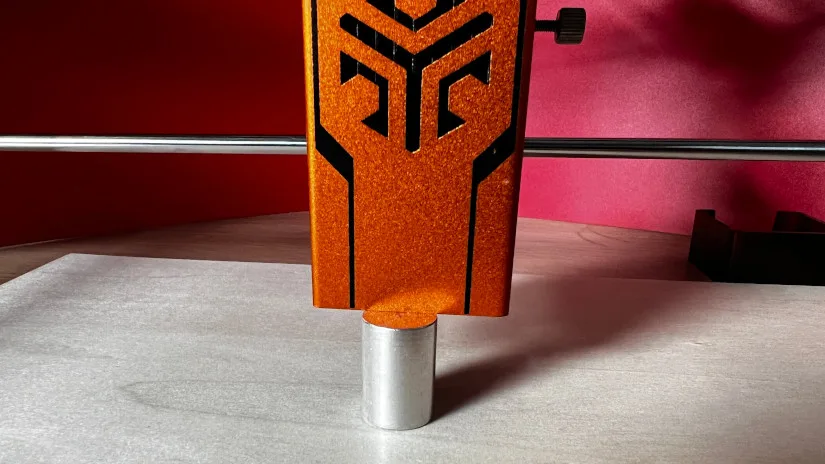
The ACME P1 S Pro laser unit is manually focused using a small metal focusing tool measuring 23mm. First, remove the red plastic laser light cover from the bottom of the laser unit, which is fastened on by magnets. Then, slacken the side bolt on the laser unit to allow the unit to move up and down. Lift it and place the tool under the laser aluminum housing, set it down onto the focusing tool, and tighten the side bolt to lock it in place. Finally, remove the tool and replace the red cover.
©3DWithUs – Photo: Richard Hirst
Features
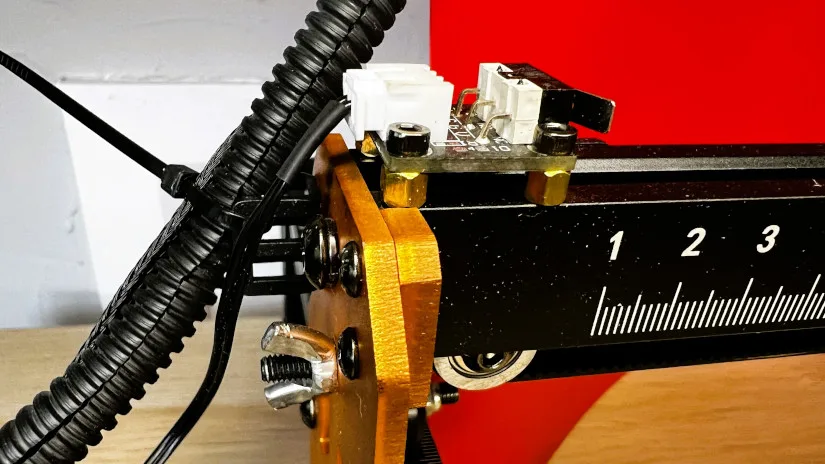
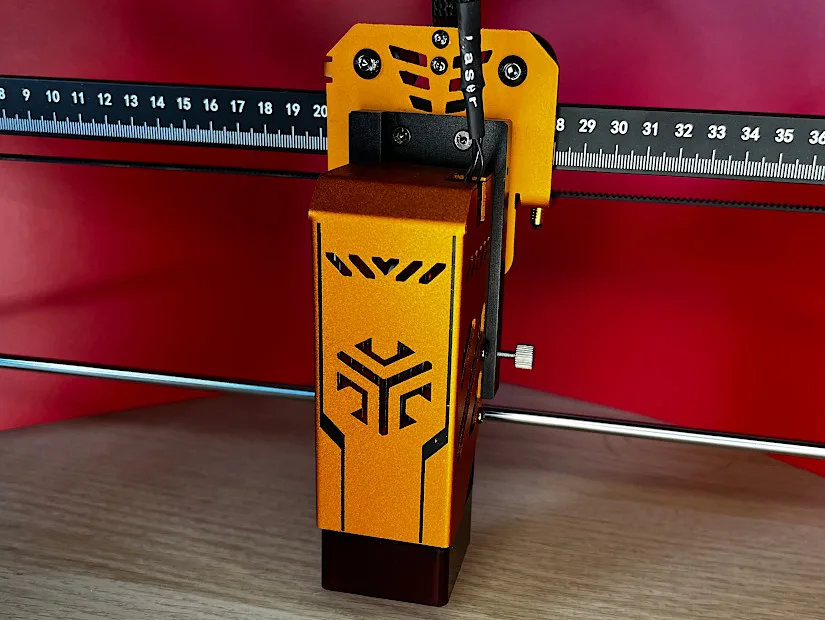
The ACMER P1 PRO has a few nice features. One is the 6-Watt laser unit, which is enclosed in a colored aluminum case featuring the ACMER logo. Next, it comes with two end stops for the X-Y axis, making homing and lining up materials easier.
– Wi-Fi. The unit has Wi-Fi capability for connection to the MKS Laser App, allowing you to control some functions of the laser engraver from your phone.
– Build. It features an all-aluminum frame with some parts anodized in a gold-bronze color, which nicely finishes off the look. Also, on the gantry and left side, there is a scale for setting up the laser on the bed if needed.
6-Watt Laser Module
The ACMER P1 S Pro I reviewed came with the 6-watt laser unit and it did not disappoint; it was capable of detailed engraving and cutting thin materials in one pass. It just shows that a little 6-watt laser unit can perform many of the tasks people want a laser to do at a low wattage.
©3DWithUs – Photo: Richard Hirst
Optionally, 10W, 20W, and IR (Infrared) laser modules for the ACMER P1 series machines can be purchased via the official website.
Tested Materials
In this section, I demonstrate the capabilities of the ACMER P1 Pro by engraving and cutting a variety of materials. I selected slate, wood, and anodized aluminum for engraving, along with thin basswood for cutting. Initially, I was concerned that some materials might be too challenging to engrave and yield satisfactory results. However, after tweaking a few settings and conducting tests, the outcomes were outstanding.
Slate Engraving
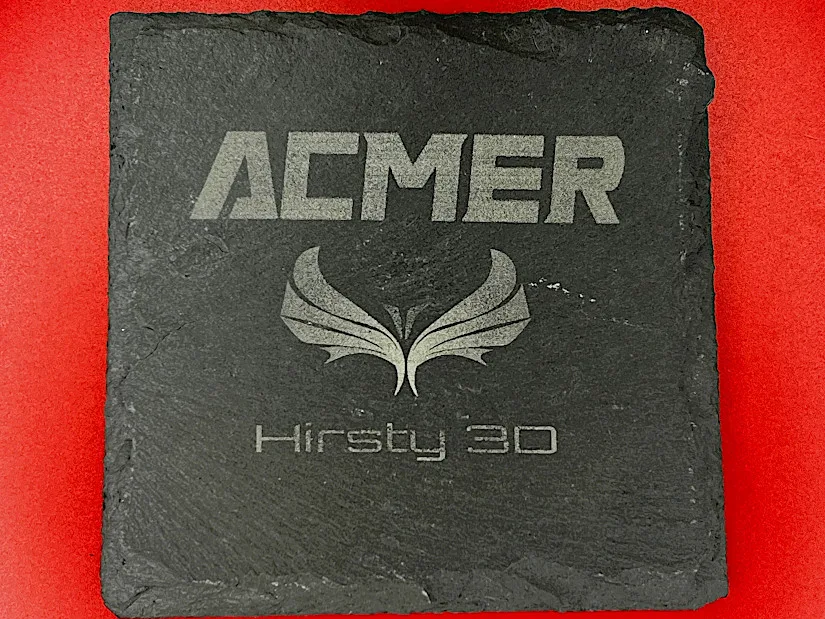
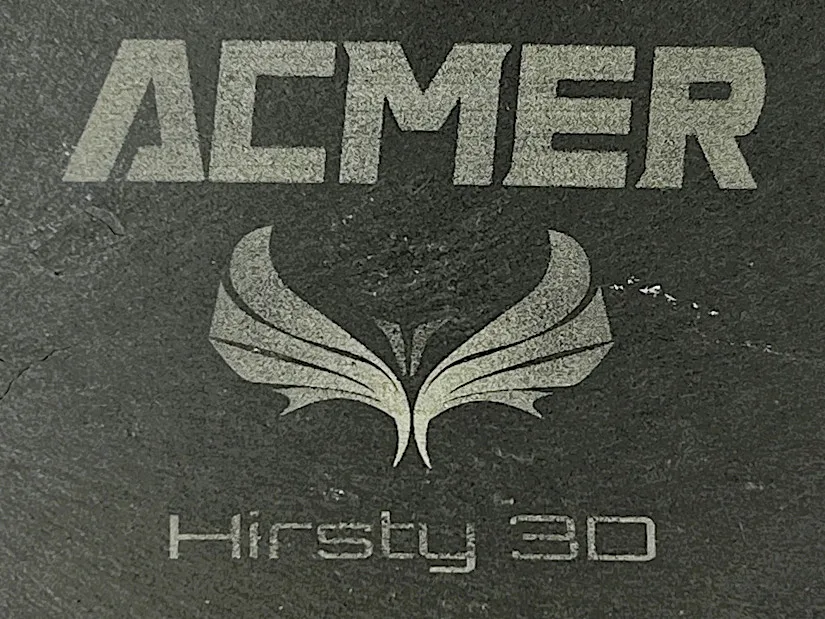
Slate has become a popular material for engraving coasters and signs. Initially, I doubted that the 6-watt ACMER P1 Pro unit could handle it, but it proved capable of producing engravings with great detail and satisfactory depth.
©3DWithUs – Photo: Richard Hirst
Anodized Aluminium
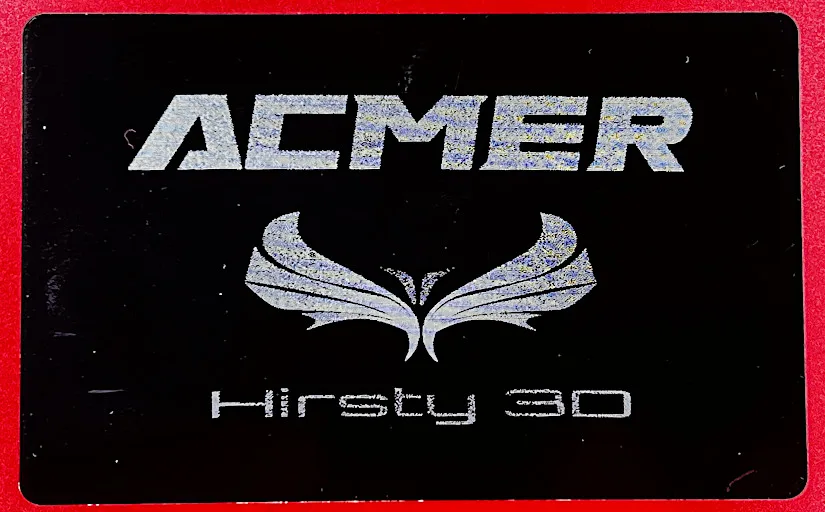
I prefer using coated aluminum for business cards because they feel more special to give away. The 6-watt laser performed excellently, achieving crisp lines and good depth in just one pass.
©3DWithUs – Photo: Richard Hirst
Wood Engraving
Most lasers can easily engrave on wood, which often yields stunning detail and results. Despite being a low-watt unit, this laser engraved wood with surprising speed and depth of color. It achieved this at a rate of 8000mm at 100% power, a respectable speed for engraving.

©3DWithUs – Photo: Richard Hirst
Wood Cutting
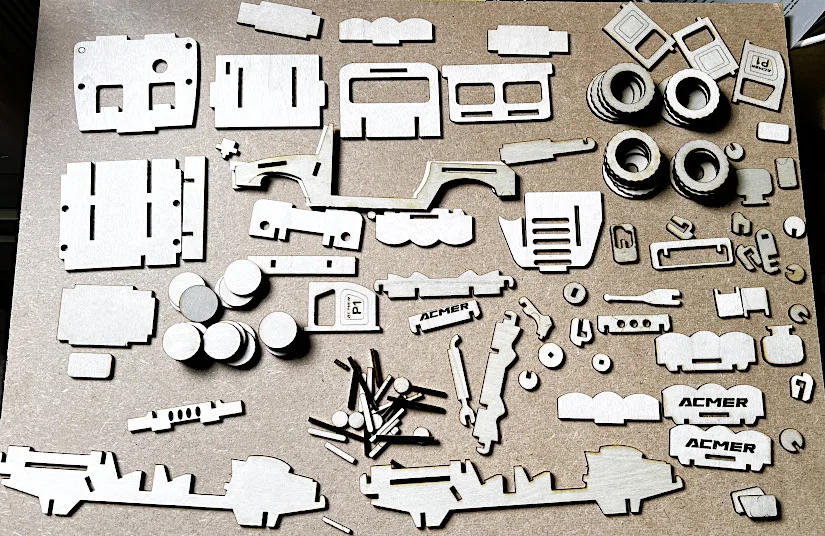
In this section, I selected a large file with multiple parts for cutting, and scaled the model to fit 2mm base wood, originally designed for thicker materials. As evident from the photo, the ACMER P1 S Pro performed exceptionally, accurately cutting out the necessary parts for the model.
©3DWithUs – Photo: Richard Hirst
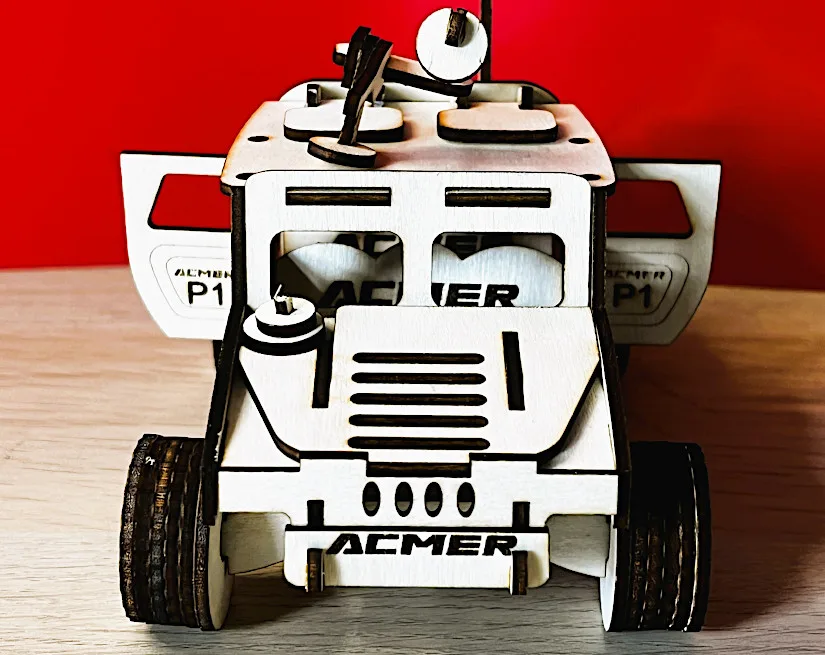
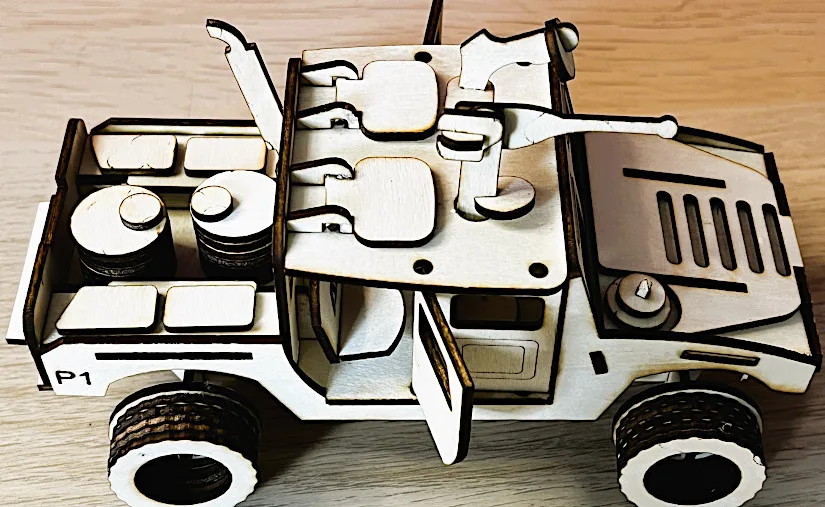
Impressively, all parts were cut from a 2mm baseboard in one pass. This was surprising, given the low wattage of the laser and the absence of air assist, which usually aids in cutting. I also repurposed some offcuts from the wheels and windows to enhance the model with additional elements like the two oil drums and seat pads in the rear bed.
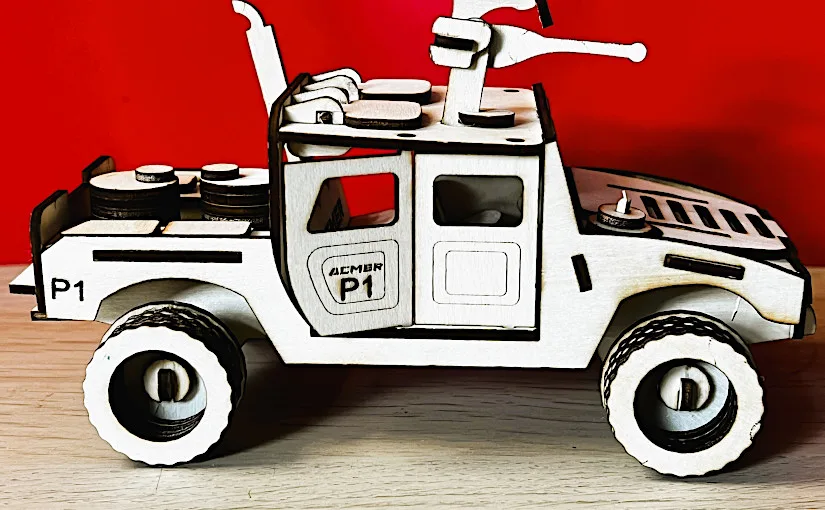
Model by Ian on 3axis.co
©3DWithUs – Photo: Richard Hirst
Materials and Supplies
I was pleasantly surprised to find a vast collection of materials and supplies for laser engraving on the ACMER website. I haven’t had a chance to try them, but I feel they are worth a look.

Material Settings for ACMER P1 and Other Series Machines
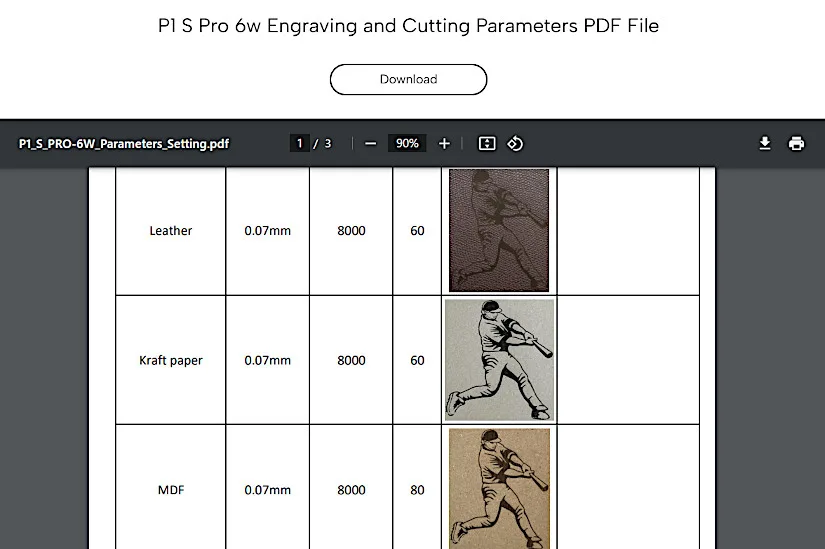
I referred to the material settings tables on the ACMER website for guidance on adjusting the settings. These tables provide a list of all materials along with their respective settings for laser cutting and engraving. Key settings to keep an eye on include material thickness – especially important when cutting-laser power, speed, and the number of passes.
Optional – Enclosure and Air Purifier
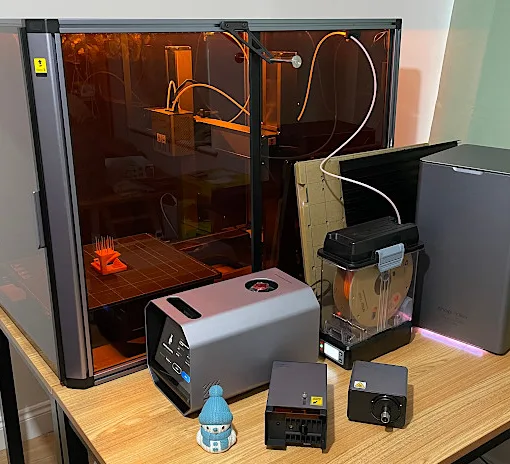
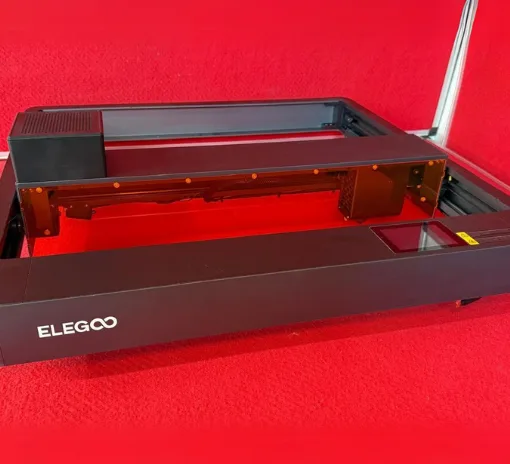
Two highly recommended optional items I haven’t had a chance to test are the Enclosure and Air Purifier. Both are essential when laser cutting is involved. Even a 6W laser can be dangerous if operated incorrectly. An enclosure helps create a controlled and protected environment, while an air purifier manages excessive smoke.
Compare ACMER Laser Engravers and Cutters
On the ACMER website, the P1 S Pro 6W is the most budget-friendly option, with many optional add-ons available. In addition to the P1 series, the P2 and P3 series machines are also available for purchase, featuring more powerful lasers and advanced specifications.
An innovative laser product, the ACMER P3 comes fully enclosed with IR and diode dual laser engraving and cutting capabilities. For the full range of ACMER laser cutters and engravers, please check the official website.
For a comparison with other laser cutters and engravers, please refer to the detailed Laser Cutters and Engravers Guide.
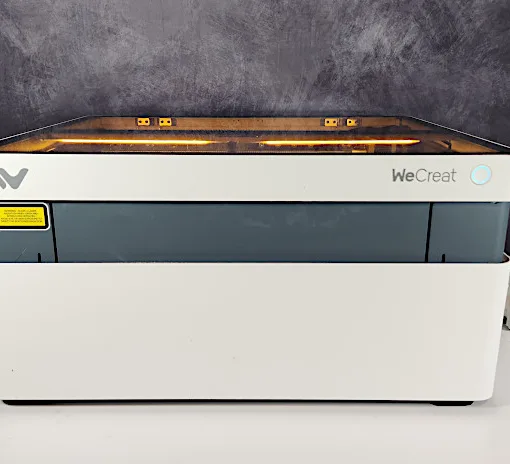
On our website, you can compare the prices, capabilities, and functionalities of laser engravers and cutters from brands such as xTool, Snapmaker, LaserPecker, and others. What distinguishes the ACMER P1 S Pro W6 is its high-quality build and competitive pricing.
Conclusion and Pros & Cons

ACMER P1 S Pro 6W Review
Review Summary
The ACMER P1 S Pro surprised me with its capabilities as a budget laser engraver and is definitely worth checking out. It boasts decent specifications and delivers great results, with end stops as standard and anodized parts that enhance both quality and features. Reviewing the P1 Pro was a pleasure; it passed all the tests I conducted and exceeded my expectations. For those looking to start in this hobby or seeking an additional laser engraver, the ACMER P1 Pro can handle most of the tasks you’d want to undertake.
If the greatest advantage of this machine is its unbeatable price, then its biggest downside is the lack (though optional) of an enclosure. By default, we cannot assign a very high rating to a laser machine that comes without an enclosure.
PROS
Price
Easy to use
Great results
Nice finish and fpecs
WiFi App
Scale on left side and gantry
CONS
No Air Assist
No Enclosure (Optional)


