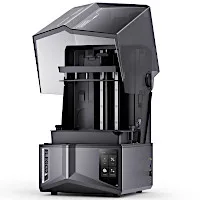
After the remarkable success of the 12K model, Elegoo has introduced the new 16K Saturn 4 Ultra, which offers new features and improvements over its predecessor. The printer is equipped with a heated VAT, an AI camera, and Tilt Release technology, among other advancements. This marks a substantial evolution in Elegoo’s resin 3D printer series. We’ll examine its features and printing capabilities in this review. In conclusion, I will share my final thoughts and list of pros and cons.
Table Of Contents
- Specifications
- Unboxing – What’s Included
- Setup and Features
- Software – Elegoo SatelLite and Chitubox
- Testing and Results
- Compare to Other 3D Printers
- Conclusion and Pros & Cons
Where to Buy
Price: $499.99 – $623.99

Compare the Prices & Bundles:
Official Store | Amazon
Elegoo Saturn 4 Ultra 16K Specifications
System: EL3D-4.0
Technology: MSLA
Light source: COB (wavelength 405nm)
Resolution: 14 x 19 um (15120 x 6230)
Z Axis Precision: 0.02mm
Printing Speed (MAX):150 mm/h
Control Panel: 4-inch Capacitive touchscreen
Slicer: Satelite 3D, Chitubox
Interface: USB port & WI-FI
AI Camera: 1920 x 1080
Machine dimensions: 327.4mm (L) x 329.2mm (W) x 548mm (H)
Build Volume: 211.68mm (L) x 118.37mm (W) 220mm (H)
Package dimensions: 650mm (L) x 420mm (W) x 430mm (H)
Net weight: 16.1 kg
Gross weight: 18.7 kg
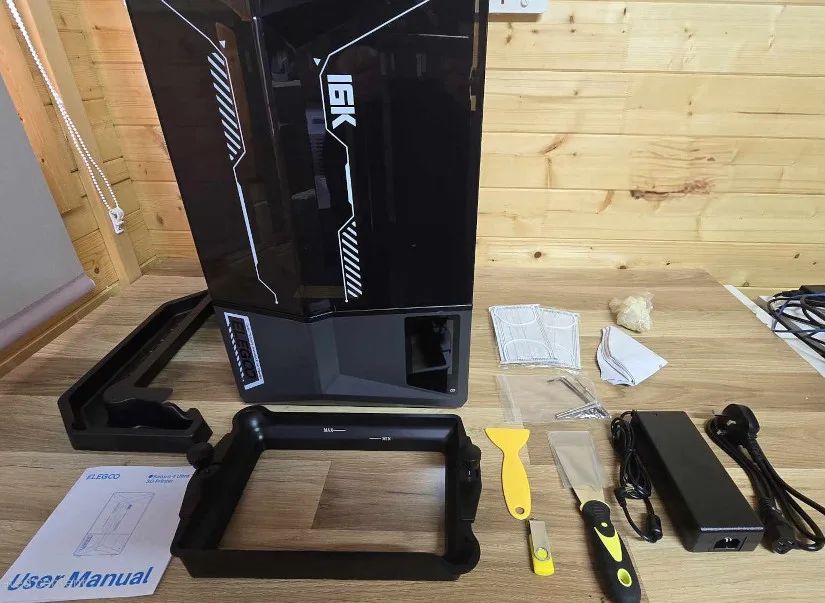
What’s in the Box
•Saturn 4 Ultra 16K •Heated Resin VAT •Plastic Drip Tray •Allen Keys •Metal Scraper •Plastic Scraper •USB Drive •Face Masks •Resin Filters •Gloves •Power Cable •Power Brick •User Manual
©3DWithUs – Photo: Phil Macey
Setup and Features
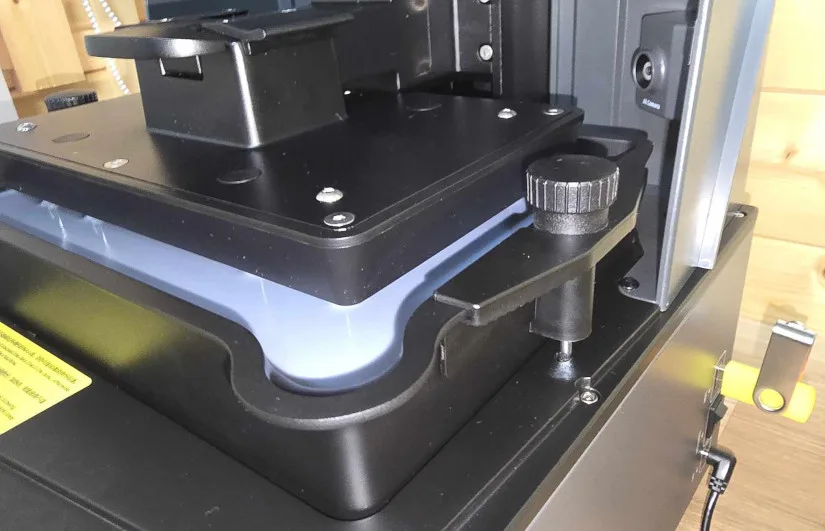
The Elegoo Saturn 4 Ultra 16k was easy to assemble. The Resin VAT is shipped bolted into place for transit safety; however, these must be removed prior to use; the bolts are not required. Remove the plastic covers from the touch screen panel, 16k screen, and build plate. After attaching the build plate to the platform, close the latch and secure it in place using the clamping system. The 16k model now has new wing handles to ensure safe handling.
©3DWithUs – Photo: Phil Macey
After putting the Resin VAT into its housing and fastening it with the two included black-handled locking nuts (found in the tool kit), connect the power brick/cable to the Saturn 4 Ultra 16k. Turn on the printer using the power switch next to the power connection point.
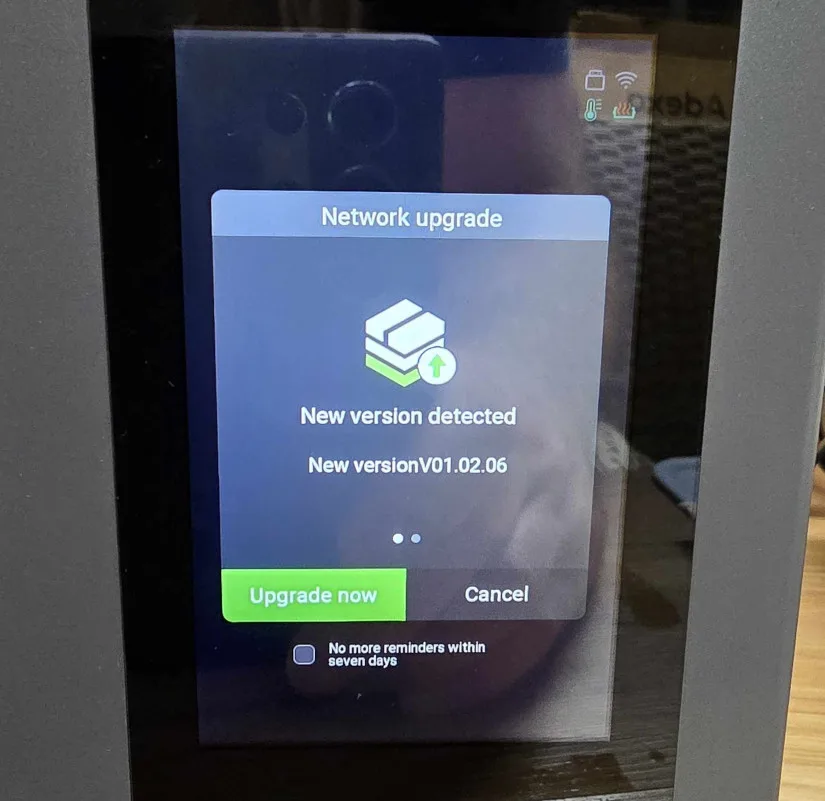
The Elegoo logo will appear and guide you through the initial setup. Choose the language and Wi-Fi connection. Upon connecting to the local Wi-Fi, you will be greeted with a request to accept a firmware update; click if required. See the image below. The Elegoo Saturn Ultra 16K also features embedded Wi-Fi, Wi-Fi file transfer, and cluster printing.
©3DWithUs – Photo: Phil Macey
Touchscreen. An on-screen guide walks you through the setup process. Once that is complete, a device self-test will be performed, as seen in the image below. The Saturn 4 Ultra 16K is ready to start printing in approximately 5 minutes, making its setup time impressively fast.
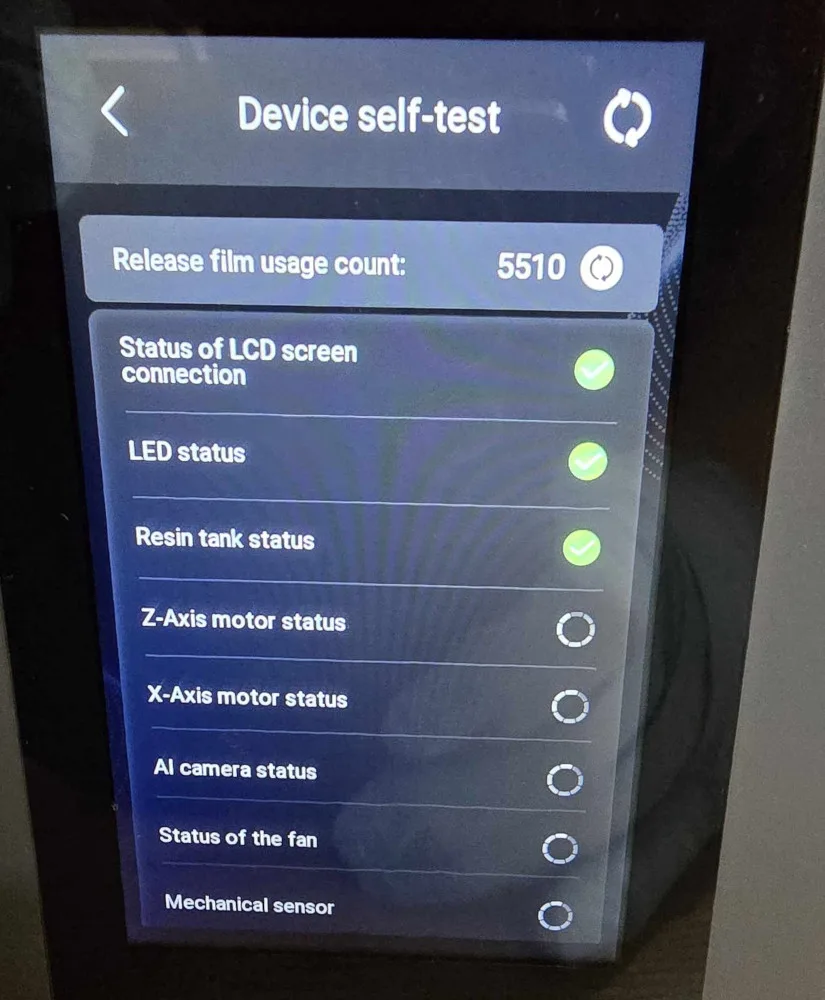
– Calibration. The printer comes with automatic leveling features, allowing you to print straight out of the box. Built-in sensors do the trick. It also features the ability to manually level using the function on the touchscreen.
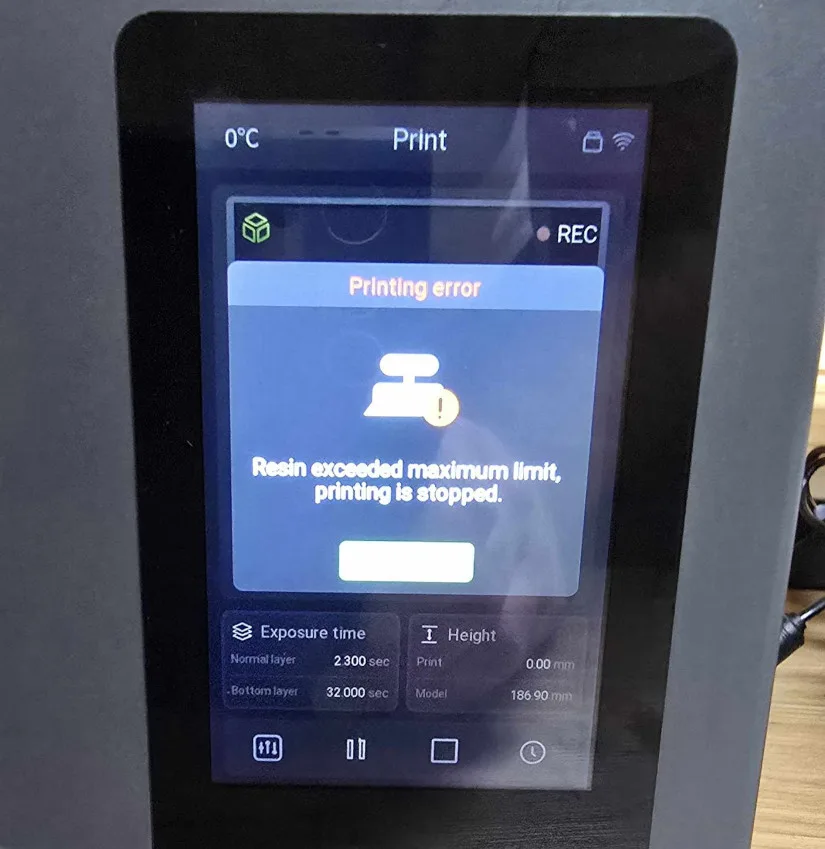
– Design Features. The Saturn Ultra 16K packs all of the features of its 12K Saturn Ultra predecessor, with Tilt release technology for ultra-fast printing, COB & Fresnal collimating lens for a smoother surface, handsfree auto levelling, Real-time monitoring and Time-lapse, smart mechanical sensors, Flip up cover design for effortless access, Ai Camera for intelligent detection and mechanical sensor alarm for low resin or overfill and detection of foreign objects as seen in the image below.
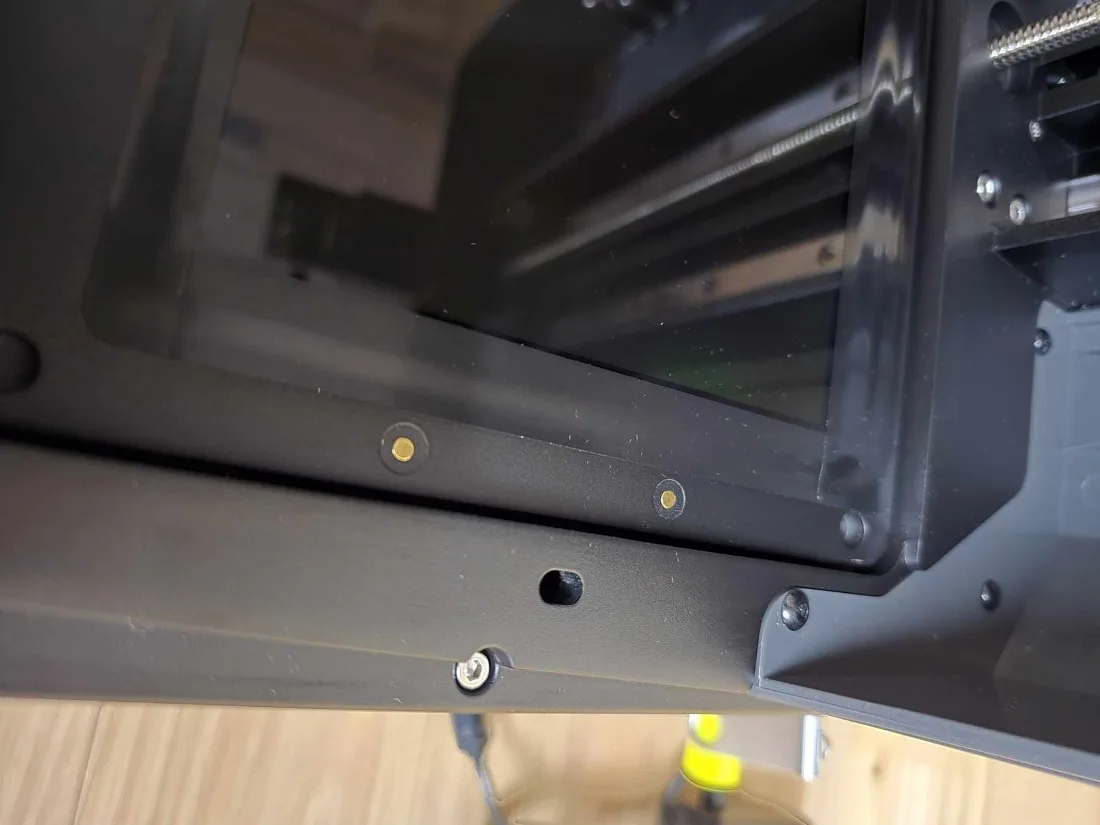
– Heated VAT. The new 16K resolution enhances the quality of prints, but a notable improvement in the 16K model is the integrated VAT heating technology. It features smart temperature sensing, displaying the resin temperature in real-time onscreen. The preheat mode allows the resin to be heated to 25°C up to 24 hours before use.
Printing begins once the set temperature is reached and is maintained throughout the print process. Additionally, the agitation of the resin using the build plate ensures even heat distribution, a feature that stands out for its effectiveness.
Below are 2 images for the connection points for the heating VAT, once connected and prgrammed via the touch screen the resin VAT will begin heating.

©3DWithUs – Photo: Phil Macey
During my testing of the Elegoo Saturn 4 ultra 16K, the temperature of the studio was averaging between -3 to 4°C. These temperatures would normally cease printing or result in failed prints. The VAT heating enabled printing to continue, with no failed prints seen; the time from preheat to print ranged from 5 to 25 mins once the optimal 25°C temp was reached. It’s also noted that it’s compatible with all mainstream and speciality resins.
In my review video above, I showcase the unboxing, setup and testing process in detail.
Elegoo SatelLite and Chitubox Slicer Software
For the initial tests, I used the Elegoo SateLite slicing software available on the Elegoo website. I selected the Elegoo Saturn 4 Ultra 16K from the machine model tab, which automatically preset the necessary settings, such as the correct resolution and build volume.
I noticed that the live monitoring tab was under construction, which meant there was no capability to live monitor the sliced file.
For subsequent tests, I switched to the Chitubox Basic slicing software, available on the Chitubox website. I selected the Elegoo Saturn 4 Ultra 16K from the machine model tab, which automatically adjusted to the correct resolution and build volume.
– Live Monitoring. Unlike the Elegoo slicer, Chitubox offered the capability to live monitor the print, turn on time-lapse, and view live data.
During all the printing tests, I selected to use both standard and fast speeds using the Elegoo ABS Pro 3.0 resin from Amazon, and the quality was excellent across both speeds.
Test Printing Results
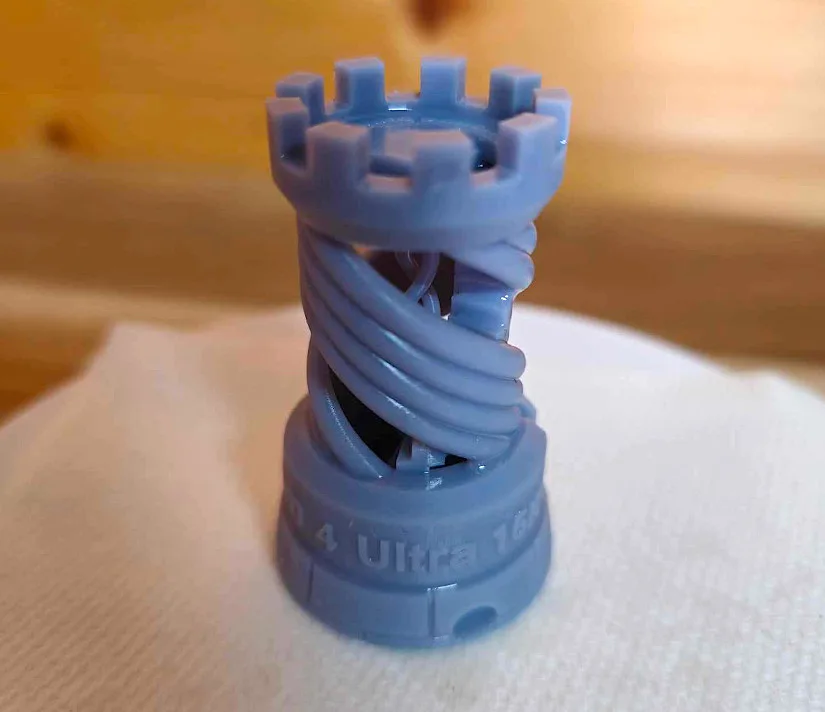
– Model 1 For the first print, I chose to use a chess piece found on the USB key, which provided a good starting point. As you can see, the prints came out perfectly and took approximately 1 hour to complete.
©3DWithUs – Print and Photo: Phil Macey
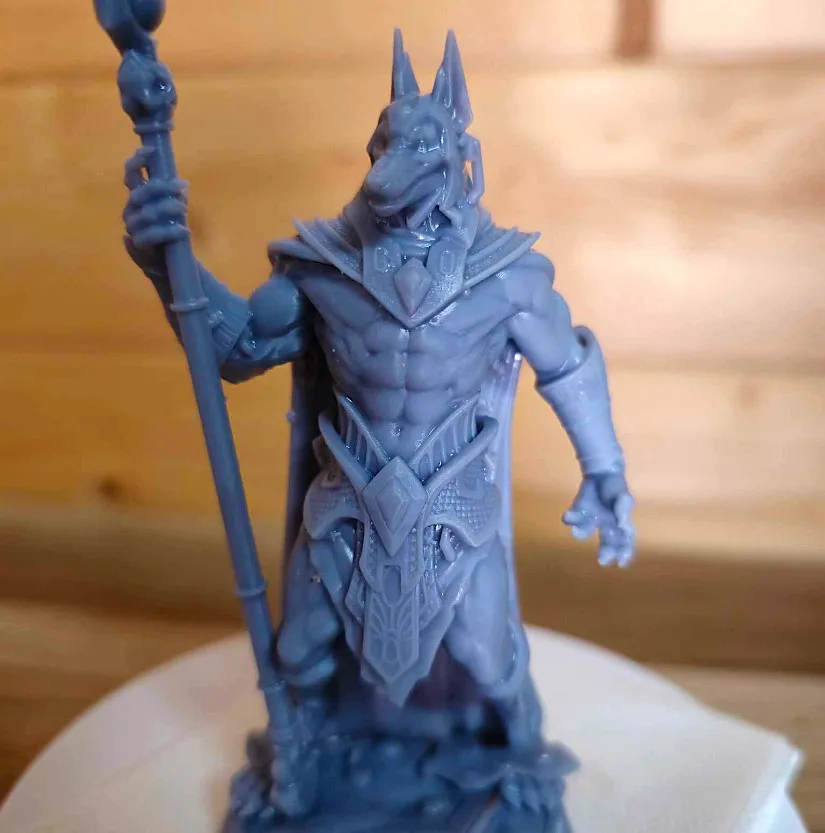
– Model 2 For the second print, I chose the ‘Jackal General with Base’ model from STLFLIX. Although it was a pre-supported file, I used the Elegoo Satellite slicer to load the file onto a USB. The print turned out amazing, clearly showcasing the quality of the model.

3D Model on STLFlix
©3DWithUs – Print and Photo: Phil Macey
©3DWithUs – Print and Photo: Phil Macey
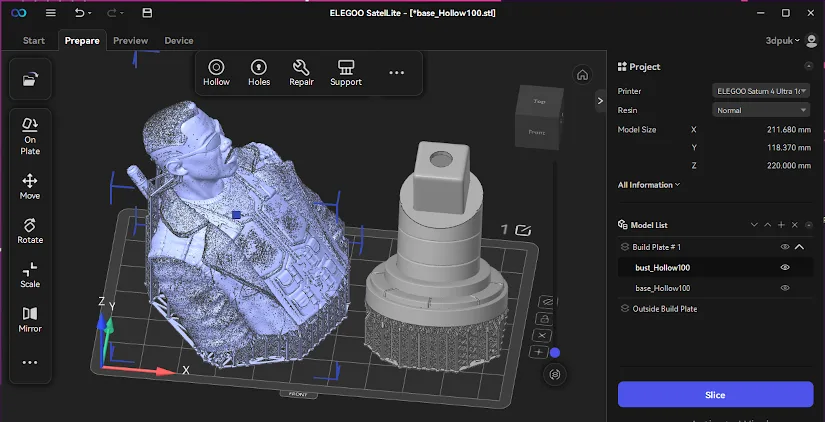
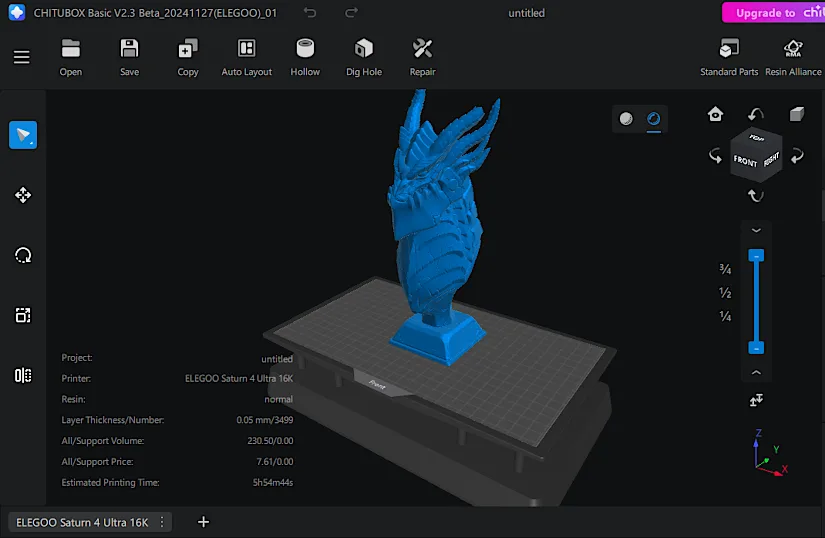
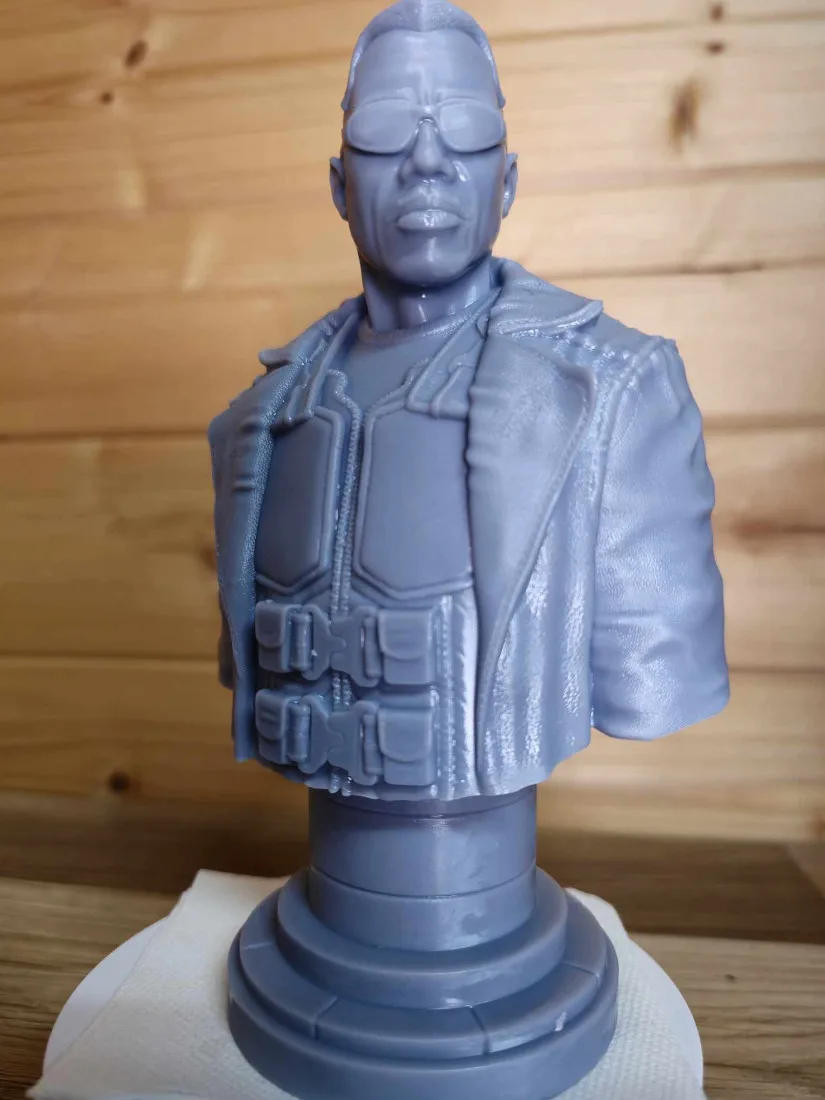
– Model 3 For the third print I selected the Blade bust from Fotis Mint, this model was sliced in two parts, both parts were printed at the same time, as seen in the above slicer image. The print took approximately 5.5 hrs to print, and the model printed perfectly.
3D Model Fotis Mint on Thangs
©3DWithUs – Print and Photo: Phil Macey
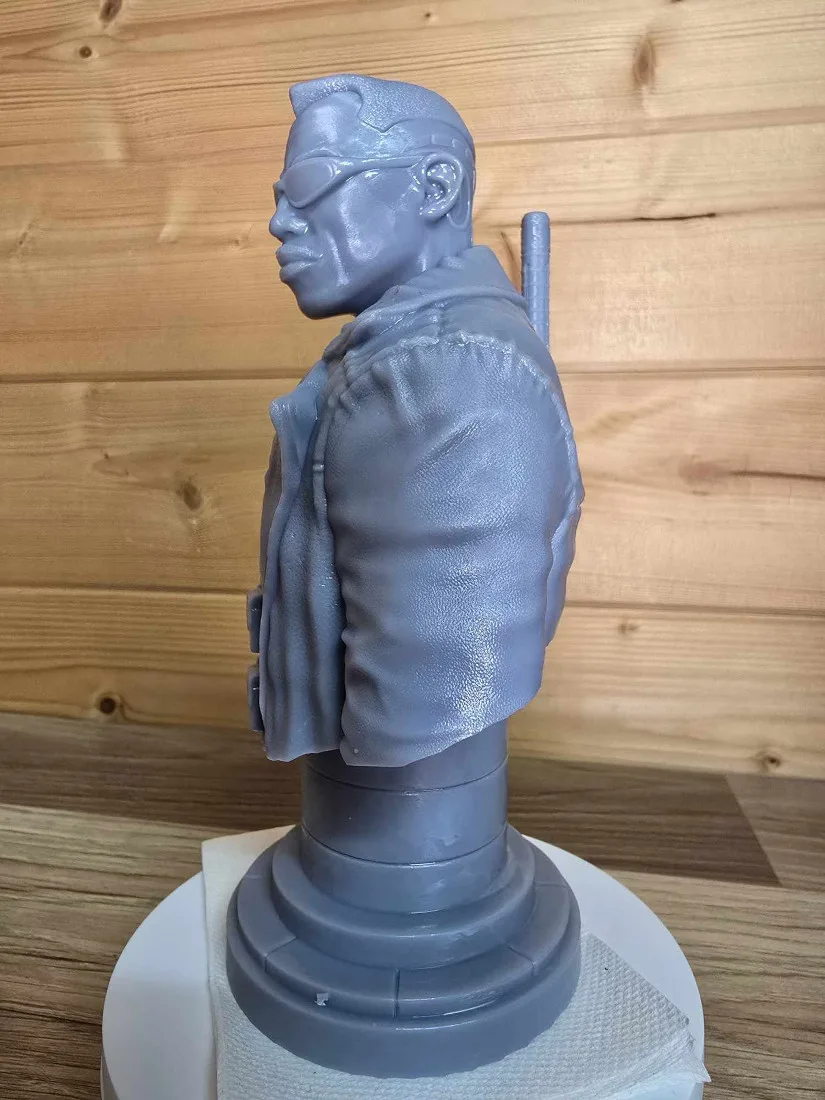
©3DWithUs – Print and Photo: Phil Macey
– Model 4. For the fourth print, I selected another Fotis Mint’s model – the Deathwing Bust. This pre-supported version took about 6 hours to complete. As mentioned earlier in the article, the studio temperature was around 2°C, but the heated VAT ensured successful prints every time.
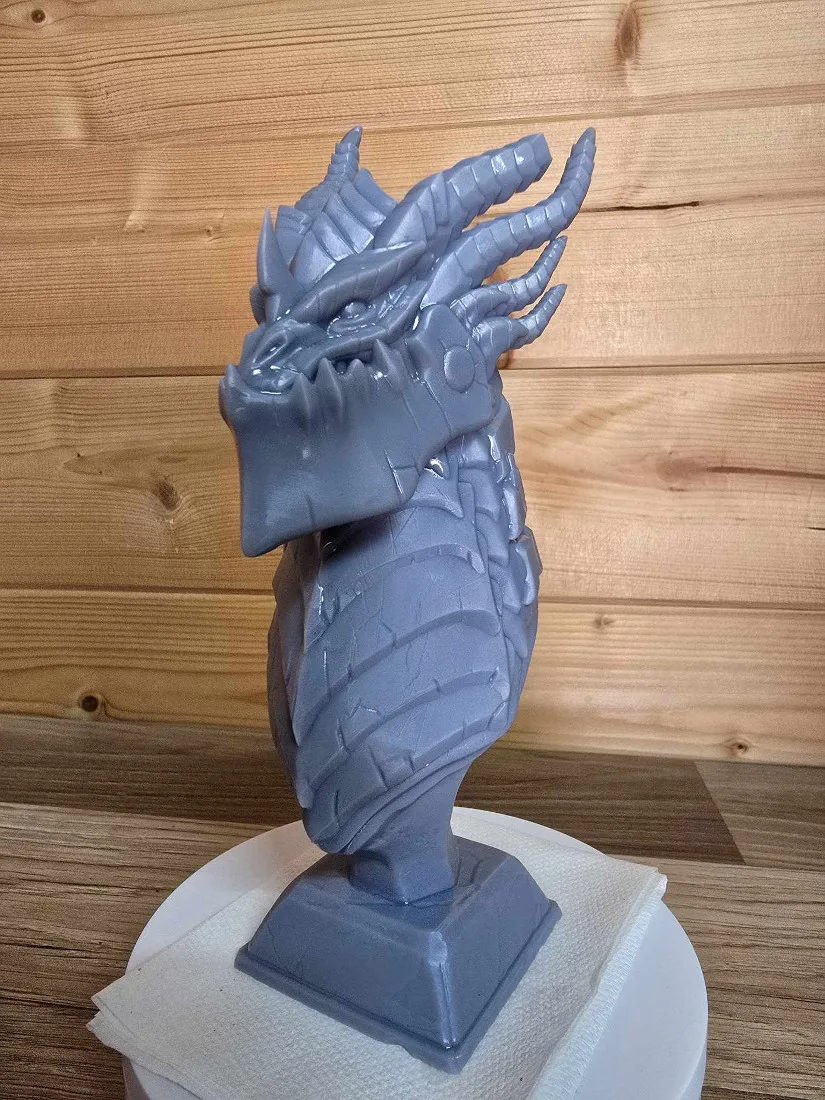
3D Model Fotis Mint on Thangs
©3DWithUs – Print and Photo: Phil Macey
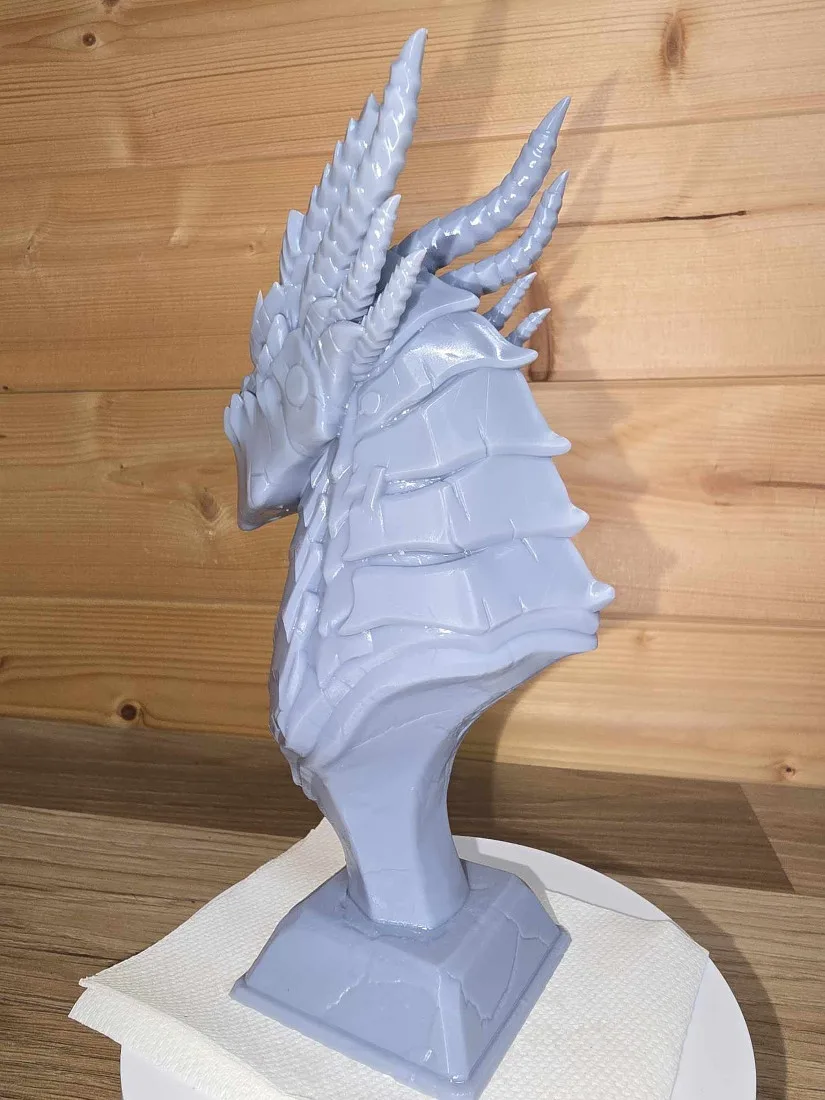
©3DWithUs – Print and Photo: Phil Macey
– Model 5. For the final print, I chose another model from STLflix – the Drice Yelenna. This pre-supported model consisted of 12 parts, all of which I was able to fit onto the Elegoo Saturn 4 Ultra 16K’s plate, except for the base which required a separate print. Overall, the model turned out fantastic and fully utilized the printer’s capacity for a full build plate print, as seen below.
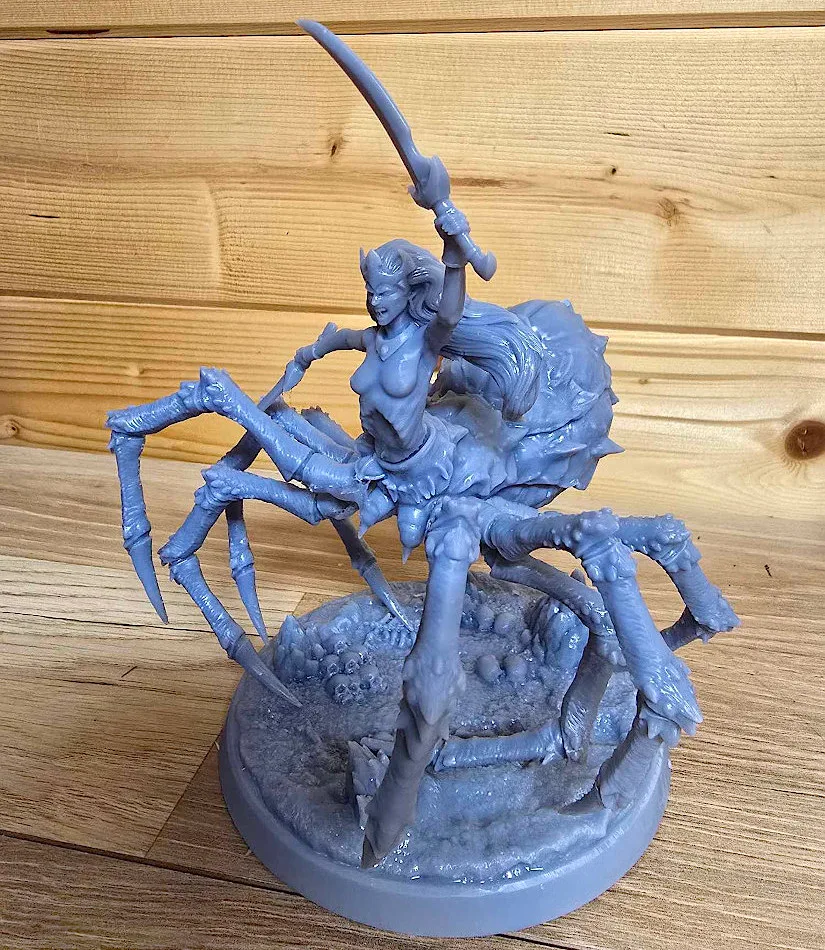
3D Model on STLFlix
©3DWithUs – Print and Photo: Phil Macey
For all test prints, I used both Standard and Fast speed settings for Elegoo ABS Pro 3.0 resin from Amazon, and the quality was excellent with both speeds.
Once again, I would like to highlight that heated VAT resin 3D printing is a practical solution for many users, as it enables printing in less controlled environments like a shed or an unheated garage.
Compare to Other 3D Printers
Compare to the Elegoo other resin 3D printers:
In resin 3D printing, Elegoo is one of the major players as it offers desktop solutions for almost all needs, from regular to Max build volume 3D printers. You can find many older model reviews with highly detailed test prints on our website.
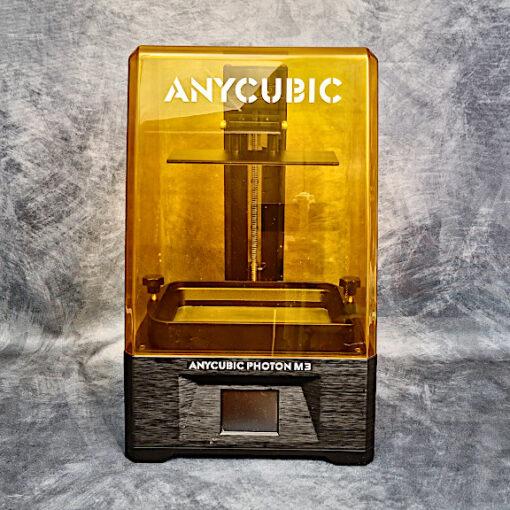
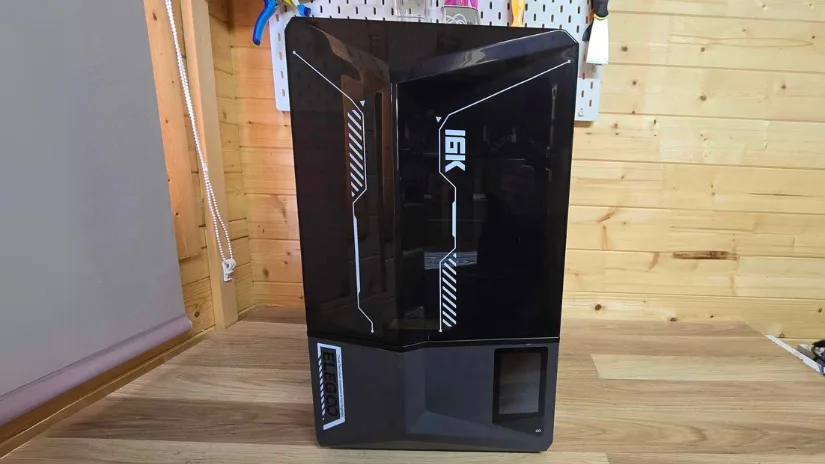
Compare to the similar volume resin 3D printers in the same price range:
Elegoo Saturn 4 Ultra 16K is a large-volume 3D printer. In this category, volume-wise, the competitors would be Anycubic Photon Mono series and Uniformation GK series machines. If price and feature wise, Saturn 4 Ultra 16K is in an advanced position.

©3DWithUs – Print and Photo: Phil Macey
Conclusion and Pros & Cons
Compare the Prices & Bundles:
Official Store | Amazon
Elegoo Saturn 4 Ultra 16K Review
Review Summary
The Elegoo Saturn Ultra 16K has been exceptional to test and use for printing. The machine’s construction is top-notch, retaining the flip-lid design of the 12k Ultra while boosting the resolution to 16K. A major upgrade is the heated resin VAT. During tests, local outside temperatures plunged below zero. In an unheated workshop, such conditions would typically halt printing. However, the heated VAT performed exceptionally, maintaining a steady temperature of about 25°C. It utilizes the build plate to agitate the resin, moving up and down to distribute heat evenly.
The resin VAT can also be preheated up to 24 hours before use; the print commences upon reaching the optimal temperature. The touchscreen display shows the current temperature, which is a big plus.
The models shown have the highest printing quality, and I had zero failures due to sliced files or resin failures due to temperature.
Elegoo has also advanced the 12K ultra model with other features, such as the winged handle design for the build plate, to ensure its safe handling. I was able to monitor the prints live via the Chitubox slicer, but as mentioned, I was unable to access this feature on the Elegoo SatelLite slicer.
Overall, my experience was positive. As shown in my unboxing video, the process from unboxing to print completion was enjoyable and seamless.
Pros
• High-Quality Build Materials
• Heated VAT
• Build Volume
• Inbuilt Camera for timelapse and live monitoring
• Fast Printing
Cons
• Elegoo Slicer to allow for live monitoring
• No Air filitration system