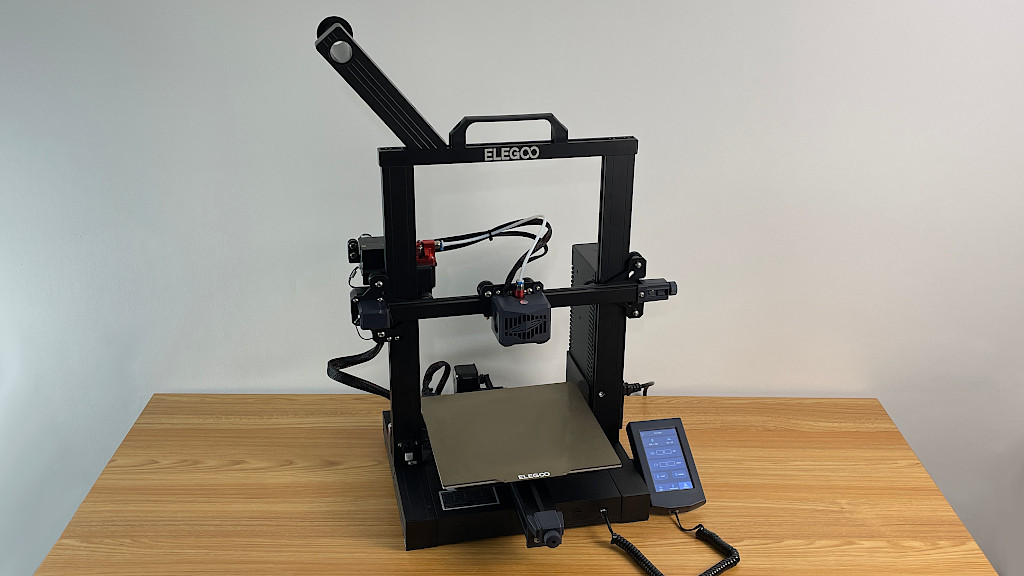
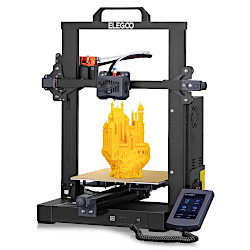
Elegoo Neptune 3 is an FDM 3D printer that has many features for a surprisingly affordable price. A flexible removable print sheet, an automatic leveling system, and a decent build volume can be the decision-making options for many buyers. Let’s test and review this machine, print a few awesome and challenging models, and list the Pros and Cons.
Table of Contents
- Specifications & Features
- Unboxing and Assembly
- Bed Leveling
- Filament Run Out Sensor
- Slicer Software – Elegoo Cura
- Custom Texture with ideaMaker
- Printing Test Model
- Other Tested Models
- Compare to Other 3D Printers
- Conclusion and Pros & Cons
Elegoo Neptune 3 Specifications & Features:
Build Volume: 220x220x280mm
Extruder: Bowden
Bed Leveling: 16-point RSG Automatic Leveling System
Build Platform: Heated, Magnetic Sheet
Price: $209-229
Affiliate Links:
Newer Klipper enabled version:
Elegoo Neptune 4
Official Website
Elegoo Neptune 4 Review
Unboxing and Assembly
I had no delivery or unboxing issues with Neptune 3. A neat and well-labeled box is easily recognizable can be recognized as an Elegoo product from afar.
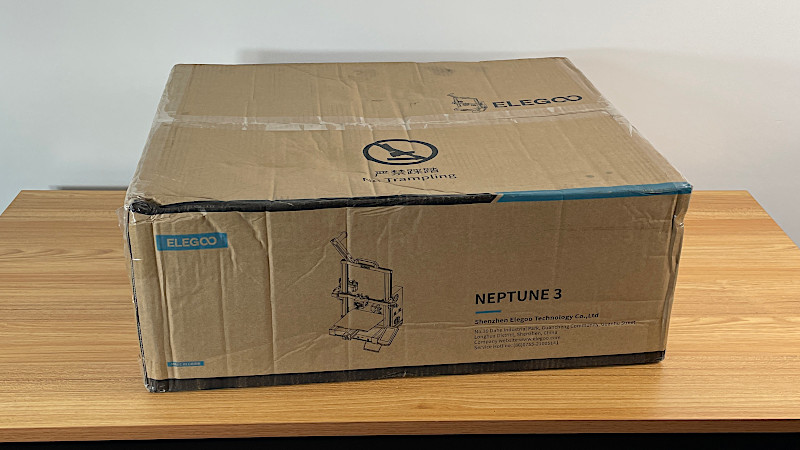
©3DWithUs – Photo: Max Funkner
As the printer is in a pre-assembled state, most of the important wiring is already in place. Both, the base and gantry, need to be lifted from the box in one go as two big items are connected. It would be more comfortable with the help of the 2nd person, but it is doable solo as well.
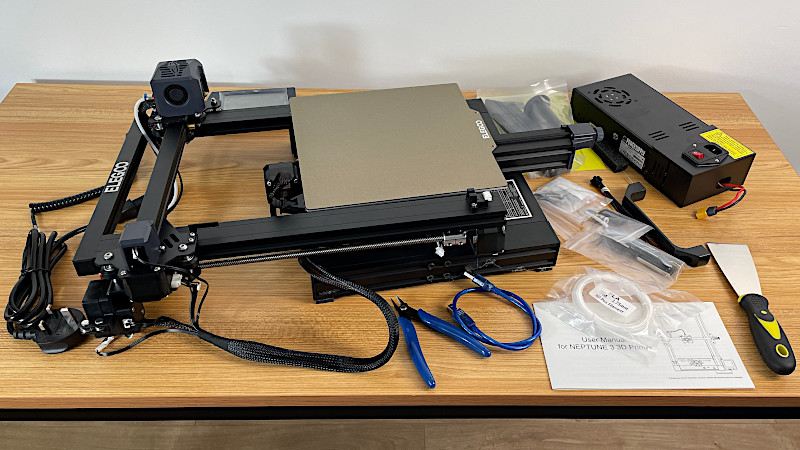
©3DWithUs – Photo: Max Funkner
As I assembled a few 3D printers before, it took me approximately 15 minutes to go through the instructions and fully assemble this machine. For the first timers, I would recommend watching the official assembly video.
16-point RSG Bed Leveling System
A nice 16-point RSG (resistance strain gauge) automatic leveling system. Press level on the screen and wait. Then, when the nozzle is in the middle, adjust Z height using a paper sheet. In a few cases, I had to adjust Z height live during printing. I like this feature, it can instantly improve bed adhesion, for example. Live Z adjustment should be used carefully though in order not to damage the build surface.
©3DWithUs – Photo: Max Funkner
I would recommend going through the full 16-point leveling procedure from time to time, especially if the 3D printer was moved, just in case. I moved the printer once, and when I started printing a new model, the nozzle went very low into the bed and stayed there no matter how high I raised the Z setting live. Surprisingly, no bed got damaged. This specific coating on a magnetic sheet appears to be scratch resistant.
Magnetic Sheet
I am a fan of flexible magnetic sheets. Working with such a setup once a 3D printing job is completed is enjoyable. Elegoo provided the powder-coated (textured) PEI spring steel magnetic sheet. My first impression was that filament sticks better to the smooth PEI sheets that I used before on other machines. But apparently, these two types of coatings serve different purposes. The good news is that it is possible to have both sheets at hand by purchasing them from Amazon if needed.
©3DWithUs – Photo: Max Funkner
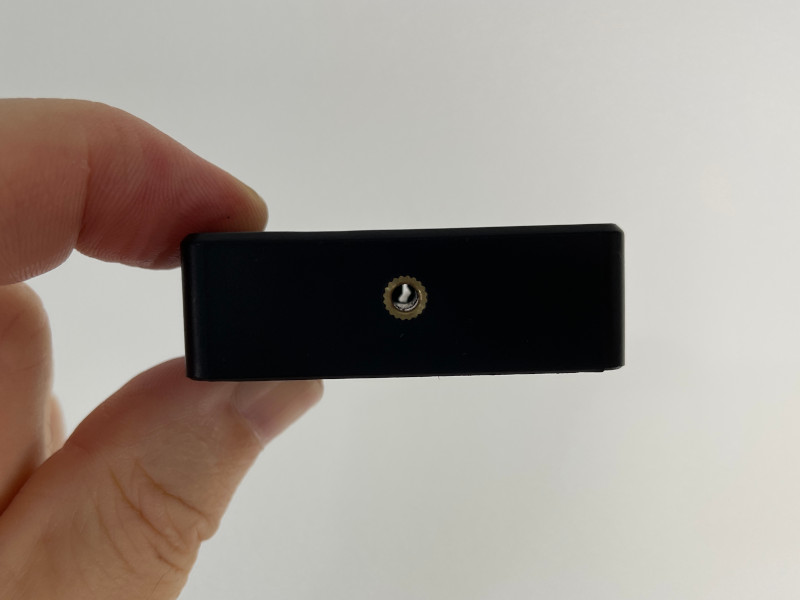
Filament Run Out Sensor
I had some difficulty to get the filament into a run-out censor. It felt like I was forcing it in. I even dismantled it from the printer to make sure I was not damaging anything inside. Then I could clearly see where the entry hole was, and once the filament went in, I secured the sensor back on the printer. Had no issues since then. I guess it was just stiff in the beginning.
©3DWithUs – Photo: Max Funkner
Elegoo Cura Slicer Software
For this review, I used the included software as well as Simplify3D and PrusaSlicer for some specific cases. Elegoo Cura version was provided on a USB stick and was easy to install. A pleasant surprise was that all settings were tuned well and I had no need to adjust them on my first tries. The last time I used Ultimaker’s Cura was a few years ago and I can say the software got greatly improved. Especially I liked the way the Preview worked and that it is now possible to view the nozzle movement for each of the layers. This gives a very clear idea of how the print job starts and if any adjustments will be needed for bed adhesion, extra glue or raft, for example.
Raft Settings
I admit I was impatient to tune and get a better feel of bed adhesion so I used rafts on two occasions and I am super happy that I did. The thing is, such a complex model as Articulated Dragon by McGyBeer has 44 different joints, and if one of them fails to stay in place in the middle of printing, then the whole 14-hours print will be ruined. A raft secures all joints in place. Have a look at the results below. Read more on how to print flexible articulated models on FDM and resin 3D printers.
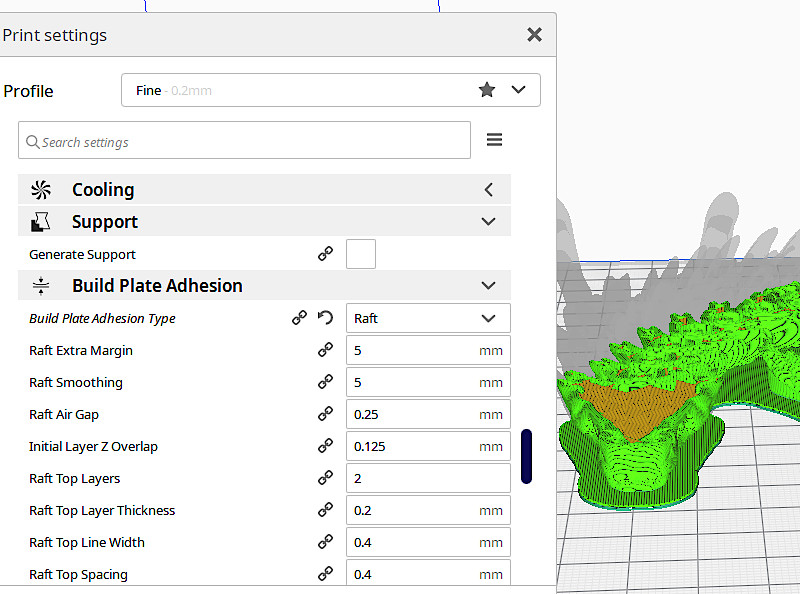
Screenshot: Elegoo Cura
Apart from switching to the raft, nothing else needed to be changed in the settings. All worked very well.
Cura Preview Video
In the preview mode, it is possible to play the extruder’s move layer by layer. I find this feature very useful and would recommend to check it before printing complex 3D models. Also, this preview helps to understand the design of the models. In the MP4 below, I captured the 3DPrintBunny‘s String Test file.
String Test file by 3DPrintBunny – Elegoo Cura Preview
MP4: Max Funkner
Color Change Script
What I couldn’t do is to make the “Pause at Height” or “Filament Change” scripts work. I spent some time trying to set up the color change option in Elegoo Cura but without any luck. The added scripts didn’t trigger the “Pause” command. Color/filament change can be done manually via the touchscreen, but for some big projects, this can be tricky. It needs a watchful eye constantly because it is easy to miss the right moment. I will update this post when I find the solution.
Custom Texture with ideaMaker
While putting together an article about the slicer software, I briefly tested ideaMaker using the Elegoo Neptune 3 machine. ideaMaker by Raise3D is a free slicer software with interesting CAD-like features. For example, it is possible to apply a custom texture or perform the basic Boolean operations right there. Even though there was no pre-set Neptune 3 profile available, it was easy to set it up via Configuration Wizard – Others (Third Party Printer).

Screenshot: ideaMaker
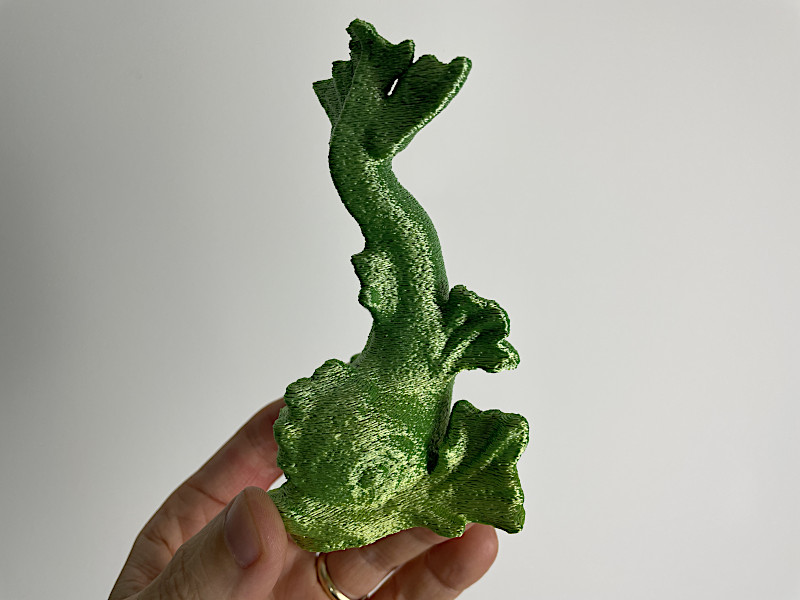
Model: Thames Lamp Standard Ornament Creature
©3DWithUs – Print & Photo: Max Funkner
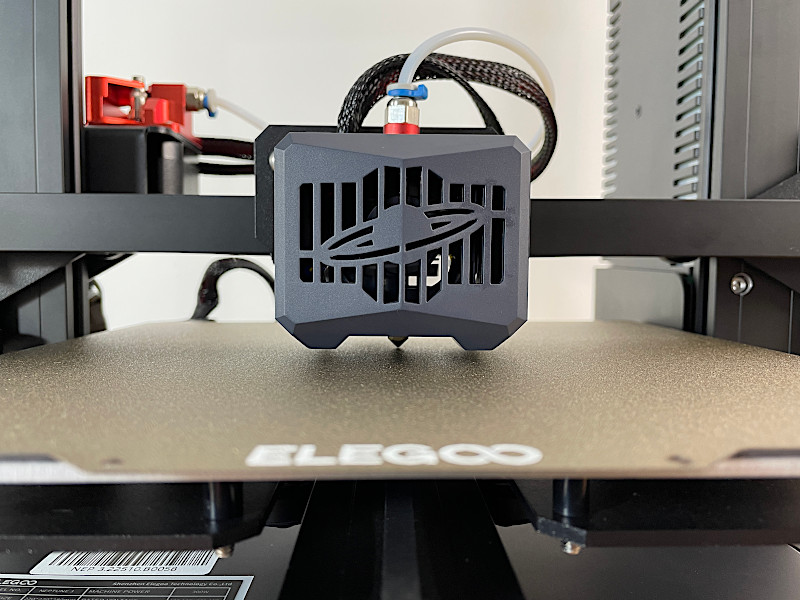
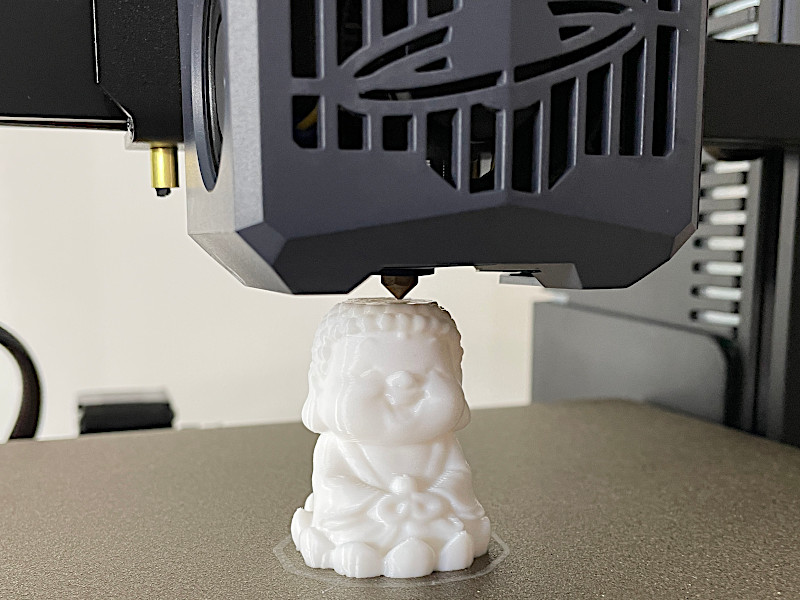
USB/Micro SD and The First Test Print
A USB stick that came with the printer works as an adapter and has a Micro SD in it. This combination is a little bit too small for my hands but I quickly got used to it. All needed files are pre-loaded there, including the Buddha test file. It was printed in white PLA flawlessly. The only thought was that it was tricky to see the details on white PLA. I would pick something silky for such a model.
©3DWithUs – Photo: Max Funkner
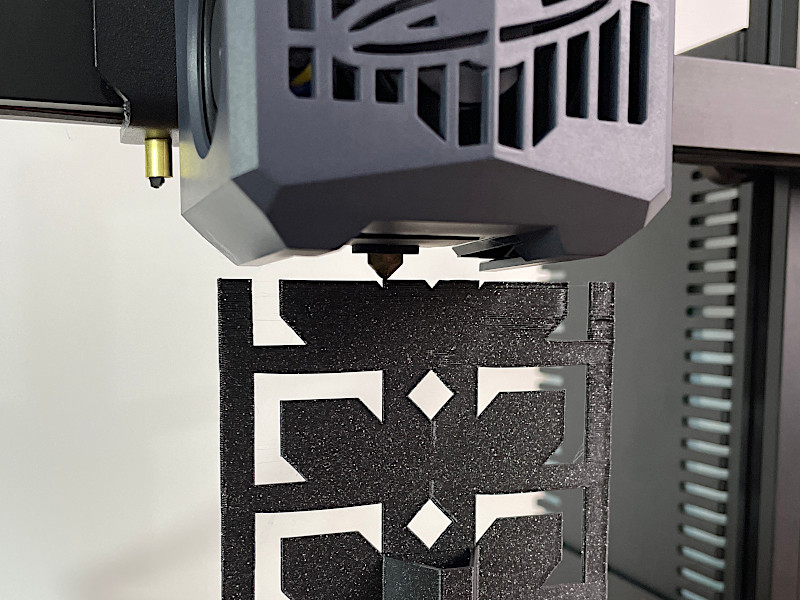
Elegoo Neptune 3 Testing with Other Models
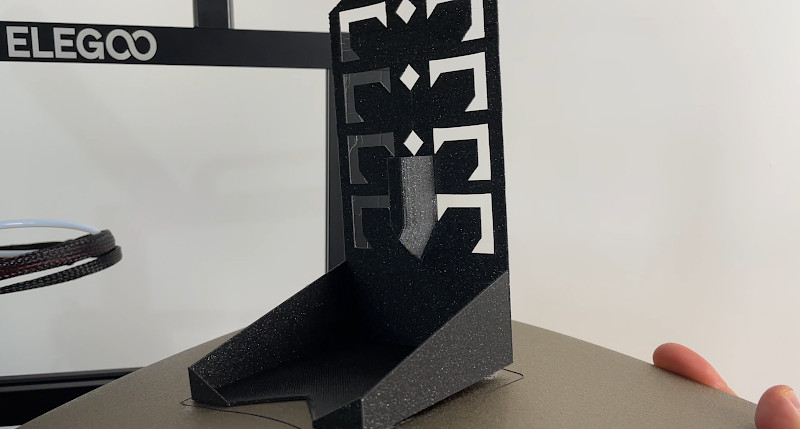
The second item I printed was a Post-it Note Holder. I had to restart this print at an early stage because I noticed that the sharp corners of the model got detached due to warping. After applying some gluestick in the corner areas, the bed adhesion had no issues.
©3DWithUs – Photo: Max Funkner
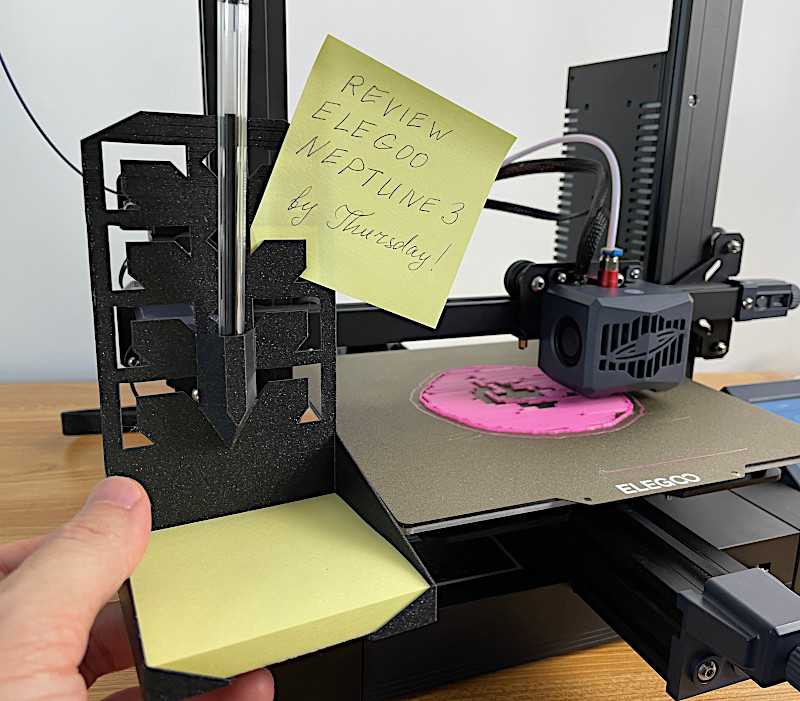
©3DWithUs – Photo: Max Funkner
Post-it Note Holder was 3D printed in Prusament Galaxy Black, and it came out well. In fact, the filament ran out just seconds before completion. The print looked finished anyway, so I didn’t restart the print. Satisfied with the print.
Flexible Articulated Models
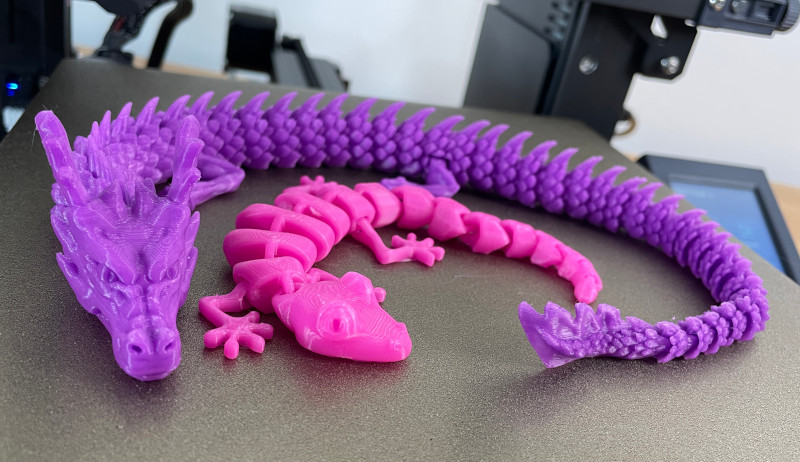
For the review purposes I printed two flexible articulated models by McGyBeer – an Articulated Dragon and Lizard. In both cases I used the rafts to secure bed adhesion on multiple joints and the basic Elegoo Cura settings. Scaled to 90% took me about 10 hours to print. I am happy with the result. Started appreciating the rafts more.
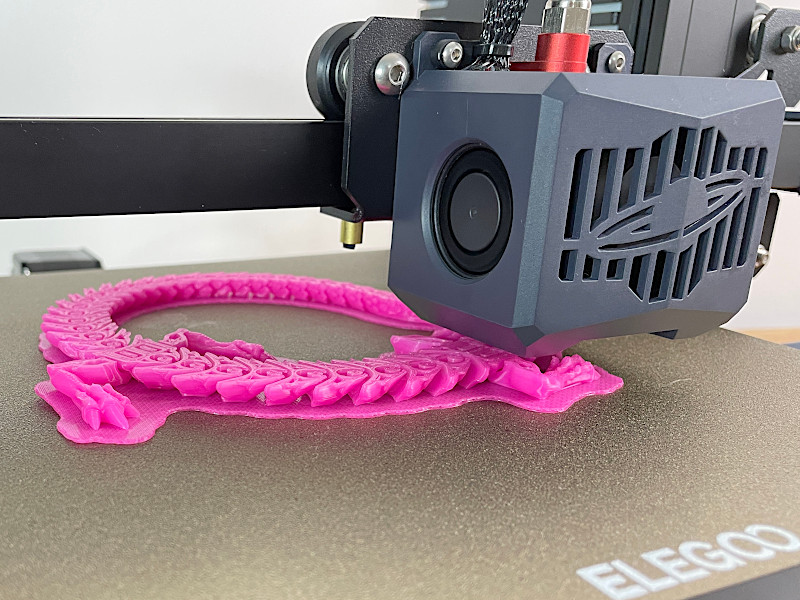
©3DWithUs – Photo: Max Funkner
Raft Removal – Articulated Dragon by McGyBeer
MP4: Max Funkner
©3DWithUs – Photo: Max Funkner
This is the thermochromic, color changing on temperature, filament with the transition from purple (cold) to pink (warm). I would say this is not the most impressive transition in this category of filaments, but on the other hand, two models look great together for the comparison.
Custom Supports Placement
Sometimes I turn to Simplify 3D for custom supports placement as I used this software many times and feel comfortable with it. But there were no Neptune 3 profiles in Simplify3D, and therefore I used Creality’s Ender 3 and it worked well for me.
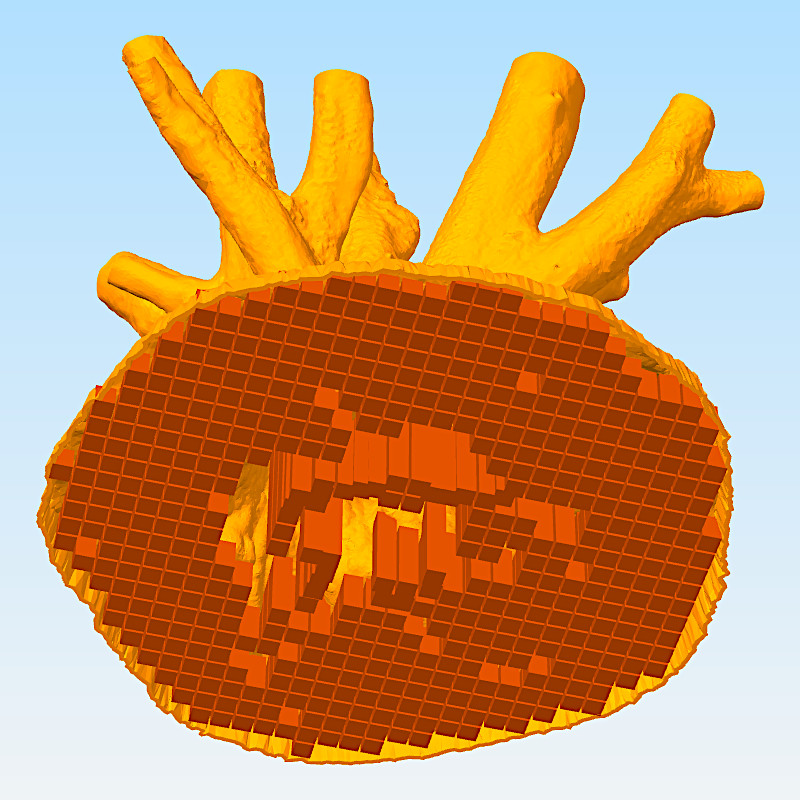
Screenshot: Simplify3D
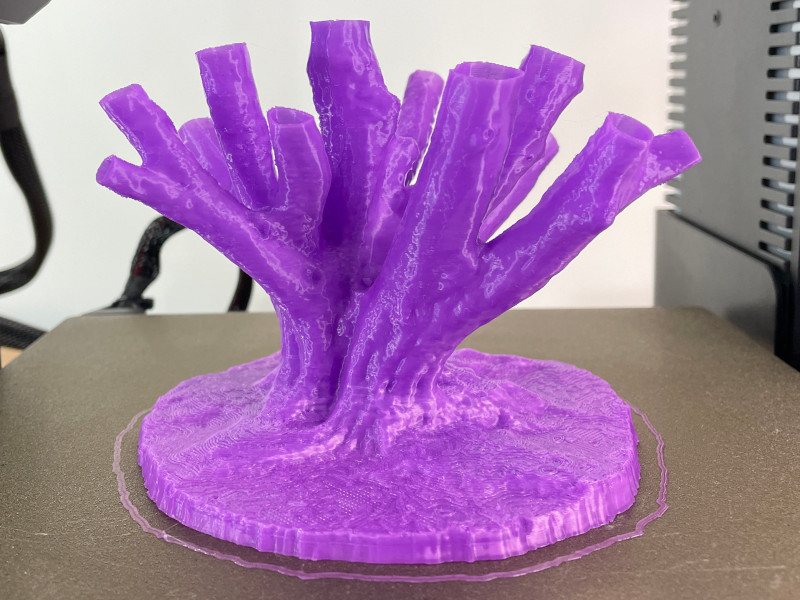
©3DWithUs – Photo: Max Funkner
For this review, I printed a 3D scan of a Fastigiate Hornbeam tree from the Royal Kew Gardens and it came out nicely. This model is hollow inside, but cannot be printed in a vase mode, this is why it needed some of the supports.
Strings as Decoration
On social media, 3DPrintBunny showcases her amazing 3D printing art using thick long strings. I was curious to try such models for a long time. She published a special String Test file to try such a technique on any machine. 3DPrintBunny also explains a few important settings on her Thangs page. I printed the string test file with the different filaments quickly, in approximately 15 min each, and it quickly became one of my favorite test files.
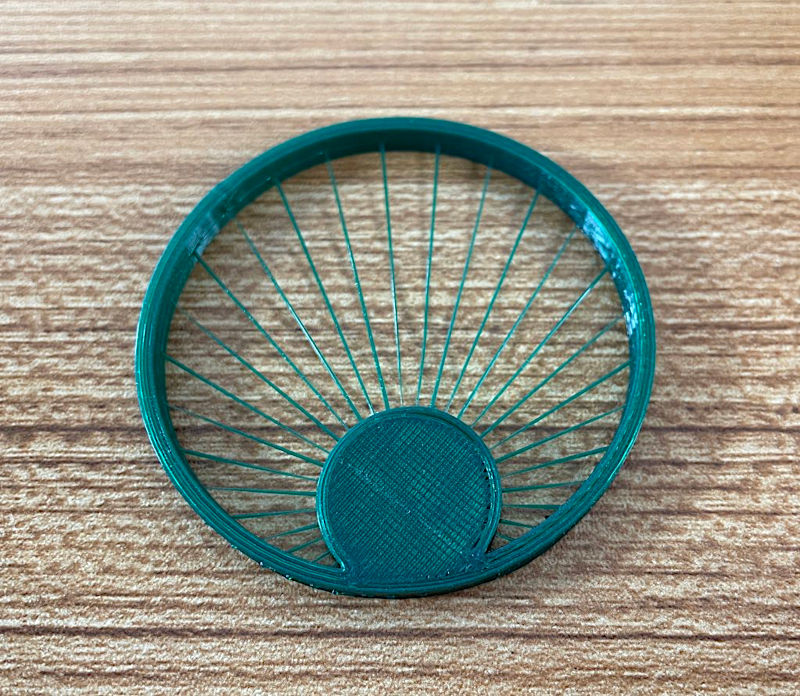
©3DWithUs – Photo: Max Funkner
This test print also shows well that Neptune 3 is capable of printing such long strings/bridges without any issues with the cooling or sagging. But it is super easy to fail such prints without checking the preview thoroughly. This is why I recommend always to check the preview on a particular layer and seeing if ALL strings are consistent without any interruptions. In my own experience, the preview of what was all OK in one slicer was not in another.
Compare to Other 3D Printers
Compare to the similar volume FDM 3D printers in the same $300 price range:
Compare to the Elegoo Neptune series 3D printers:
- Elegoo Neptune 3 Plus (Review)
- Elegoo Neptune 4 (Review)
- Elegoo Neptune 4 Pro (Review)
- Elegoo Neptune 4 Plus (Shop)
- Elegoo Neptune 4 Max (Shop)
Together, the Elegoo Neptune 4, Neptune 4 Pro, Neptune 4 Plus, and Neptune 4 Max constitute the latest products in the Neptune FDM 3D printer series. If some of the machines haven’t been reviewed on our website yet, you can refer to their primary comparison table in the image below to get a general overview.
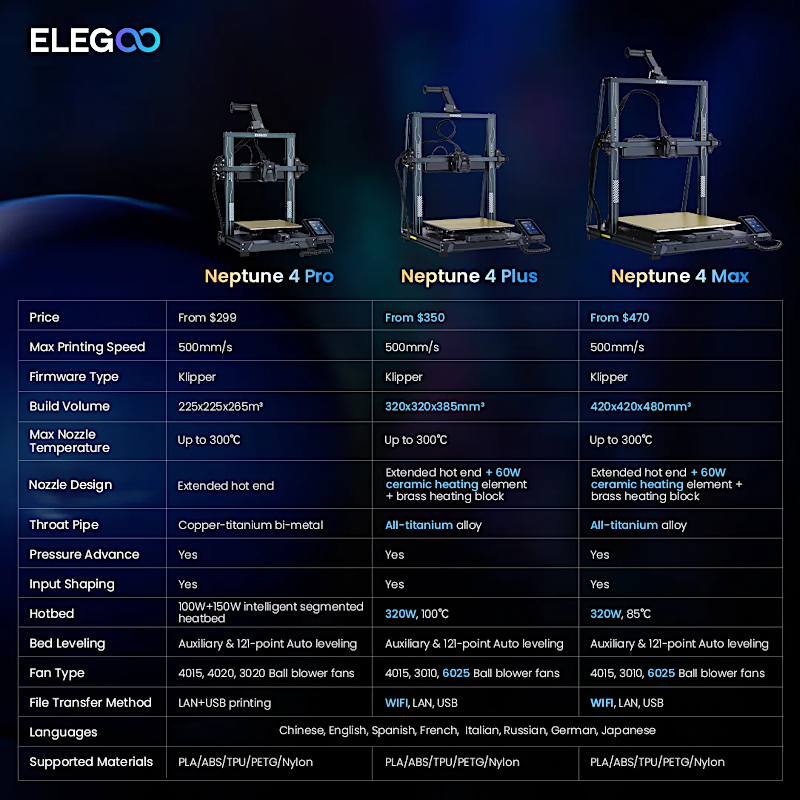
Image: Elegoo
We also featured Neptune 3 when testing filament dryers. Bowden extrusion system works well with such devices.
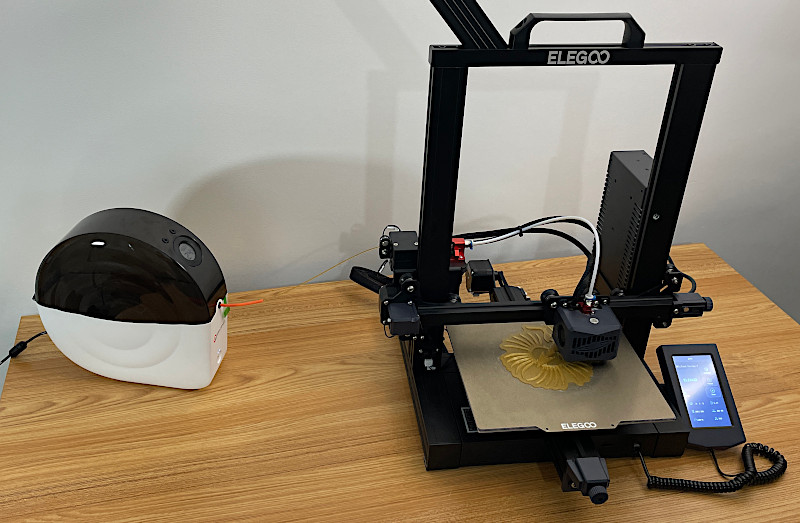
©3DWithUs – Photo: Max Funkner
Conclusion and Pros & Cons
I was testing Elegoo Neptune 3 for a review for a duration of two weeks. As this is my first machine of this type, and I used to print with the more expensive brands like Original Prusa and Snapmaker 2, I can say that it is definitely a good choice for many reasons. I tested it printing complex prints with many bridges and many supports and it worked well. The only drawback was that I couldn’t set up the Pause command in any Slicer software that the machine would act upon. Nevertheless, Elegoo Neptune 3 can be considered one of the best budget 3D printers.
Elegoo Neptune 3 Star Rating
Summary Review
Elegoo Neptune 3 FDM 3D printer has many features for a surprisingly affordable price. A flexible removable print sheet, an automatic leveling systema, and a decent build volume can be the decision-making options for many buyers.
PROS:
Price – many great features for a low price
Auto leveling – does the job
Decent volume
Relatively quiet
CONS:
Lack of profiles in other slicers
Elegoo Cura custom scripts didn’t work during testing