The Mingda D2 is a 3D printer that is sold at an entry-level price point but has an impressive list of features typically found on more expensive machines. The Mingda D2 ships at a sub-$300 price point and includes features such as filament run-out detection, TMC2208 silent stepper drivers, a 3.5” color touch-screen, and more. These features all combine to create a machine that far exceeded my expectations of a printer at this price point.
Mingda D2 Specifications
– Extruder: .4mm Nozzle
– Heated Bed: 0-110 degrees C
– Build Volume: 230 x 230 x 260 mm
– Materials: 1.75mm Filament
– Connectivity: USB / SD Card
– Interface: 3.5” Color Touchscreen LCD
– Dual Z Threaded Rods
Comparison
Conclusion
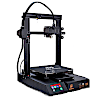
3D Printer Assembly and Review
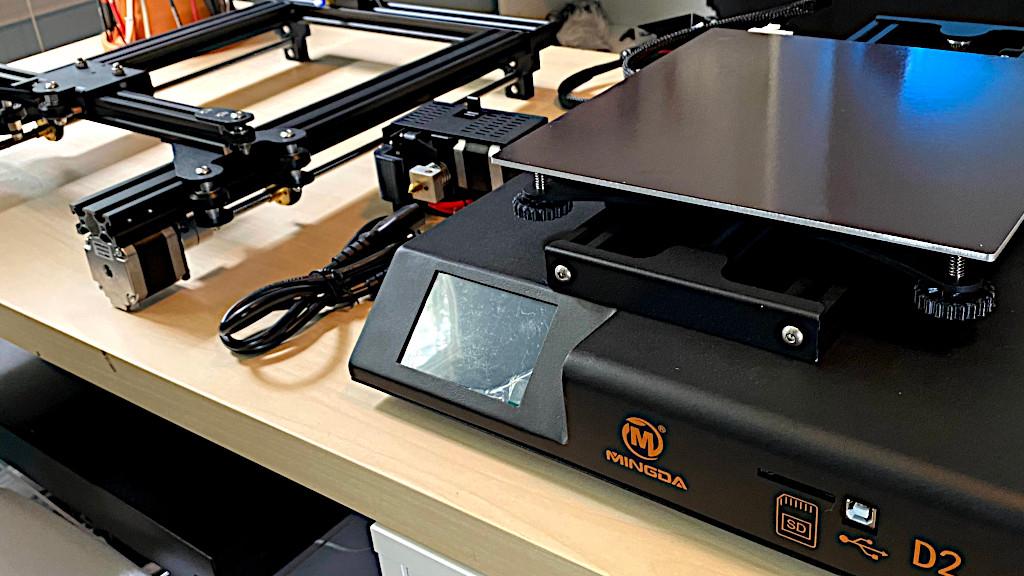
The D2 ships with the base, gantry, and extruder module all pre-wired and prepared for final assembly. Assembling the printer is a fast process and only requires attaching the X/Z gantry to the base and attaching the extruder module to the carriage on the gantry. The dual Z-rods on the gantry offer additional stability and are typically not seen on machines at this price point.
(Image: Andrew Sink)
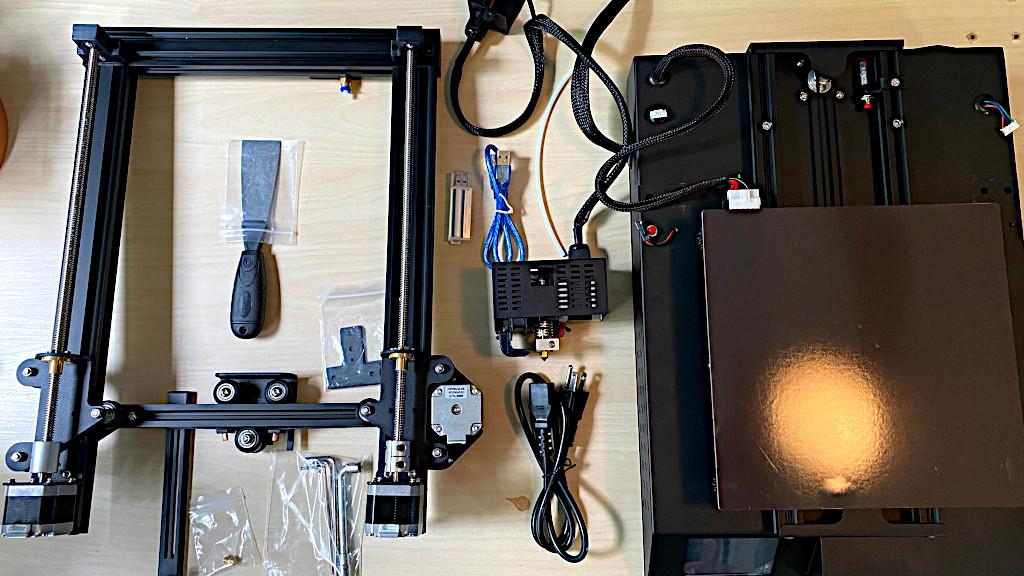
The D2 ships with a part scraper, USB SD card reader, USB cable, power cord, and all the tools required to assemble the printer. The Z-rods are already installed and only need to have the terminals connected to the base. The filament run-out sensor is attached and wired to the gantry, and doesn’t require any calibration.
(Image: Andrew Sink)
D2 Features
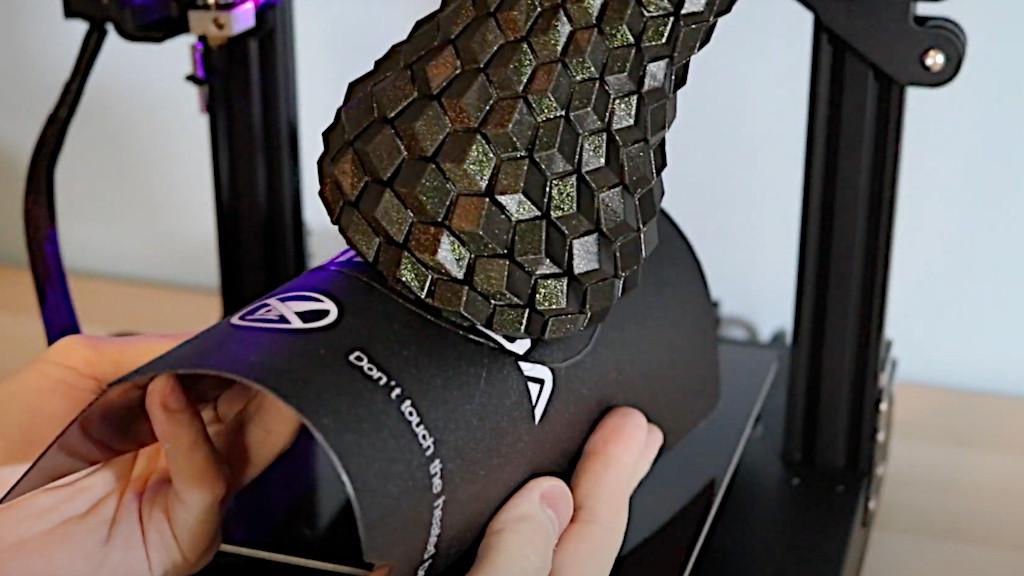
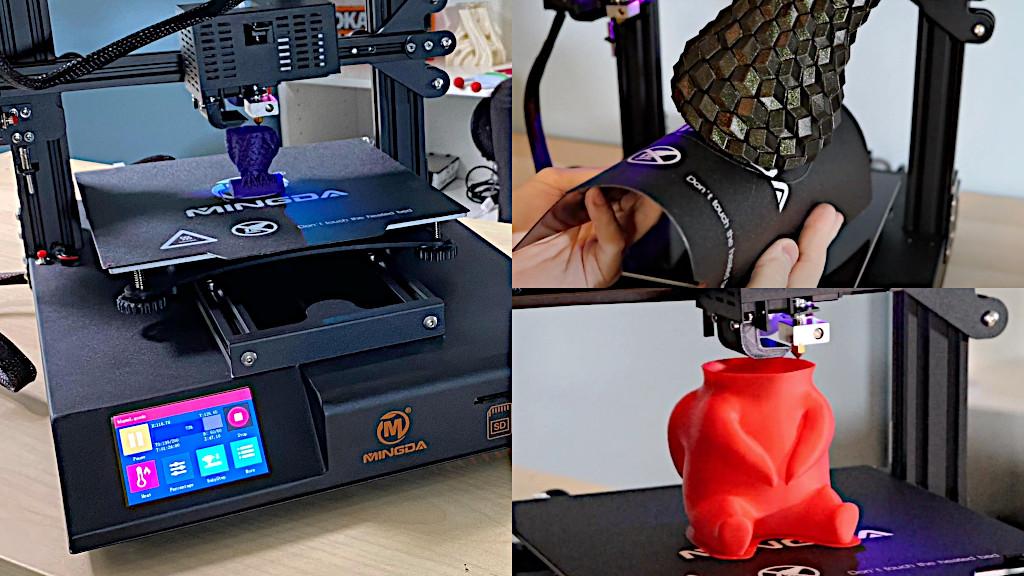
The D2 uses a magnetic removable textured printing surface which is perfect for printing PLA and easy to remove. The textured printing surface is thick enough to stick down magnetically without requiring clips and it can be bent and folded without permanently creasing.
This makes removing parts almost effortless and is one of my favorite methods for print removal. There are four thumbscrews underneath the bed that are used for manually leveling the bed.
(Image: Andrew Sink)
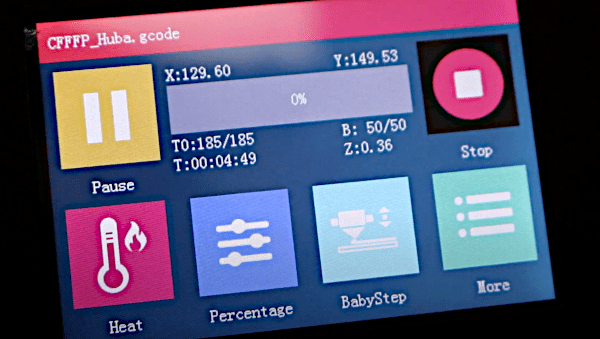
The color touch-screen on this machine is responsive and bright and it makes navigating during printing an easy task. In addition, the “BabyStep” feature allows users to live adjust the Z offset during printing, which can make the difference between a successful and failed first layer. This feature is very useful when compensating for an uneven surface, or for a first layer that appears to be slightly too high or too low. The extruder temperature, heated bed temperature, print speed, and fan speed are adjustable during a print using the touch screen interface.
(Image: Andrew Sink)
First Prints
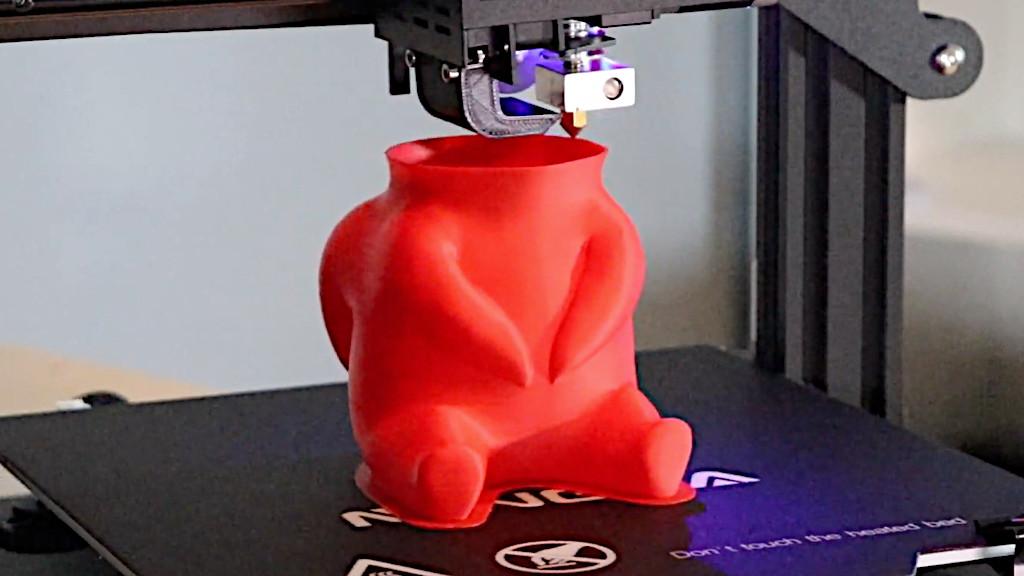
The D2 includes several demo models on the included SD card that are pre-sliced and prepared for 3D printing. The included Huba model prints out completely hollow, with 10 top/bottom layers and a thick raft. The detail on the model is impressive, but it takes almost 12 hours to print it completely. I’d recommend skipping the demo models and preparing some of your own to test out the machine.
(Image: Andrew Sink)
Slicing Software
Mingda offers a version of Cura on their site as their preferred slicing software. The default settings on their printing profiles can be a little confusing, so I highly recommend spending some time on dialing in and adjusting the settings to get a profile that works for your application. You can also extract the Start and End gcode from the pre-sliced models and use it to build a profile in a different software package, such as PrusaSlicer or IdeaMaker.
Silent 3D Printing
If the volume and noise of most desktop printers is something you are sensitive to, the Mingda D2 is going to be a welcome change. The TMC2208 stepper drivers allow the D2 to print almost silently, with the power supply and extruder fan being the loudest part of the machine. Fast travel moves and infill patterns print quietly, with no loud buzzing or whirring from the stepper motors.
(Image: Andrew Sink)
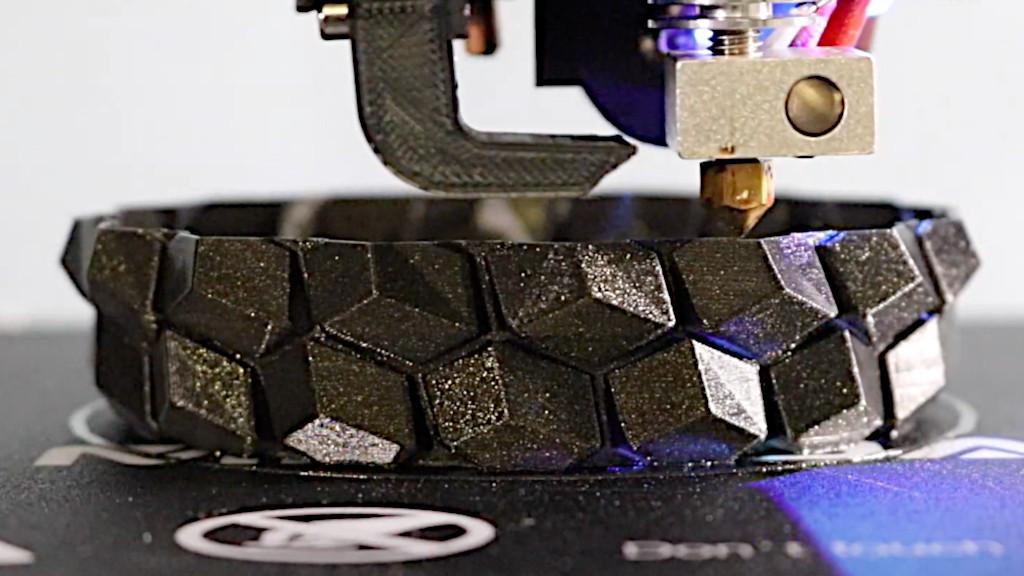
Using PrusaSlicer, I created a profile for testing the performance of the D2 when printing thin wall models using a single spiralized contour, known as ‘Spiral Vase’ in the slicer. Using the Curved Honeycomb Vase from Thingiverse as a test, the printer performed very well. The model had well-defined edges, a clean bottom layer, and no stringing present.
(Image: Andrew Sink)
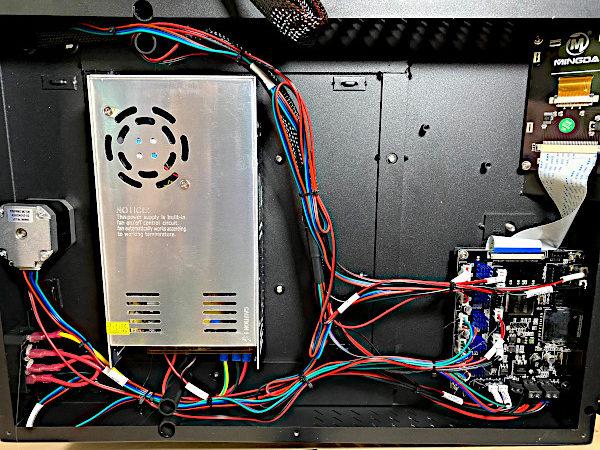
The D2 is a solidly built machine, with sturdy aluminum extrusions and professional wiring throughout the machine. The wiring inside the base is well-managed, and the terminals were all securely installed.
Filament Run-out Sensor
The filament run-out sensor works well and will automatically pause the print if it detects that filament is not present at the switch location. This can be a problem when printing very tall parts, as the sensor is close to the left side of the frame while the extruder shuttles back and forth. This can over-constrain the filament path towards the top of the Z range, and may require the runout sensor to be disabled or bypassed altogether for tall prints.
In addition, the wiring harness that attaches the extruder tends to sag below the nozzle, which could be a problem when printing multiple tall parts. It didn’t cause any problems on any of my prints, but being aware of it is a good strategy when setting up your build plate to avoid a collision.
Should you buy the Mingda D2 3D Printer?
The Mingda D2 has a lot of advanced features that experienced 3D printer users will appreciate and beginners will benefit from as well. The silent stepper drivers make this an ideal printer for home office use where it will be located near the user. In addition, the direct drive extruder is easy to load/unload and the touchscreen makes it easy to adjust the Z height during the first layer.
If you are interested in a reliable printer with some advanced features for under $300, this printer will check a lot of boxes. The Mingda would be ideal for a first printer, as the direct drive system and removable bed can reduce some of the leveling problems a first-time user may run into.
Read More & Compare
- Read More: Mingda Rock 3 Pro 3D Printer Review: Large Volume 3D Printing Under $500
- Read More: Mingda Magician Pro Review – Large and in Charge

Read More & Compare
Read more about desktop 3D printer builds and processes. Type, volume, FDM or Resin, all to consider. Or jump to the latest 3D printer reviews.
For a comparison with other FDM 3D printers please refer to the
detailed budget FDM 3D printers guide.




Hi Andrew, great article. I also believe the D2 to be a great value and purchased several more to learn more about this technology. Interestingly, the biggest issue I’ve had is to learn how to remove filament without experiencing clogs inside the channel between the extruder gear and roller. I suppose there are other new owners experience similar problem.
Maybe you can make a YouTube video on how to properly change filament for the D2?
Don’t know what I’m doing wrong but unable to use the touch screen to back out material. Only way I found plausible is to release lever, grab filament, manually push downwards to extrude 1.5″, then quickly pull filament out. Each time this happens, I have to disassemble hotend components and manually remove leftover piece(s). Don’t know if this is a design or user error. Any help you can provide is greatly appreciated.