The Anycubic Photon line has evolved, culminating with the most recent model, the Photon Mono M7 Pro. Building on the highly renowned Photon Mono M5s Pro, the M7 Pro has a higher resolution of 16.8 x 24.8 microns and the same automated self-check technology. It also adds an integrated vat heating system and the option of using the Anycubic air filtration system or the new auto-fill and recycling system.
In this review, we will look at all of the Photon M7 Pro’s new features, examining both the improvements and the potential benefits and cons of these changes. The M7 Pro’s automated capabilities, including auto-leveling, resin level detection, and peel force detection, makes resin printing easier than ever before, making it more accessible to individuals with little prior knowledge. As usual, in the end, we will publish our conclusion and pros and cons.
Table Of Contents (Jump to a Section)
- Specifications
- Unboxing – What’s Included
- Setup and Design
- Software – Anycubic Workshop
- Testing and Results
- Wash and Cure Stations
- Compare to Other 3D Printers
- Conclusion and Pros & Cons
Where to Buy
Price: $499 – $669
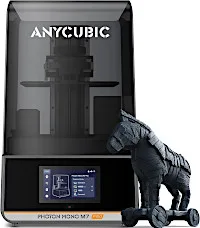
Photon Mono M7 Pro
• Build Volume 223 x 126 x 230 mm (8.7 x 4.9 x 9 inches)
• LCD Screen 10.1″ Monochrome
• Light Source COB (Chip On Board) with Fresnel Lens
• X/Y Axis Resolution 16.8 x 24.8 microns
• Normal Exposure Time 1.3/1.7 seconds
• Interface 5” Touch Panel
• Connectivity USB, WiFi
• Machine Footprint 310 x 315 x 520 mm (12.2 x 12.4 x 20.4 inches)
• Machine Weight 12.8 KG (28.2 lbs)
What’s in the Box
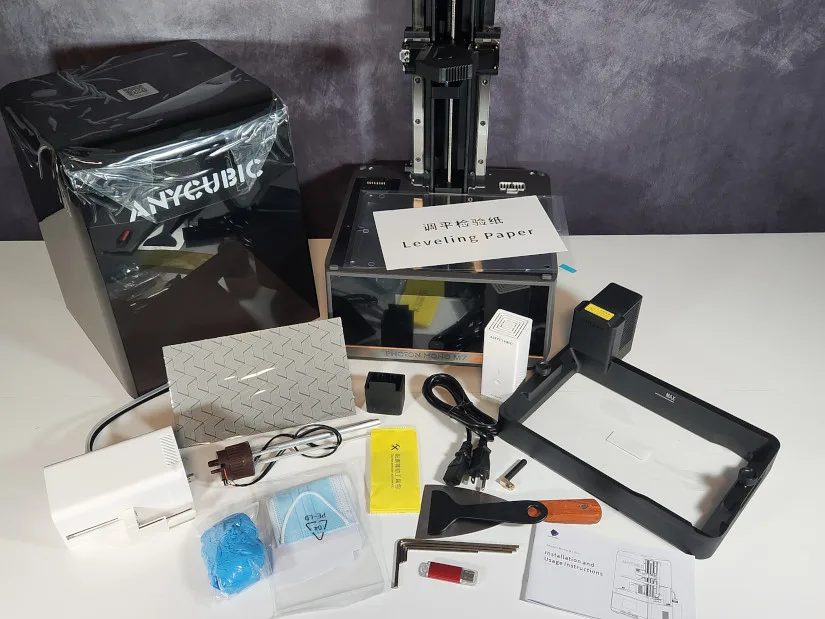
Photon Mono M7 Pro, Print platform, Resin vat, WiFi antenna, Auto-fill unit, Air purifier, USB drive, Screen protector kit, Metal scraper, Plastic scraper, Hex key set, Power cord, Extra auto-fill tubes, User manual, Gloves/Masks, Disposable funnels.
©3DWithUs – Photo: Will Zoobkoff
Setup and Design
The Photon Mono M7 Pro requires only a few steps to begin printing. The first steps are to remove the protective film from the LCD and resin vat, install the included screen protector, connect the WiFi antenna, and ensure the power supply voltage is correctly set for your country.

©3DWithUs – Photo: Will Zoobkoff
Before printing, you must pick whether to install the auto-fill or air-filtering system.

– Auto-fill System. During testing, the auto-fill system performed effectively with most resins. However, some heavier resins may present difficulties since the system may struggle to transfer the resin through the tubes if it is not heated enough.
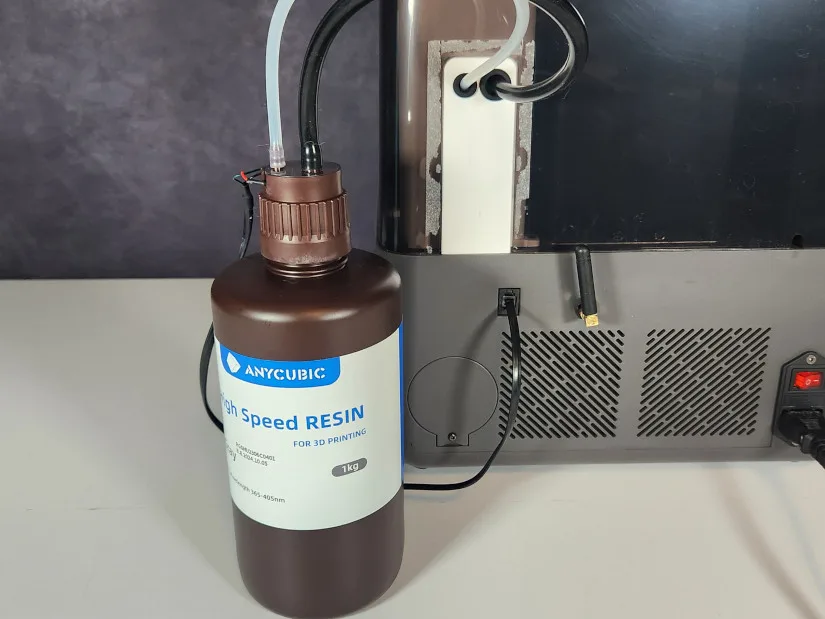
The same goes for the resin vat heating system. Because of the way the technology pumps resin through channels inside the vat, thicker resins may have difficulty, resulting in an anomalous heating mistake. Warming the resin before putting it into the vat helps the heating and auto-fill systems perform more efficiently.

©3DWithUs – Photo: Will Zoobkoff
When fitted, the new auto-fill system automatically lowers into position during use. It does an excellent job of removing most of the resin from the vat at the end of the printing cycle. A plastic or silicone spatula can aid in moving the residual resin into the auto-fill nozzle.
– Air Filter. You can also remove the auto-fill mechanism and install a USB-powered air filter, which greatly decreases resin fumes and odour. In addition, a connector on the back of the Photon Mono M7 Pro lets you connect an exhaust hose if you have access to a fume extraction system. This configuration allows you to use the auto-fill system while releasing dangerous vapours from your desk.
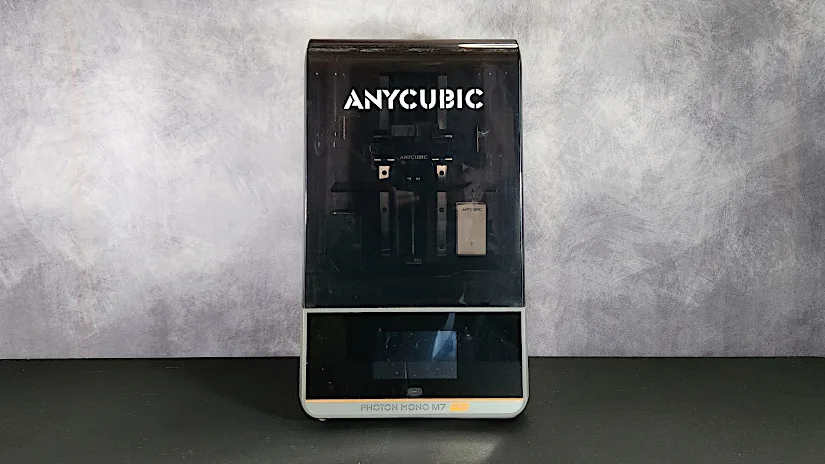
– Design. In terms of design, Anycubic kept things simple, with clean lines flowing from the base into the UV cover, matching colour tones, and a darker lid, as opposed to the earlier yellow covers that Anycubic was renowned for.
©3DWithUs – Photo: Will Zoobkoff
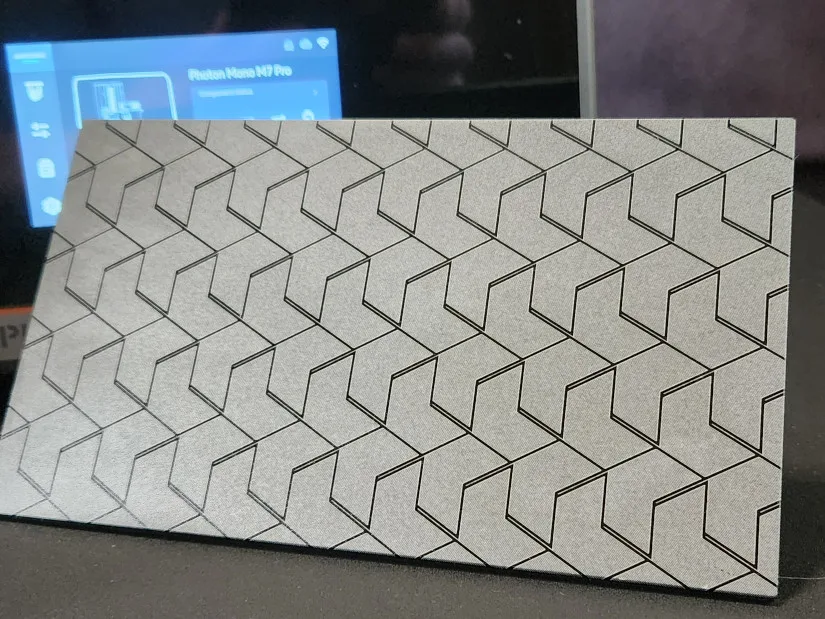
– Resin Vat. The resin vat has also undergone considerable design improvements. The vat is now totally metal, with a big block on the back containing the heating components and the motor that moves the resin through the channels.
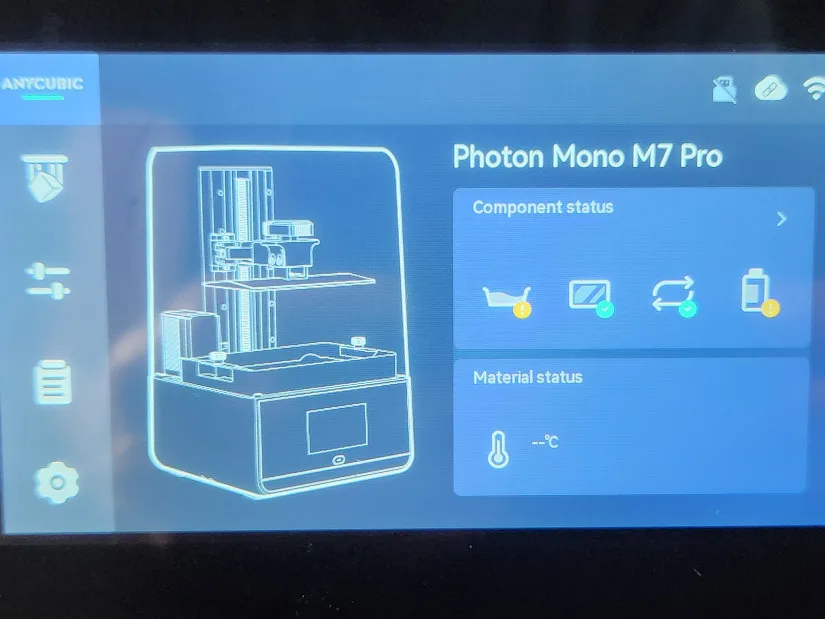

– Touchscreen. The 5-inch touchscreen offers a modern, clean interface that lets you quickly load files, monitor progress, clean the heating system, and manage layer count and machine health.
Software – Photon Workshop
For slicing software, consider the Anycubic Photon slicer or Chitubox, popular among resin printing enthusiasts. If you wish to transfer sliced files directly to the M7 Pro, you’ll need to utilize the Anycubic slicer, which is the only option that connects to the printer over WiFi, allowing you to upload files and start prints from anywhere. If you use Chitubox, you’ll need to slice the files, save them to a USB drive, insert the drive into the printer, and then start printing from the printer’s screen.

– WiFi. During our testing, we used the Anycubic slicer to slice the files before saving them to a USB disc for printing. I do not use cloud services to deliver files to printers. While they are handy for tracking print timings and, if the printer has a camera, checking print status, I am usually in the studio all day, so I can easily view prints as they are completed.
– Peel Force Detection. The Photon Mono M7 Pro also incorporates peel force detection and print failure detection. If any problems develop during printing, the printer will pause, allowing you to examine the print to see if it is okay to continue or should be stopped.
Included Test Model
For our testing, we used Photon Workshop’s default profiles, with only minor tweaks to the layer exposure duration and base exposure time dependent on the resin used for each print.
The first print we tried was one of the files that came with the printer and on the USB drive: a slim vase model cut for rapid resin. We poured Anycubic Fast Resin from Amazon into the printer and chose a file.
– Smart Settings. Before the print begins, you can select which smart settings to enable, including force sensing, resin level monitoring, resin preheating, and auto-fill.
The print platform will then lower into position and inspect the resin level in the vat to ensure that there is enough resin for the print job. If a mistake occurs, the printer will halt and warn you, giving you the option to ignore or cancel the print.
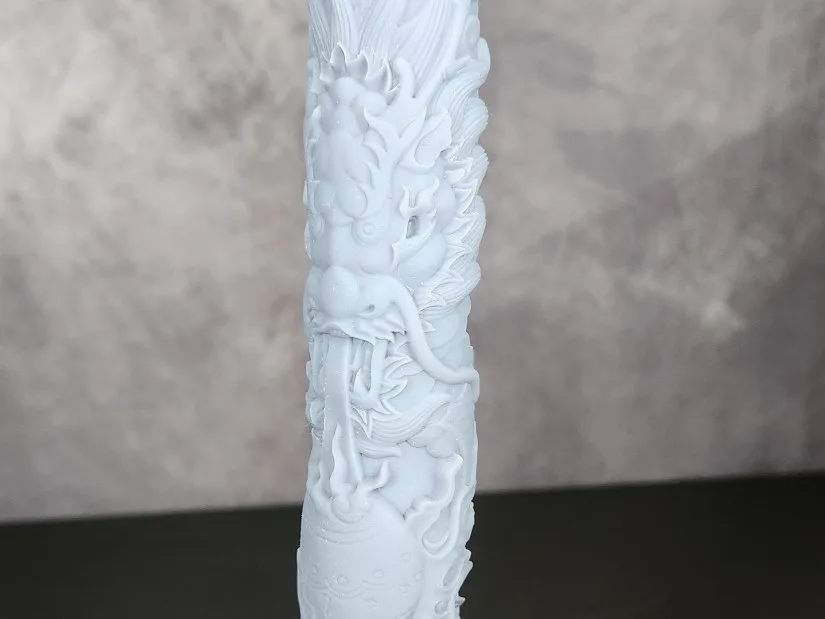
©3DWithUs – Print and Photo: Will Zoobkoff
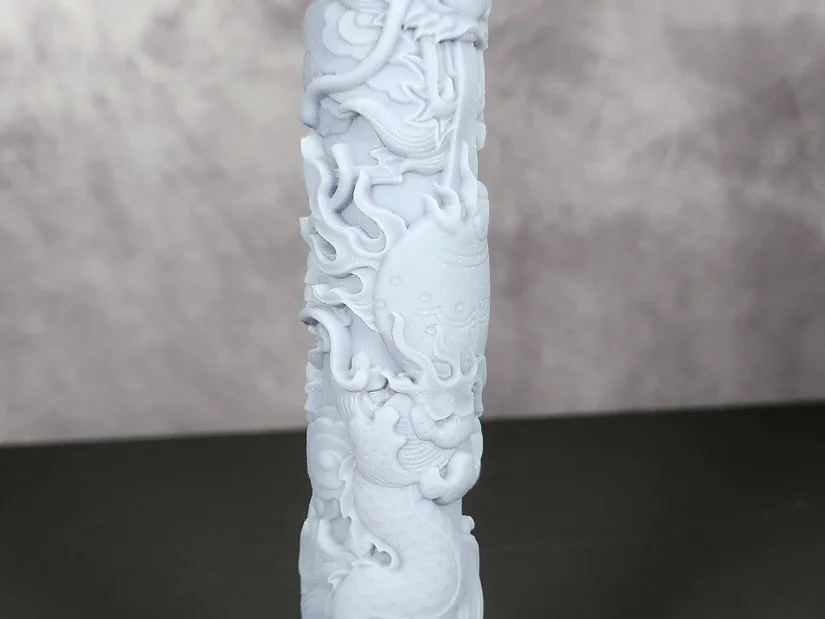
The test print turned out great with Anycubic Fast resin; the details were sharp and clear, and the curved surfaces were smooth and free of artifacts.
Test Printing Results
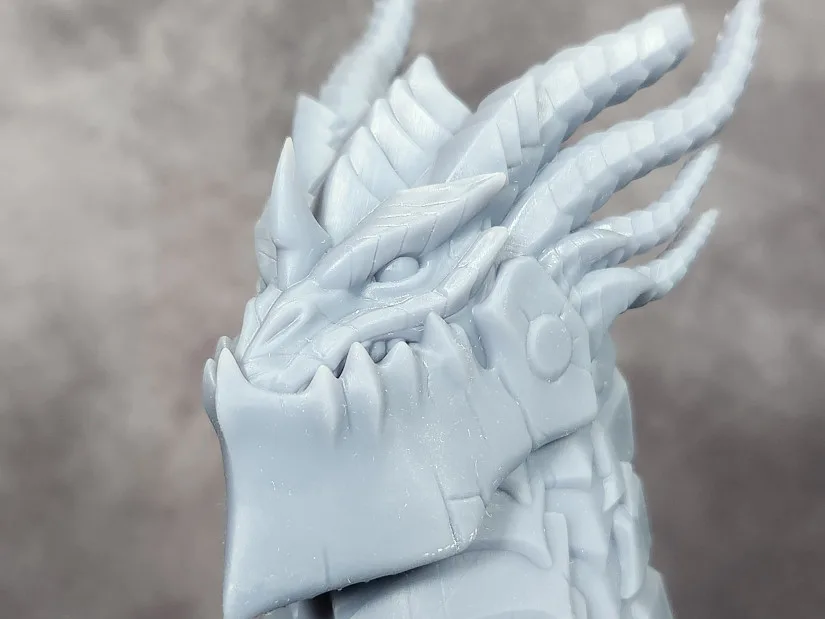
– Regular Resin Fast Mode. For the following test, we printed the Deathwing Bust Fotis Mint. This was a simple print with SUNLU standard grey resin, but the clean lines and smooth surfaces gave the bust an almost lively appearance because of the improved resolution. The print took only an hour and a half to complete using the regular resin fast mode.

©3DWithUs – Print and Photo: Will Zoobkoff
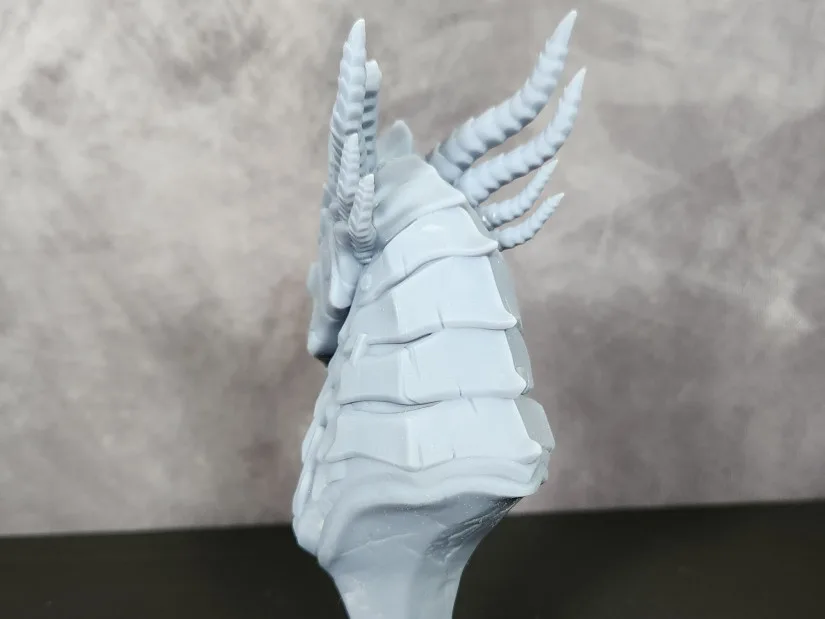
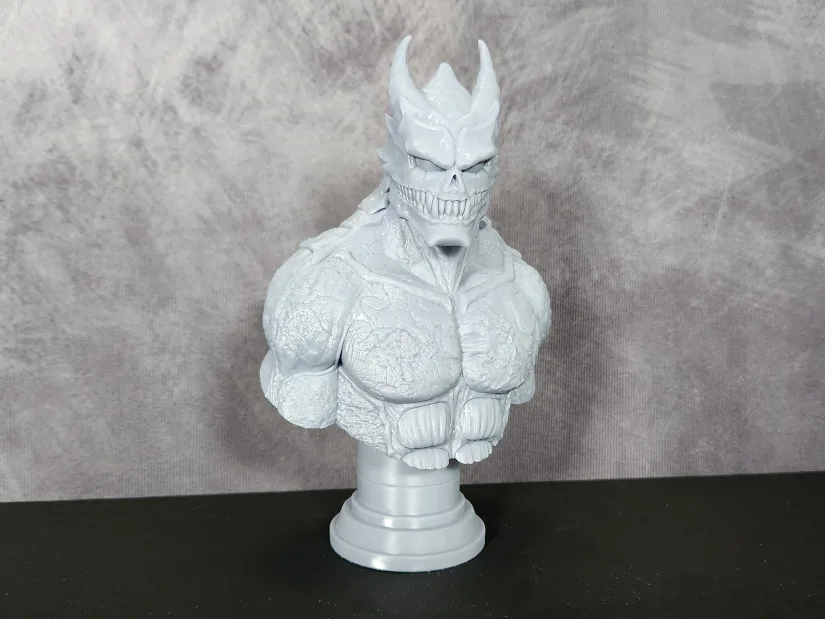
We chose another Fotis Mint model for the second print: the Kaiju #8 Bust. This print comes in two pre-supported pieces and fits together on the build plate. Using SUNLU standard grey resin in regular resin fast mode, the print took slightly over an hour to finish. This setting is ideal for busts and larger prints, and with force detection enabled, there is a lesser risk of failure.
©3DWithUs – Print and Photo: Will Zoobkoff


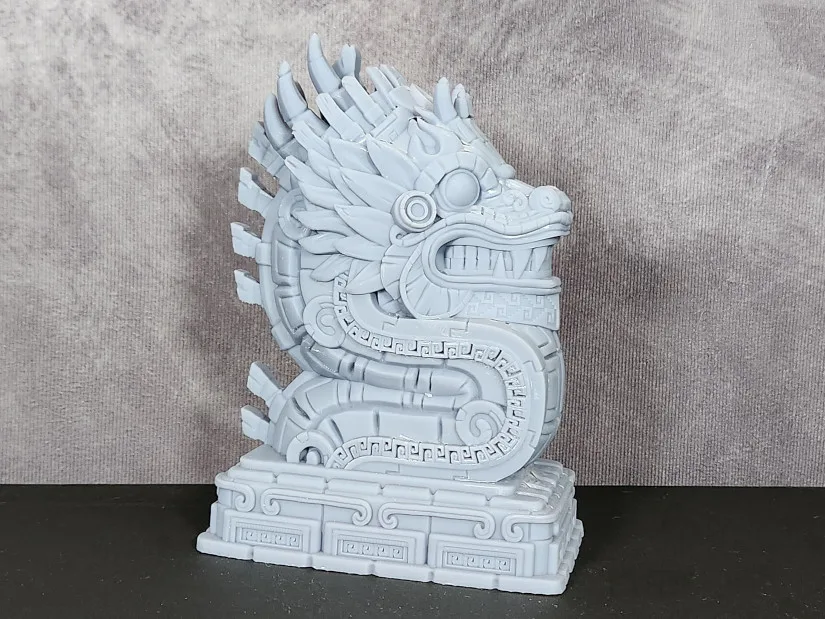
Next, we printed the Aztec Dragon Bust, another Fotis Mint model. This highly detailed bust with clean lines is a perfect test model for the Photon M7 Pro.
©3DWithUs – Print and Photo: Will Zoobkoff

This print, using SUNLU standard grey resin from Amazon, took an hour and 40 minutes to finish and turned out excellent. The lines were crisp and sharp, with smooth edges without artefacts. This is another excellent outcome from the Photon M7 Pro.
For our final test, we attempted a different model created by the brilliant digital artist Nerikson. This is Naojiri, the steampunk samurai, a model cut into multiple pieces with two head and arm possibilities each.

©3DWithUs – Print and Photo: Will Zoobkoff

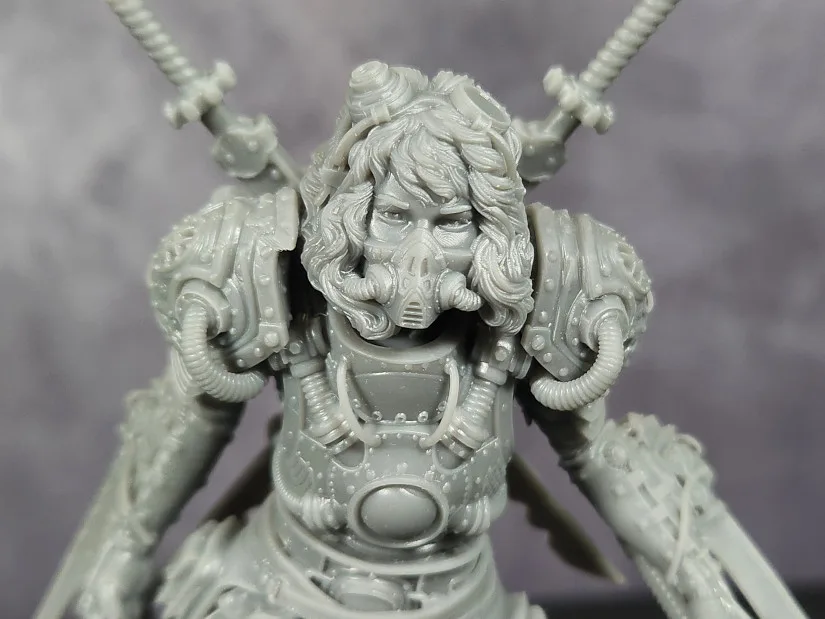
The entire model fits on the Photon M7 Pro’s build plate, and the printing takes about four and a half hours to complete using SUNLU Dark Grey standard resin plus from Amazon. The model’s details pop out, especially with the improved resolution of the 14K screen.
Anycubic Wash and Cure Stations
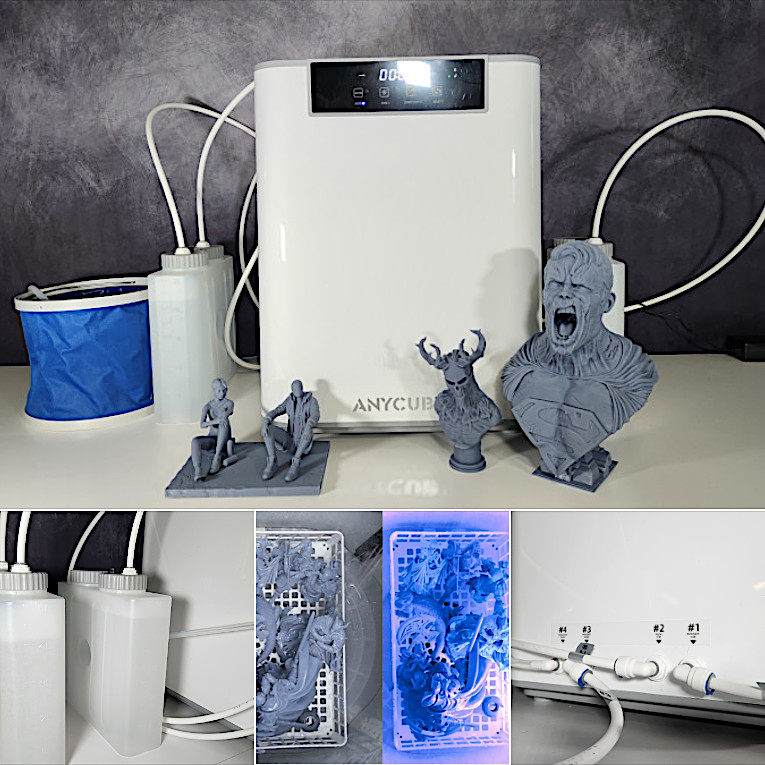
We cannot forget the quality yet affordable Anycubic post-processing machines, which make resin printing much more comfortable. Wash & Cure 3 Plus or Wash & Cure Max can be purchased on the Official Website or Amazon.
©3DWithUs – Print and Photo: Will Zoobkoff
On our website, you can read the full review of Anycubic Wash & Cure Max and compare it to other resin post-processing stations.
Compare to Other 3D Printers
Compare to the Anycubic Photon Mono Series 3D printers:
In resin 3D printing, Anycubic is one of the major players as it offers desktop solutions for almost all needs, from regular to Max build volume 3D printers. You can find many older model reviews with highly detailed test prints on our website.
Compare to the similar volume resin 3D printers in the same price range:
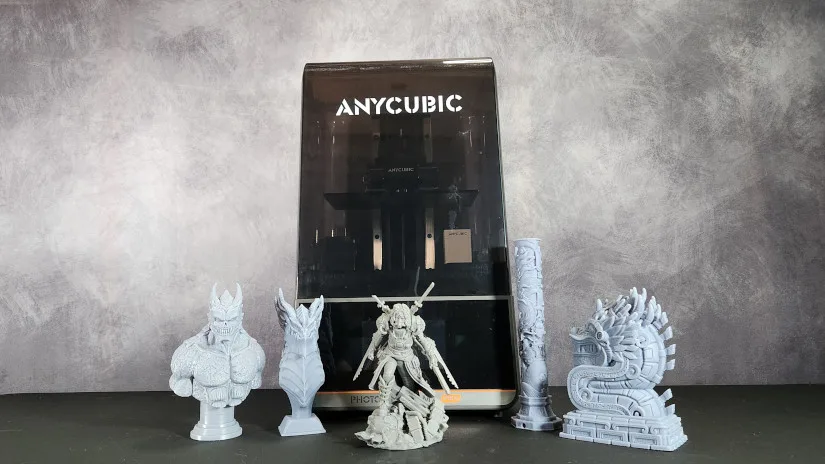
Anycubic Photon Mono M7 Pro is a large-volume 3D printer. In this category, volume-wise, the competitors would be Elegoo Saturn 4 and Uniformation GK series machines. If price-wise, Photon Mono M7 Pro stays in the middle, then feature-wise, Anycubics machine is in an advanced position for the second year in a row.
©3DWithUs – Print and Photo: Will Zoobkoff
Conclusion and Pros & Cons

Anycubic Photon Mono M7 Pro Review
Review Summary
The Anycubic Photon Mono M7 Pro is a clear progression in the Photon series since it adds new noteworthy features and builds upon the success of its previous models. With the M7 Pro, the goal is to achieve better quality prints with fewer worries and, optimistically, quicker prints thanks to improved 14K resolution, built-in vat heating, and automatic self-check. It is now less complicated even for beginners using resin printers owing to auto-fill, provision for air filtration and better printing supervision.
During our testing, the Photon Mono M7 Pro never failed to impress, with outstanding results in every test, with many models achieving perfectly smooth surfaces and crisp details. This machine is very competitive in the resin printing market because of its fast printing speeds, reliable performance, intelligent design and ease of use features. The only disadvantage of the heating system is the weight of the resin vat, which is not more of a concern compared to the benefits gained.
PROS
• Fast print speeds
• Improved 14K resolution
• Heated vat
• Factory-leveled bed
• Auto refill/empty
Cons
• Resin vat is heavy and can be tricky to use

