The Creality Ender 3 machines have solidified their position as one of the most popular 3D printers on the market. In the past, 3D printers from the Ender series have introduced many people, including myself, to the world of 3D printing. For many, the Ender 3 was the initial step toward discovering the potential of this fantastic technology. The Ender 3 has been redesigned multiple times throughout the years, with each version improving on the strengths of the one before it. Recently released, the Ender 3 V3 is the latest model in its well-known lineup.
Is this the best Ender 3 yet? In this review, we will examine Ender 3 V3’s features and performance in depth. We’ll also test it with difficult prints to judge how well the hardware handles high-speed printing and whether the print quality is affected. As usual, in conclusion, we will also list the pros and cons.
Table Of Contents
- Specifications
- Unboxing – What’s Included
- Setup and Design
- Software – Creality Print 5
- Testing and Results
- Compare to Other 3D Printers
- Conclusion and Pros & Cons
Price: $299 – $389
Product Affiliate Links: 3DWithUs is supported by its audience. Purchases via some links may earn us a small commission at no extra cost to you. This helps us to continue bringing you high-quality content. Our guides and reviews remain unbiased and independent.
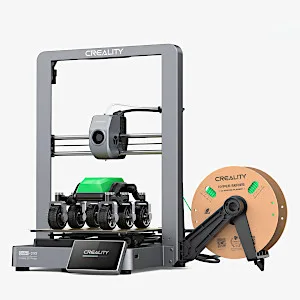
Creality Ender 3 V3 Specifications
• Print Technology: FDM
• Build Area: 220x220x250mm / 8.66×8.66×9.84inch
• Maximum nozzle temperature: 300 °C
• Maximum bed temperature: 110 °C
• Minimum Layer Resolution: 0.1 mm
• Maximum Layer Resolution: 0.4 mm
• Dimensions: 487 x 453 x 622 mm
• Weight: 7.8 kg
• Bed: Heated
• Print Surface: Removable magnetic build plate
• Software: Creality Slicer, Cura, Repetier-Host, Simplify3D
• Materials: PLA, ABS, PETG, TPU
• Print Speed: Up to 600 mm/s
• Optional Camera
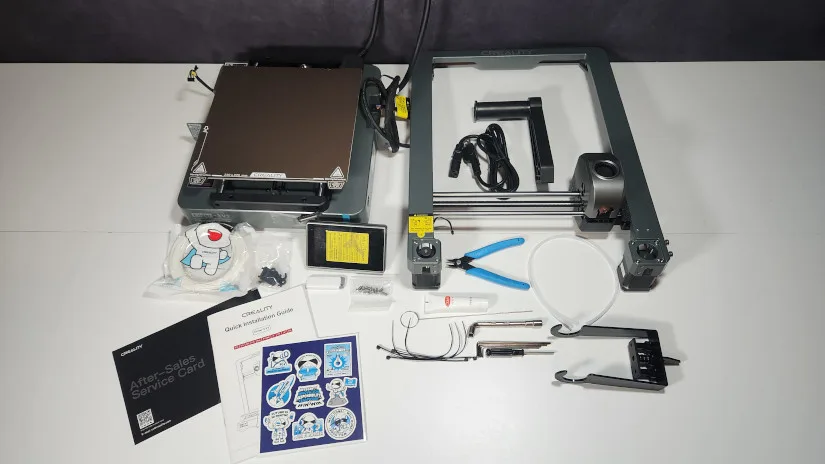
What’s in the Box
Ender 3 V3 Base, Gantry frame, Touch screen, Spool holder, Anti-tangle Spool attchment, Power cable, Side cutters, Bowden tube, USB drive, Tools, Nozzle cleaner, User manual.
Setup and Design
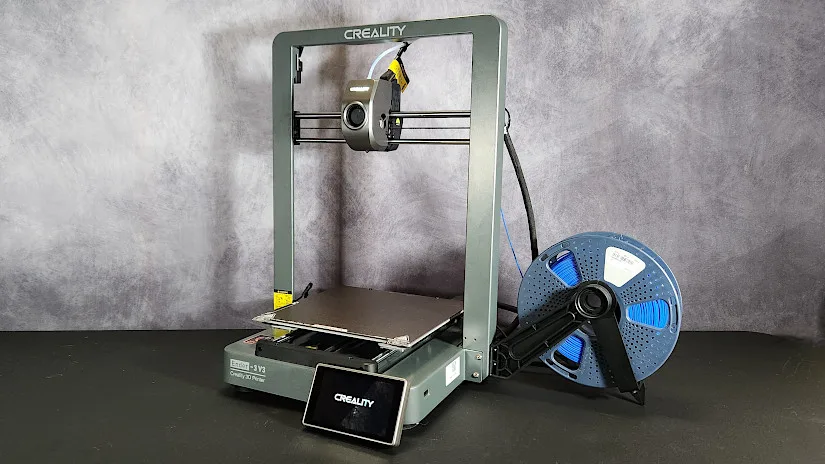
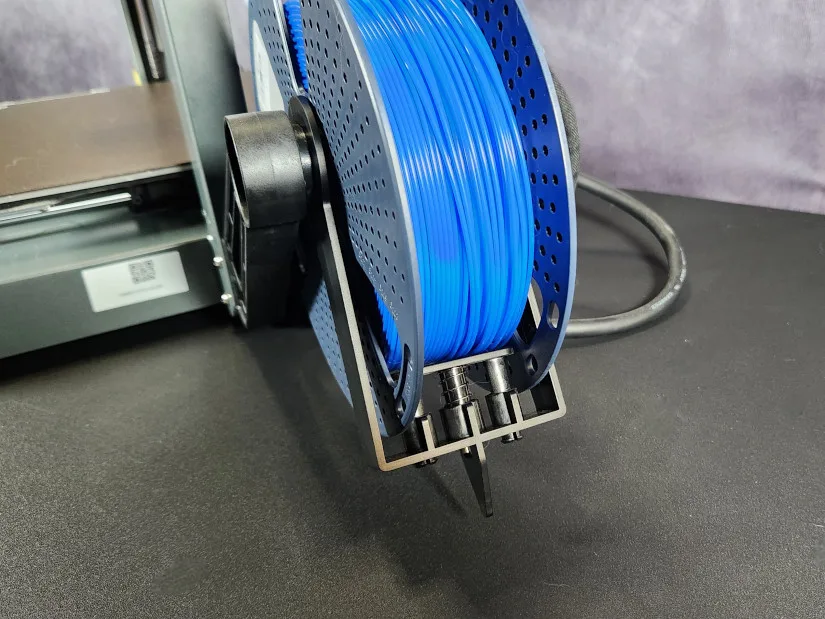
The Ender 3 V3 is one of the easiest 3D printers to set up and run. It is made up of two main parts: the printer base with the printing platform and the upright X and Z axes. The setup process is simple, requiring only a few steps. First, attach the spool holder to the upright frame, then fasten it to the printer base. Next, attach the touchscreen to the front of the machine. Finally, use the included clips and ties to join and route the cables.
©3DWithUs – Photo: Will Zoobkoff
– Self-check. Once assembled, you can turn on the printer and perform the self-check and calibration process. The Ender 3 V3 performs numerous checks before attempting to level the bed and run the input shaper. It also comes equipped with a custom Klipper-based firmware.
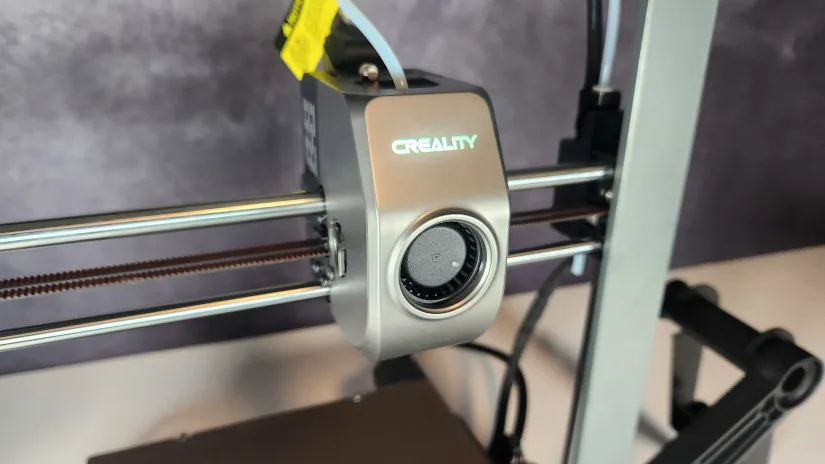
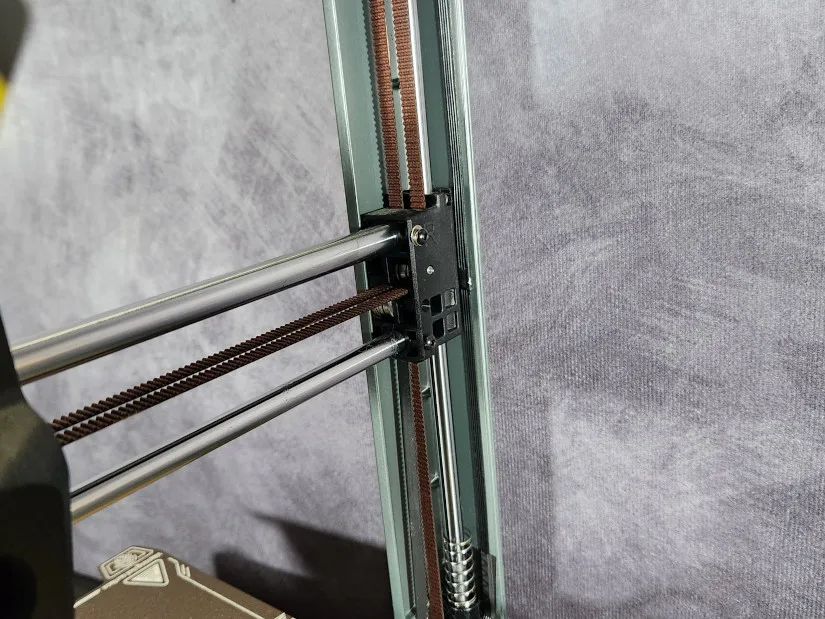
The design has evolved from the previous aluminum extrusion frame. The base is now a solid cast piece, and the X and Z axes are enclosed in another solid moulded piece of metal. This makes Ender 3 V3 the most stable Ender model to date.

Furthermore, the traditional wheels seen on a typical bed-slinger layout have been replaced by tube-style rods, allowing for faster speeds with less vibration than classic wheel configurations. These linear rods also benefit the Z-axis, giving steady movement and allowing for significantly quicker Z-axis travel than earlier bed slinger designs.
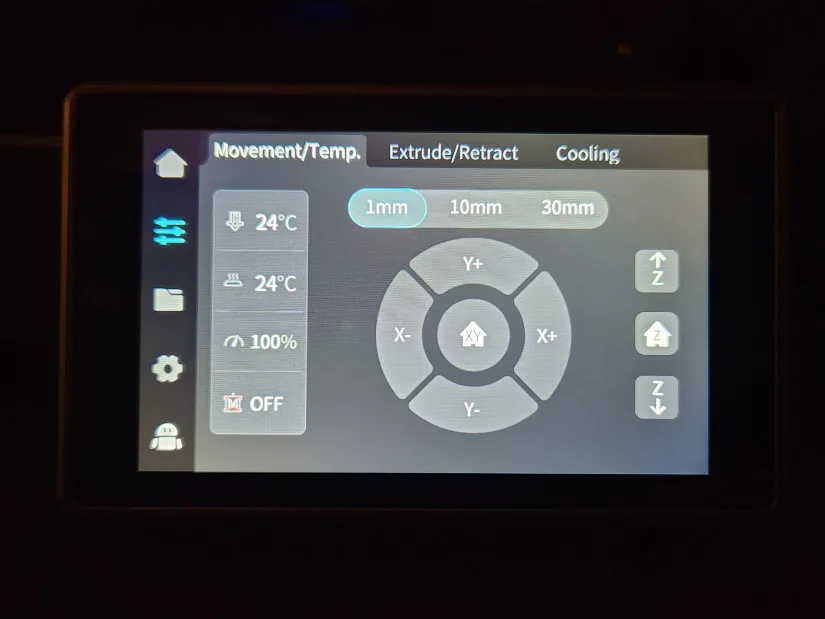
– Touchscreen. The touchscreen interface is identical to those found on Creality K1 series printers, and it includes everything you need to set up, calibrate, and start printing.
The Web UI can also be accessed via Creality Print, Orca Slicer, or your web browser, allowing you to monitor, upload, and operate your printer even if you are not in the same area. You can also use the Creality Cloud to slice, upload, and start prints.
Software – Creality Print 5
We chose the Creality Print 5.0 Beta slicer to meet our slicing, uploading, and monitoring requirements. This latest version includes several additional features and a redesigned UI, bringing it in pace with some of the more powerful slicers available. Alternatively, you can use Orca Slicer, a popular tool for slicing, uploading, and monitoring compatible printers.
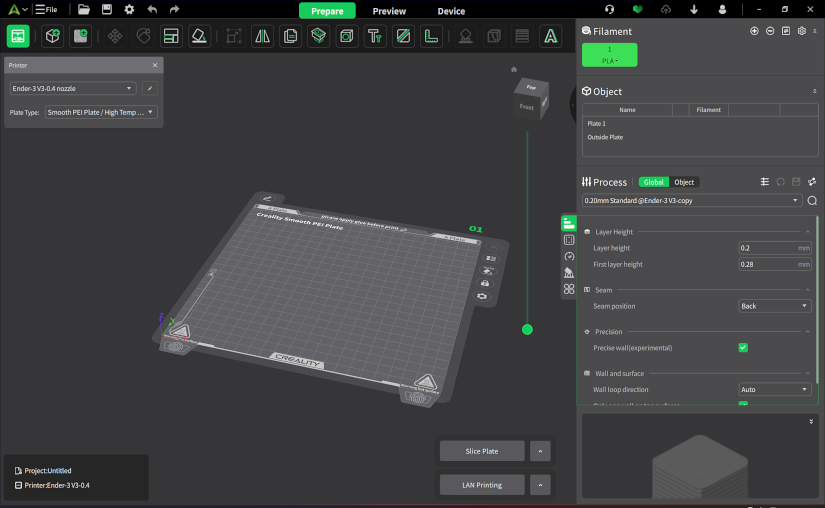
– AI Infill. We used the new AI infill capability to infill all of the prints in our review, with a 0.2mm layer height and a 10% grid infill. To strike a compromise between speed and quality, we chose three walls and a speed of 300 mm/s.
– Scarf Seam Tool. The new Creality Print software also has the “scarf seam” tool, which drastically eliminates the seam lines commonly found on FDM 3D prints. The normal parameters on the included Ender 3 V3 profile effectively reduce seam visibility with the scarf option checked.
Test Printing Results
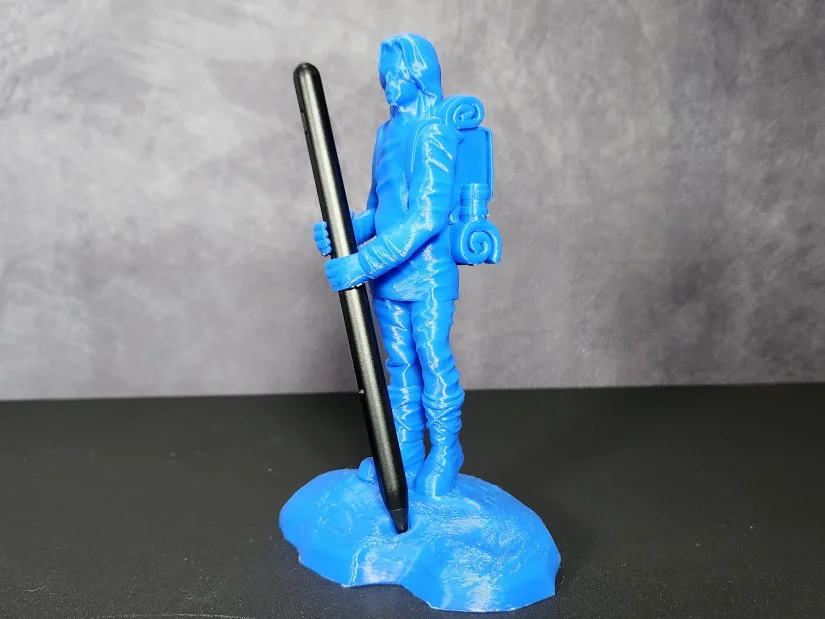
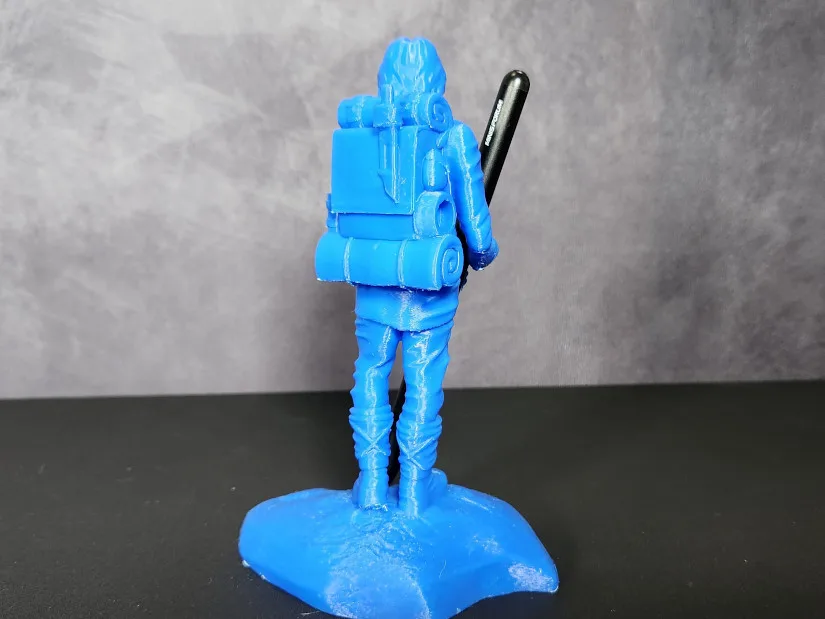
– Organic Supports. Our first model in testing was the Guardian pen or tool holder, one of 3DWithUs’s designs. This model requires supports, and the tree supports on the build plate set to “organic” worked perfectly, effectively supporting all the critical areas. Using Sunlu’s new Blue PLA+ from Amazon, the model printed beautifully in 4.5 hours. The Ender 3 V3 handled it exceptionally well, with no issues on any of the overhangs, and the details came out clean with no visible defects.
©3DWithUs – Print and Photo: Will Zoobkoff
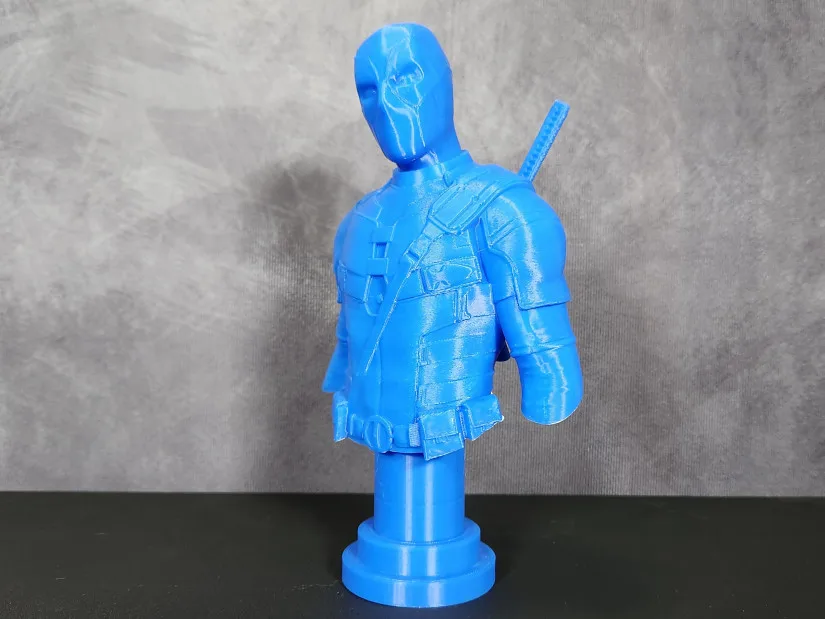
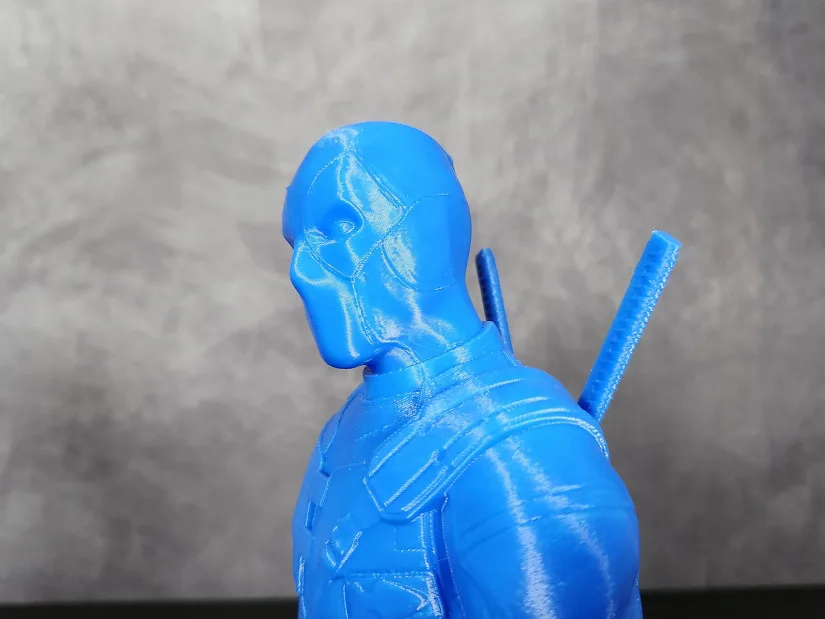
For the next print in our testing, we chose the new Deadpool bust from Fotis Mint. This model requires supports painted on the underside of the sword holder’s back as well as on the hilts of the two swords. Printed in Sunlu’s Blue PLA+ 2.0, the bust took 4 hours to complete, with the base taking an additional hour. The results speak for themselves – the print came out fantastic, with no issues – even the thin handles of the swords printed cleanly without any problems.
©3DWithUs – Print and Photo: Will Zoobkoff
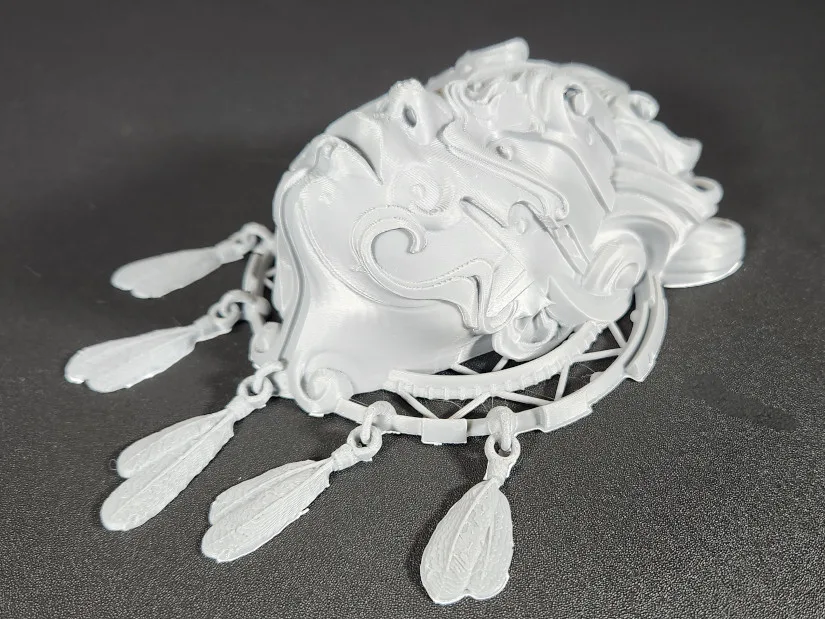
– Print in Place. Returning to a favourite designer, we printed the new Astra Somnia wall mask from Pipe Cox. This stunning piece, inspired by Native American dream-catchers, features an intricate design with feathers hanging off the dream-catcher background, making it an excellent test for a 3D printer. Using Sunlu’s new Silver PLA+ 2.0 from Amazon, this model printed in just under 4 hours. The results are stunning – this piece looks fantastic, with no flaws or issues in the print. It will look great on the wall. The Ender 3 V3 handled this wall mask effortlessly.

©3DWithUs – Print and Photo: Will Zoobkoff
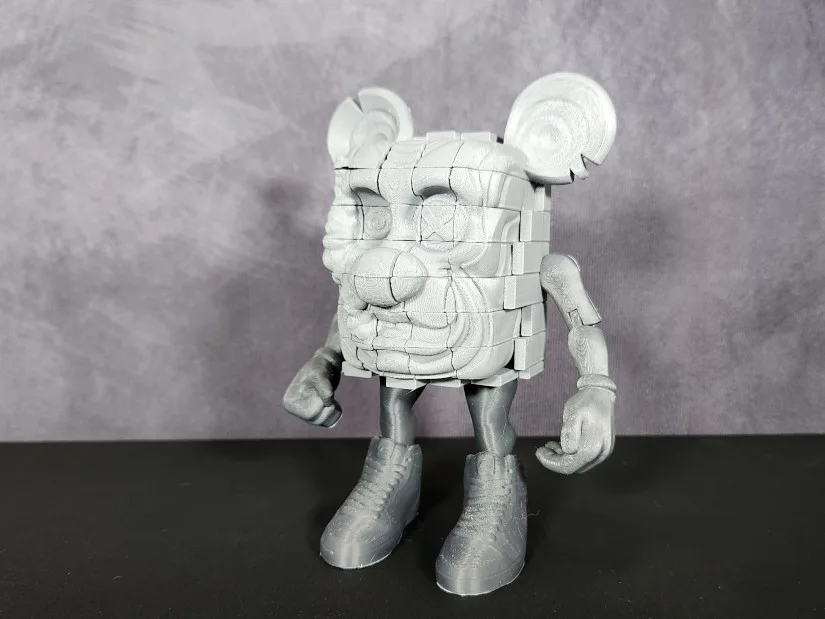
Next, we chose to print another model from the Pipe Cox collection: the combination Mouse Pixel Fidget, along with the body holder, arms, and legs. We used Sunlu Grey high-speed PLA for the arm and leg pieces, which took just over an hour and a half to print. The body holder took two hours to print using Sunlu Silver PLA+ 2.0.
©3DWithUs – Print and Photo: Will Zoobkoff
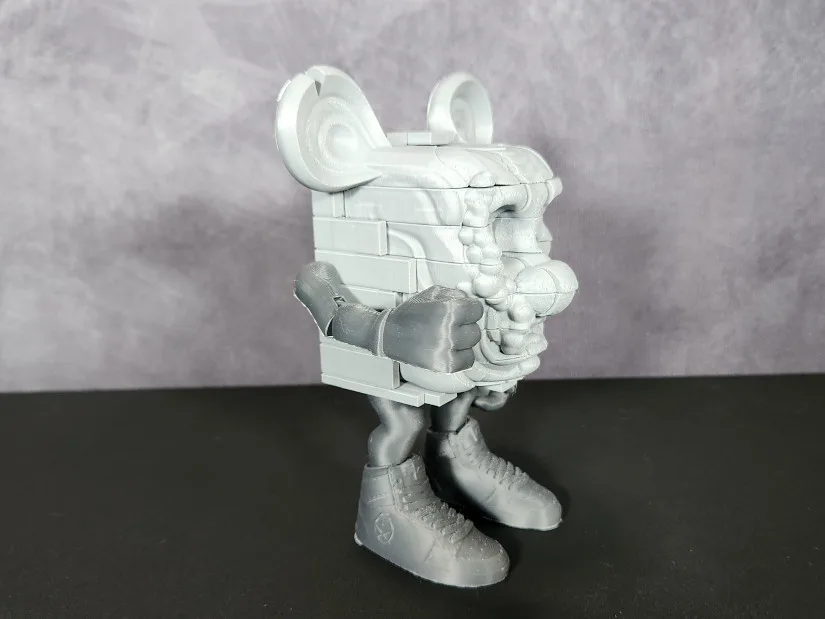
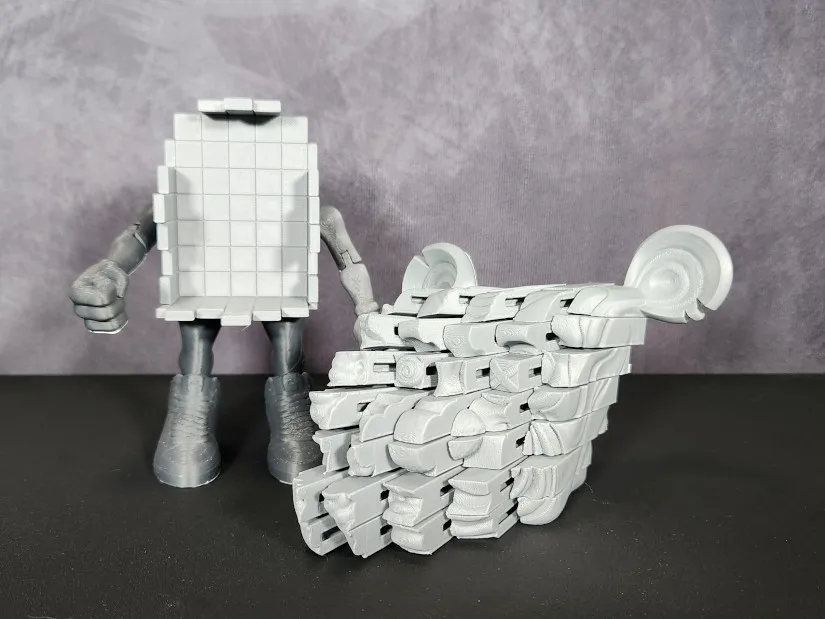
The Pixel Mouse was the longest print in our testing, taking just over 11 hours due to the multiple separate towers that are internally linked to allow movement. As with the other prints in our testing, the completed prints came out fantastic, free of any issues with overhangs or surfaces. The fidget mouse piece itself was free-moving, with no binding in any of the moving pieces.
©3DWithUs – Print and Photo: Will Zoobkoff
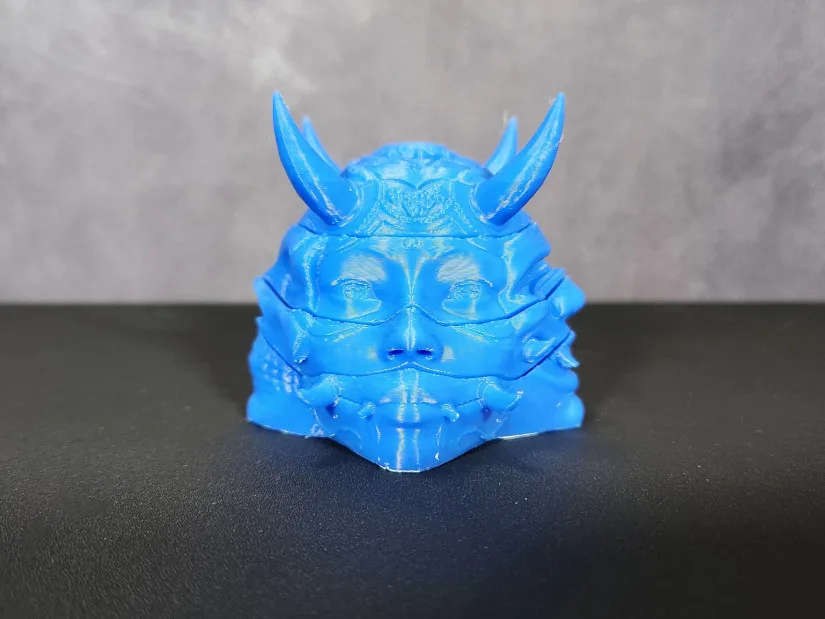
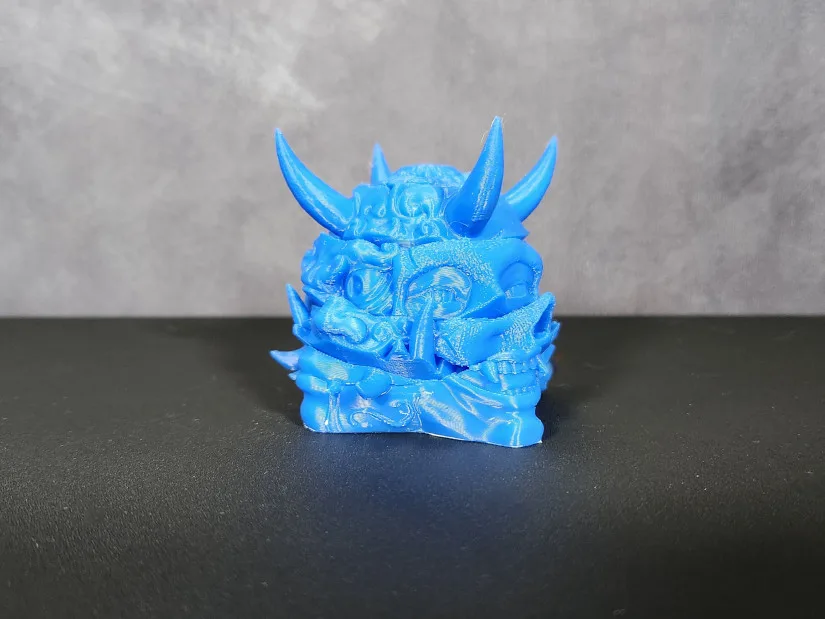
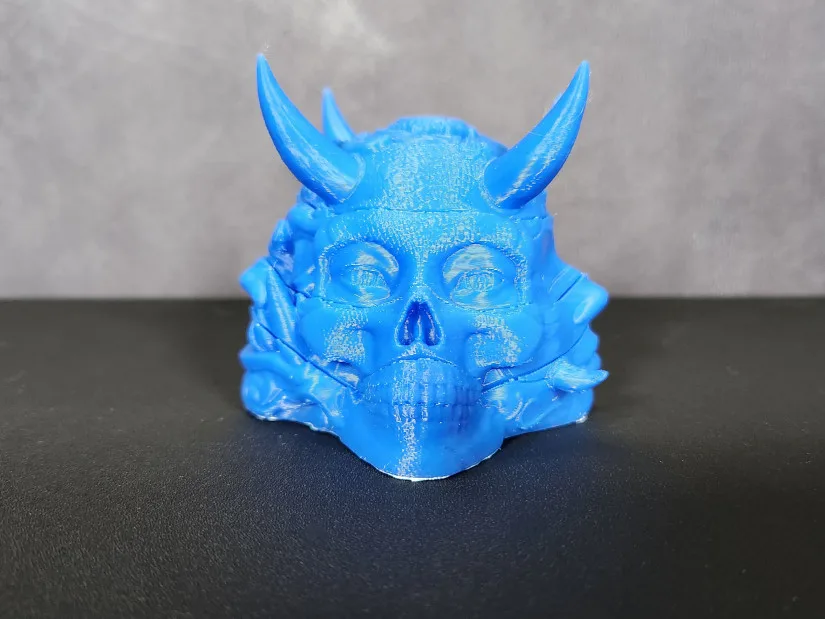
For the final print in our review, we chose the small Yokai Blend fidget from Pipe Cox. This is another great test print, as the three sections of the face rotate, and there are many small details in each face on the fidget. Using Sunlu Blue PLA+ 2.0, this print took just under four hours and, like the previous prints, came out fantastic. There were no issues with any of the three rotating sections, clearly demonstrating the stability and precision of the Ender 3 V3s.
Compare Creality Ender 3 V3 to Other 3D Printers
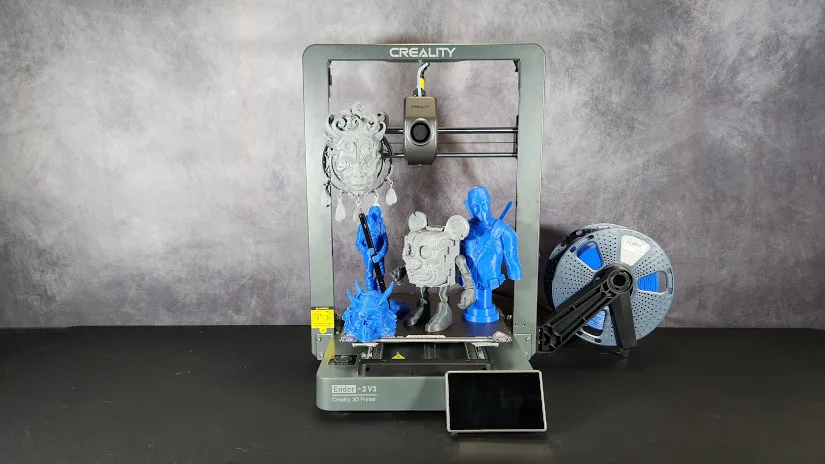
The Ender 3 V3 is Creality’s most recent bed slinger printer, building upon its previous series of machines.
Compare to the Creality printers:
Compare to similar builds, volume and price range, FDM 3D printers.
These three machines are competitors to the Creality Ender 3 V3 in price, Core XZ build (bed slinger), and build volume. What makes the Ender 3 V3 stand out is the reputation of the previous Ender series machines, their vast community, and the availability of print profiles and various slicer software. The Bambu A1 and Anycubic Kobra 3’s strong points are that, for an extra cost, they can be purchased together with the AMS system for multicolor 3D printing. Creality has already announced its own CFS multi-filament system. It will be compatible with Ender 3 series 3D printers, and it is expected to be delivered to the market soon.
©3DWithUs – Print and Photo: Will Zoobkoff
Conclusion and Pros & Cons

Creality Ender 3 V3 Review
Review Summary
The Creality Ender 3 V3 represents a significant advancement in the Ender 3 series, continuing the tradition of delivering high-quality, reliable 3D printing experiences. This latest model enhances the strengths of its predecessors with improved speed, stability, and precision, making it a standout choice for both enthusiasts and professionals alike.
Throughout our testing, the Ender 3 V3 demonstrated impressive performance across a range of challenging prints. From intricate designs like the Guardian pen holder and the Astra Somnia wall mask to complex, rotating models such as the Yokai Blend fidget, the Ender 3 V3 handled each task with ease. Its CoreXZ configuration and rods contributed to exceptional print quality and stability, ensuring clean details and reliable results.
The ease of setup and user-friendly interface further enhance the Ender 3 V3’s appeal. With its robust build, fast print speeds, and full-featured out-of-the-box capabilities, it proves to be a worthy successor in the Ender 3 lineup. While the bed slinger design requires more space, this minor drawback is outweighed by the printer’s overall performance and value.
The Ender 3 V3 is a top contender in the world of 3D printing, offering a blend of advanced features and dependable results. Whether you’re upgrading from an earlier model or diving into 3D printing for the first time, the Ender 3 V3 is poised to exceed expectations and deliver a superior printing experience.
Pros
– Fast print speeds
– Excellent print quality
– Fully featured out of the box
Cons
– Bed slinger style needs more space

