Today, we look at the Mintion Heat Press Kit, designed to support the installation of brass heat-set inserts with precision and ease. Developed with feedback from experienced 3D printing users, this kit simplifies a traditionally finicky step in post-processing, helping makers achieve clean and repeatable results.
We’ll examine its features and capabilities in this review. Finally, as always, a list of Pros and Cons.
Table of Contents
- Mintion Heat Press Kit Specifications
- What’s in the Box
- Mintion Heat Press Overview
- Setup Process
- Testing
- YouTube Video
- Comparison
- Conclusion and Pros & Cons
Where to Buy
Price: $44-$49
Compare the Prices & Bundles:
Official Store | Amazon
Mintion Heat Press Kit Specifications
- 90W Soldering Iron (180°C–500°C) with real-time temp display – No overheating or weak bonds.
- 95% Pre-Assembled – Ready in minutes, even for beginners.
- Precision Press Design – Aluminum frame + spring arm for perfect vertical alignment.
- Full Kit Included – 30 brass nuts, tweezers, hex wrenches—no extra purchases needed.
- Built-in Storage – All accessories organized and within reach.
- Compatible With: PLA, ABS, PETG, etc. – ideal for mechanical parts, enclosures, and mounts.
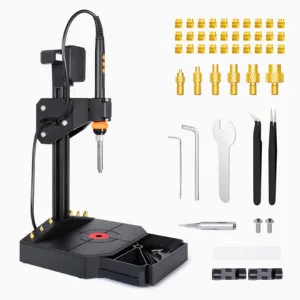
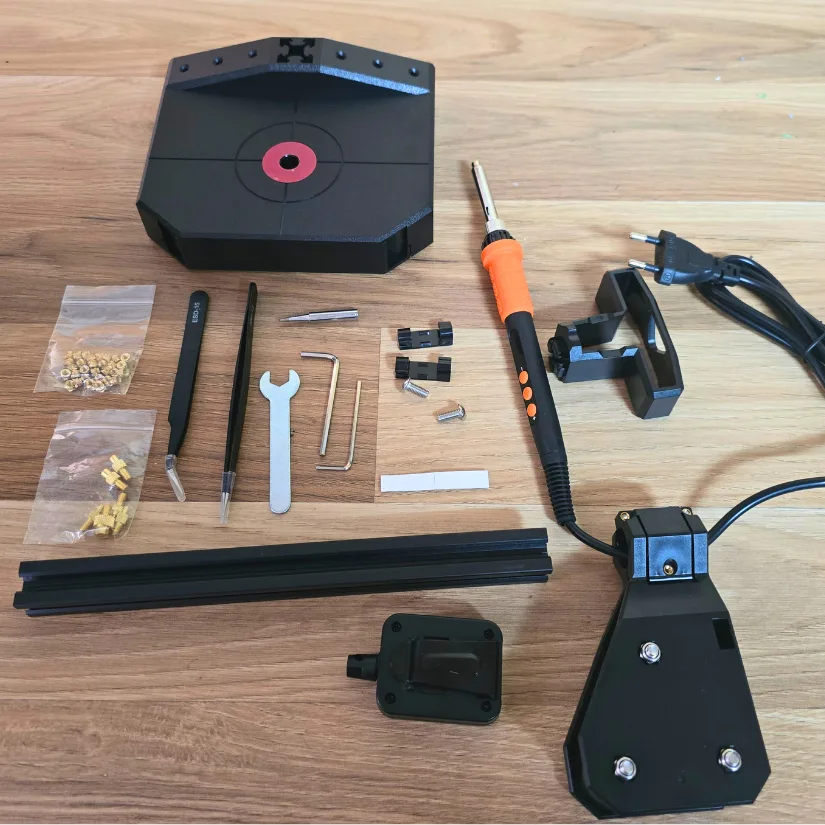
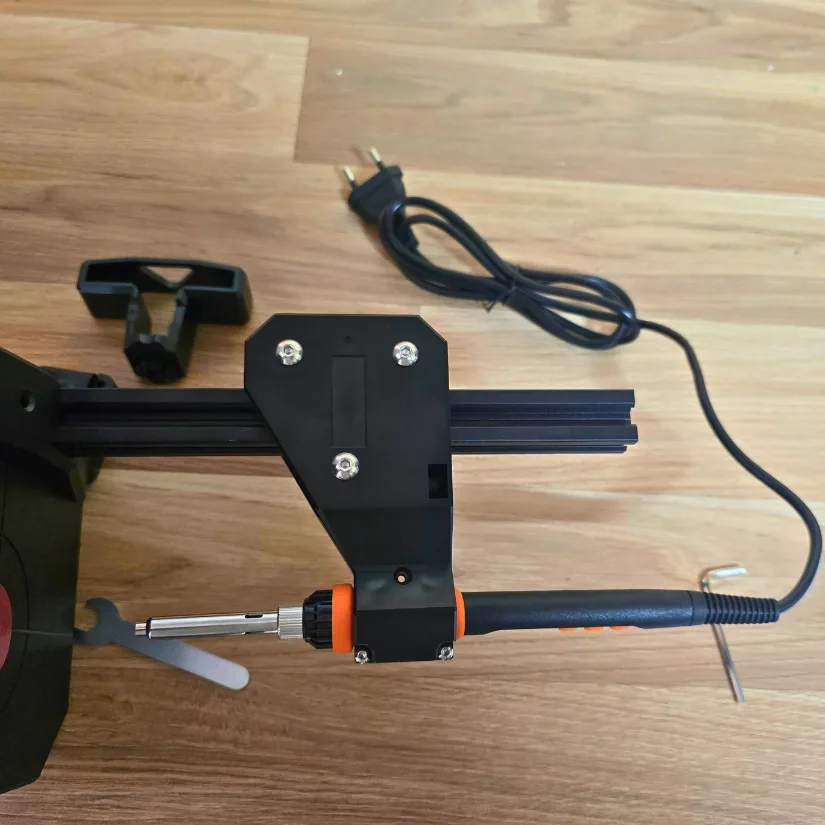
What’s in the Box
Heat Press gun with power cable, Allen keys, adaptor tips, stainless steel pipe, open-ended wrench, straight tweezers, cable clips and double-sided tape, 30× M3 brass insert nuts, 2× round hex screws, injection-moulded base, extrusion, and user manual.
©3DWithUs – Photo: Phil Macey
Initial overview
Mintion has built a strong reputation over the years for its impressive range of timelapse cameras, catering to FDM and resin 3D printing — and now expanding into laser engraving and cutting. These cameras not only allow users to monitor their projects in real time but also create stunning timelapse videos perfect for sharing across social media. Having personally tested many of Mintion’s products, I’ve consistently been impressed by their build quality and performance.
In the world of 3D printing, heat press guns are a go-to tool for assembling parts using heated brass inserts. However, achieving consistent precision — especially in repeatable tasks — has always been a challenge.
©3DWithUs – Photo: Phil Macey
Mintion’s newly released Heat Press Kit addresses this issue with a user-friendly, easy-to-set-up solution designed for accuracy and versatility. The kit includes:
– A powerful 90W heat press gun with a temperature range of 180°C to 500°C
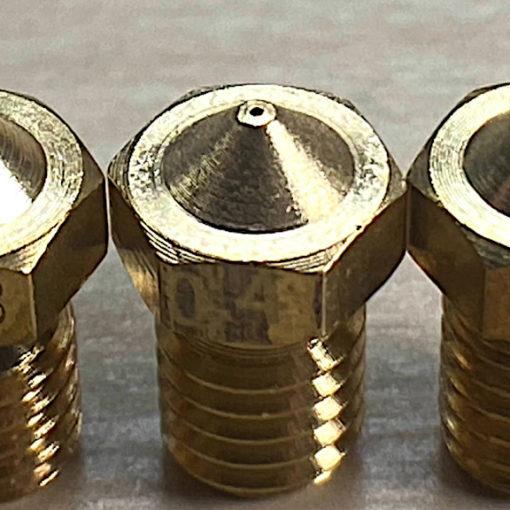
– Multiple interchangeable press tips (sizes M2 to M8) for compatibility with a wide range of brass inserts
– Approximately 30 M3 brass inserts included
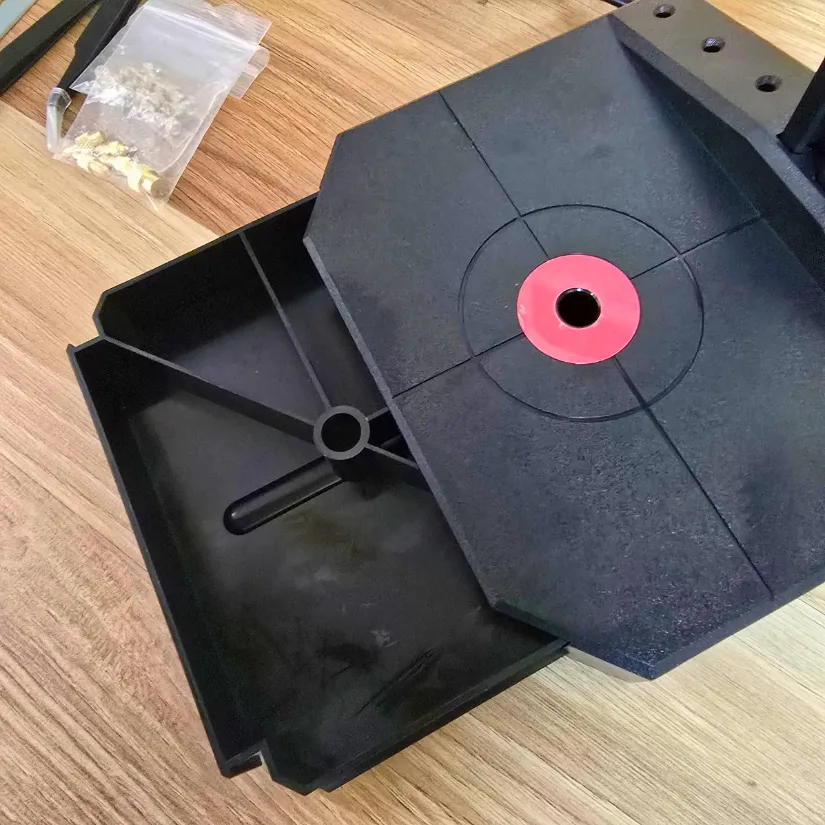
– A durable injection-moulded base for organized storage of all components
This kit is ideal for working with popular filament types such as PLA, ABS, and PETG, making it perfect for mechanical parts, enclosures, mounts, and more.
Setup Process
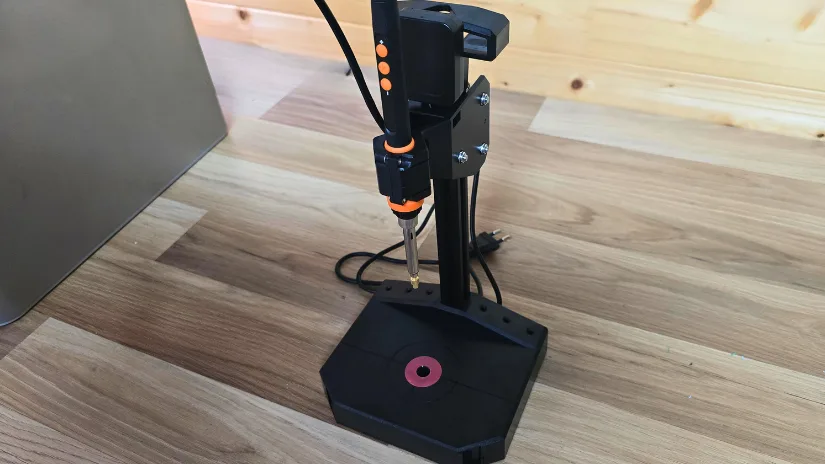
Installation of the Mintion Heat Press Kit is straightforward using the provided guide. Below are the eight main steps with visual references for each stage of assembly.
Step 1: Connect the extrusion to the base using one round hex screw. Tighten with the supplied Allen key.

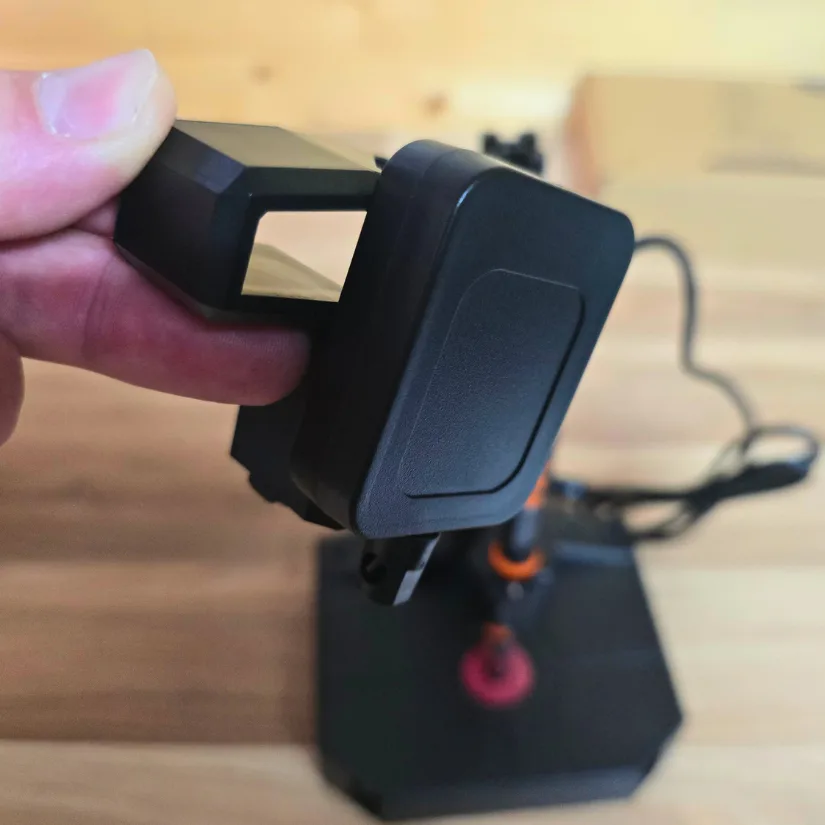
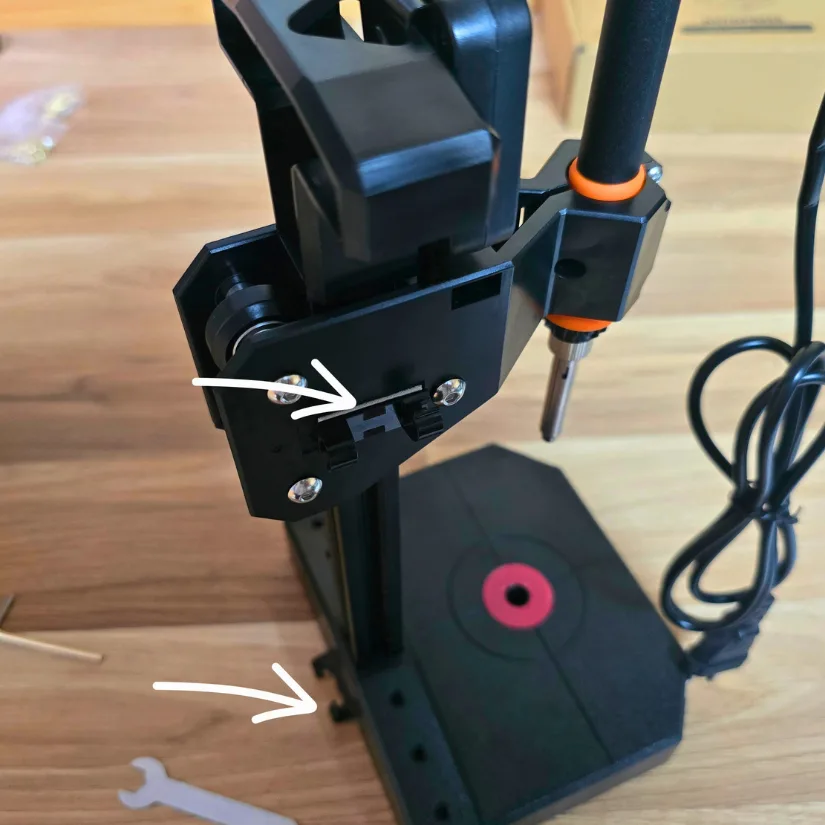
Step 2: Slide the main heat gun unit over the extrusion. It should move freely. If it’s too tight or too loose, adjust the eccentric wheel on the runner.
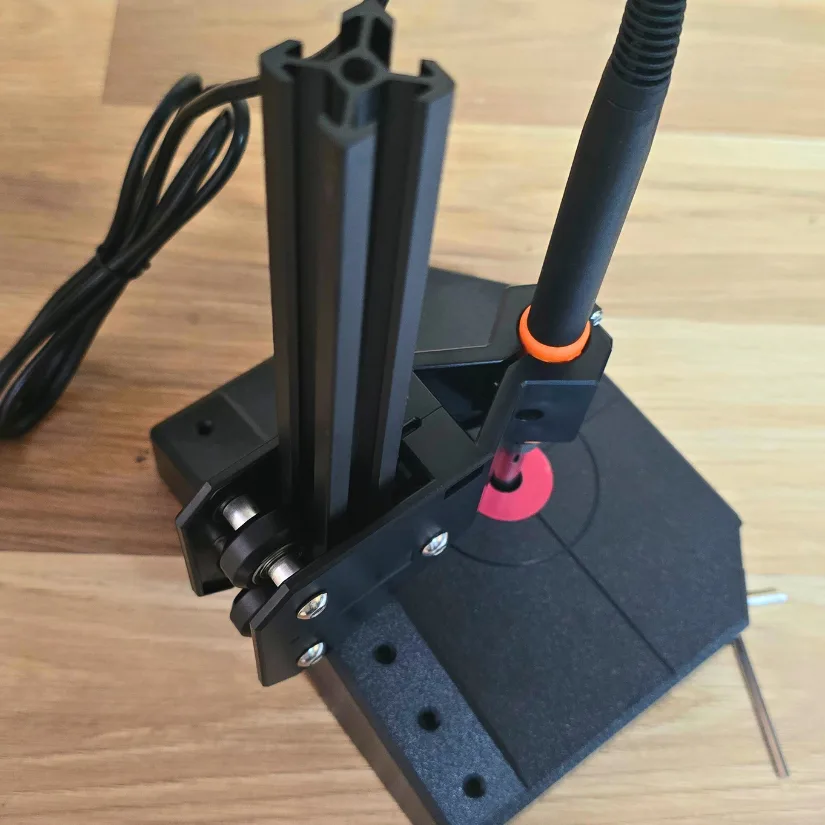
Step 3: Attach the heat gun to the clamp and tighten the two screws using the supplied screwdriver.
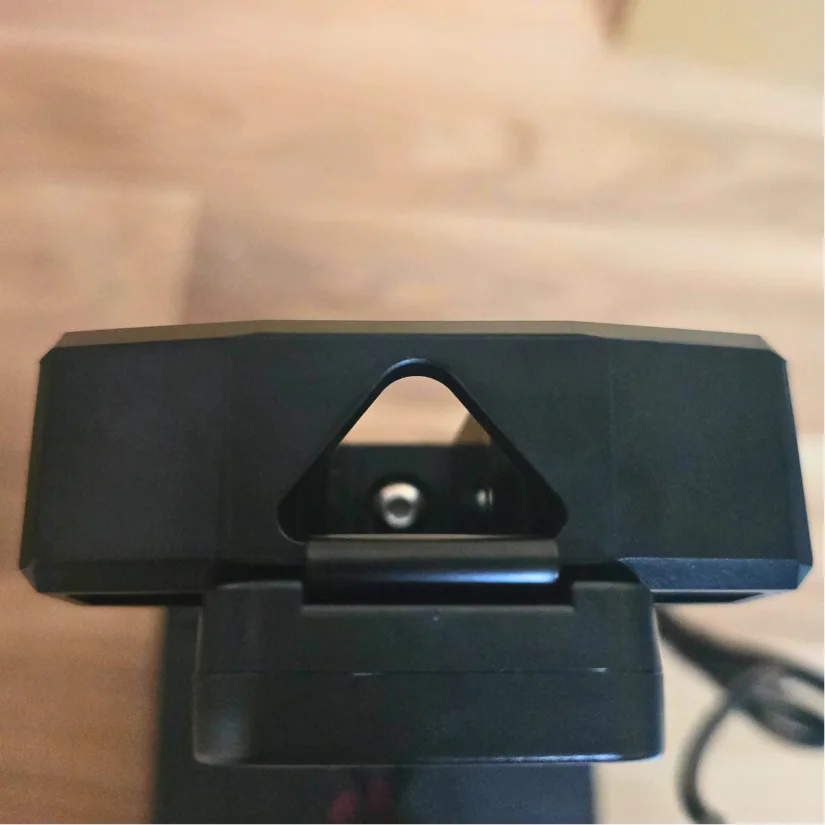
Step 4: Connect the handle to the retractable unit using the clip. Push the clip firmly into place.
Step 5: Mount the combined handle and retractable unit to the top of the extrusion. Secure with the second round hex screw and Allen key.
Step 6: Pull the retractable cord and slide it into the V-slot on the heat press unit.
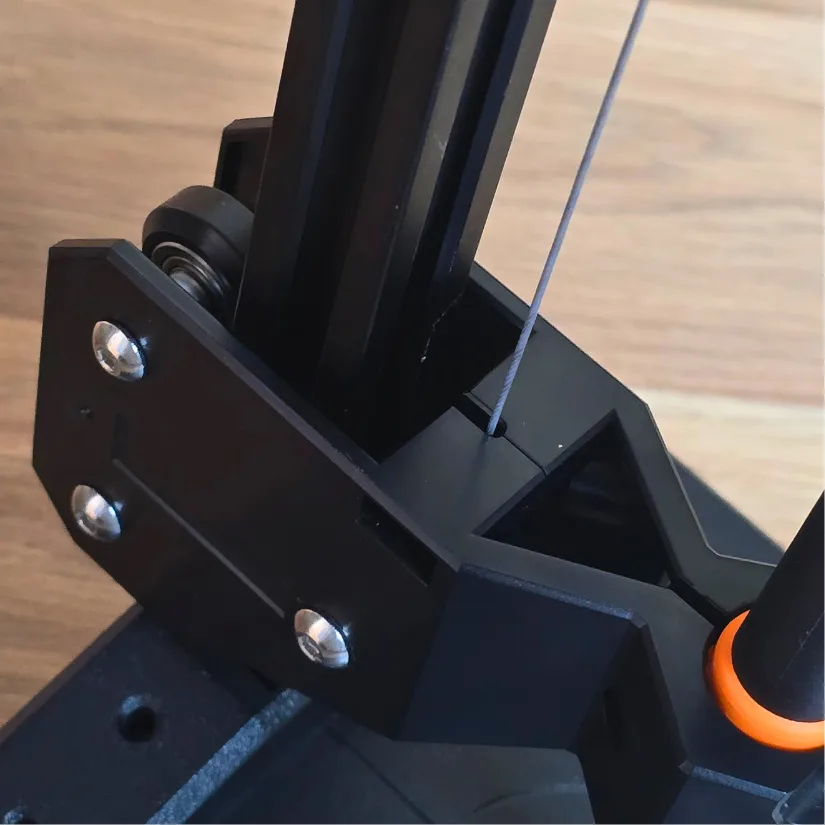
Step 7: Install the two cable clips using the supplied double-sided tape. Attach to the two marked spots on the frame.
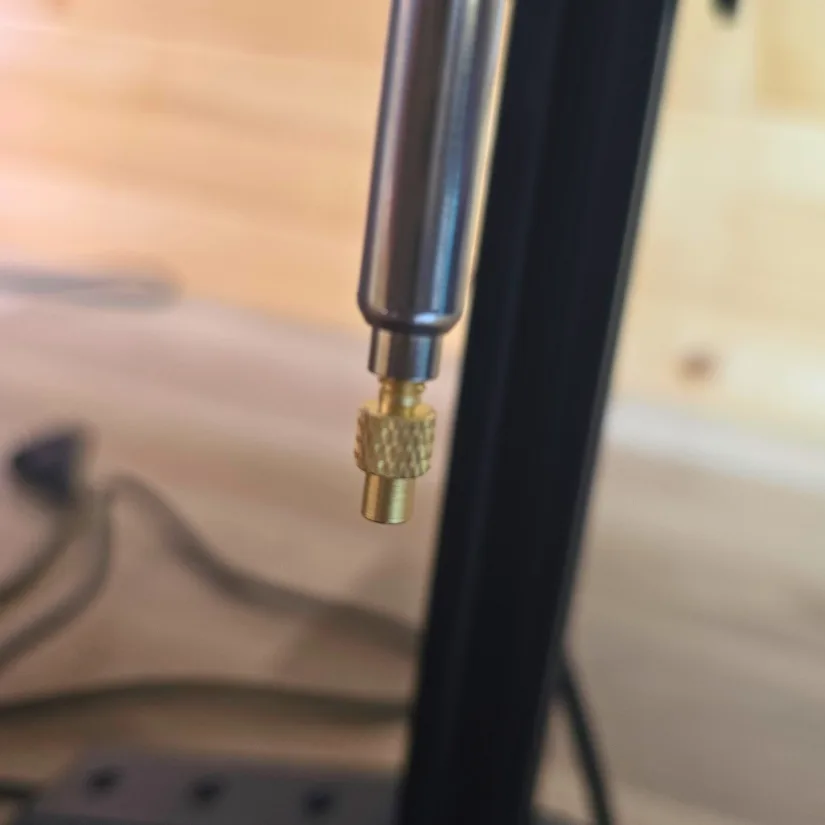
Step 8: Select your preferred heat tip (e.g., M3) and carefully screw it into the heating element. Avoid cross-threading.
Once fully assembled, the Mintion Heat Press Kit feels sturdy and well-balanced. The guided setup ensures even beginners can get started quickly with minimal guesswork.
Testing
So for the testing phase I wanted to carry out the process of installing the heat inserts both manually and using the Mintion Heat Press kit, to see if there was a marked improvement on final product and repeatability test.
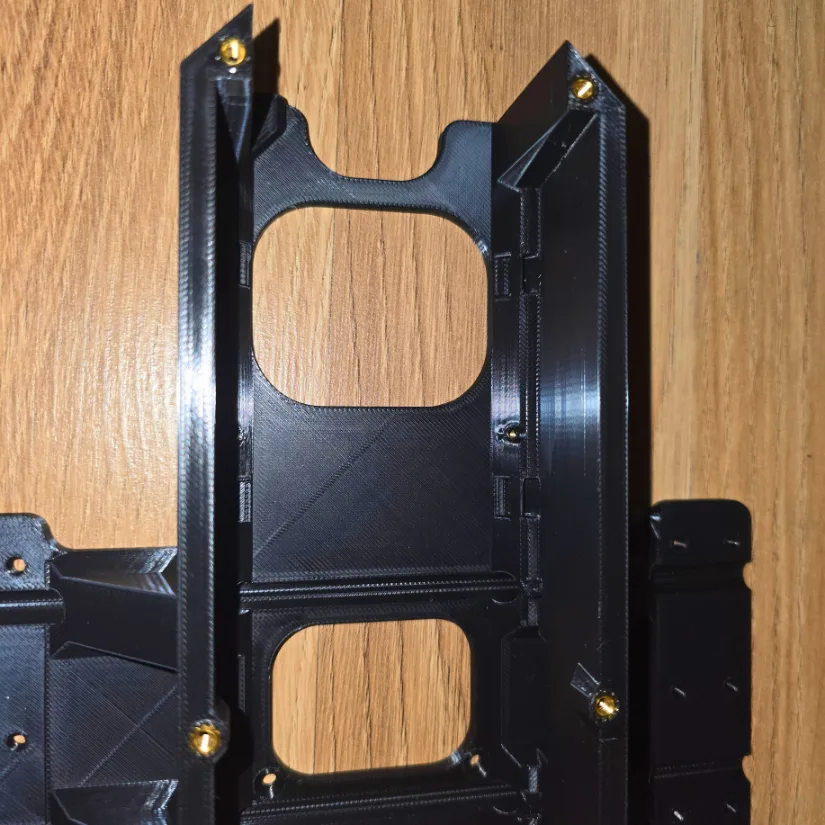
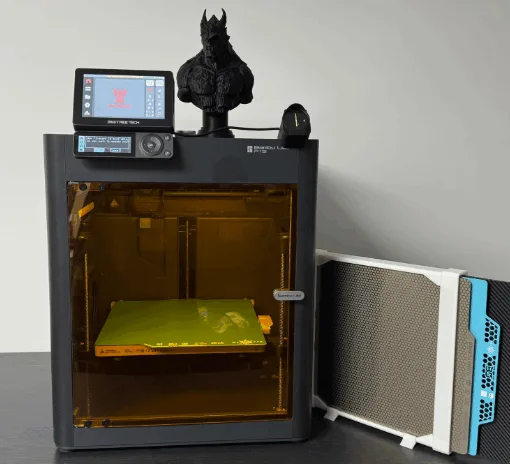
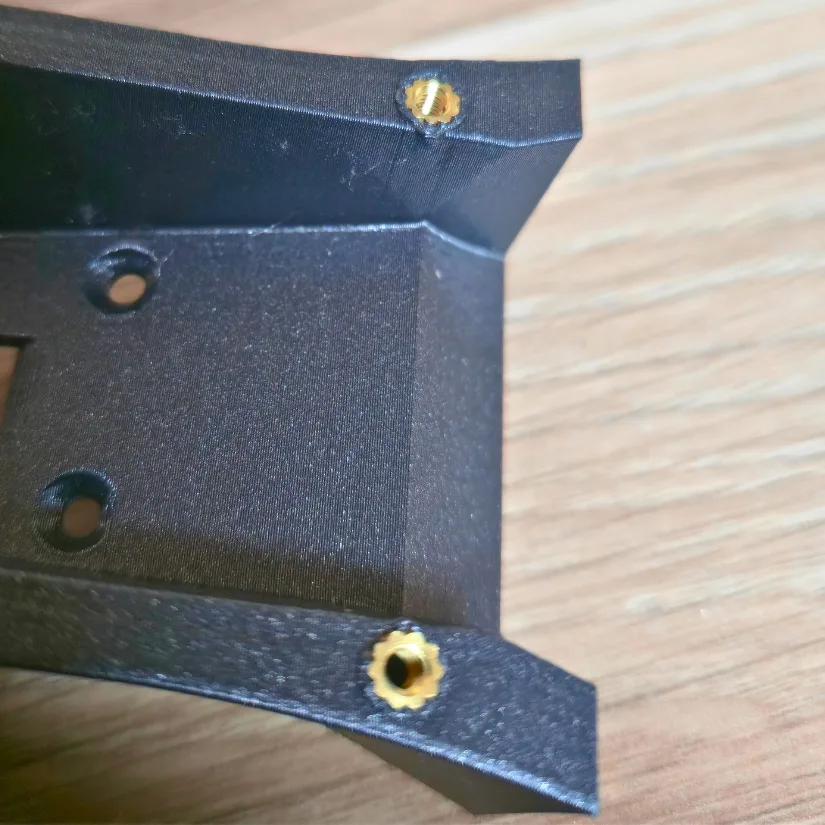
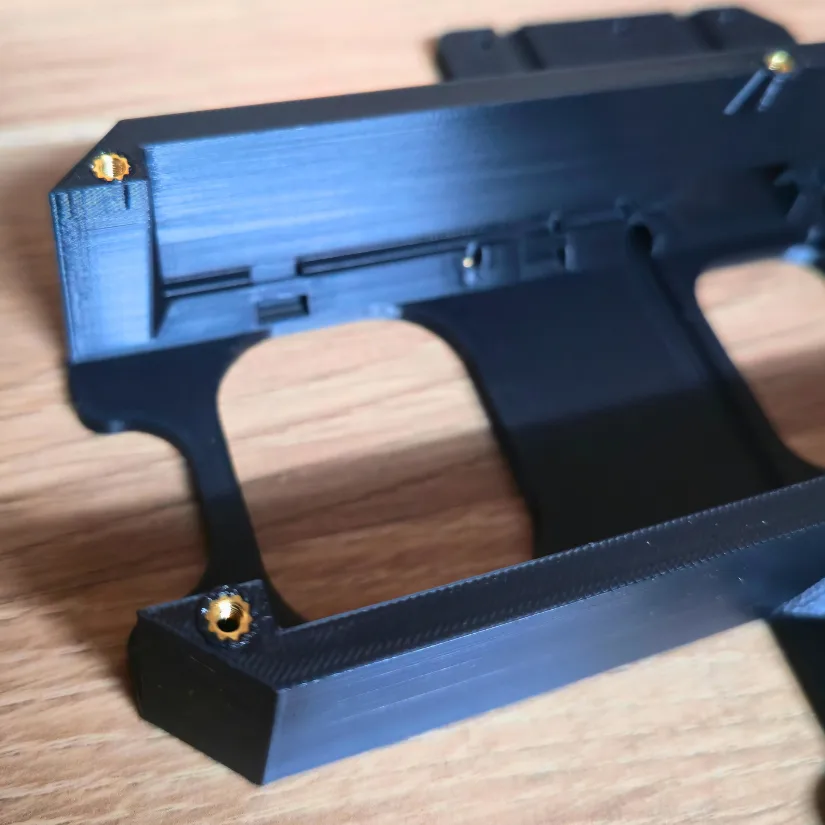
I’ve finished installing all the heat inserts into the DeathRacer Kit frame—over 25 in total. Thankfully, the kit made the process much more straightforward. If you’re interested, the DeathRacer Kit is available for purchase on the Bigtreetech website.
The frame, along with several other components, was printed in PLA, so I stuck with a heat temperature of 200°C for the insert installation. That setting has consistently worked well for me with PLA parts.
©3DWithUs – Photo: Phil Macey
Overall, the Mintion Heat Press Kit proved to be a reliable and efficient tool for embedding heat-set inserts. The consistent temperature control and vertical alignment helped produce clean, professional results with minimal effort—especially valuable when working on larger builds or repeatable tasks.
YouTube Video
To see the Heat Press in action, including tests and setup, check out the hands-on video walkthrough on my YouTube channel:
Hopefully, the video helps you decide whether this kit deserves a spot on your 3D printing workbench.
Comparison
As this is the first dedicated heat press tool we’ve tested on 3DWithUs, there are currently no direct comparisons available. That said, the Mintion Heat Press Kit stands out by being purpose-built—or carefully adapted—for 3D printing needs. From its adjustable temperature range to its vertical alignment system and included brass inserts, it’s clearly designed with makers in mind. This sets a solid benchmark for any similar tools we may evaluate in the future.
Conclusion and Pros & Cons
When you’re immersed in a 3D printing build, every second counts—and waiting for tools to heat up can throw off your momentum. That’s why this soldering iron quickly earned a permanent spot on my workbench. Its rapid heat-up time isn’t just convenient—it’s a game-changer for staying productive and focused.
Throughout my recent projects, I noticed just how much time I was saving thanks to its fast warm-up. Compared to other models I’ve used, this one stands out for its consistent performance. The temperature remains stable, which is essential for making clean, accurate connections without the frustration of fluctuating heat.
I’ve tested this soldering iron extensively across a range of PLA and PETG components, and it’s consistently delivered flawless results. It embeds threaded brass inserts with pinpoint accuracy, securing them firmly without compromising the surrounding structure—a huge win when working with delicate or intricate prints.
No matter the printer or setup, its performance has remained impressively stable. One standout feature is its versatile selection of interchangeable tips, each tailored to fit different brass insert sizes. Swapping them is seamless, making the tool intuitive and efficient to use. The inserts themselves are top-notch—tight-fitting and durable, they create robust threads that hold strong over time, even under repeated stress.
If there’s one aspect that could benefit from a redesign, it’s the handle. While it functions adequately, it falls short in comfort during extended use. After long sessions with the heat press, I began to notice hand fatigue creeping in. It’s not a deal-breaker, but a more ergonomic, cushioned grip would significantly elevate the user experience—especially for those of us who spend hours immersed in meticulous, hands-on work.
All in all, this soldering iron has earned a permanent spot on my workbench. Its fast heat-up time, consistent performance, and versatility with brass inserts make it a standout tool for any serious 3D printing enthusiast. A more comfortable handle would be the cherry on top, but even without it, this tool is a game-changer for precision work.
Pros
• Compact design
• Fast Heat up
• Storage box in base
• easy to build
Cons
• handle as mentioned.
Have questions? Feel free to ask in the comment section below.
For a wider discussion or to share your own Mintion Heat Press Jobs & Tips, join us in the forum:
Compare the Prices & Bundles:
Official Store | Amazon