We were asked to make a Tipeye 3D pen review. It was a very good timing for us as we have been planning to write a blog or two about 3D pens anyway. This device has a use in 3D printing and we added it to our tools list. In the process we took that 3D pen through the torture test.
Tipeye 3D Pen Review
Tipeye is the 4th generation 3D pen and we can see the difference from our earlier pen straight away. A sleek shape: it is slim and not as bulky as our previous pen. Functionality: an autoflow mode gives an option for the constant filament flow. We found it useful when doing long prints. Updated connectivity: the power cable has a USB plug enabling it to be charged from a laptop, desktop, etc. It arrived in a nice package and included a pen holder.
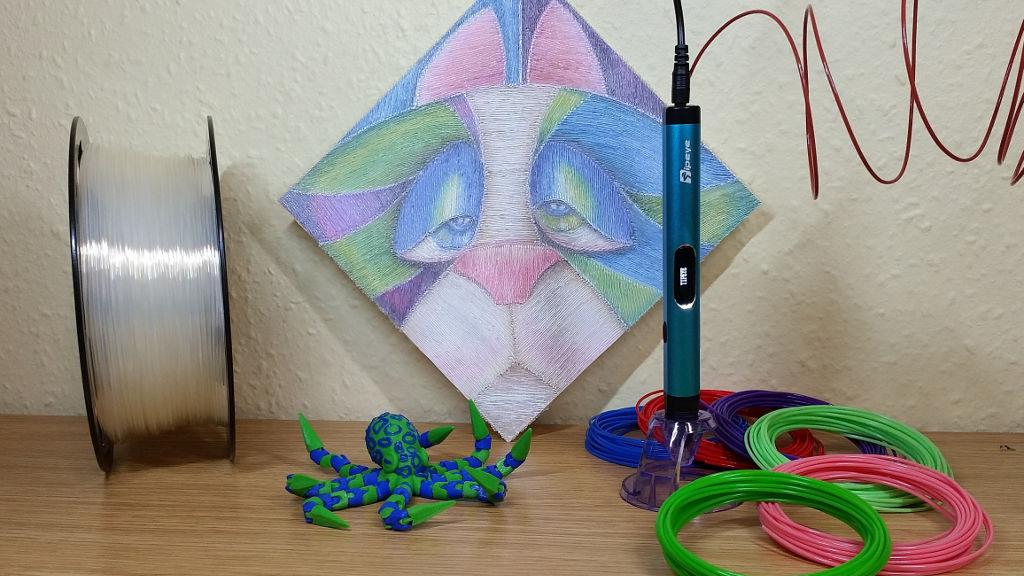
(Photo: 3DWithUs)
Other functions are familiar, for example, the switch between PLA and ABS settings. However, it was not obvious where to find it, and we had to look it up in the instructions. One improvement that we could suggest is a longer power cable.
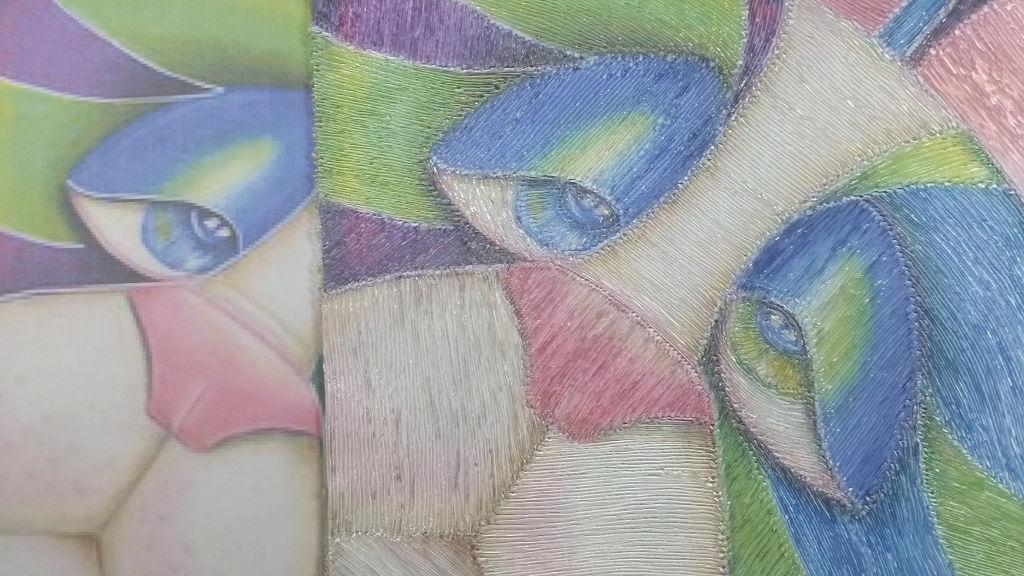
Overall we enjoyed using this device even when we took it through the torture test. We used a lot of our new transparent PLA filament spending 5 hours painting over a colored picture. It could be completed in a shorter time, but we had to take the breaks for food and water 🙂 Coating pictures with transparent filament can enhance the original and add a special effect. Our original picture was a simple paper print out, not even sharp. The end result looked like a handcrafted masterpiece, please see below before/after.
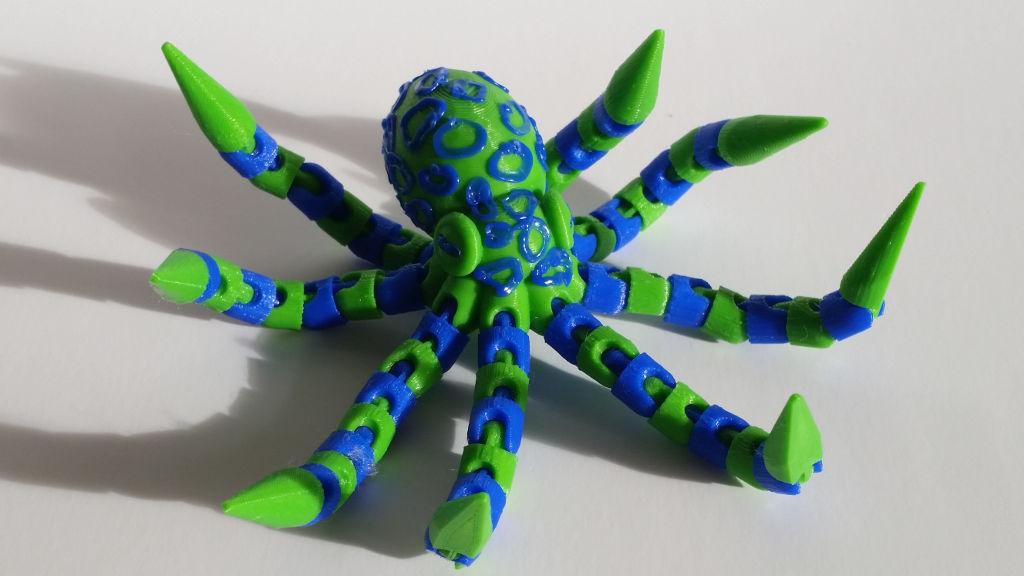
A 3D pen can be an additional tool in 3D printing. We used it for filling the unwanted holes in our 3D prints and also for the decoration. When we printed out an octopus, we wanted to turn it into the most venomous octopus in the world. We added blue rings with a 3D pen it has done the job perfectly. Also, a 3D pen helps to use up the leftover filament, it takes both PLA and ABS.
In our YouTube video, we show in more detail how to apply a special effect. We cover the whole picture with transparent PLA at certain angles to emphasize the details and to enhance the colors. We saw this done on Instagram half a year ago and wanted to repeat this effect ourselves. We selected a colorful image by Alma Lee.
It is a cubism style which makes it perfect for our task. The pen had to work for several hours and the constant flow setting was very useful for this. We used a small glossy piece of paper before adding the filament to a new segment of the picture to avoid messy ends. Even though we used PLA we had it on the highest setting at 220 C for the faster flow. It feels like a solid oil painting at the end.
- Buy Transparent Clear PLA on Amazon (affiliate link)
- Buy Printing 3D Pen on Amazon (affiliate link)


