The Mingda Magician X is the smallest model in the Magician line, yet it doesn’t lack functionality. Let’s test and review the machine, see what tricks the Magician X has up its sleeve, examine the results of some printing, and list the Pros and Cons.
Table of Contents
- Specifications
- Assembly
- Features
- Direct Drive Extrusion
- Included Cura Profile
- Tested Models
- Compare to Other 3D Printers
- Conclusion and Pros & Cons
Mingda Magician X Specifications
● Print size: 23×23×26 cm (10.2″×9.0″×9.0″)
● Calibration: Self-developed Automatic Leveling
● Filament diameter: 1.75 mm
● Printing material: PLA / ABS / PETG & TPU
● Nozzle size: 0.4mm default, a wide range of other nozzles supported
● Extruder: Direct Drive, Double Gears
● Filament run-out detection: Support
● Resume Printing: Support
● Tool Box: Yes
● Max nozzle temperature: 260 °C/500 °F
● Max heated bed temperature: 110 °C/230 °F
● Average speed: 6-8 cm/s,2.3-3.1 in./s
● Control panel: 3.5 inches LCD touch screen
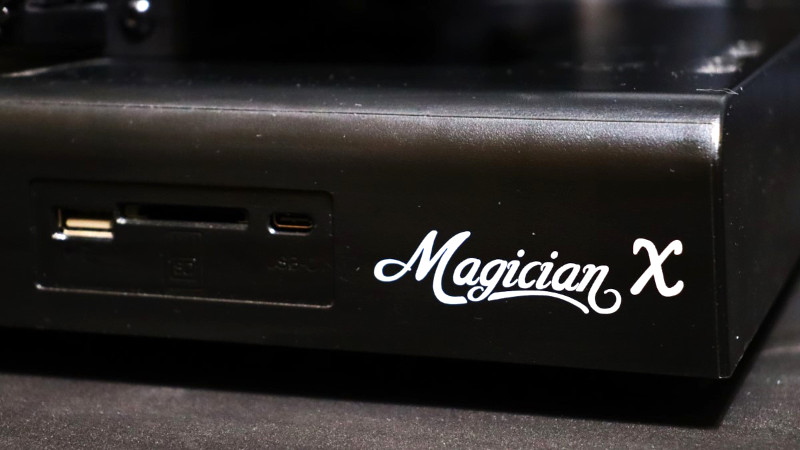
● Print interface: SD Card, U Disk, USB-C
● Z-axis: Double threaded rod with synchronous belt
● Machine Weight: 7 kg
Price: $279-399
Product affiliate links: 3DWithUs is supported by its audience. Purchases via some links may earn us a small commission.
Amazon
AliExpress
Official Website
©3DWithUs – Photo: Will Zoobkoff
Unboxing and Setup
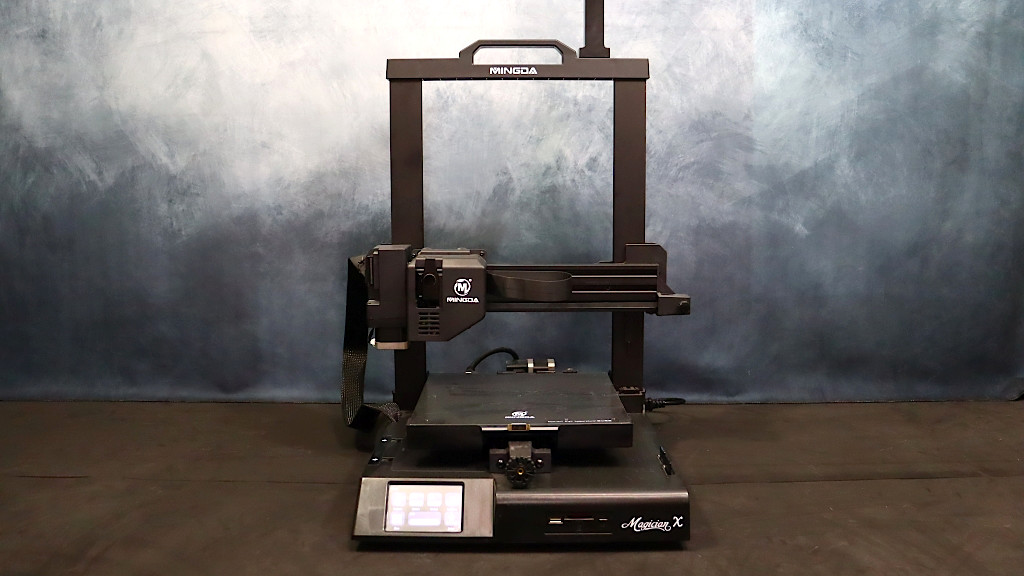
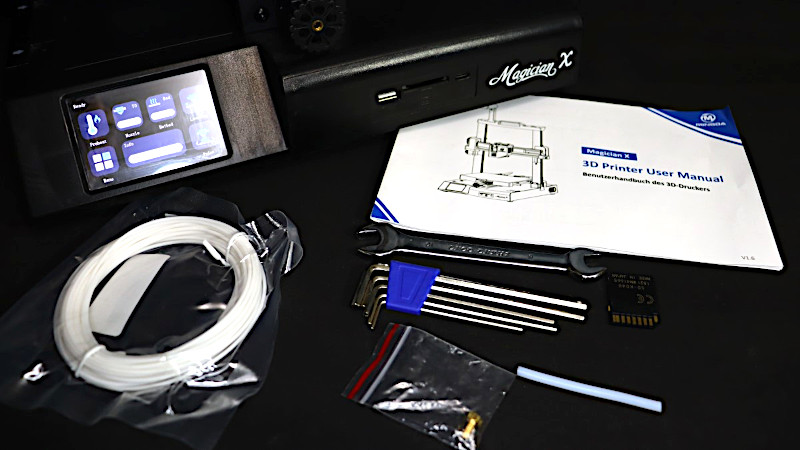
The Mingda Magician X is unmistakably aimed at the prosumer market, and the speedy assembly procedure demonstrates that Mingda has worked hard to make the unboxing experience enjoyable. Everything you need comes in the box. The frame of the Magician X can be fastened to the base with just six screws. With just a few connections for the Z axis, a ribbon cable for the extruder and X axis, and a strong, reinforced wire for the heated bed that is fastened with two screws, wiring the Magician X is simple. The spool holder requires that it be inserted into one of two slots on top of the printer, which are located on each side of the handle.
In contrast to the typical metal FDM printers, the Magician X’s base is made of plastic.
©3DWithUs – Photo: Will Zoobkoff
All of the printer’s technical components, including the power supply, touch screen, two slots for standard-sized SD cards, and a storage compartment, are located in the base. It should be noted that the storage space may only be accessed while the printer is not in use.
Although the foundation is made of plastic, it is quite solid, and during the testing and review process, I noticed no problems. In contrast to other FDM printers, where filament fragments might become caught in the slots, I found it simpler to maintain the base clean.

©3DWithUs – Photo: Will Zoobkoff
Mingda Magician X Features
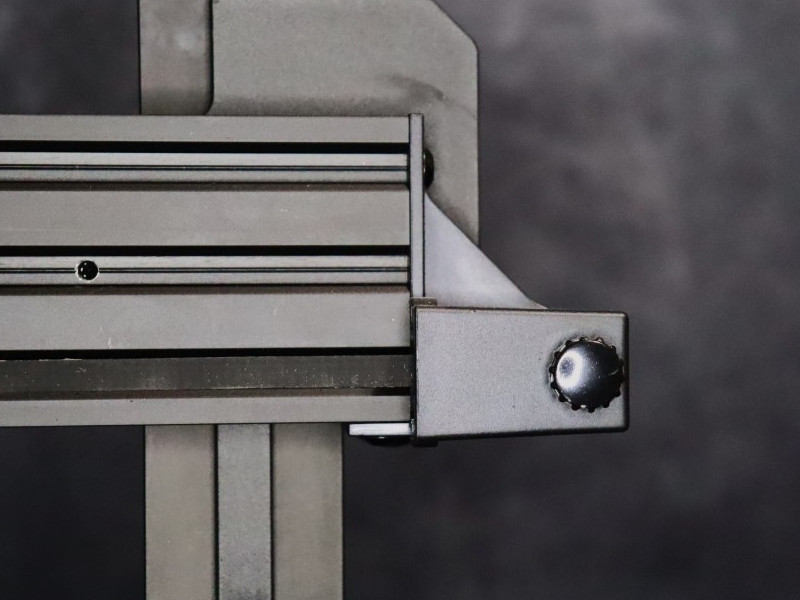
The Magician X 3D printer includes a 230x230x260mm printing area. This size is slightly larger than on comparable printers in this price range.
©3DWithUs – Photo: Will Zoobkoff
The integrated 3.5″ horizontal display screen is easy to see and operate, with a pictogram-style menu laid out in a simple grid pattern.
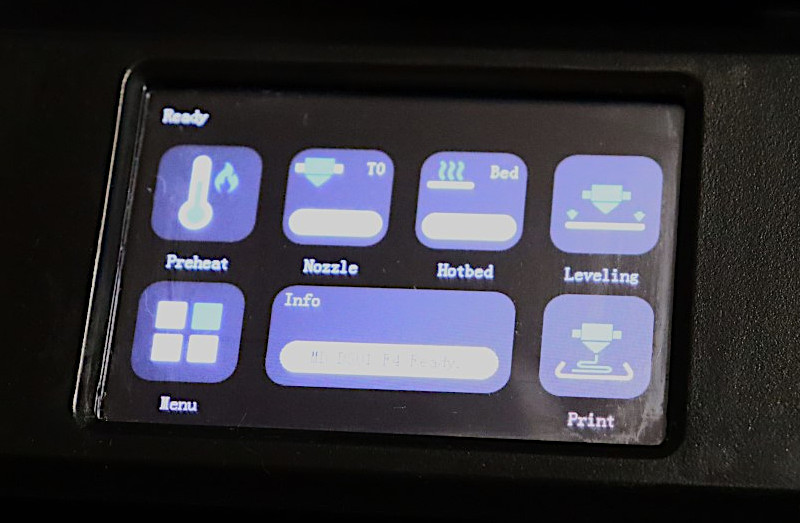
©3DWithUs – Photo: Will Zoobkoff
To ensure that the printer itself is stable, Mingda has implemented a dual drive Z axis.
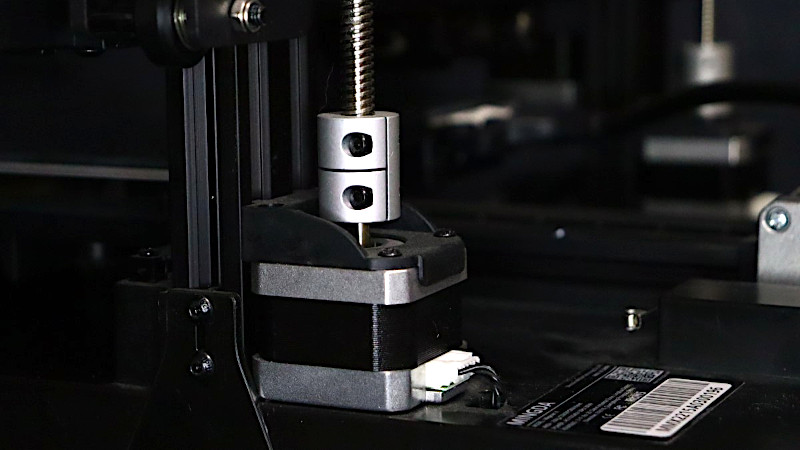
©3DWithUs – Photo: Will Zoobkoff
Two separate motors and threaded rods are used to drive the Z axis, and a synchronous timing belt is used to stop them from moving up or down unevenly. Because the dual Z axis arrangement is uncommon on tiny printers, Mingda’s inclusion of it is a welcome touch.
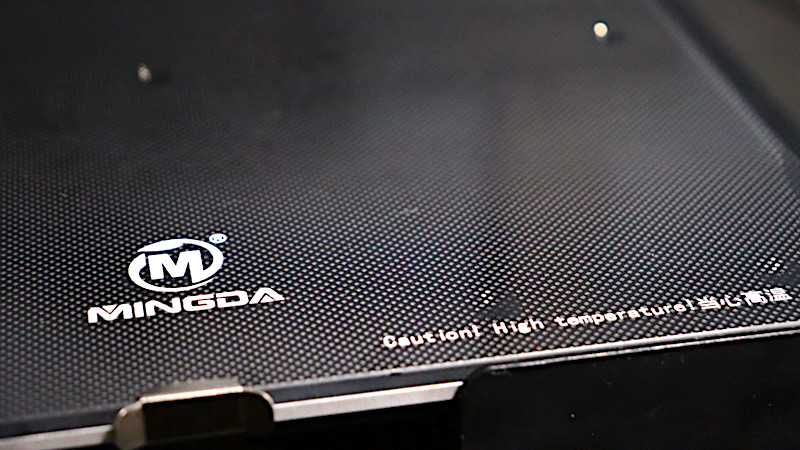
The initial layer has a great building surface and outstanding adhesion thanks to the coated glass base. The glass build surface is compatible with PETG, PLA, and ABS filaments.
Power interruptions have always been a significant issue for 3D printers. Fortunately, the Magician X 3D printer has a function that allows printing to pick up from where it left off when there is a power outage. Another useful feature that is supplied out of the box is a filament run out sensor that Mingda has added to the direct drive unit. This sensor will halt printing when it detects that there is no filament and resume once reloaded.
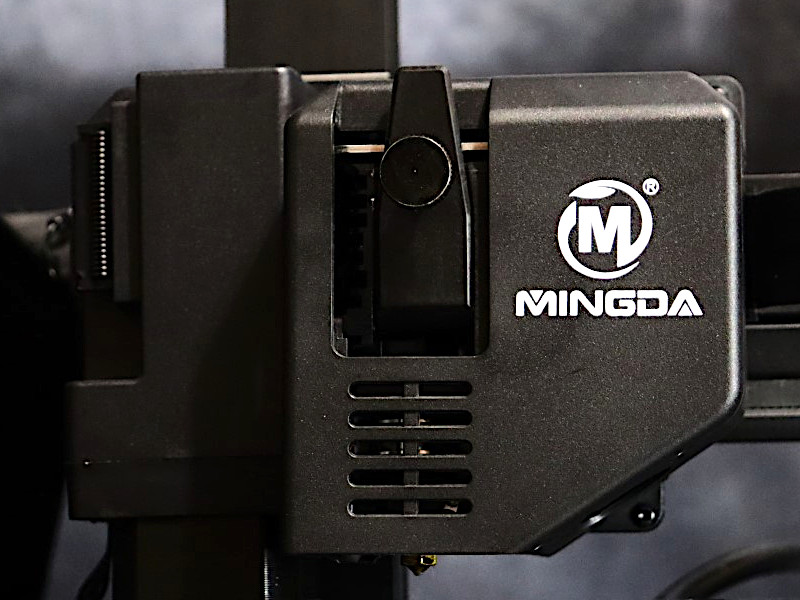
Direct Drive Extrusion
The Magician X features a direct drive configuration. The all-in-one extruder and hotend are powered by a high-quality stepper motor and an all-metal extruder, with the hotend connected directly to the extruder.

©3DWithUs – Photo: Will Zoobkoff
This style of the extruder is best suited for flexible materials like TPU, which can be difficult to feed down a long tube without stringing or possibly jamming during printing. The Magician X also incorporates a strain gauge for the automatic leveling feature and several cooling fans in the module.
©3DWithUs – Photo: Will Zoobkoff
The hot end comes standard with a .4mm nozzle, but you can upgrade it to a .2mm nozzle for finer detail or a .6mm nozzle for quicker print speeds. Keep in mind that switching to a bigger nozzle may result in some print quality loss depending on the object being printed.
Cura Setup and Printing
I used Cura 4.13.1, for my evaluation and testing. Mingda has printer profiles in version 4.13.1, making installation and use relatively straightforward. To guarantee the most precise printing possible, I take care to calibrate the printer’s steps and flow before beginning. Additionally, it will help reduce problems during the printing process.
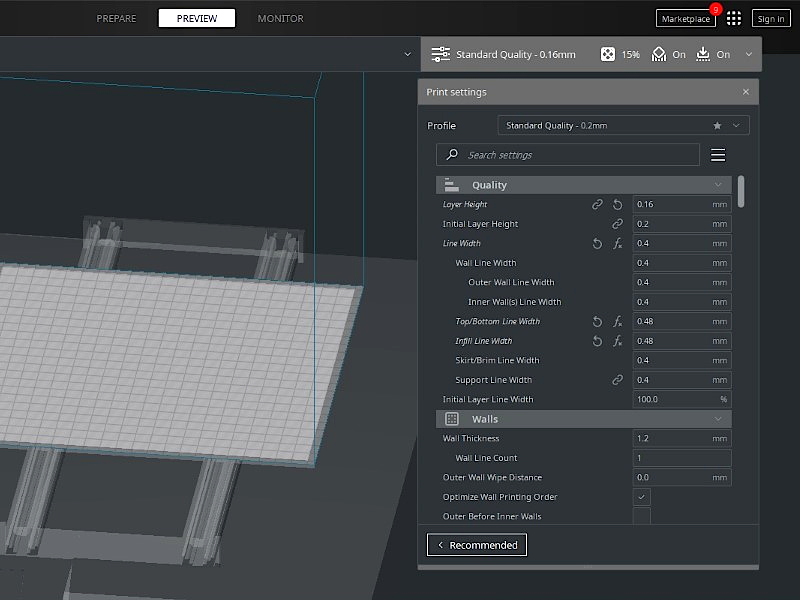
Screenshot: Cura
I decided to print the calibration dragon as my first print since I like to use it to calibrate my retraction and fine-tune my printers.
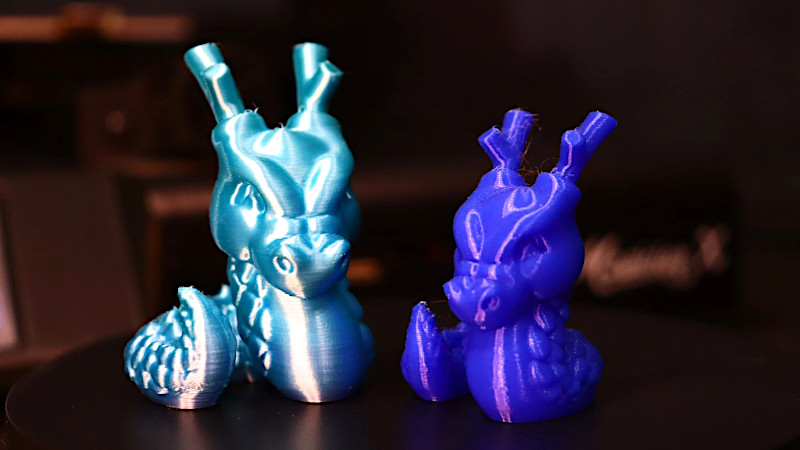
Model: Cali-Dragon by McGyBeer
©3DWithUs – Prints & Photo: Will Zoobkoff
My retraction took a few prints to perfect, but once it was, the prints turned out nicely. I print all of my models at a speed of 60 mm/s with .16mm layer heights and 15% cubic infill.
Tested Models
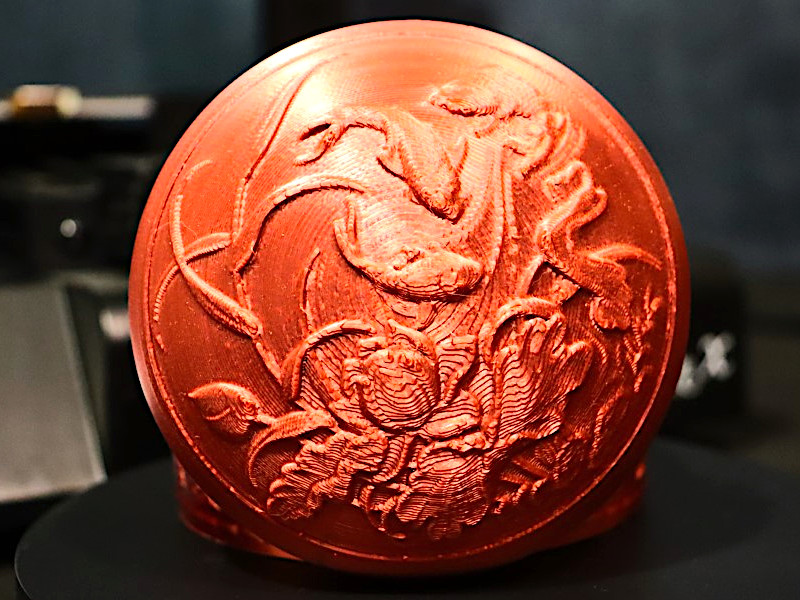
I choose to print two gift boxes by Hex3D as my next print. For these models, I used Eryone Silk Copper PLA and the similar settings to when I printed the dragon at 60 mm/s print speed and a layer height of .16 mm. The boxes and lids turned out beautifully. The tight fit of the lids on the boxes indicates that the printer has been calibrated properly.
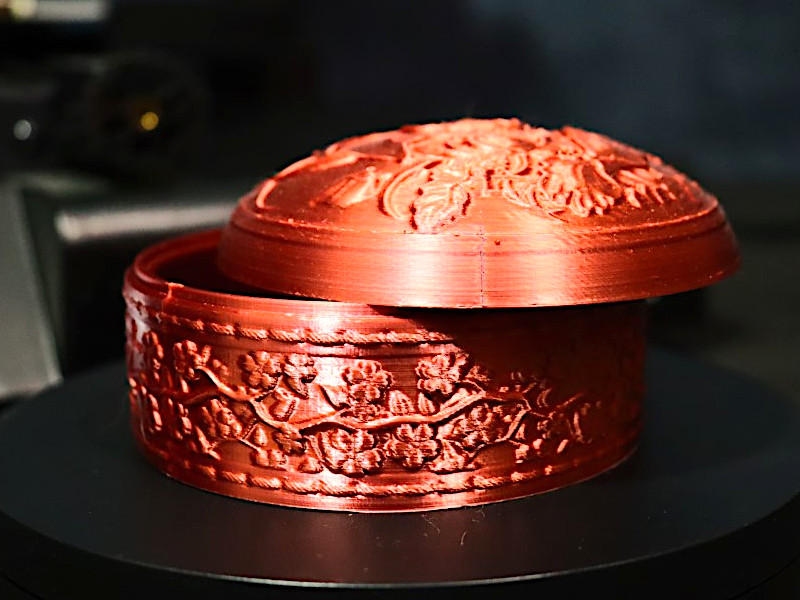
©3DWithUs – Print & Photo: Will Zoobkoff
Next I printed a Flexi Dolphin by FlexiFactory as my other test. I printed this with Stronghero3D Silk Rainbow PLA from Amazon, and it came out fantastic. The dolphin model was a perfect choice to highlight the color change. The quality of the finished model is quite clean, with smooth curves and clean joints that allow for easy bending and posing (again using.16mm layer height).
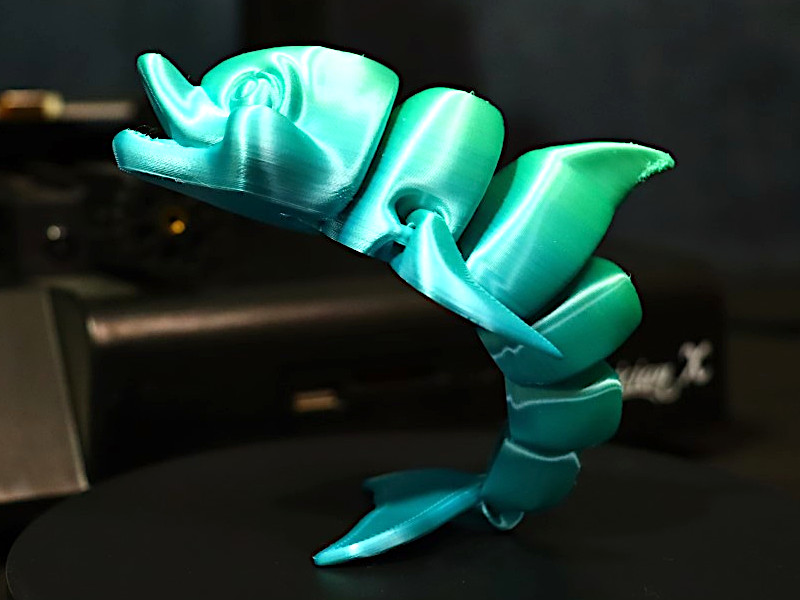
©3DWithUs – Print & Photo: Will Zoobkoff
Using the same Stronghero3D Rainbow PLA like for the Dolphin, I printed a flexi Fox using the same settings. The Fox was printed beautifully, just like the Dolphin. The quality of the prints from the Magician X were quite excellent.
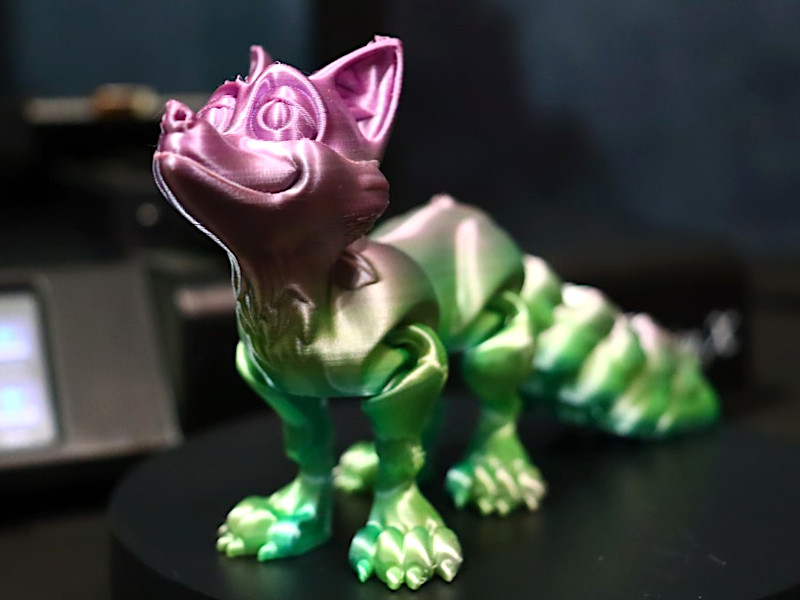
©3DWithUs – Print & Photo: Will Zoobkoff
Finally, I made the choice to print a straightforward vase in vase mode. I used Eryone Dual Color Matte Blue and Purple PLA from Amazon. A unique color pattern is created by the color shift on the angle parts. The vase printed beautifully. I was pleased with the print’s quality, even though it was a straightforward print.
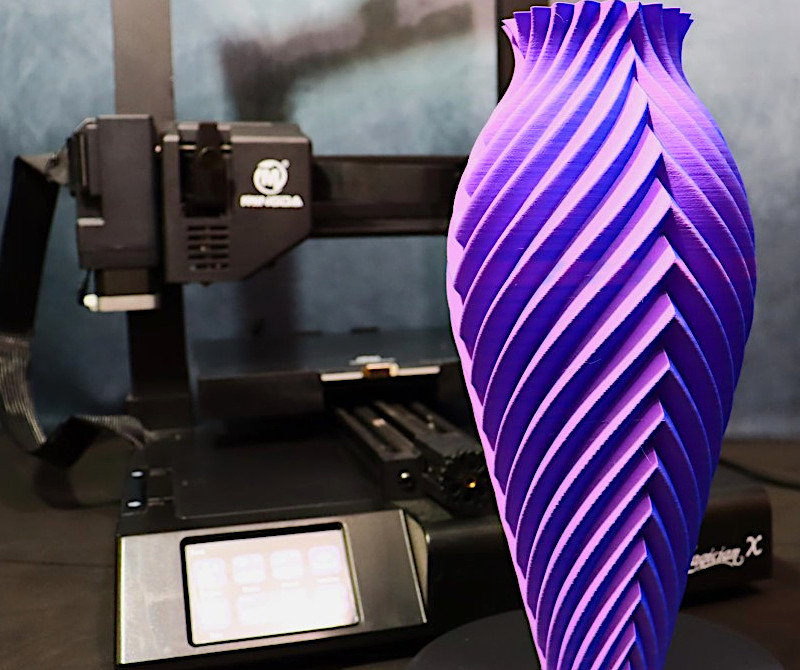
©3DWithUs – Print & Photo: Will Zoobkoff
Compare to Other 3D Printers
Compare to the similar FDM 3D printers in the same price range:
Compare to the Mingda Magician series 3D printers:
Conclusion and Pros & Cons
Throughout my review and testing experience with the Mingda Magician X, I was really pleased with how easy it was to put the printer together and to tune the Cura profile. With the Magician X, just the basic E-steps and flow calibration were required along with the usual tuning of the material being utilized. The Magician X is a strong device out of the box. You can create very high-quality prints with a few easy adjustments. The Mingda Magician X is definitely worth looking at if you’re seeking to buy your first 3D printer or want to add to your current printing setup.
Amazon
AliExpress
Official Website
Mingda Magician X Star Rating
Review Summary
The Magician X is a strong device out of the box. You can create very high-quality prints with a few easy adjustments. The Mingda Magician X is definitely worth looking at if you’re seeking to buy your first 3D printer or want to add to your current printing setup.
Pros:
– An easy setup
– Auto leveling
– Direct drive
– All-metal extruder
– Multiple USB and SD card slots
Cons:
– A toolbox only accessible when not printing


Another excellent review very informative best site for honest reviews and information