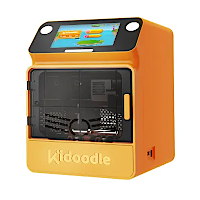
As 3D printers become increasingly safe and effective for educational purposes, Kidoodle is introducing the MiniBox A1 through a Kickstarter campaign. Designed specifically for children, to be used under adult supervision, the MiniBox A1 allows young users to print a variety of educational models such as letters, numbers, geometrical figures, and animals directly from an extensive library in the accompanying app. In this review, we’ll explore the capabilities of the Kidoodle 3D MiniBox A1, showcase some interesting prints from both the app’s collection and custom-sliced designs, and weigh the pros and cons of this innovative device.
Disclaimer: Although 3D printers may appear appealing to children, it is important to remember that these are high-voltage devices operating at high temperatures. This machine should always be operated under the supervision of an adult.
Table Of Contents
- Specifications
- Unboxing and Assembly
- Child Safety Features
- Included Model Test Prints
- Kidoodle App and Model Library
- Kidoodle Slicer Software
- Comparison
- Conclusion and Pros & Cons
Kidoodle Minibox A1 Specifications
Printing size: 100*100*90mm / 3.93*3.93*3.54inch
Platform: PEI Magnetic Flexible Sheet
Nozzle temperature: Max 250°C
Printing Speed: Max 600mm/s,
Silent Mode Speed: 100mm/s
Touchscreen: 4.5 inch horizontal color screen
Connection: USB/WiFi
Extruder: Dual-Gear Direct Extruder
Bed levelling: Selfcheck, Auto calibration
Filament Runout Sensor
Firmware: Marlin 2.0
Recommended materials: PLA
Where to buy:
Price: $129-279
Early Birds Price: -46% OFF
Product affiliate links: 3DWithUs is supported by its audience. Purchases via some links may earn us a small commission at no extra cost to you. This helps us to continue bringing you high-quality content. Our guides and reviews remain unbiased and independent.
Disclaimer: This product was sent to me before the start of the Kickstarter campaign. The end product may be different. Before taking part in any crowdfunding campaign as a backer, please read the T&Cs. Rewards aren’t guaranteed.
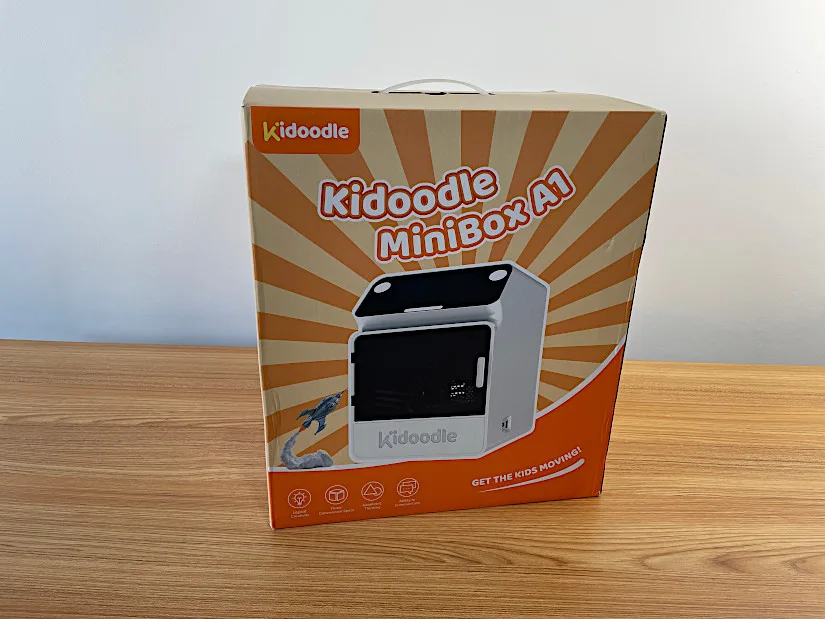
Unboxing and Assembly
Apart from the regular shipment box to protect against scratches, the 3D Printer arrived in a neat branded box. The product itself felt very light when handling. A handle in the box helps to move it effortlessly. Basically, MiniBox A1 comes ready to be gifted without wrapping paper.
©3DWithUs – Photo: Max Funkner
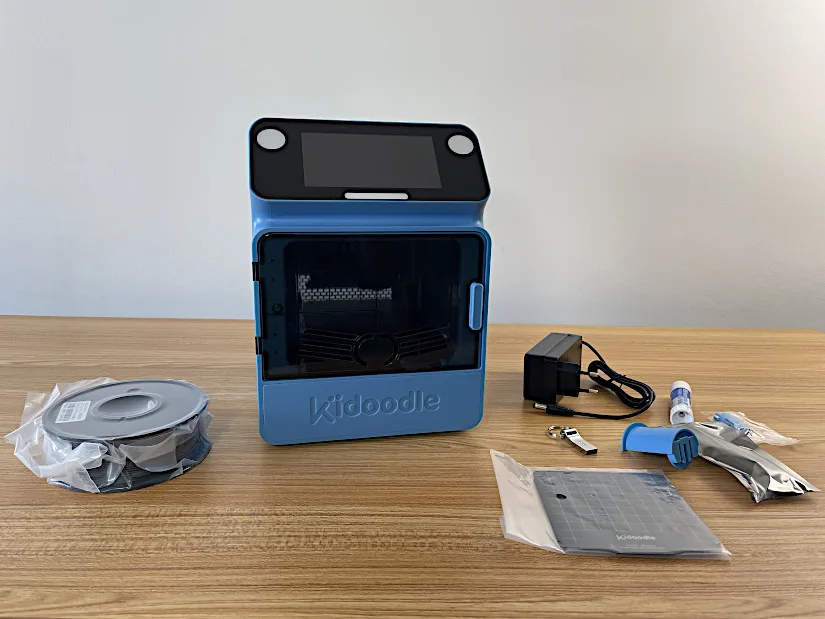
Enclosure is filled with protective foam in order to protect extruder and heated bed parts from shaking during transportation.
– Accessories. All necessary items are included to start as soon as possible. Here is the short list of included accessories: Filament 250g, power adapter, glue stick, hex wrench keys, USB, tweezers.
– User guide. At the time of reviewing this unit, the User Guide was not available in paper form. As usual, I expect it will be included in future batches. All digital user guides and manuals are available on the included USB stick. There are also video instructions and slicer software manuals. The User Guide manuals and videos are also available via an app.
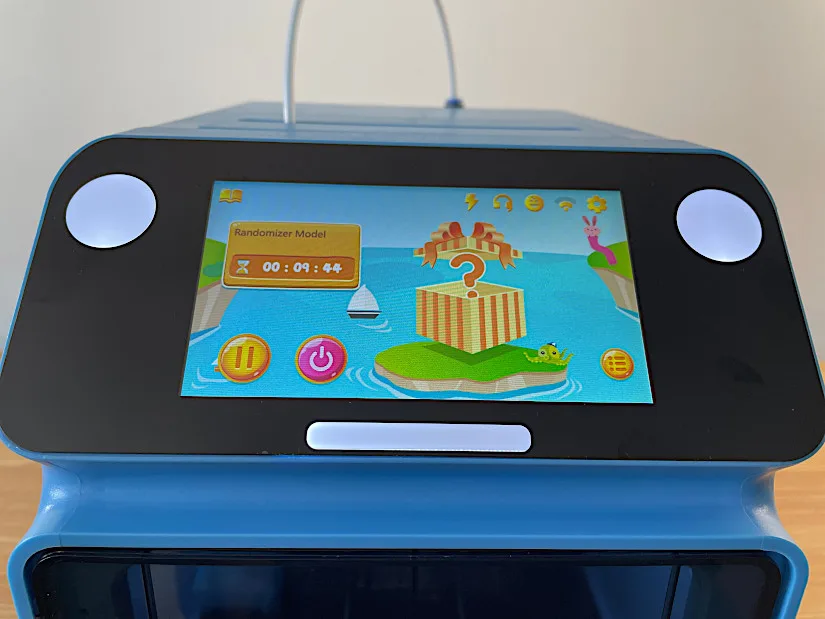
– Screen. Wide horizontal screen. Kid-friendly interface, well-designed and featuring a playful atmosphere. All functions are very accessible and easy to reach. Child Mode lock, Randomizer, Model Library, Wi-Fi, and Printer functions are all intuitively placed.
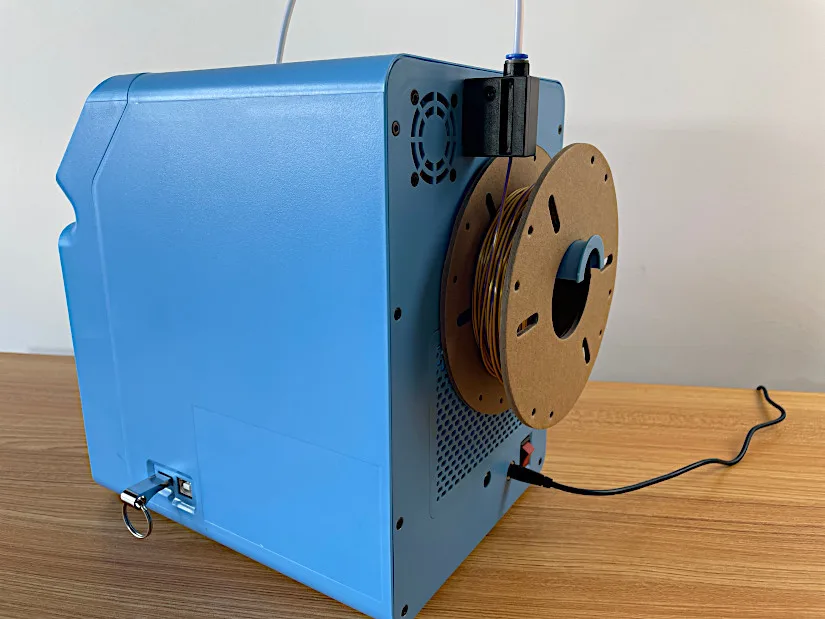
– Spool Holder. This machine is compatible with using small 200-300g spools only. Kidoodle is already selling A1-Matte PLA via the official website. And I would say that the offer for the box of 8*250g rolls is quite good. If there are very young kids around the printer, I would stick to these mini spools as these would be safer to use and no spool will get knocked over by accident.
For the 750-1000g spools, an additional spool holder is required. You can purchase a universal adjustable spool holder on Amazon or print them out using bigger 3D printers. There are a lot of files available on various file repositories for free. Filament driers will also work if MiniBox A1 is held slightly higher. For example, my 4 spool filament drier SUNLU S4 that I keep under the table worked perfectly here.
©3DWithUs – Photo: Max Funkner
Child Safety Features
Initial Code: 000000
Child safety features are in place, ranging from open door detection to the design and placement of the spool holder. Even the top lid, through which the filament enters the machine via a PTFE tube, is hard to open without using an extra tool. The spool holder is positioned in such a way that filament feed interruption is highly unlikely.
– Open Door Detection. If someone opens the door during a print, the MiniBox A1 emits a loud alert noise and pauses the print. I struggled to disable this feature in order to take better footage and even had to contact customer support as I could not figure out the initial code, which appeared to be 000000.
I am pleased to see Kidoodle tries to incorporate advanced safety features such as an enclosed chamber and access controls. These enhancements not only make it safer for use around children but also reflect a growing industry recognition of the importance of safety in design, ensuring a secure and worry-free experience for young users and their guardians.
Test Prints – Included Models
It took me approximetly 10 minutes from unboxing and start printing. Initially I printed models that are preloaded on the machine. The first couple of prints failed due to bed adhesion and too high Z positioning. I had to apply included glue using glue stick and adjucted Z accordingly.
©3DWithUs – Print & Photo: Max Funkner
Since such small printers usually come without a heated bed, applying glue to the bed is crucial for successfully starting the first layer. Also, heating the PLA higher than usual (250°C) works well in a controlled environment. After applying the glue once, adhesion was successful for the rest of my prints.
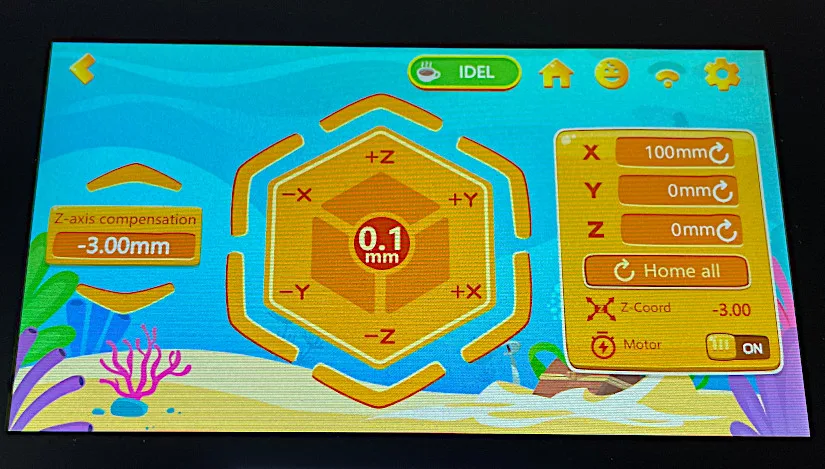
To adjust the Z-axis, go to Home, Cogwheel in the upper corner, Axis, Z-Axis Compensation. Adjust gradually in order to avoid the nozzle hitting the bed.
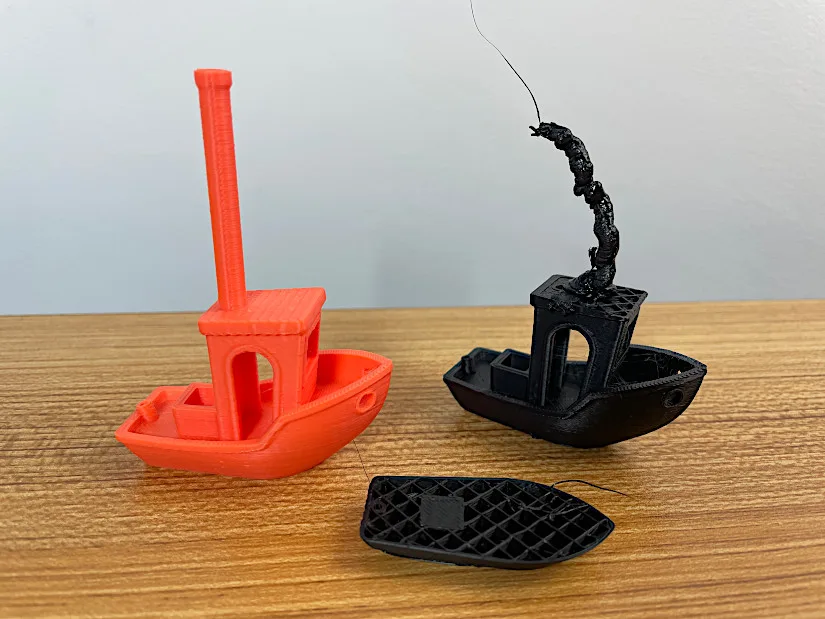
Generally, I would not recommend printing the included Benchy file as I find it may be too challenging for beginners. Print a number ONE instead and tune settings from there.
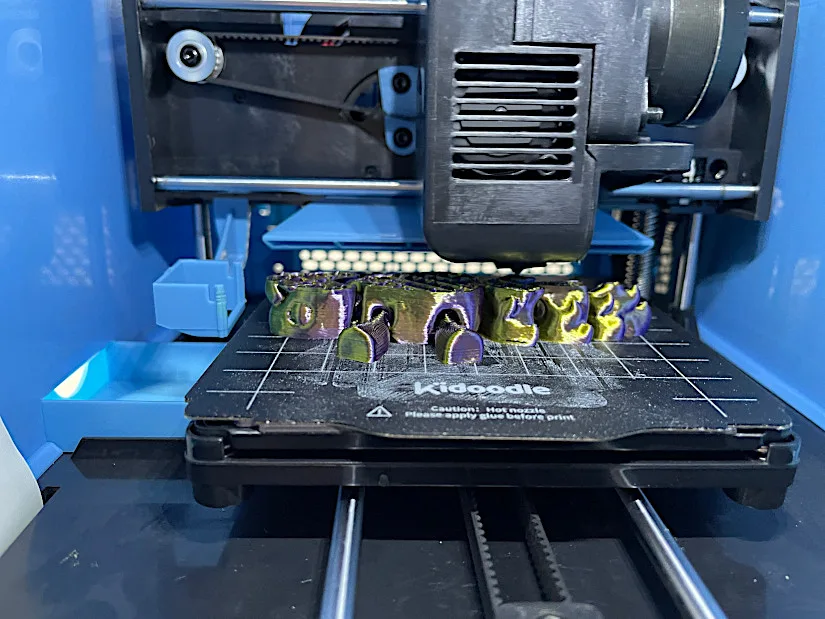
– Randomizer. After the Benchy test, I tried the Randomizer feature. It was interesting because I couldn’t understand what I was printing at the beginning. This could be a fun activity with children. When the print completed, it turned out to be a flexy articulated flat butterfly. Another model, quite challenging for bed adhesion due to many parts, was printed flawlessly.
Noise
As with all new high-speed 3D printers, MiniBox A1 is also speedy and noisy. But adjustments can be made. For example, reduce printing speed with the offered feature. I haven’t tried it. Another way would be placing the 3D printer on a big tile and a protective foam; by doing so, it would reduce the vibration and noise. Even more, as the printer is relatively small, it can be kept in noise-canceling enclosures as well.
Kidoodle App and Model Library
Android or iOS app.
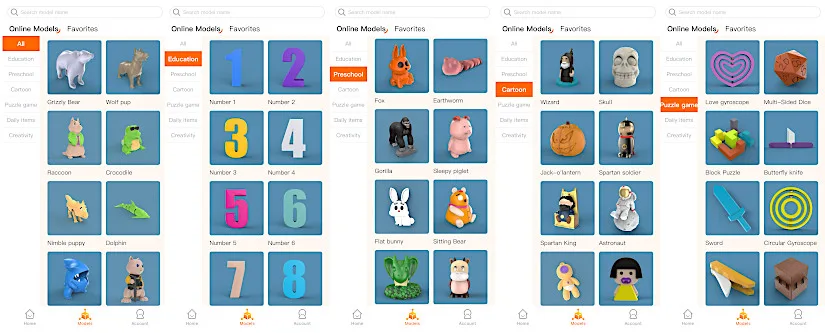
I was impressed with both the app itself and the model library. All features are intuitively placed, making navigation very easy. With just a few clicks, it is possible to start a print remotely. There is also quick access to all guides and instructions, such as filament replacement and model retrieval. I’m looking forward to seeing the guide on nozzle replacement as well.

– Educational 3D Models. Numbers, letters, geometrical figures, animals, puzzles, and more. If STEM education might seem boring to some, involving a 3D printer can make the process exciting. Print your own numbers and letters in as many quantities and colors as you desire.
While testing the MiniBox A1, I ended up printing numerous models. Due to the high speeds, all models were printed within 20 minutes to 1.5 hours, so I quickly ended up with a bunch of them. Some were challenging models, like the Gorilla, for example, the model’s feet and arms connect much higher after many layers. Exceptional cooling played a significant role in connecting the limbs together without issues.
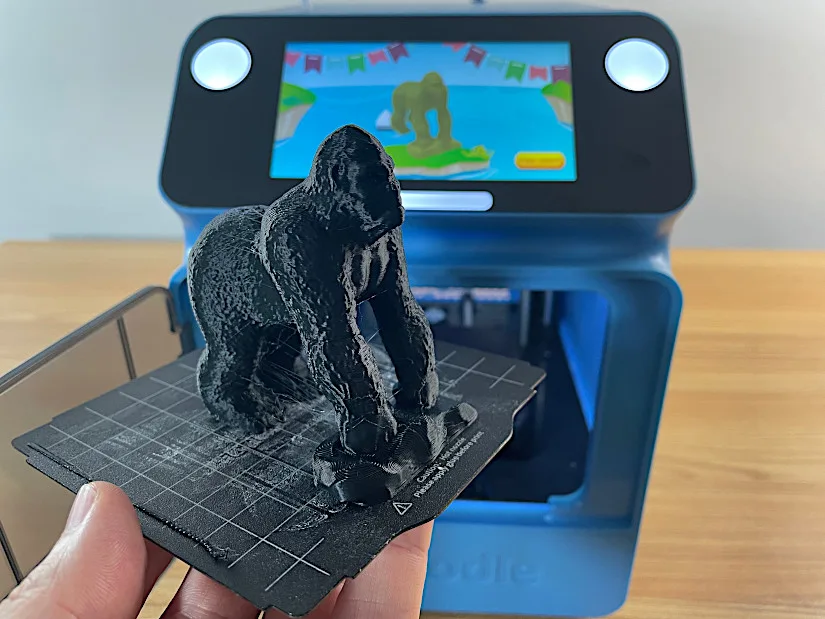
©3DWithUs – Print & Photo: Max Funkner
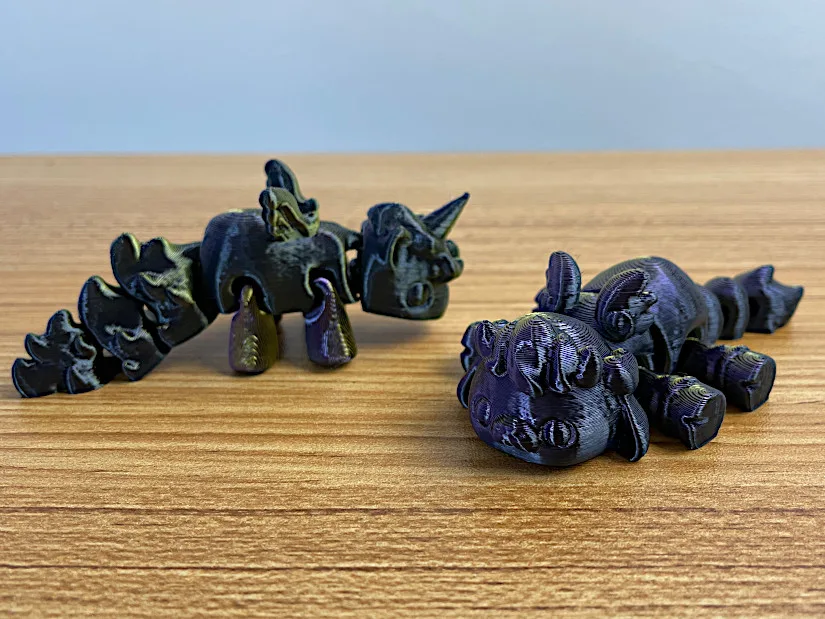
Other challenging models included the flexi articulated Unicorn and Piggy, which have many small parts initially and involve a lot of retraction. All models I printed came out exceptionally well. Here are some of them:
©3DWithUs – Print & Photo: Max Funkner
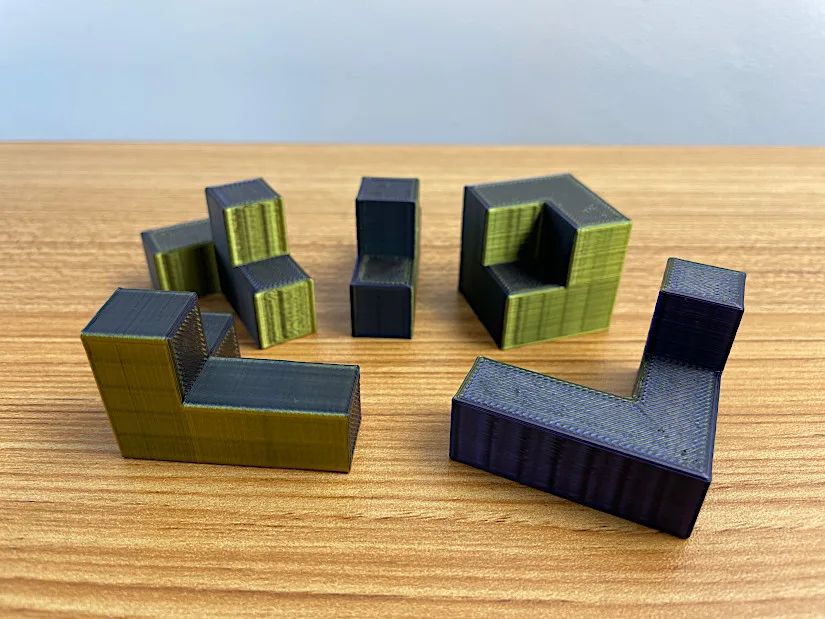
I still have to solve the puzzle 🙂
©3DWithUs – Print & Photo: Max Funkner
©3DWithUs – Print & Photo: Max Funkner
Kidoodle Slicer Software
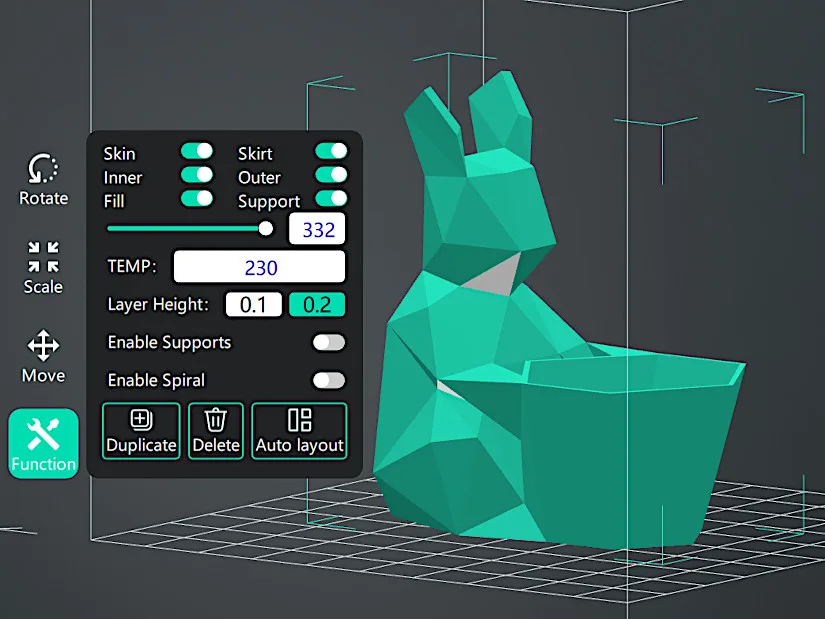
Build on Cura slicer.
It is a very simplistic slicer software and I am pleased to find out that our models were sliced very well. Slicer software files and instructions are included on USB. Installation is straightforward.
– kidoodle folder. Initially, I struggled to transfer the sliced files to the machine – it turned out a special folder needed to be created, namely: ‘kidoodle’ (case sensitive), and put the sliced file in it so that it could be read.
3D Model on Cults
©3DWithUs – Print & Photo: Max Funkner
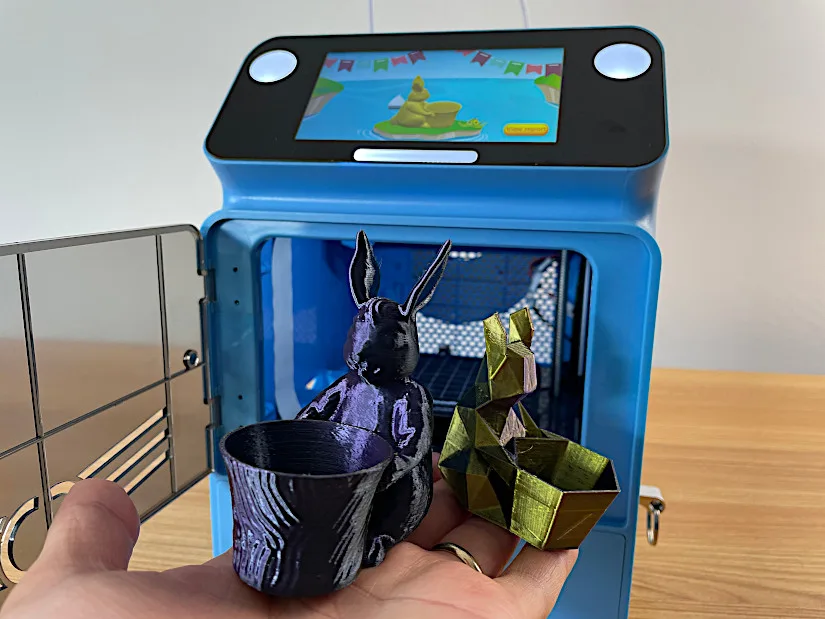
I tried to print two of my models that don’t require supports. Both were printed very well. Easter Bunny’s paws are at a very steep angle but it wasn’t an issue as cooling works very well.
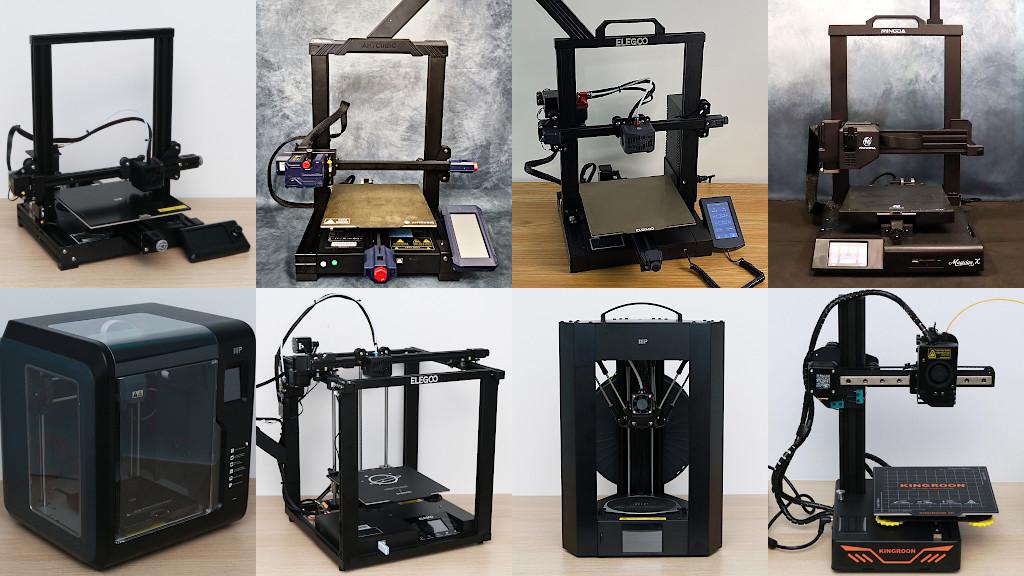
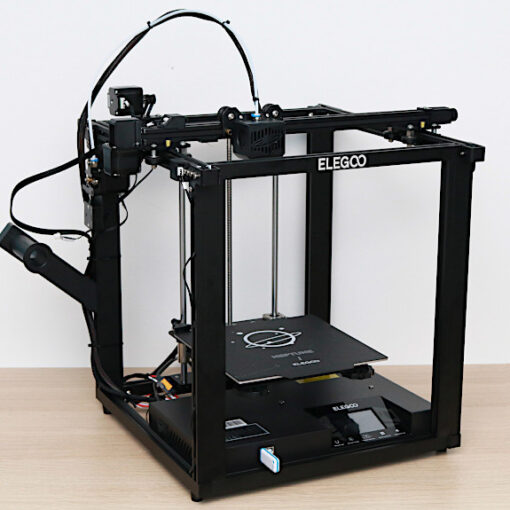
Kidoodle MiniBox A1 and Other 3D Printers for Kids
The concept of kid-friendly 3D printers is not a new idea. These machines have been on the market for the last decade, often with limited safety standards, focusing more on appearance and size rather than on safety. In the past, we have seen models like the Toybox, WIIBOOX, and XYZ 3D Printing’s Da Vinci miniMaker, which catered to the younger audience but did not prioritize robust safety features. Kidoodle, however, distinguishes itself by incorporating advanced safety features such as an enclosed chamber and access controls. These enhancements not only make it safer for use around children but also reflect a growing industry recognition of the importance of safety in design, ensuring a secure and worry-free experience for young users and their guardians.
Conclusion and Pros & Cons
Kidoodle MiniBox A1 Review
Review Summary
While there were attempts to create child-friendly 3D printers in the past, Kidoodle’s MiniBox A1 has elevated the concept to a new level. This enclosed 3D printer with access controls makes it a safer option for introducing to children, under guardian supervision.
The well-functioning app and the vast array of educational 3D models available for printing with just a few clicks are sure to awe and capture the attention of curious kids. The whole family may enjoy this newfound hobby together, whether on seasonal holidays or as school-related fun.
The system is well thought out, from the box to the filament holder, making it genuinely a great gift for children of a certain age. It could also serve as an introductory step before purchasing a more sophisticated 3D printer.
Many various models I printed came out flawlessly, even though some were quite challenging, such as multi-part and flexi articulated models and others that require good cooling. Both pre-sliced models from the app and custom-sliced models via Kidoodle slicer software were printed quickly and with high quality.
Pros
Price
Safety Features
Small and Compact
Fast Speed
High Temperature
Cons
Noisy
Limited Slicer Software