Bambu Lab has emerged as a leader in high-end multi-color printing, demonstrating proficiency with models such as the X1C and P1S, which feature the Automatic Material System (AMS) capable of managing up to 16 colors among linked units. Their most recent release, the A1 Mini, offers an appealing combination of price and flexibility, although it is limited by a small build capacity of 180mm x 180mm x 180mm. The company responded to customer feedback by introducing the Bambu Lab A1, a larger sibling with a more spacious build size of 256x256x256. Both versions of the A1 series support the innovative AMS lite, which allows users to connect up to four spools to the machine. To properly investigate the A1’s capabilities, we will put it to rigorous testing, focusing on multi-color printing and evaluating potential pros and cons that may arise during the evaluation process.
Table Of Contents
- Specifications
- Unboxing – What’s Included
- Setup and Design
- AMS lite Installation
- User Interface
- Testing and Results
- Test Printing with AMS-Lite
- Recall – Bed Cable Issue
- Compare to Other 3D Printers
- Conclusion and Pros & Cons
Price: $399 and $599 for Combo
Product Affiliate Links: 3DWithUs is supported by its audience. Purchases via some links may earn us a small commission at no extra cost to you. This helps us to continue bringing you high-quality content. Our guides and reviews remain unbiased and independent.
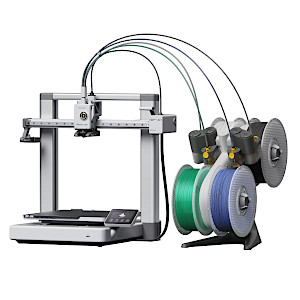

The AMS lite is an innovative product we proudly recognize with our special Editor’s Pick Award.
Bambu Lab A1 Combo Specifications
Build Volume: 256 x 256 x 256 mm (10 x 10 x 10 inches)
Material: PLA/PETG/TPU (up to 300 degrees)
Extruder Type: Direct Drive
Nozzle: 0.4mm high flow
Build Platform: PEI textured spring steel sheet, heated
Bed Leveling: Automatic
Filament Runout Sensor: Yes
Connectivity: WiFi, Bambu-Bus, Micro SD
Interface: 2.4 Inch Touch Screen
Machine Footprint: 385 × 410 × 430 mm (15 x 16 x 17 in)
Machine Weight: 8.3 KG (18.3 lbs)
Unboxing – What’s Included
A1 printer • Spool holder • Purge wiper • Power cable • 600mm ptfe tube • Sample filament • Accessory box • Unclogging pin • Allen key H2 • Allen key H1.5 • Spare heatbed nozzle wiper • Cable organizer • Scraper blade • Spare filament cutter x2 • Grease & oil • Assembly screws • AMS lite • AMS lite stand • User manual
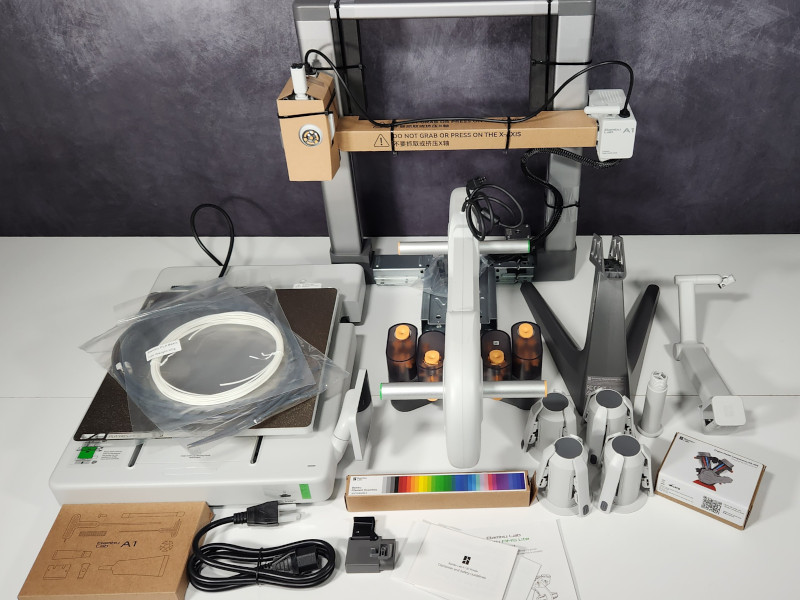
©3DWithUs – Photo: Will Zoobkoff
Setup and Design
The A1 comes mostly pre-assembled, only needing a few steps to complete the setup. The first thing you will need to do is place the printer base on its side so you may remove the 4 screws that secure the printing platform during shipment. Once removed, you can install the base into the upright gantry setup by holding the base at a 45-degree angle to slide into the upright assembly, lowering it into place. Next, remove the zip ties and foam pieces protecting the printhead. Proceed to remove the Y-axis rail cover and secure the base to the upright gantry using the 10 supplied screws in the designated green spaces. After moving the printing platform to the back, secure the last 2 screws before replacing the Y-axis cover plate.
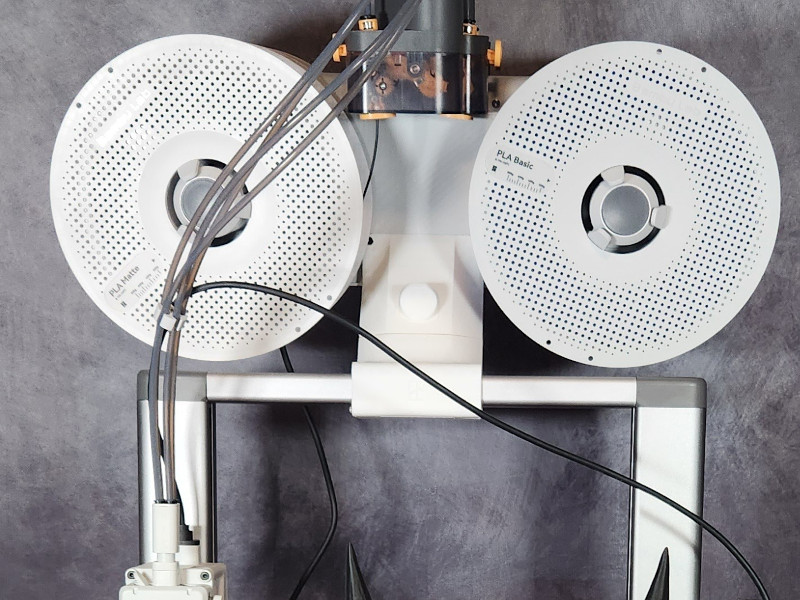
Exercise caution to prevent damage to the print bed cable while laying the printer on the Z-axis using the shipping box. Attach the cable management box underneath, securing the USB-C plug and fastening it with the pre-installed screw. Plug the cables into their marked positions on both the plug and cable end. Attach the purge wiper to the end of the X-axis, and install the filament spool holder on top. Alternatively, use the AMS and mount it on top using the provided model by Bambu Lab, ensuring it does not negatively affect print quality during testing.
©3DWithUs – Photo: Will Zoobkoff
Model provided by Bambu Lab: AMS lite Top Mount for A1 on MakerWorld, and here is a guide for installation. Another handy print: A1 Poop Bucket, compatible with AMS lite Top Mount by 3D Design Shop.
AMS lite Installation
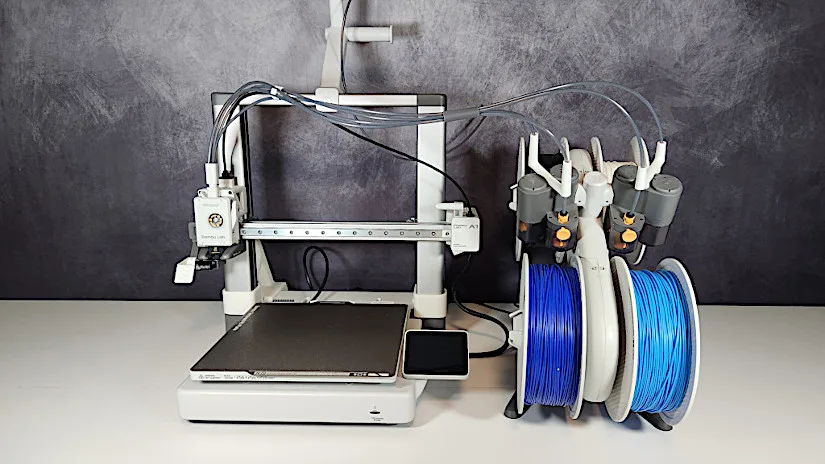
The AMS lite installation involves attaching the spool holders by matching colors and connecting the Bowden tubes. Use the two shorter tubes for ports one and two, and the longer tubes for ports three and four, facilitating easy attachment to the A1, whether mounted on top or on its stand beside the printer. For additional guidance, refer to Bambu Lab’s provided resources, such as the AMS lite Top Mount guide on the Bambu Lab’s Wiki.
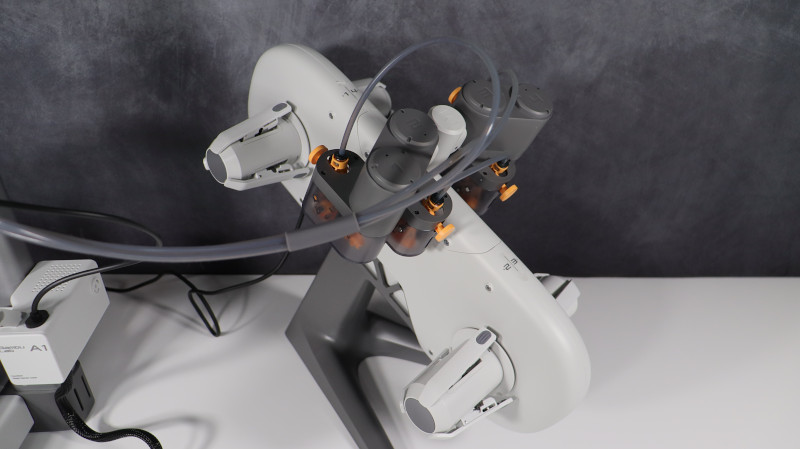
©3DWithUs – Photo: Will Zoobkoff
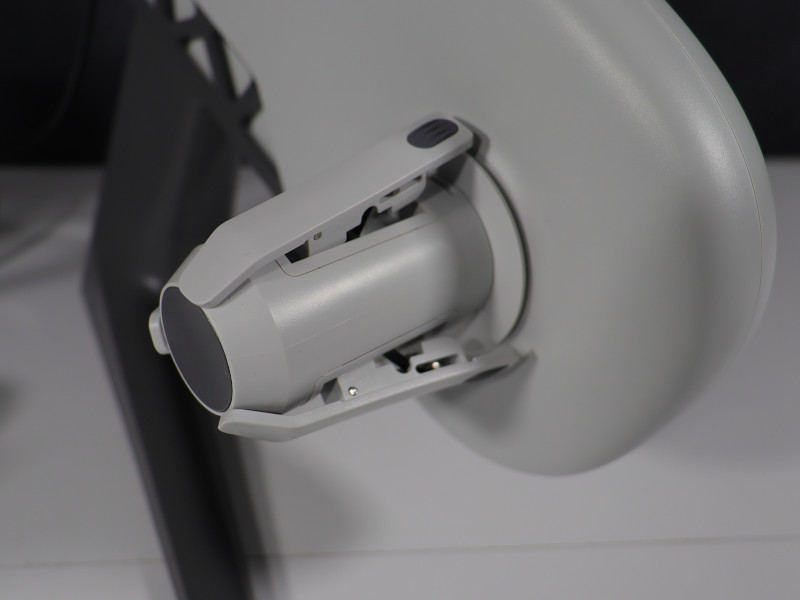
When using the AMS Lite system, there can be one inconvenience: the spool’s center hole must be the proper size to attach to the AMS Lite.
©3DWithUs – Photo: Will Zoobkoff
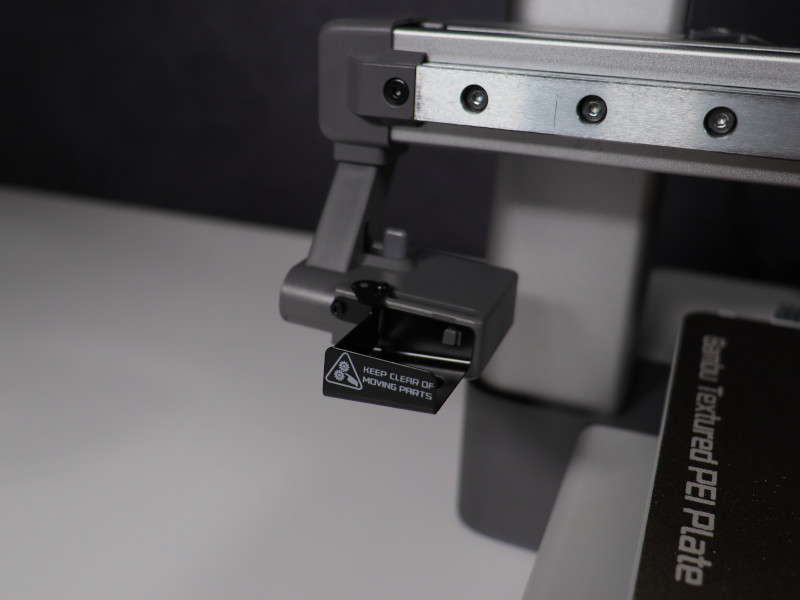
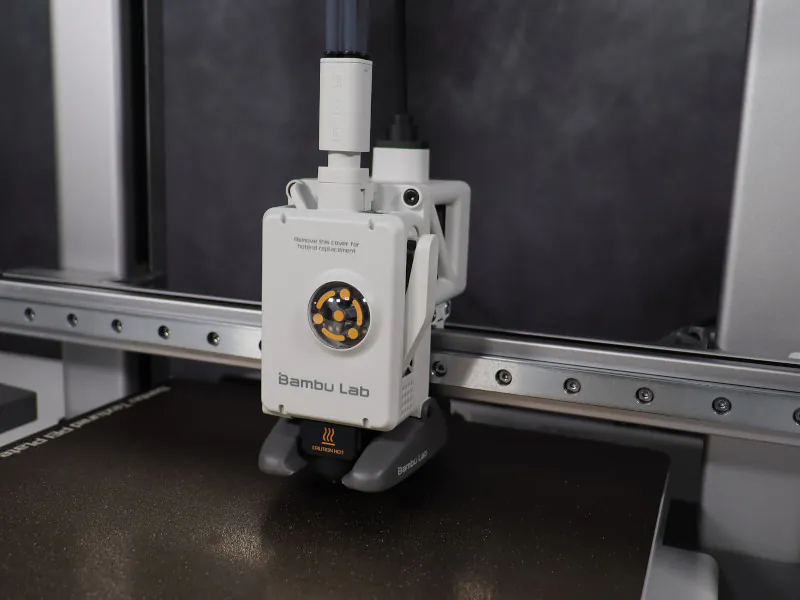
The Bambu Labs A1 printer has a sleek design, with the bed rails discreetly disguised beneath a detachable panel. The upright rods are also concealed within the upright tubing, and the only visible rail is along the X-axis. However, due to the A1’s color scheme, it is barely visible. The little swing-out touchscreen has a clean and simple interface that is akin to Bambu Labs’ prior release, the X1C. The AMS lite has the same color scheme as the printer and, when put on top, takes up very little room in your workshop.
User Interface – 2.4-inch Touchscreen
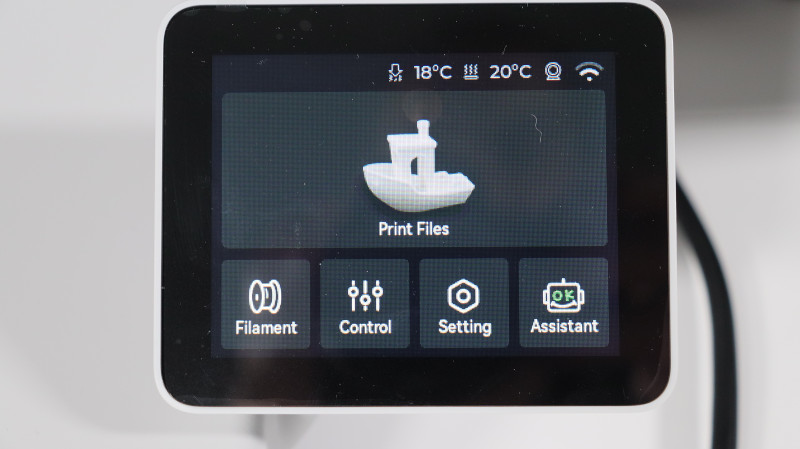
The 3D printer’s 2.4-inch touchscreen is very user-friendly, providing easy access to essential settings. You can quickly navigate through extruder control, AMS configurations, and Wi-Fi connectivity options right from the screen.
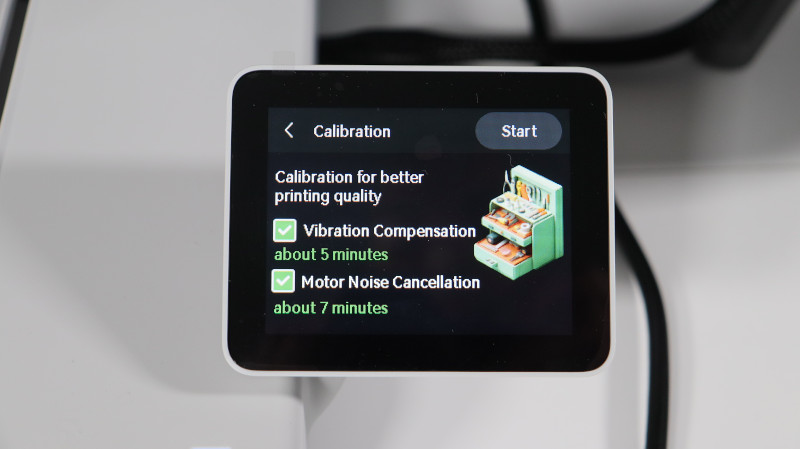
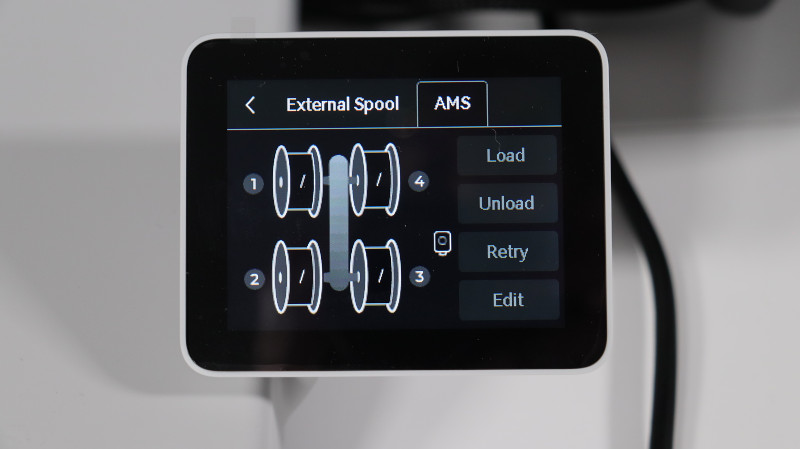
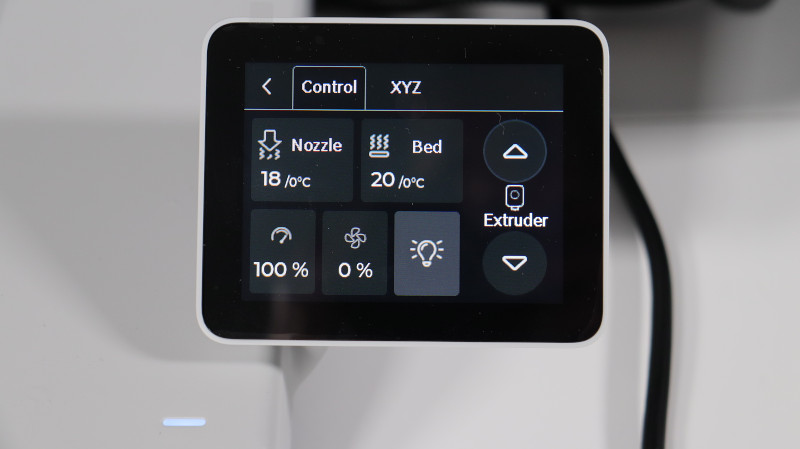
The unboxing experience reveals the thoughtful inclusion of numerous extras, which increases the total value of the A1 package. While the setup is mainly pre-assembled, the print bed cable must be handled carefully to avoid damage. Bambu Lab has addressed the print bed cable issue with a released part.
Testing and Results
All models were sliced using the most recent version of the Bambu slicer, with the recommended profile at 300 mm/s, three walls, and a 10% gyroid infill. The Bambu Lab A1 also includes a random model kit, and we were fortunate to receive the engine model kit, which features a USB motor that will be useful for the marble run we want to print.
However, some of the spools used in our tests were incompatible with the new AMS lite. Fortunately, multiple available models adapt several brand spools to the new AMS lite, providing flexibility and compatibility.
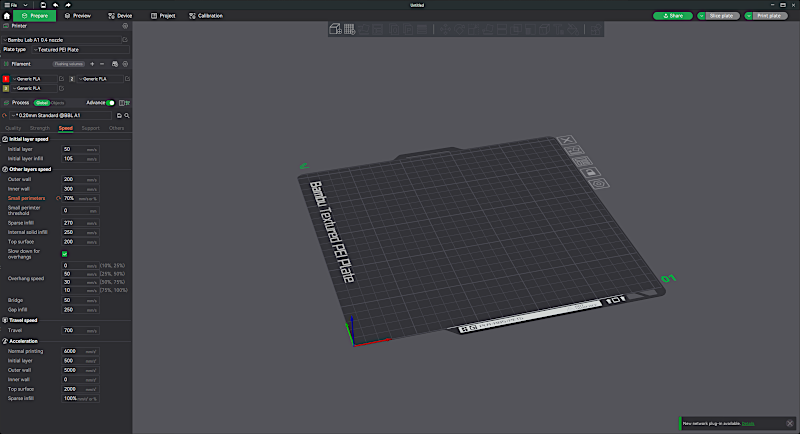
The first model we chose to print was the previously mentioned marble run, available here: Marble Run 003 by Bambu Lab – MakerWorld.
This design has several printing possibilities, and we chose the 7-bed print, rearranging some pieces to decrease it to 5 beds. We used Creality Red HP PLA, Creality Green HP PLA, and, due to an oversight, Creality White Hyper PLA for one component. The prints took just over 30 hours to make. When completed, all elements fit seamlessly together, and the elevator track components moved freely with no binding at the joints.
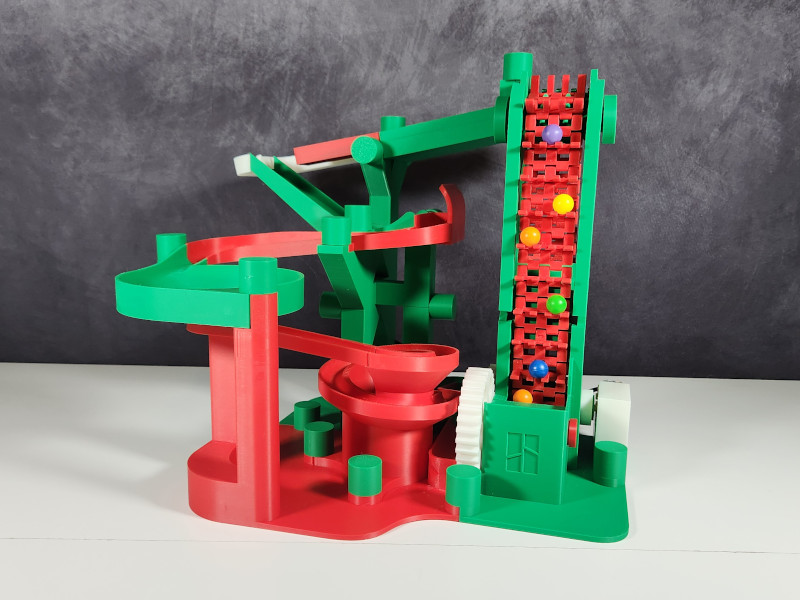
Model by Bambu Lab
©3DWithUs – Print & Photo: Will Zoobkoff
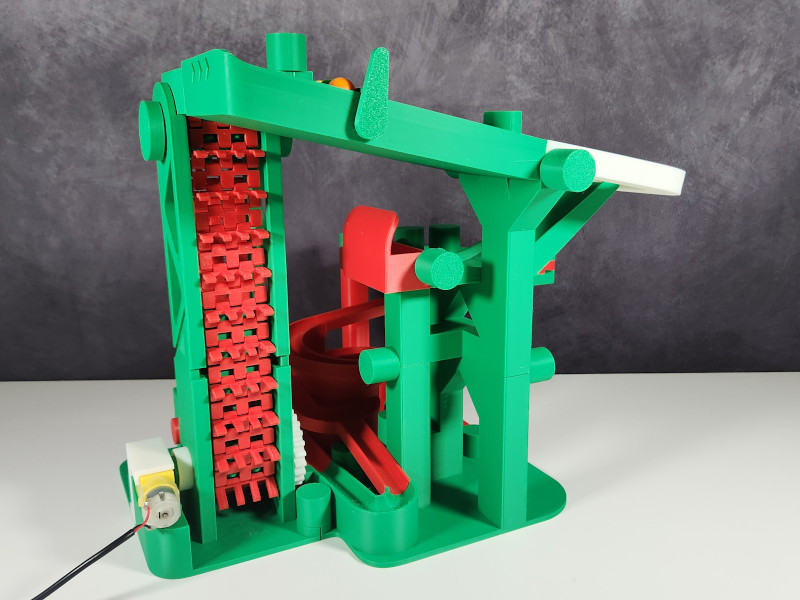
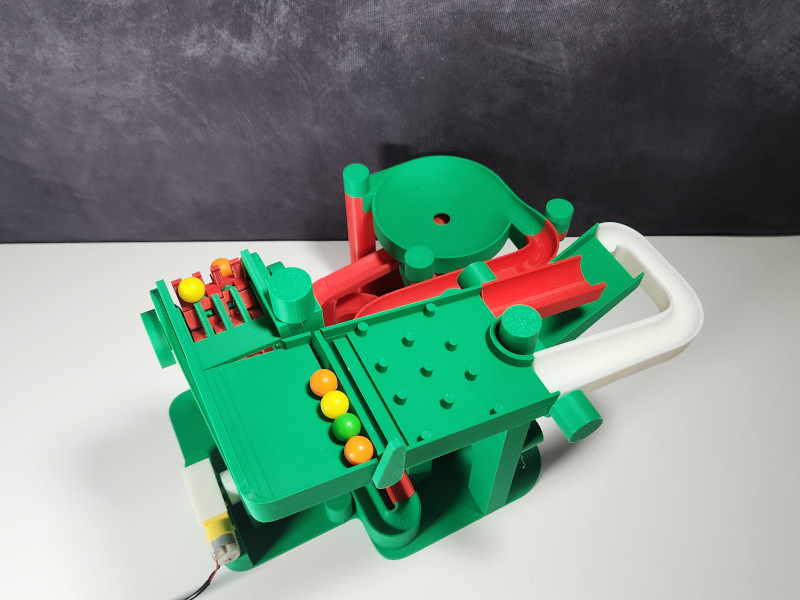
After mounting the motor, marbles can be loaded, and when the power is turned on, the print’s striking feature is its unlimited looping. It’s a captivating demonstration of the possibilities of 3D printing. For those who want to personalize your marble run, alterations to the pieces are also an option with custom parts available to print.
The next model we chose to print were the parts for the Engine Model 005 kit that accompanied the A1. Engine Model 005 by Bambu Lab – MakerWorld.
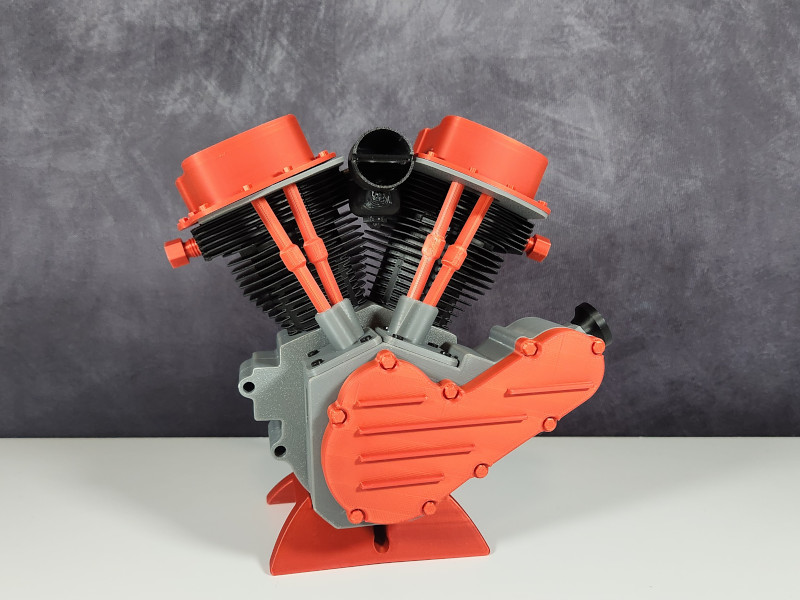
Model by Bambu Lab
©3DWithUs – Print & Photo: Will Zoobkoff
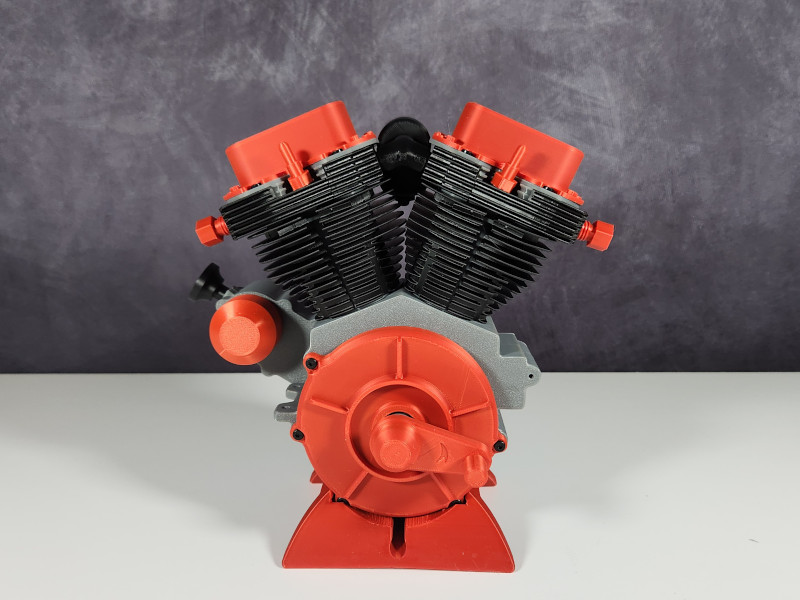
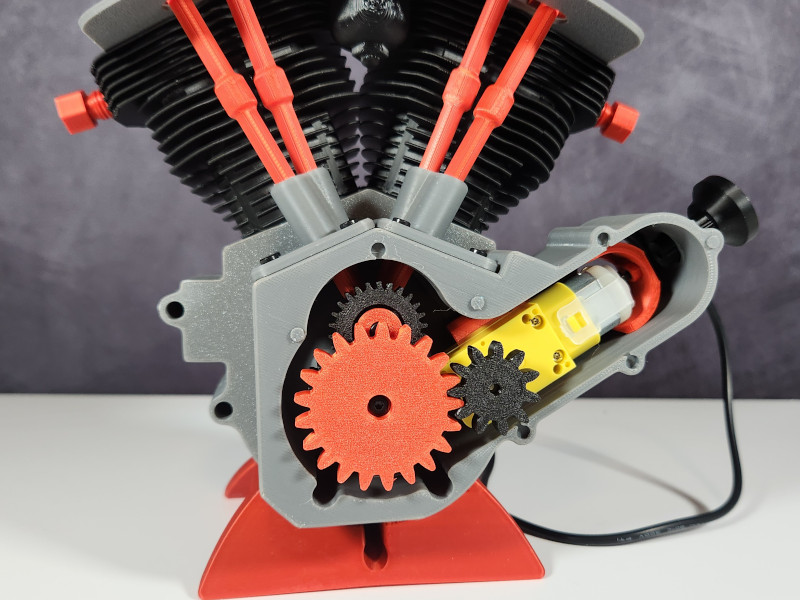
Similar to the marble run, this print initially required 7 beds, but with little organizing, we were able to complete it with only 5 print beds. We chose Polymaker Red, Black Silk PLA, and Sunlu Grey Metal PLA. The prints were completed in approximately 23 hours. When printing single-color beds, the A1 displayed excellent speed; however, adding color variations dramatically increased print times. The final print was faultless, with no difficulties, thanks to automated flow detection before the print began. All components fit together perfectly, and the movement of the gears, pistons, and valve rods is smooth.
Test Printing with AMS lite
For the next print in our review, we went to one of our favorite sources for flexi prints, TwistyPrints on their Patreon and Cults.
This is the Kitsune flexible model; this nine-tailed fox model was printed with Bambu Lab White PLA, Sunlu Grey Metal PLA, as well as Creality Red HP PLA and Sunlu Yellow PLA. The print took just under 22 hours. Once completed, the head and tail fit perfectly onto the body, and the results are simply stunning.
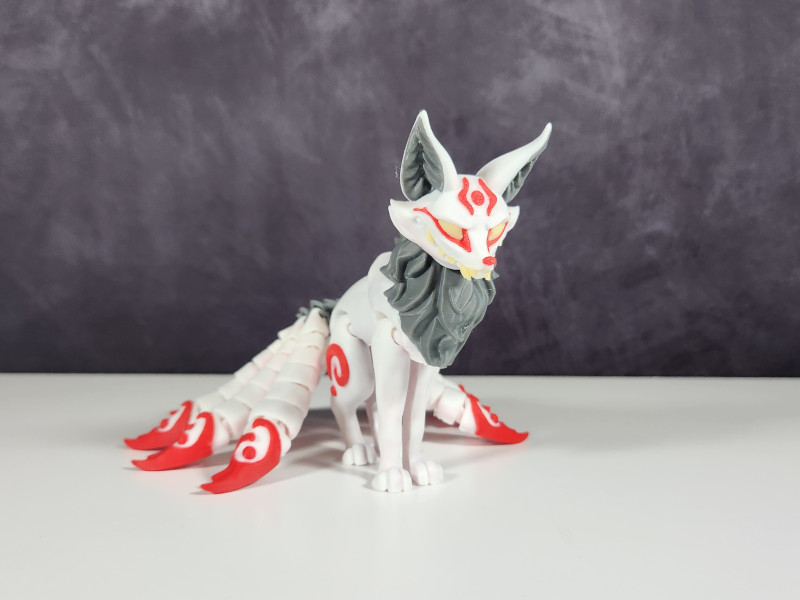
Articulated Kitsune by TwistyPrints on Cults
©3DWithUs – Print & Photo: Will Zoobkoff
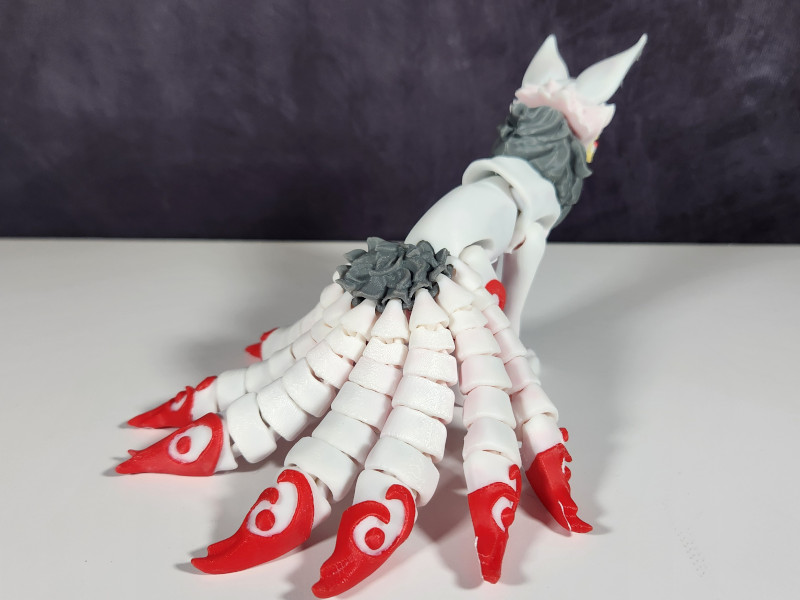
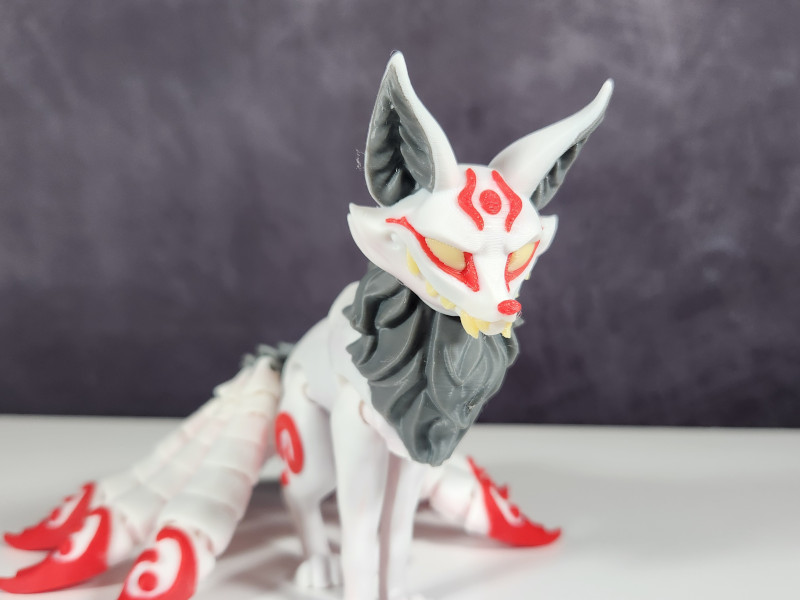
The choice of colors really makes this model stand out, and the print is free of any problems or issues of any kind, showing that the A1 is a solid printer with repeatable results, no matter the type of model being printed.
For the final print in our assessment, we turned to Pipe Cox, one of our favorite Patreon creators for distinctive models.
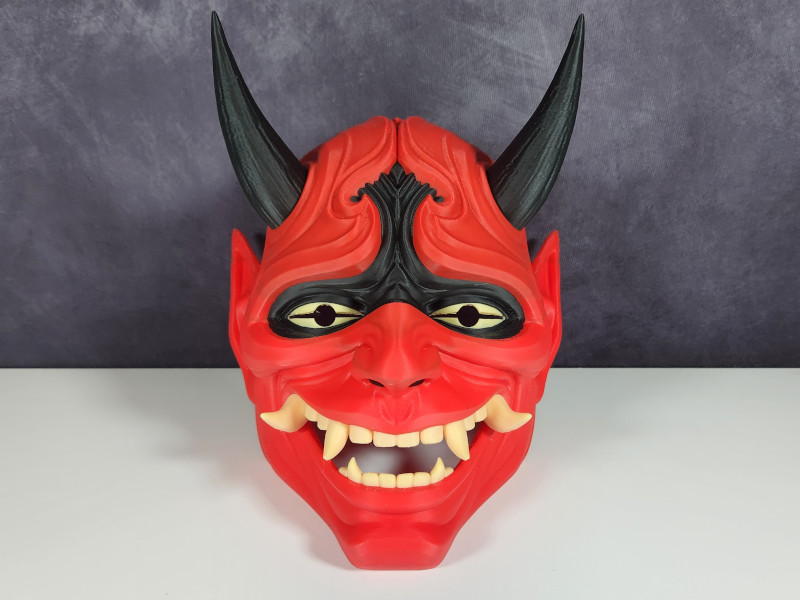
ONI Wall Mask by Pipe Cox on Cults
©3DWithUs – Print & Photo: Will Zoobkoff
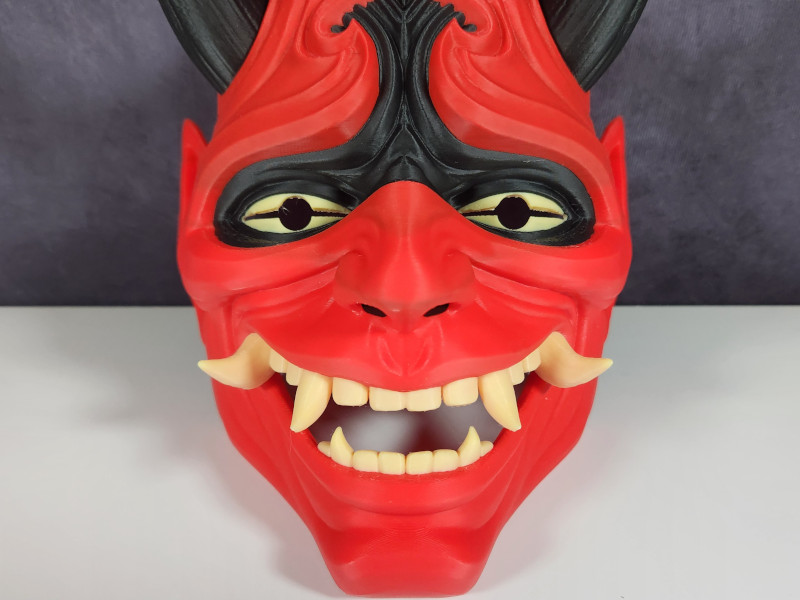
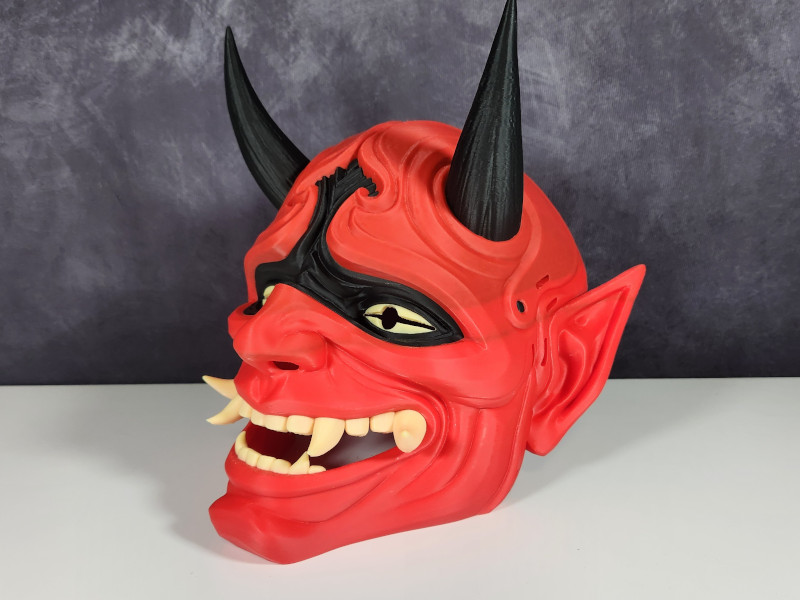
This is the Oni Mask 2.0, created with Creality Red HP PLA, Bambu Lab Black Matte PLA, and Sunlu Yellow PLA. Despite being one of the longest single-bed prints in our assessment, with a completion time of just under 40 hours, the results were well worth it. The final print quality is outstanding. The mask was somewhat too small to fit well, but if scaled up by 4 or 5%, it would have fit perfectly while being within the build platform.
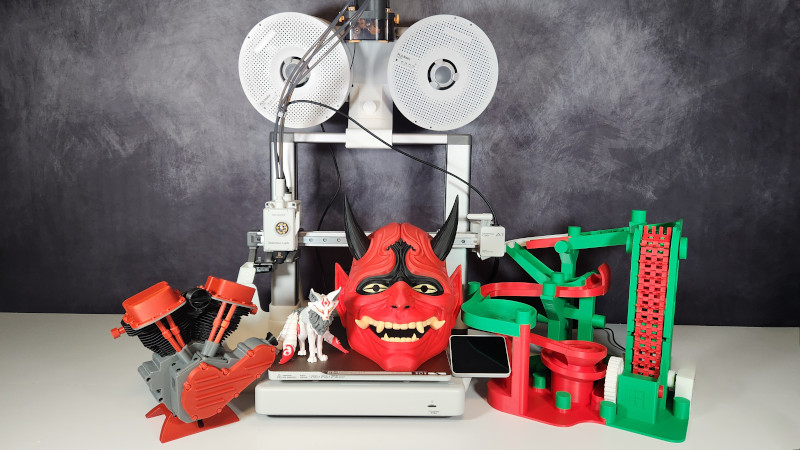
©3DWithUs – Prints & Photo: Will Zoobkoff
In comparison to the P1X and X1C, the A1 has slightly shorter color-changing durations because of how the AMS lite is connected to the A1. Additionally, it’s worth mentioning that the resulting waste has been reduced compared to the X1C and the P1S, and with fine-tuning, waste could be further minimized.
Recall Information Regarding the A1 Bed Cable Issue
In recent findings, less than 0.1% of A1 printers sold encountered electrical malfunctions linked to heatbed cable damage. While external factors and craftsmanship contribute, some cases are under investigation. To prioritize safety, we advise all users to cease A1 printer usage until further details emerge. Despite the low incidence, we extend a recall to all A1 printers in the market, offering two compensation options. Bambu Lab apologizes for any inconvenience, and while plans may evolve, Bambu Lab’s commitment to customer safety remains unwavering.
Cable protector: A1 Heatbed Cable Protector by Bambu Lab – MakerWorld
More information is avalible on the Bambu Lab blog page.
Update. Since April 2024, Bambu Lab A1 printers have returned to the e-shelves on the official website with the cable issue fixed.
Compare Bambu Lab P1S to Other 3D Printers
If Bambu Lab’s X1 Carbon has established itself and won awards since 2022, then Bambu Lab’s A1 is a new format launched in 2023. The bed-slinger A1, with its smaller build volume, is still AMS-compatible. It is one of the most affordable multi-material 3D printing-compatible printers on the market.
Compare to the Other Bambu Lab 3D printers:
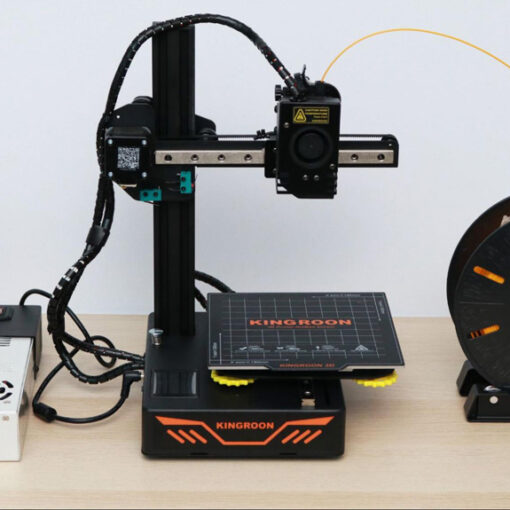
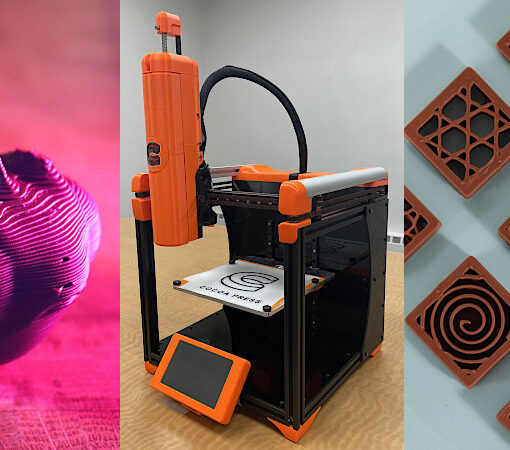
Compare to similar builds, volume and price range, FDM 3D printers.
Bambu Lab has established itself as a leader in the field of high-quality, multi-color 3D printing. The A1 series, which includes the A1 Mini, exemplifies the company’s commitment to innovation, incorporating consumer feedback to create a balance between affordability and versatility.
Conclusion and Pros & Cons

Bambu Lab A1 Combo Review
Review Summary
In our full review of the Bambu Lab A1 3D printer, it is clear that the company has established itself as a leader in the field of high-quality, multi-color 3D printing. The A1 series, which includes the A1 Mini, exemplifies the company’s commitment to innovation, incorporating consumer feedback to create a balance between affordability and versatility.
During our review, Bambu Lab announced a recall for heatbed cable issues affecting a small percentage of A1 printers, and Bambu Lab’s prompt response and commitment to consumer safety stood out. The recall demonstrates the company’s commitment to guaranteeing customer happiness and preserving a strong reputation in the 3D printing community.
With an excellent rating of 4.7 out of 5, the A1 has various advantages. Its quick print speed, usage of the AMS lite for efficient multi-color printing, silent operation with active noise cancellation, and great construction quality make it a dependable and user-friendly 3D printer. The A1’s characteristics, which include a large build volume, direct drive extruder, and automatic bed leveling, add to its versatility.
Testing the A1 with various materials and models revealed that it performed consistently, even when faced with small problems such as spool compatibility. Notable prints, such as the Marble Run and Kitsune flexible model, demonstrated the A1’s versatility and capacity to produce breathtaking results in a variety of applications.
The Bambu Lab A1 is a commendable 3D printer that can suit the needs of both hobbyists and professionals. The company’s commitment to safety, combined with the A1’s amazing features and outcomes, make it a significant asset in the ever-changing field of 3D printing technology.
Pros
• Fast print speed
• AMS lite
• Quiet (ANC active noise cancelling)
• Great build quality
• Camera built in
Cons
• No enclosure
• 80°C bed limit



How do you set the printer to switch to water soluble filament for supports that are generated during the slicing process?