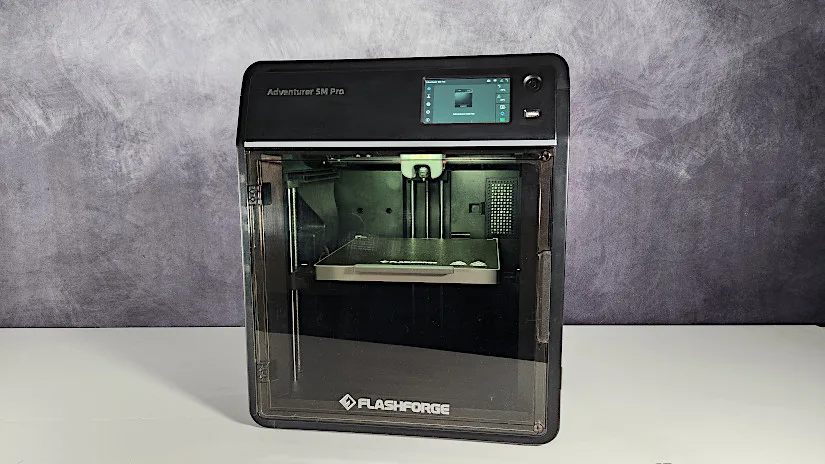
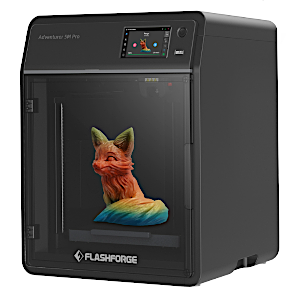
The Flashforge Adventurer 5M Pro is Flashforge’s most recent Core XY enclosed printer, building upon its previous Adventurer series machines. In recent years, Core XY printers have proven to be stable, especially when involving higher speeds of up to 600mm/s. These printers appeal to many makers despite being nearly double the price compared to budget bed-slinger type machines. A built-in enclosure provides a safe and controlled environment, perfect for printing with filaments such as ABS, and the removable air filters should alleviate any concerns about fumes. The AD5MP’s quick-detach nozzle system is a new, convenient feature that may make this machine even more appealing. Let’s review the machine, look at all of the AD5MP’s features, including speed, print quality, and potential difficulties, and we will also list the pros and cons.
Table Of Contents
- Specifications
- Unboxing – What’s Included
- Setup and Design
- Quick-Detach Nozzle System
- Testing and Results
- Compare to Other 3D Printers
- Conclusion and Pros & Cons
Price: $599 – $695
Product Affiliate Links: 3DWithUs is supported by its audience. Purchases via some links may earn us a small commission at no extra cost to you. This helps us to continue bringing you high-quality content. Our guides and reviews remain unbiased and independent.
Flashforge Adventurer 5M Pro Specifications
• Printer Type: FDM
• Build Area: 220 x 220 x 250mm (HxDxW)
• Extruder type: Direct Drive
• Max nozzle temperature: 280 C
• Max bed temperature: 110 C
• Maximum Print Speed: 600mm/s
• Nozzle width: 0.4mm Stainless steel and 0.6mm Hardened steel included (0.25mm and 0.8mm are also available)
• Maximum Resolution: 0.1mm layer height
• X/Y Precision: X/Y axis:0.0125mm; Z axis: 0.0025mm
• Weight: 19kg
• Device Size: 380 × 400 × 453mm (excluding the spool holder)
• Touch LCD Screen: 4.3 inch
• Printing connection: Wi-Fi; Ethernet; USB
• Max Extruder Speed: 600mm/s
• Max Acceleration: 20000mm/s²
• Layer Thickness: 0.1-0.4mm
• Printing Bed: PEI Sheet
• Filament Type: PLA/PETG/ TPU (0.4mm nozzle) ABS/ASA/PLA-CF/PETG-CF (0.6/0.8mm nozzle)
• Leveling Method: Full-auto one-click leveling
• Filament Run-out Reminder
• Power Loss Recovery
• Camera Monitoring
• Time-lapse video
• Air Filtration: Internal and external circulation. HEPA filter and activated carbon blocks 99% of particles and VOCs.
• Low-noise mode: 50dB; standard mode: 55db
What’s in the Box
• Adventurer 5 pro
• 0.6 mm Hardened steel nozzle
• Glue dabber
• Allen wrenches
• Phillips screwdriver
• Unclogging pin
• Grease
• Side cutters
• Spool holder
• User manual
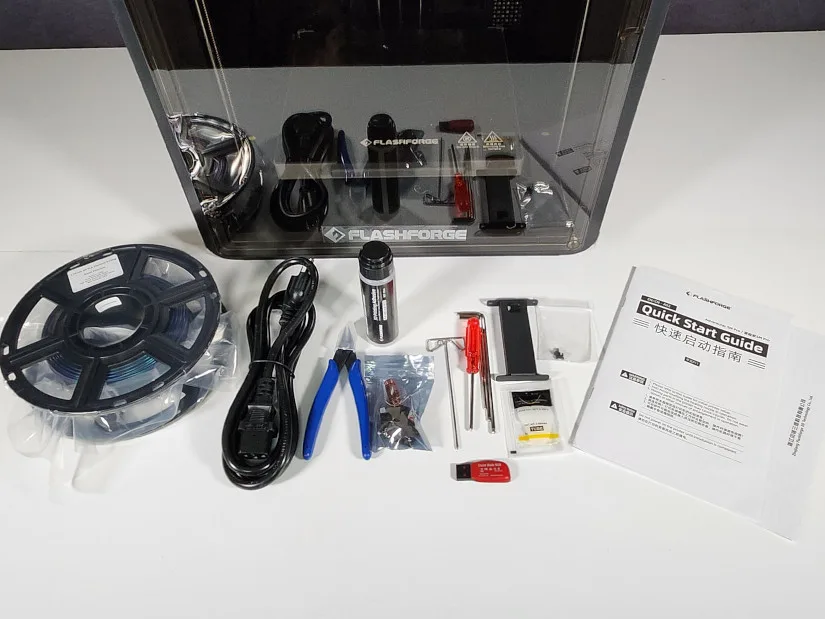
©3DWithUs – Photo: Will Zoobkoff
Setup and Design
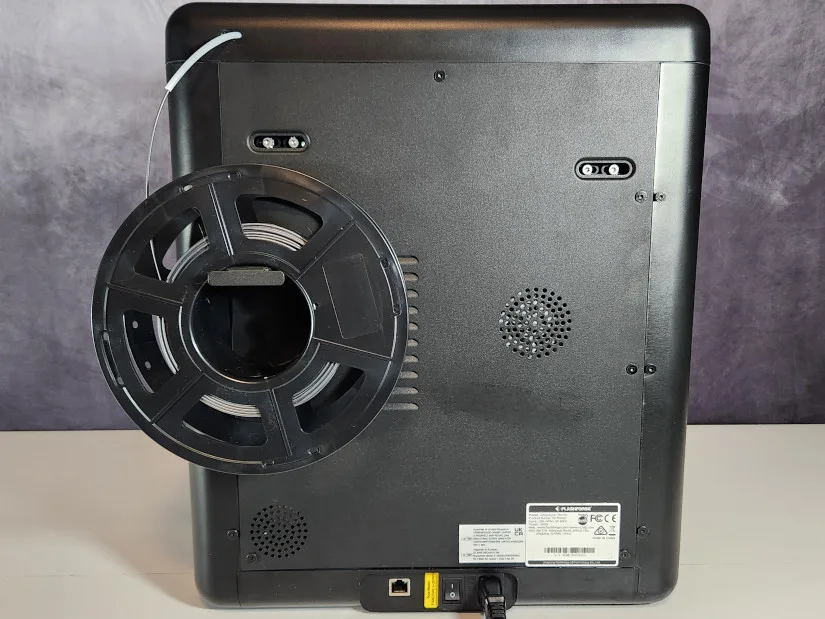
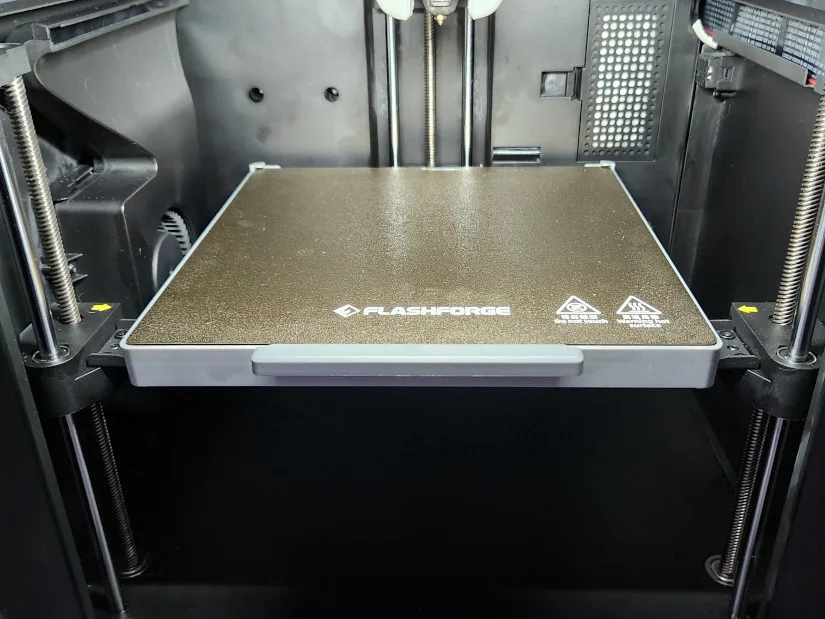
The Flashforge Adventurer 5 Pro makes setup simple. Just follow these steps: remove the packaging material, fasten the spool holder to the back of the machine, and then release the four screws that secure the bed during transportation.
©3DWithUs – Photo: Will Zoobkoff
Once these steps are accomplished, turn on the printer and walk yourself through the calibration procedure. With that, you’re ready to start printing. The Flashforge AD5MP is one of the easiest printers we have set up to date.
Quick-Detach Nozzle System
One of the AD5MP’s defining features is the quick-release nozzle. You can choose between 0.4mm stainless steel and 0.6mm hardened steel nozzles to meet your printing needs. Optional nozzle kits with sizes 0.25, 0.6, and 0.8 are available for purchase via the official website.
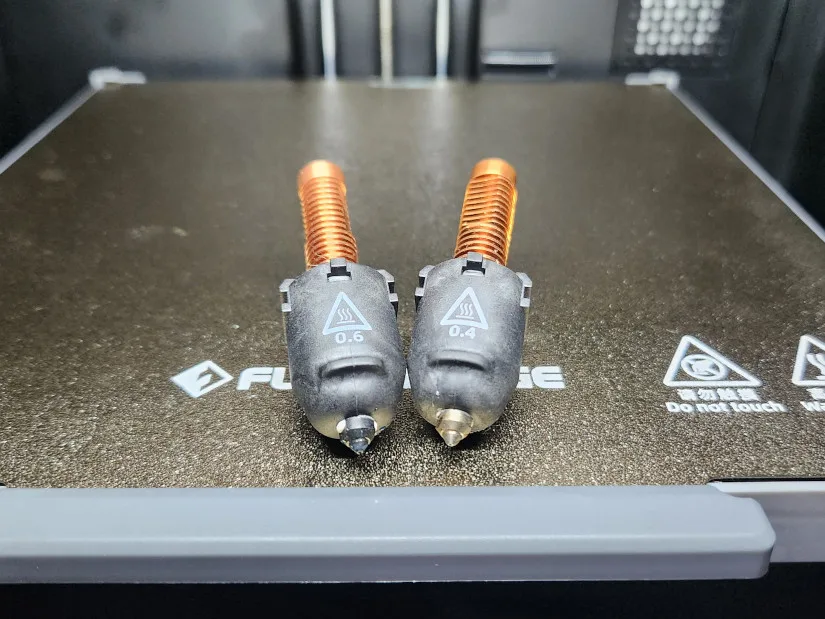
©3DWithUs – Photo: Will Zoobkoff
Swapping between them is simple: just release the two tabs on the hotend, gently pull the hotend down to remove the current nozzle, and then reverse the process to securely lock the new nozzle in place.
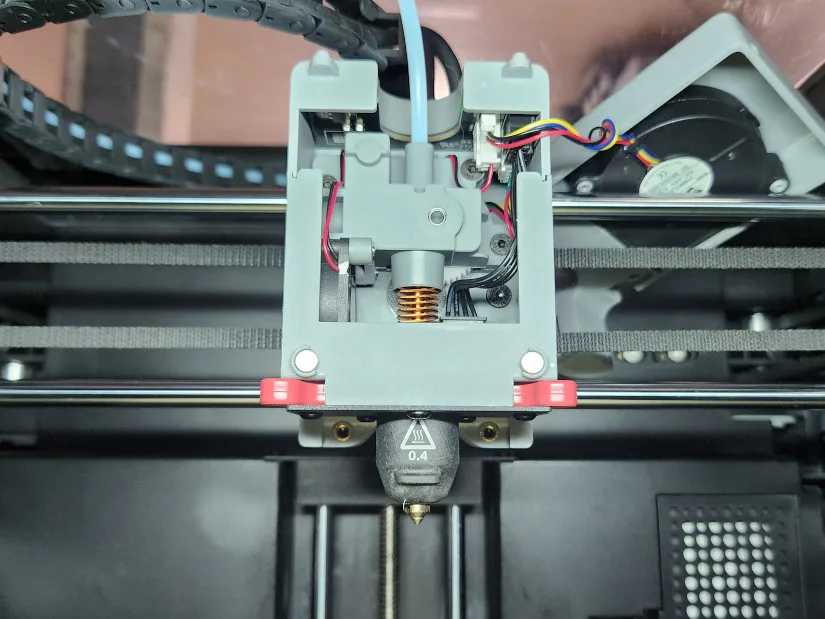
©3DWithUs – Photo: Will Zoobkoff
This user-friendly design allows for seamless nozzle adjustments, enabling you to effortlessly adapt to a variety of printing requirements.
– Enclosure. The AD5MP has a sleek and clean design, with all wires and cables securely disguised. With black panels on both sides and the back of the printer, you can be confident that nothing will interfere with the printing process. The only area that needs clearance is the back of the machine, where the spool is stored.
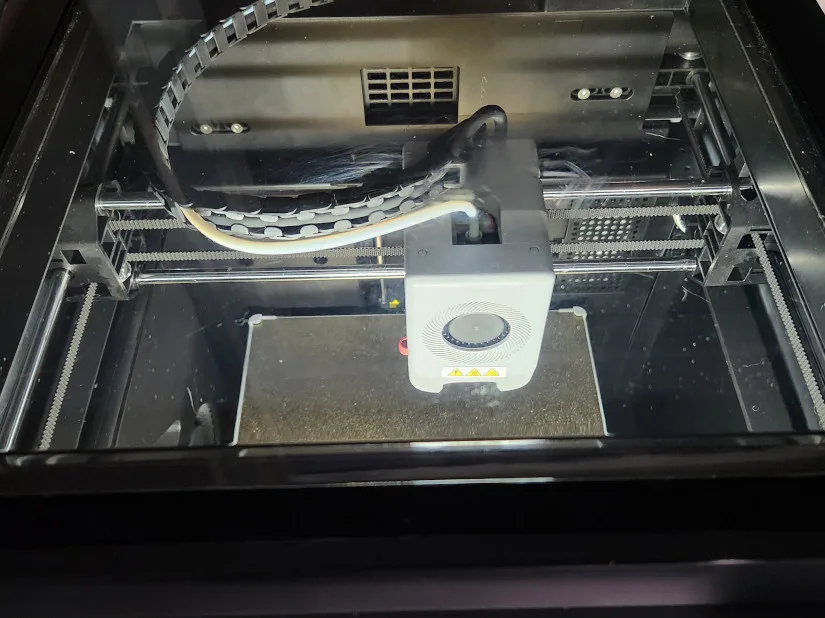
©3DWithUs – Photo: Will Zoobkoff
The printer’s front panel includes an integrated touch screen, which sits above a hinged door locked with magnets for easy closure. There is also a top door that may be opened as necessary, such as when changing filaments or when the chamber does not need to be kept warm while printing.
©3DWithUs – Photo: Will Zoobkoff
However, during our testing, we found no evidence of the chamber temperature altering lower-temperature filaments.
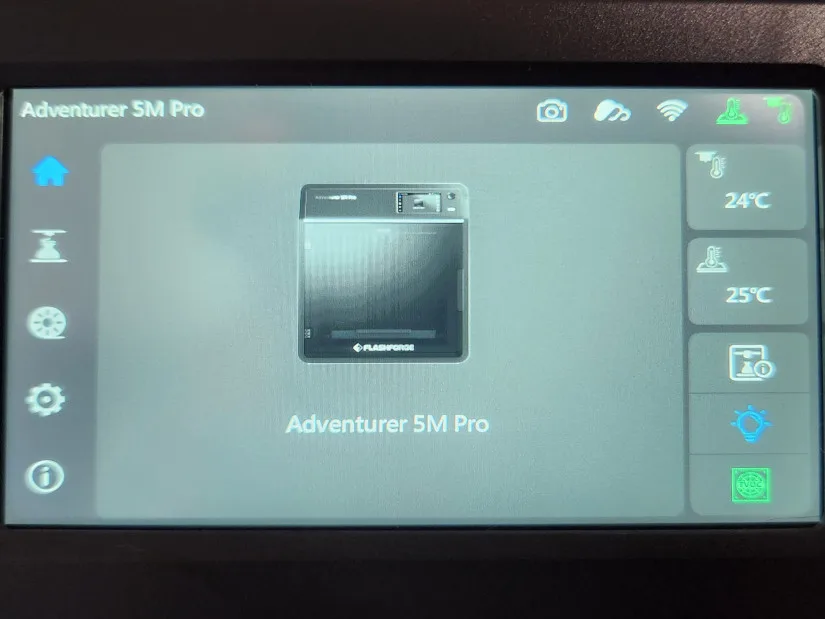
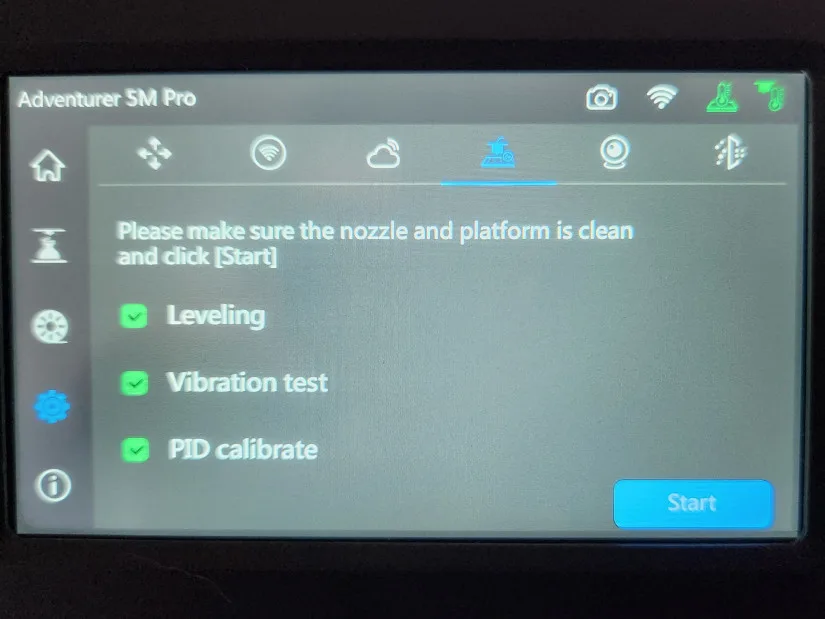
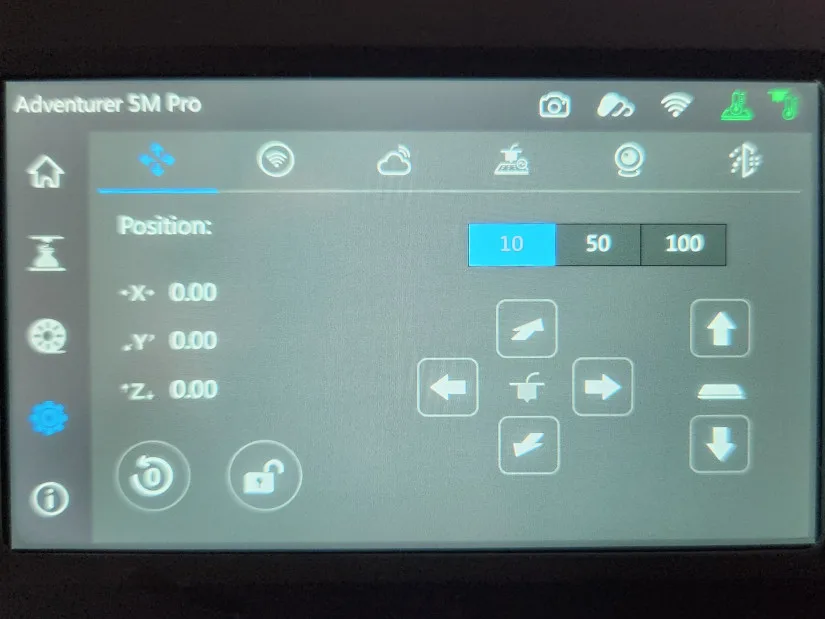
– Touch Screen. With sections for everything you need to calibrate and begin printing, the touchscreen user interface is very clear and simple to use. You may also use the Flashforge slicer to operate the printer and monitor the webcam. Unfortunately, the Orca slicer does not yet support connections to the AD5MP; however, we hope functionality will be added soon.
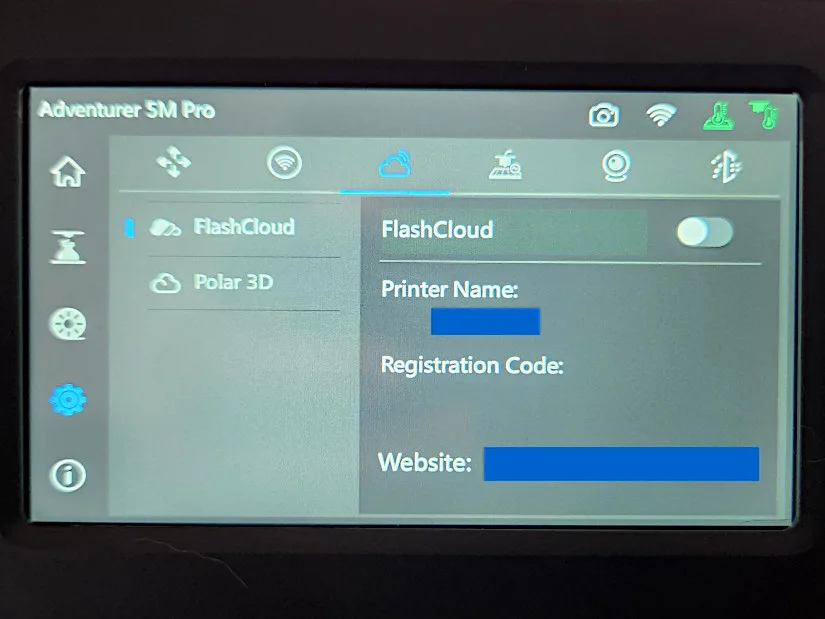
– Cloud. Additionally, support for Flash Cloud and Polar 3D Cloud is available in the options tab, enabling cloud slicing and print monitoring.
Adventurer 5 Pro Testing and Results
– Orca Slicer. We decided to use the Orca slicer for all print slicing in our tests, and we transferred the files to the printer using a USB drive. We utilized 10% gyroid infill with three walls and a layer height of 0.2 mm while printing with the 0.4 mm nozzle. The temperatures were only changed to correspond with the material being used. For the prints done with the 0.6 mm nozzle, the settings were the same but the layer height was set to 0.3 mm.
We chose the well-liked Orca slicer for its additional functionality, even though it might have been simpler to use the Flashforge slicer and upload the files directly to the printer.
The printer door was closed and the lid was kept shut throughout the entire printing process. To help maintain a comfortable temperature in the enclosure, we also used an external fan to exhaust the printer, which helped prevent the enclosure from getting too warm and affecting the PLA prints.
3D Printed Marble Run Machine
We decided to attempt something a little different from what we typically print for evaluations for the first model in our testing. From outofmarbles.com, this is the Double Screw Marble Machine. This model is made up of two base sections, a base extension, a battery plate, two screws, and a drive gear. We decided to print both the Big Flush and Skatepark modules for this base set. Sunlu Sky Blue PLA was utilized for the machine’s main construction. We used Sunlu PLA White High Speed PLA and Sunlu PLA Grey High Speed PLA for the modules, specifically for the skatepark. The parts took approximately 13 hours for the base parts, and 6 hours for the Big Flush module and 5 hours for the Skatepark module. The print quality was excellent; all overhangs were free of issues, and the parts are among the cleanest we have ever seen coming off of a printer.
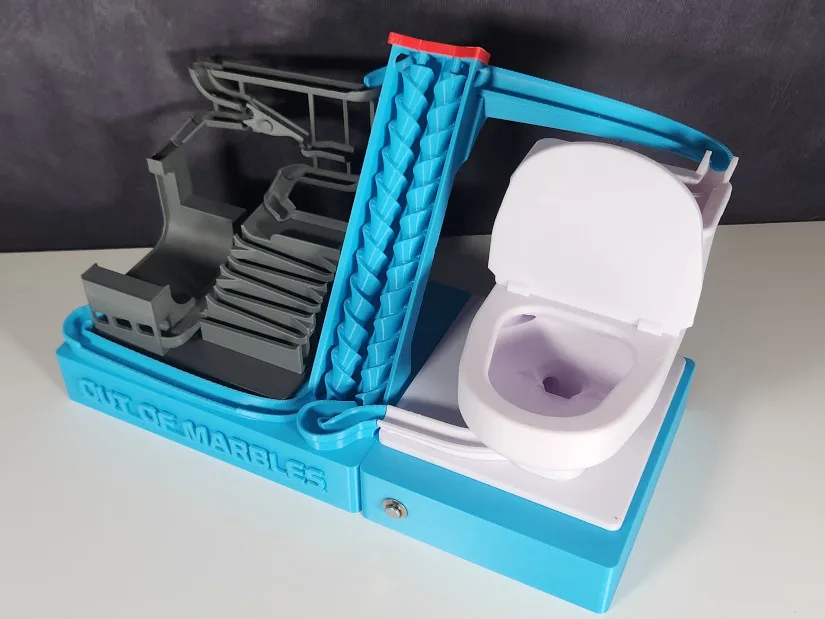
3D Model by OutOfMarbles
©3DWithUs – Print & Photo: Will Zoobkoff
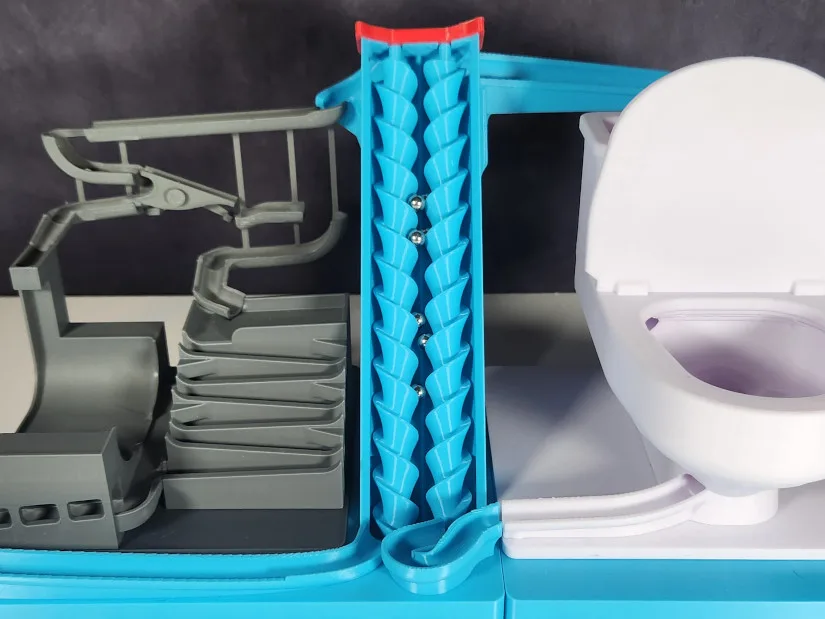
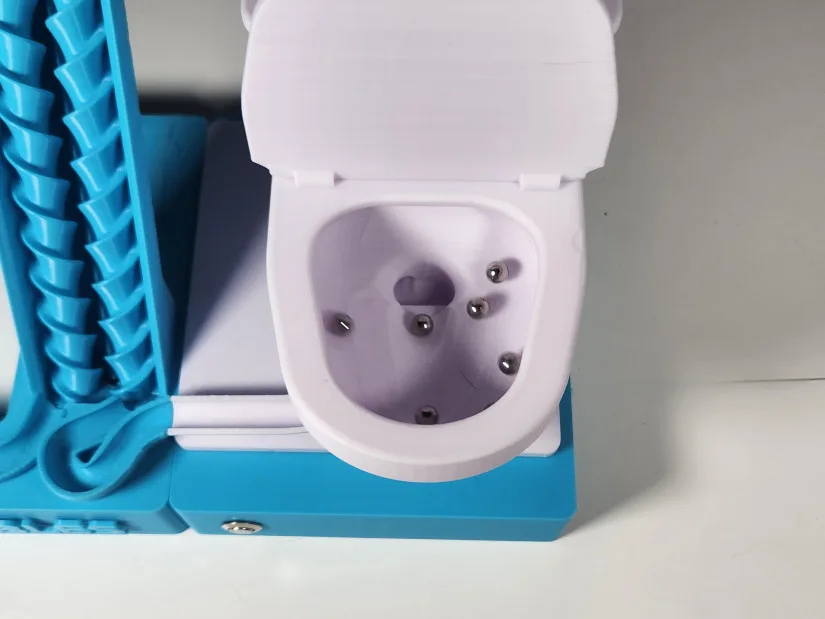
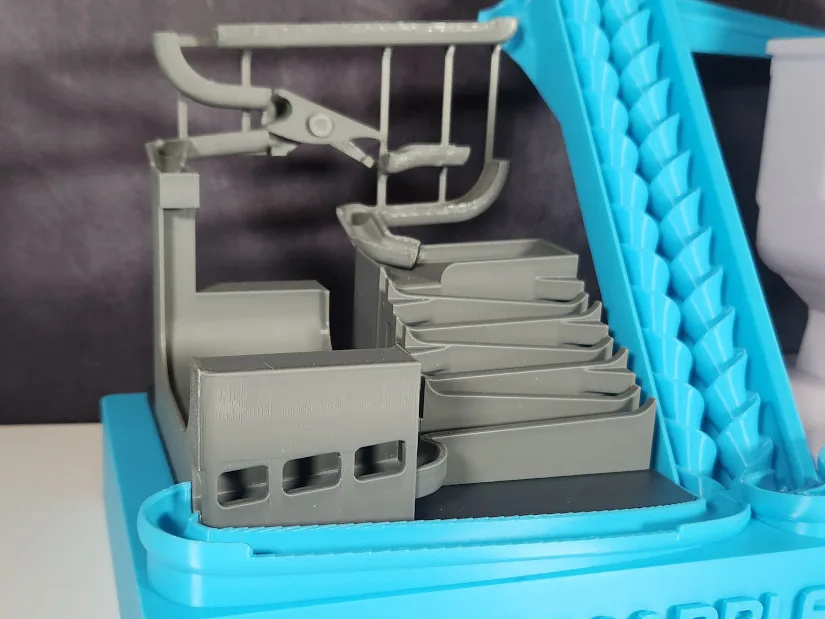
A battery holder, a power button, and a small N20 motor to drive the two screws are also required for this model. This is an amazing piece of work; when the Skatepark is in motion, two courses alternate, one of which descends a set of rails and the other of which drops into a half-pipe. Several marbles are used in the Big Flush module—a rather funny module—to fill the flush tipper. It will drop and flush many marbles at a time once enough have rolled onto the arm, emerging from the bottom to re-enter the double screw lift.
3D Printed Masks
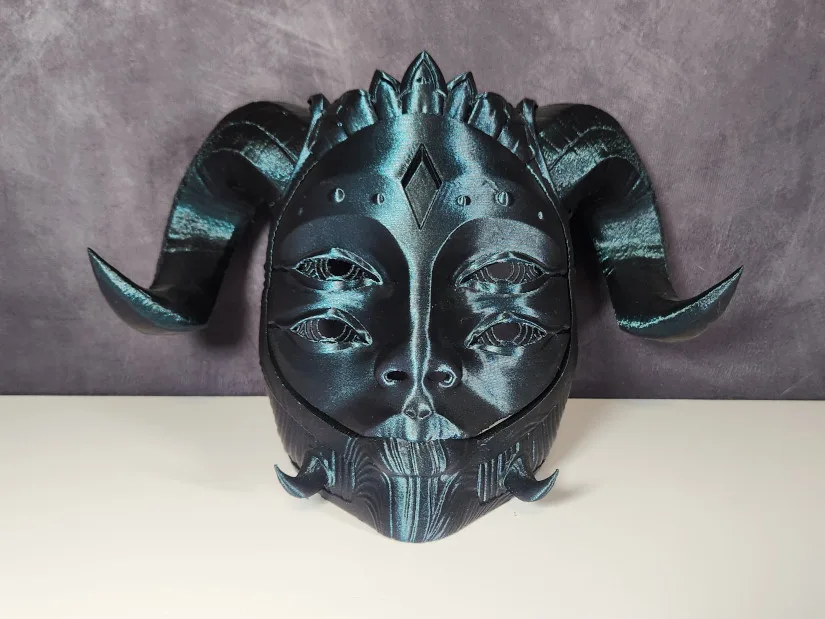
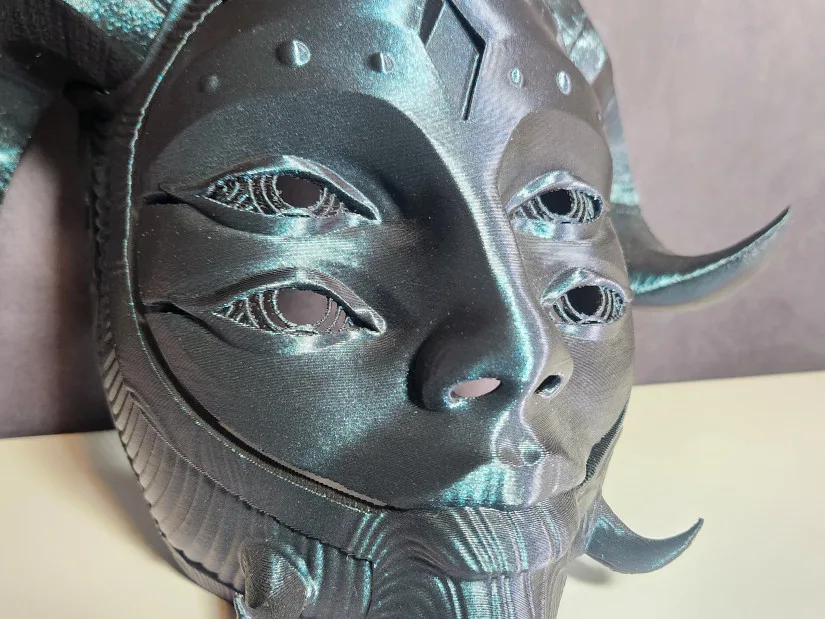
As the second print in our assessment, we selected a model by Pipe Cox, one of our favorite designers. This is the incredible Hellequin Mask. This model was divided into five pieces: the two horns, the securing clips for the horns, and the main mask. For the primary mask, we used Flashforge Burnt Titanium PLA, and for the horns, we used Flashforge Obsidian PLA. It took 12 hours to print the main mask piece with supports, and the horns as well as locks took just over 7 hours to complete.
3D Model by Pipe Cox on Cults
©3DWithUs – Print & Photo: Will Zoobkoff
The results are simply amazing; this mask has a very distinctive appearance thanks to the Flashforge PLA with the sparkle. The horns fit well and the locks clicked firmly into position to keep the horns in place. All the parts printed perfectly. The excellent outcome of all the overhangs and small details on the mask is evidence of the AD5MP’s build quality and the print quality you can anticipate from print to print.
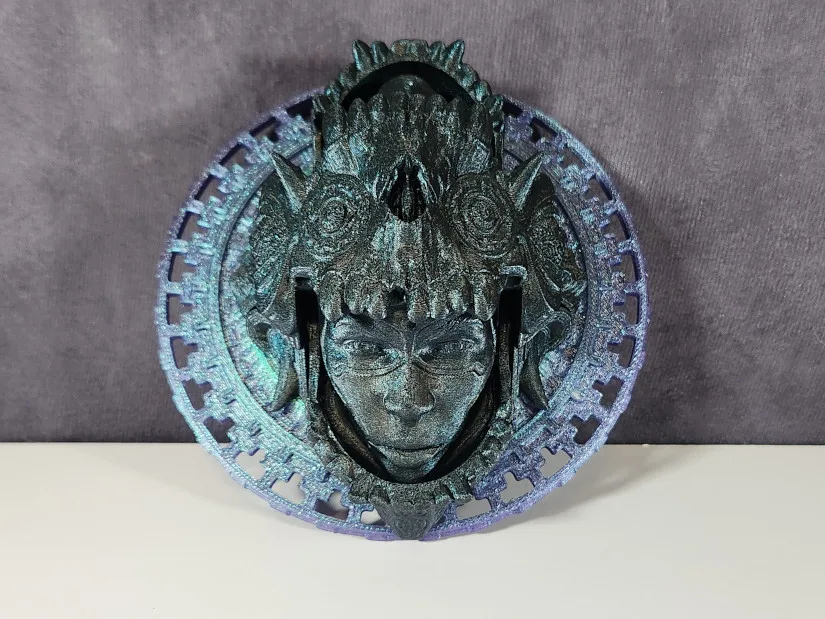
We tested the INTI the Sun God wall mask, another model from the Pipe Cox line. The 0.6mm nozzle was used to print this model, with a layer height of 0.3mm. The wall count and infill density were set to the same values as with the 0.4mm nozzle. Stronghero Chameleon Mirror Chrome multi-color PLA was used to print the mask’s rear plate. This PLA requires a 0.6mm nozzle, and the AD5MP worked well with the quick-release nozzle. Despite the thicker line width and greater layer height, the wall plate printed in less than two hours with no issues with print quality or detail.
3D Model by Pipe Cox on Cults
©3DWithUs – Print & Photo: Will Zoobkoff
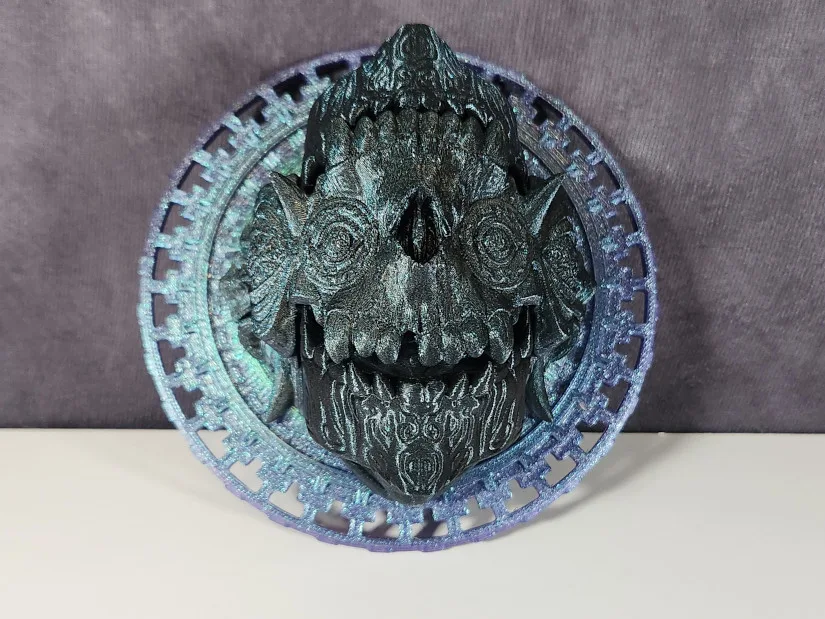
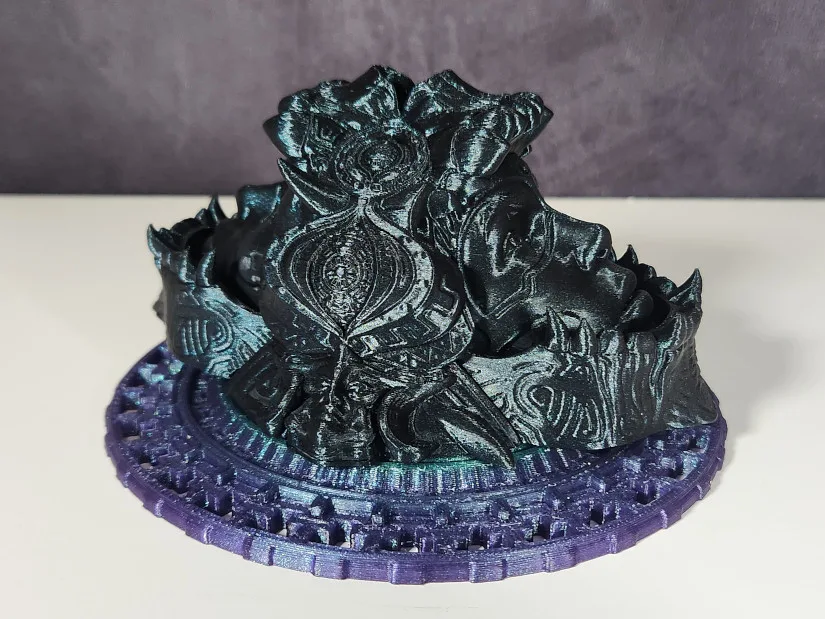
Again using the 0.6mm nozzle, the mask was printed entirely in one piece using Flashforge Obsidian PLA. Because of the larger layer heights, the mask took just under 4 hours to complete. The mask turned out beautifully, with the jaw parts opening and shutting without binding and all the overhangs printed with no issues. This is a fantastic piece that, once mounted, allows the mask’s jaws to be opened or closed, changing its expression. Another excellent print from the AD5MP.
Print-in-Place Model
We scaled up this straightforward print-in-place firetruck to 200% for the final model we tested. Using the 0.6mm nozzle, we printed the Fixum Dude Motors Print-in-place Fire Engine in Sunlu Red High-Speed PLA. It took six hours and thirty minutes to finish this print. Kids will love printing this; simply take it out of the printer when it’s finished, and the rotating wheels will make it ready to use.
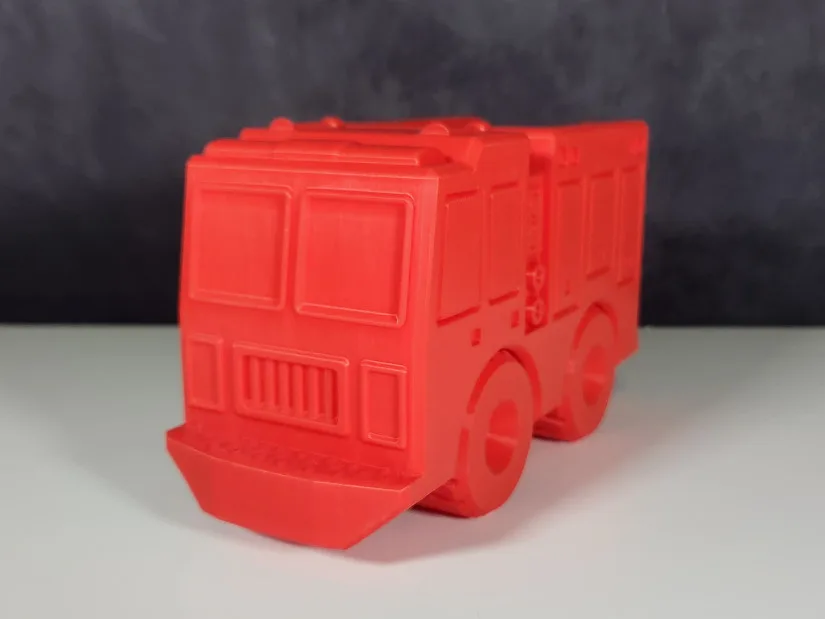
3D Model by Fixum Dude on Printables
©3DWithUs – Print & Photo: Will Zoobkoff
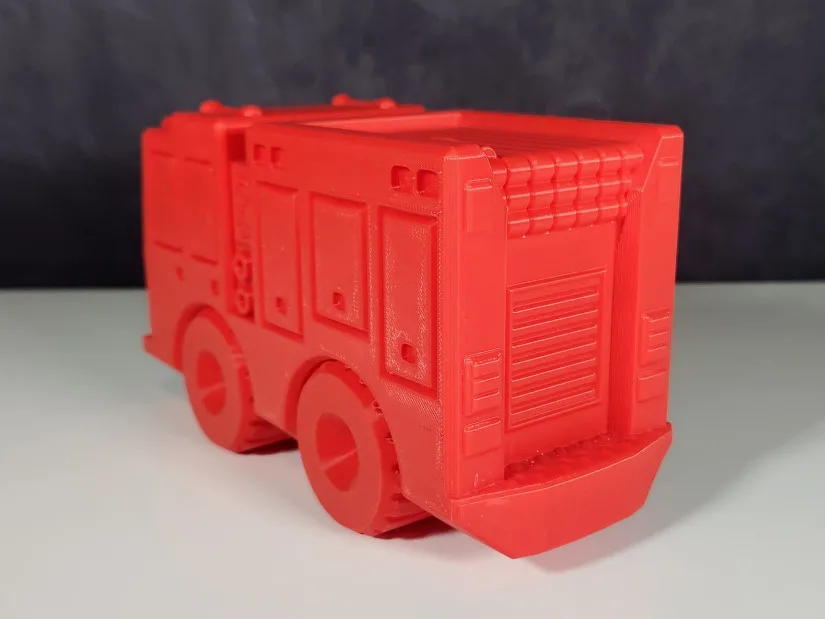
Some of the bridges in these prints may become too lengthy to print without sagging, so you may need to add supports when scaling them up. The Sunlu Red High-Speed PLA produced the ideal color, and the print looked amazing with all the features crisp even at the 0.3mm layer height.
Compare Flashforge AD5MP to Other 3D Printers
The Flashforge Adventurer 5M Pro is Flashforge’s most recent Core XY enclosed printer, building upon its previous Adventurer series machines.
Compare to the Flashforge 3D printers:
Compare to similar builds, volume and price range, FDM 3D printers.
These two machines are close competitors to the Flashforge AD5MP in price, Core XY build, and build volume. What makes the AD5MP stand out is its new quick nozzle detach system, which many may find very convenient for fast switching between various projects. The P1S’s strong point is that for an extra cost, it can be purchased together with the AMS system for multicolor 3D printing. The Creality K1 machine may receive a similar system add-on later this year.

©3DWithUs – Prints & Photo: Will Zoobkoff
Conclusion and Pros & Cons
Flashforge Adventurer 5M Pro Review
Review Summary
The Flashforge Adventurer 5M Pro represents an important step in the field of 3D printing, notably with its Core XY enclosure. As the market transitions to quicker and more reliable printing technologies, the AD5MP stands out for its remarkable capabilities and user-friendly features.
With a build volume of 220x220x250mm, a direct-drive extruder, and a maximum acceleration of 20,000 mm/s, the AD5MP offers both speed and precision. Its adaptability is further enhanced by features such as the quick-release nozzle, which allows for easy swapping to meet a variety of printing requirements.
The AD5MP printer is one of the easiest to set up and operate due to its streamlined and intuitive design. Its sleek and clean appearance, combined with the integrated touchscreen interface, enhances its user-friendliness. In terms of performance, the AD5MP produces excellent results across a wide range of prints. Whether it’s elaborate models like the Hellequin Mask or functional items like the firetruck, the AD5MP consistently delivers high-quality prints with sharp details.
While there are some limitations, such as the lack of support for specific slicers and the hotend’s lower temperature limit of 280 degrees Celsius, these are minor compared to the AD5MP’s overall performance and capabilities.
Overall, the Flashforge Adventurer 5M Pro is an outstanding printer in its category, with a winning combination of speed, precision, and ease of use. Whether you’re an experienced maker or new to 3D printing, the AD5MP will impress you with its high performance and dependability.
Pros:
Fast printing speeds
High-quality prints
Quick-release nozzles
Stainless and hardened steel nozzles available
Cons:
Hot end temperature limited to only 280°C
Connection available only with Flashforge slicer
Filament change process is a bit clunky


My team also had the chance to test out the FLASHFORGE Adventurer 5M Pro, and we were thoroughly impressed! In fact, we ranked it as the best overall 3D printer in our Best 3D Printers of 2024 guide. Its ease of use, high-quality output, and advanced features make it a fantastic choice for both beginners and experienced users. Great job on the review—definitely a standout product!