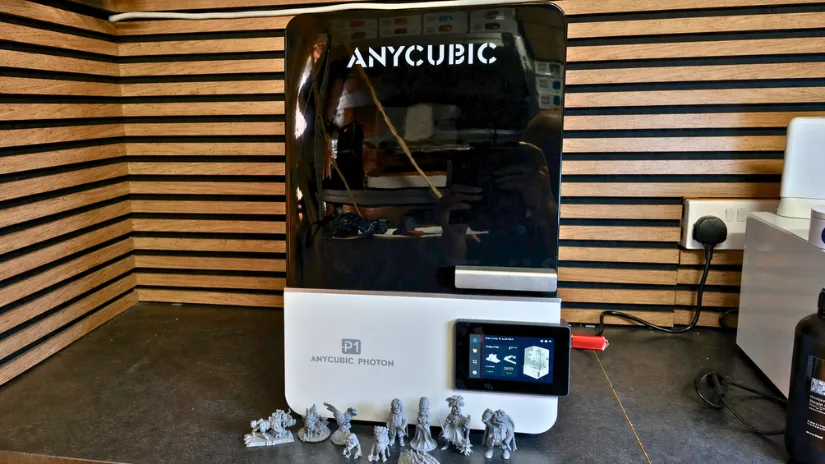
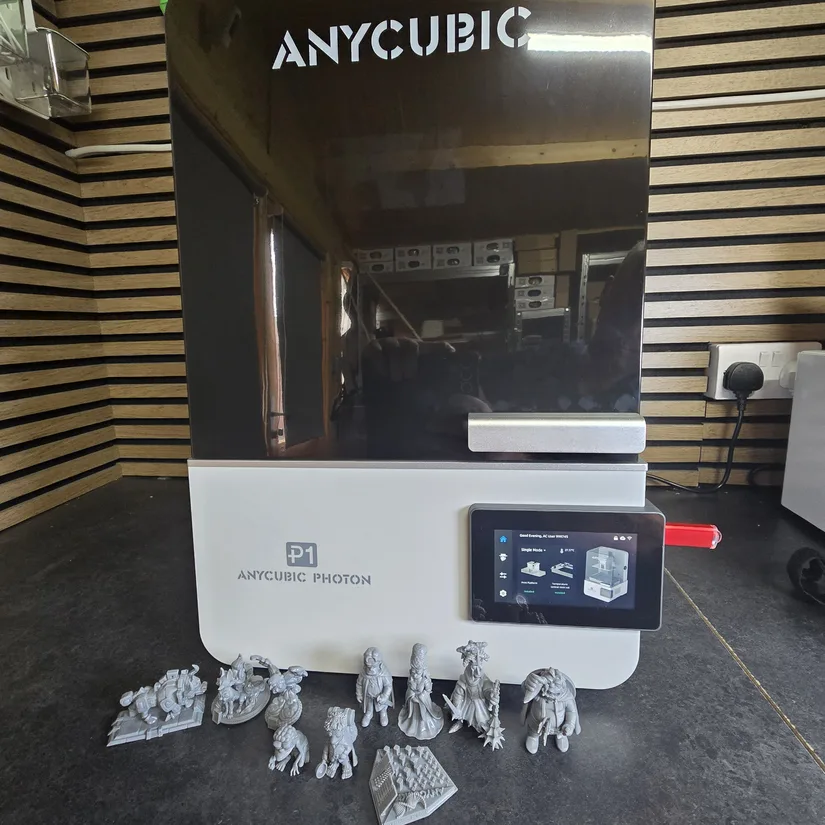
Today we’re taking a closer look at the Anycubic Photon P1, a resin printer that isn’t just entering the arena, it’s aiming to shift the standards entirely. With its modern industrial aesthetic, fully enclosed design, and true plug‑and‑play workflow, the Photon P1 presents itself as a serious tool for makers who expect both speed and refinement. But in a landscape packed with low‑cost challengers and high‑end heavyweights, the real question is whether this machine can carve out a space of its own.
In this article, we’ll cover the printer’s key hardware features, the unboxing and setup process, software workflow, and hands-on test prints. In the end, we will finish with a summary and a list of Pros & Cons.
Table of Contents (Jump to a Section)
Where to Buy the Anycubic Photon P1
Price: $599-699

Compare the Prices & Bundles:
Official Store | Amazon | AliExpress
At first glance, the Anycubic Photon P1 makes a strong impression with its clean industrial styling and enclosed format. It feels designed to reduce the friction often associated with resin printing, replacing fiddly hardware with quicker latch-based mechanisms and automated checks. On paper, the combination of a 14K monochrome LCD, heated resin vat, built-in camera, and optional dual-material expansion gives it a very ambitious specification for users who care about both detail and workflow refinement.
Anycubic Photon P1 Specifications
- Display resolution: 14K monochrome LCD
- Build volume: 223 × 126 × 230 mm
- Machine dimensions: 366 × 338 × 539 mm
- Machine weight: 13.6 kg
- Light source: COB + Fresnel lens + mask
- Film type: Wave Release Film (NFEP)
- Light uniformity: >92%
- Leveling: Auto-Leveling 3.0 with feedback
- Z-axis: Industrial-grade ball screw with dual rails
- Build platform: Precision-ground steel plate
- Vat system: 1000 ml thermal-controlled resin vat
- Monitoring: Built-in camera for live monitoring and time-lapse capture
- Touchscreen: 4.5-inch resistive touchscreen
- AI monitoring: Build plate check, bottom-layer separation detection, resin level inspection, and residue detection
- Cover: Stepless hinged lid
- Connectivity: USB 2.0, Wi-Fi, and LAN (2.4 GHz)
- Slicer: Photon Workshop 4.0, with support for Chitubox and Lychee
- High-viscosity resin support: Up to 8000 cps
What’s in the Box
©3DWithUs – Photo: Phil Macey
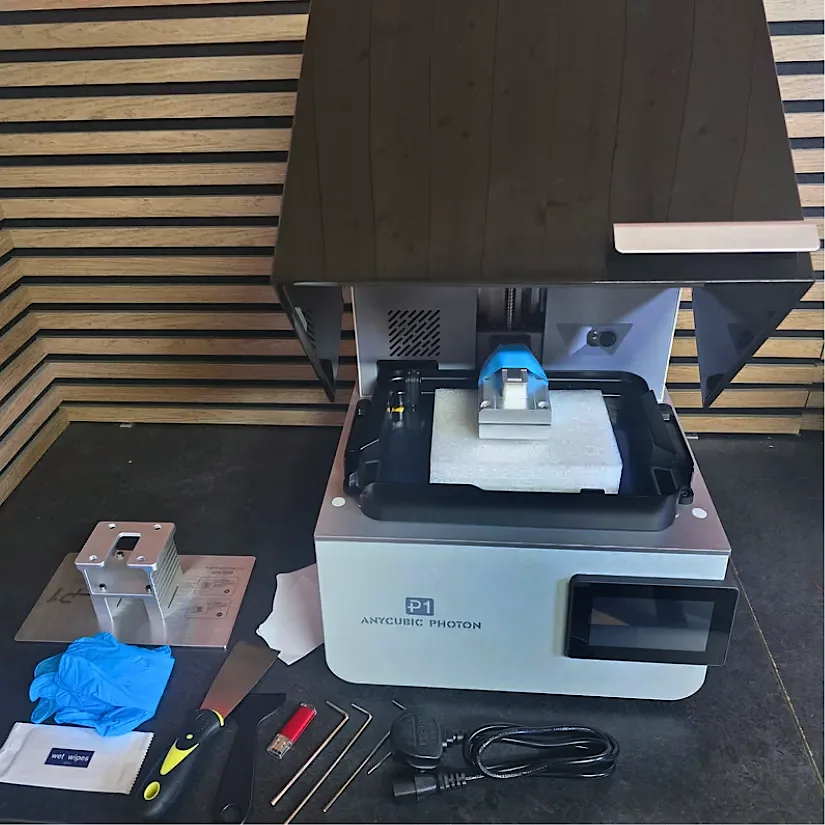
Inside the box, the Anycubic Photon P1 arrives with the core essentials needed to get started, including the printer unit, quick-release build plate, heated resin vat, USB drive, scrapers, and standard protective accessories. It is a straightforward package that supports the printer’s plug-and-play approach and gets you ready for setup and first prints without much extra fuss.
Setup and Design
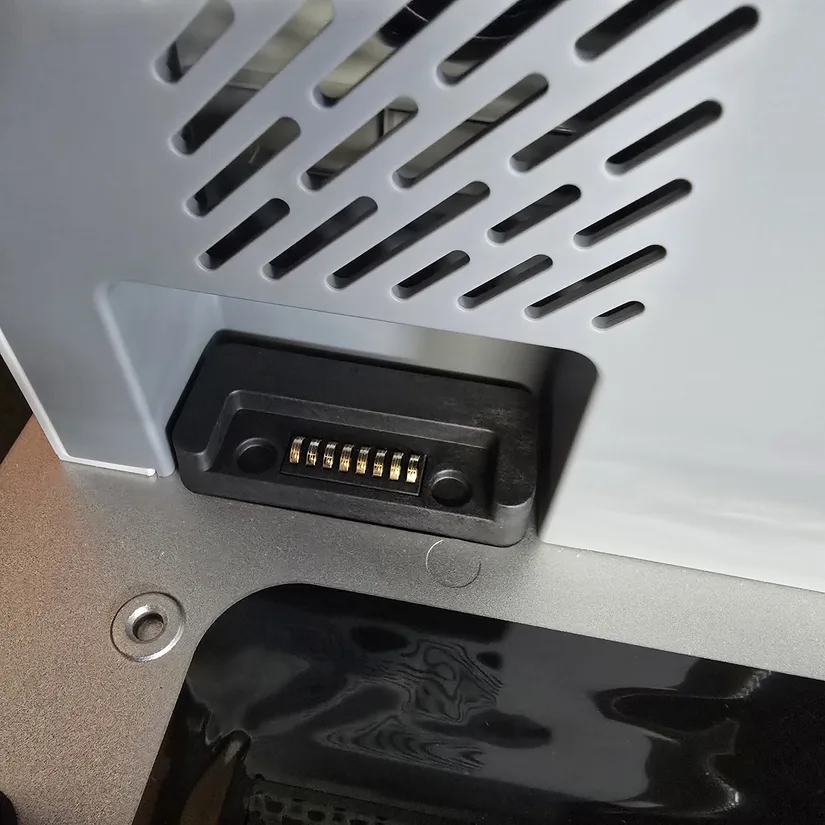
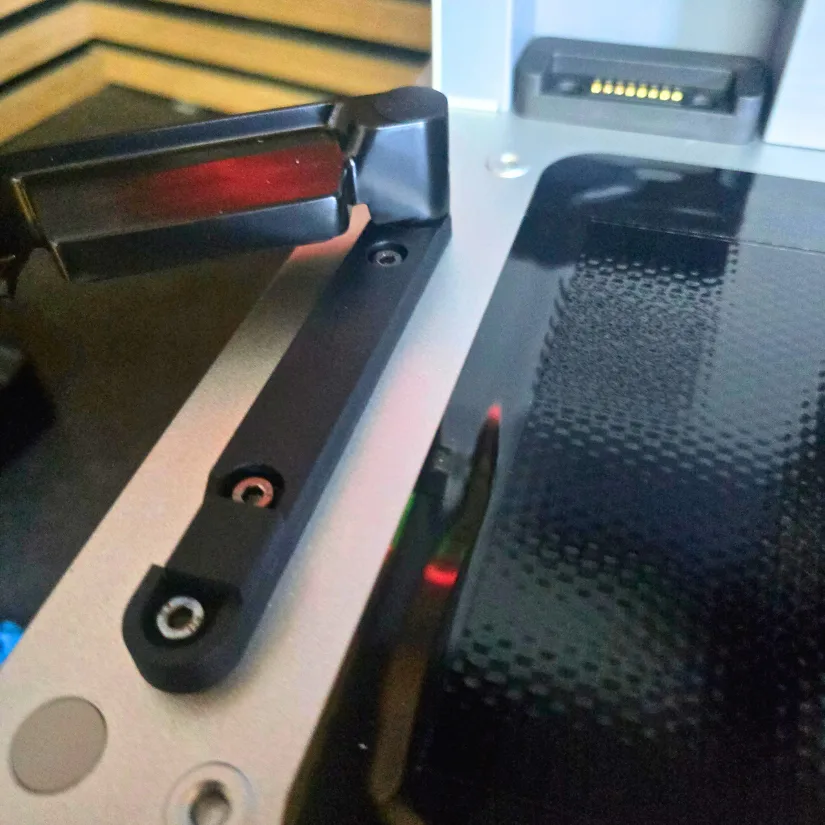
Getting started with the Anycubic Photon P1 is refreshingly straightforward. The resin vat connects neatly into place, with the vat heating port aligning to the machine before being secured by a latch system on both sides. Compared to the traditional screw-down approach still common on many resin printers, this feels faster, cleaner, and more user-friendly in daily use.
©3DWithUs – Photo: Phil Macey
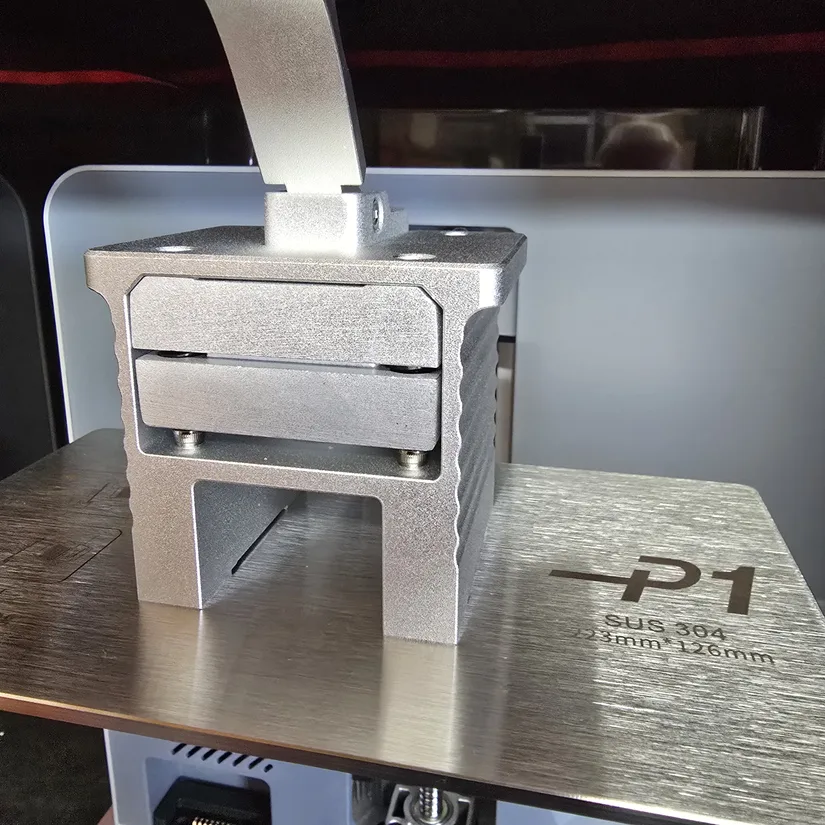
The build plate follows the same logic. Instead of tightening knobs or bolts, the Photon P1 uses a simple latch mechanism. Open the latch, slide the plate into position, and lock it down. It is quick, secure, and very much in line with the printer’s plug-and-play approach.
©3DWithUs – Photo: Phil Macey
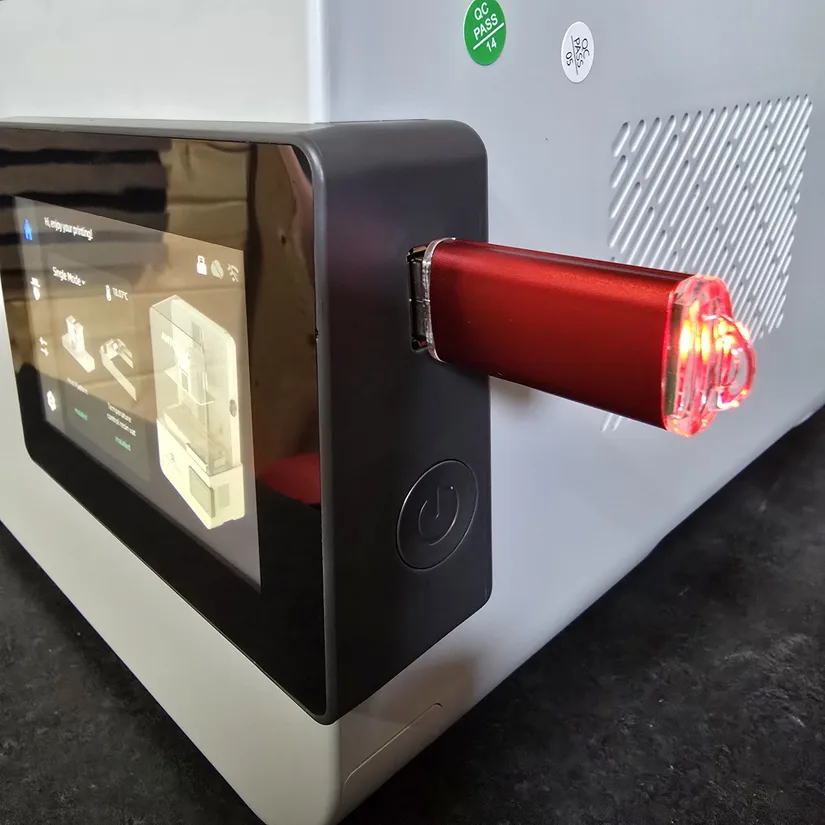
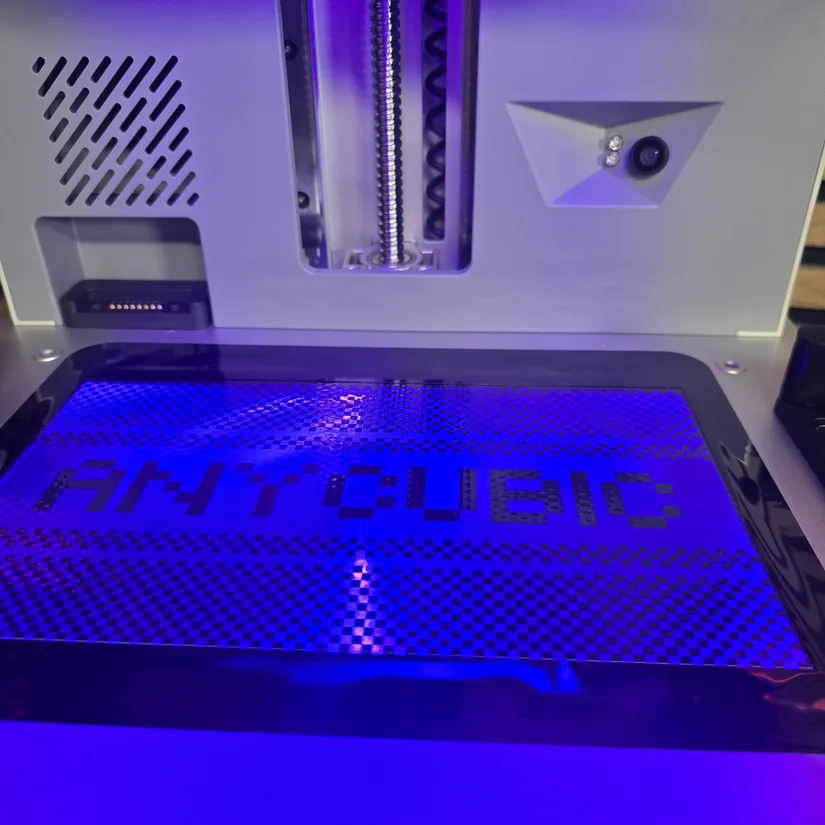
Once the physical hardware is installed, the USB drive can be inserted for access to test files, while Wi-Fi setup and firmware updates are handled through the touchscreen. Before starting any first print, a screen test is well worth running. In this case, the Anycubic name pattern displayed correctly, confirming that the LCD and light system were functioning as expected.
©3DWithUs – Photo: Phil Macey
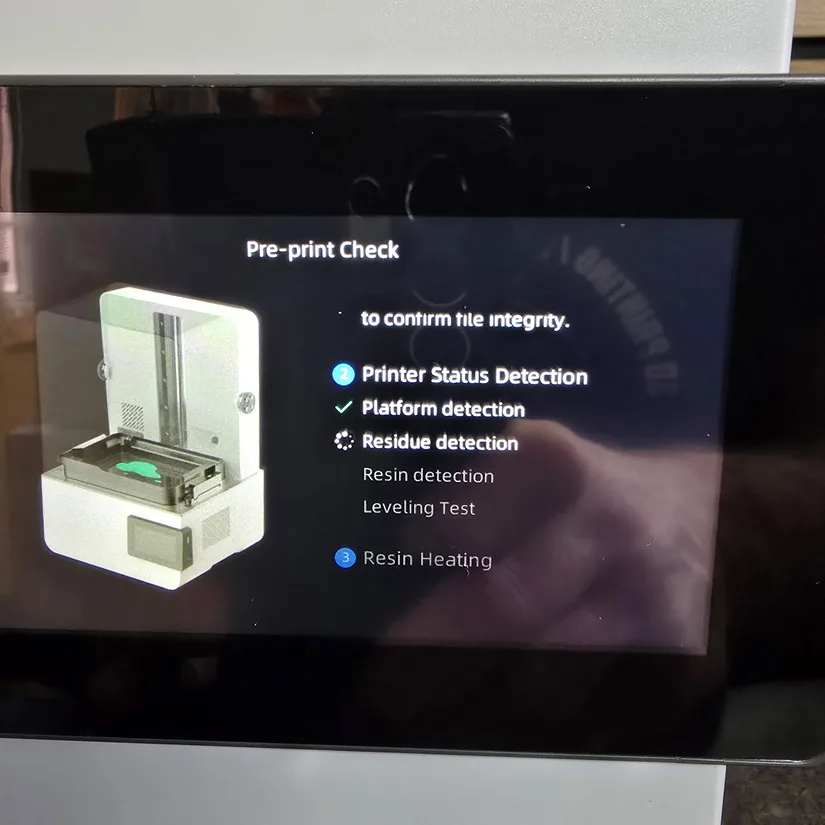
The Photon P1 also runs through a series of automated pre-start checks before printing. These routines verify that the printer is ready to operate and add an extra layer of confidence for first-time setup and regular use.
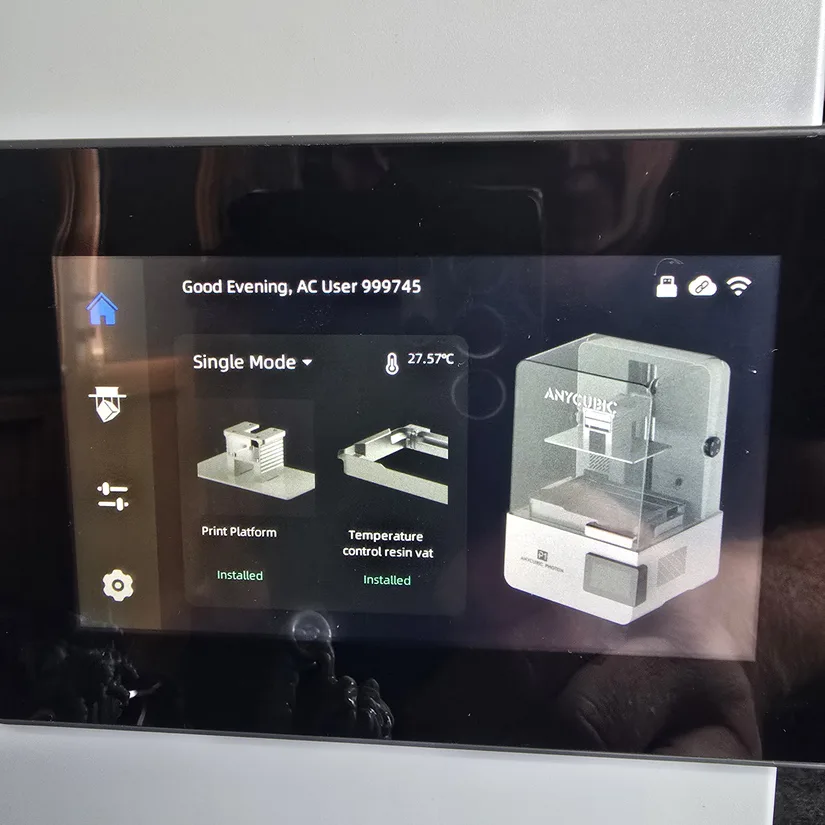
One of the more interesting expansion options is the optional dual-color or dual-material printing assembly. This is not part of the standard package, but it opens the door to more advanced workflows for creators who want to experiment beyond single-resin prints. When installed, the touchscreen lets you choose the relevant vat and build platform configuration before printing.
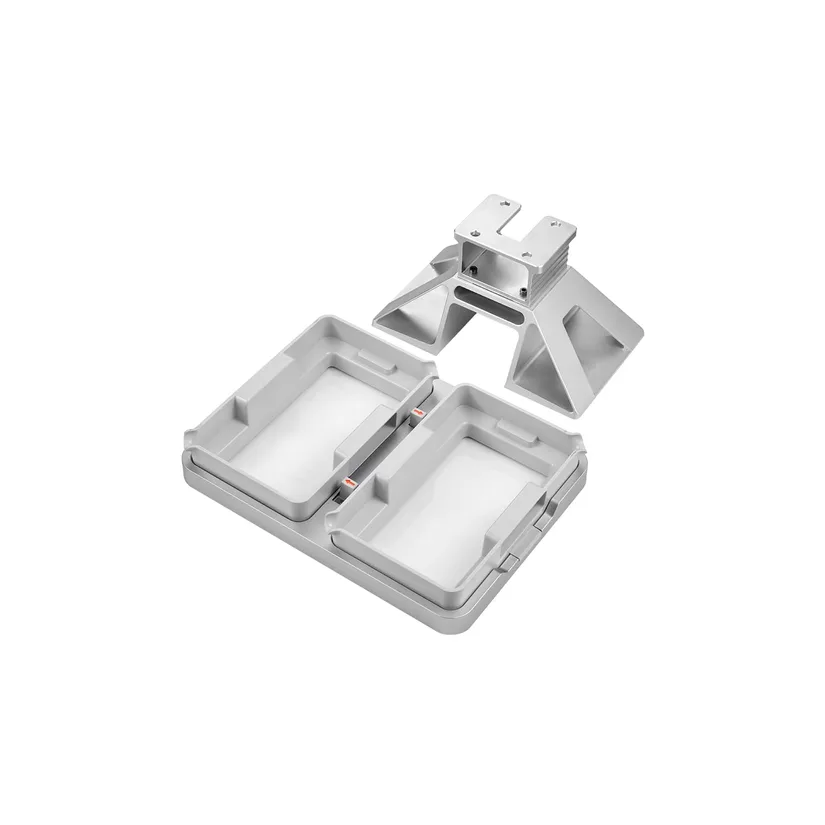
Photo: Anycubic
©3DWithUs – Photo: Phil Macey
Before printing, the vat needs to be filled with resin. The usable capacity is close to one liter, though the exact fill level depends on the build plate position and the vat’s shape. Pouring resin with the build plate lowered is a sensible approach, as it reduces the risk of overfilling once the plate returns to its home position.
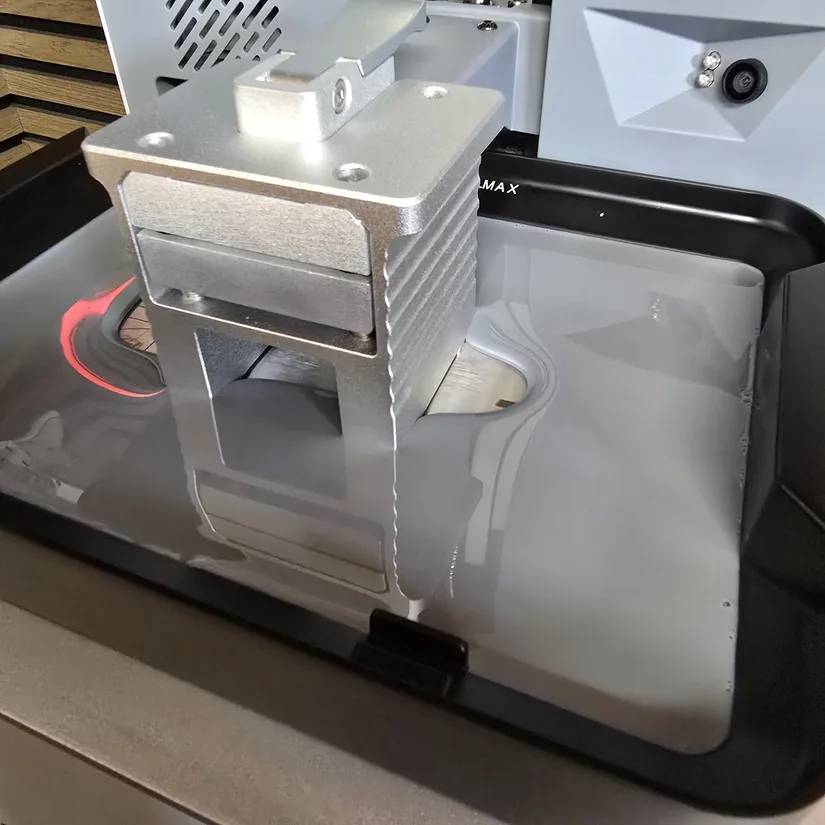
For this hands-on test, vat preheating was enabled to raise the resin from around 19 °C to 25 °C. During this stage, the build plate moves gently to help distribute the heat evenly through the resin. It is a useful feature for consistency, although some resin residue appeared around the vat edges during the agitation process, which is worth keeping in mind during cleanup.
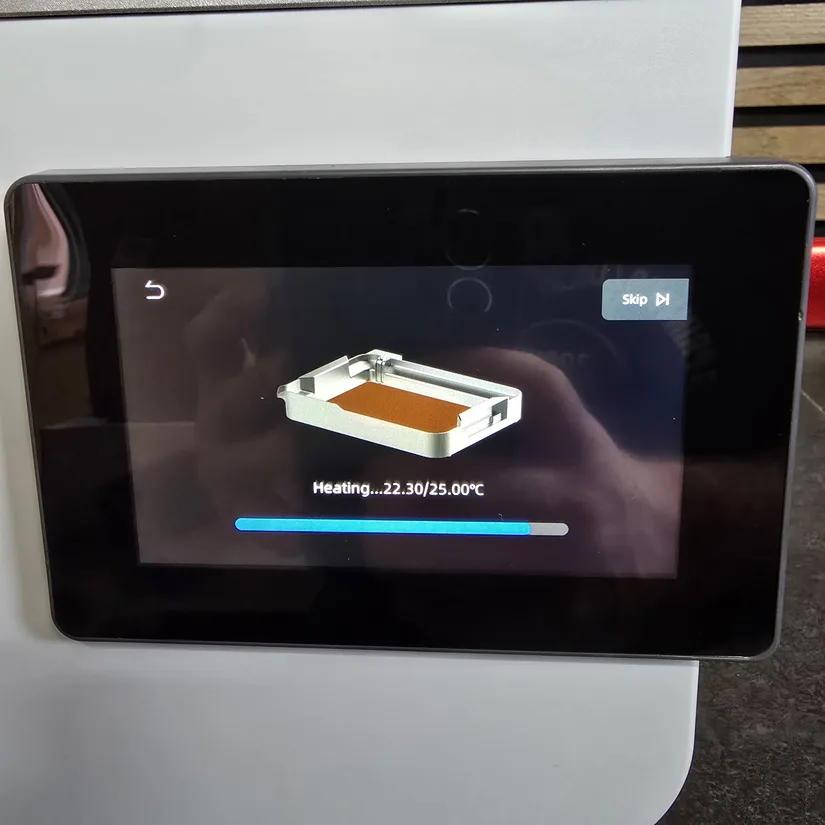
©3DWithUs – Photo: Phil Macey
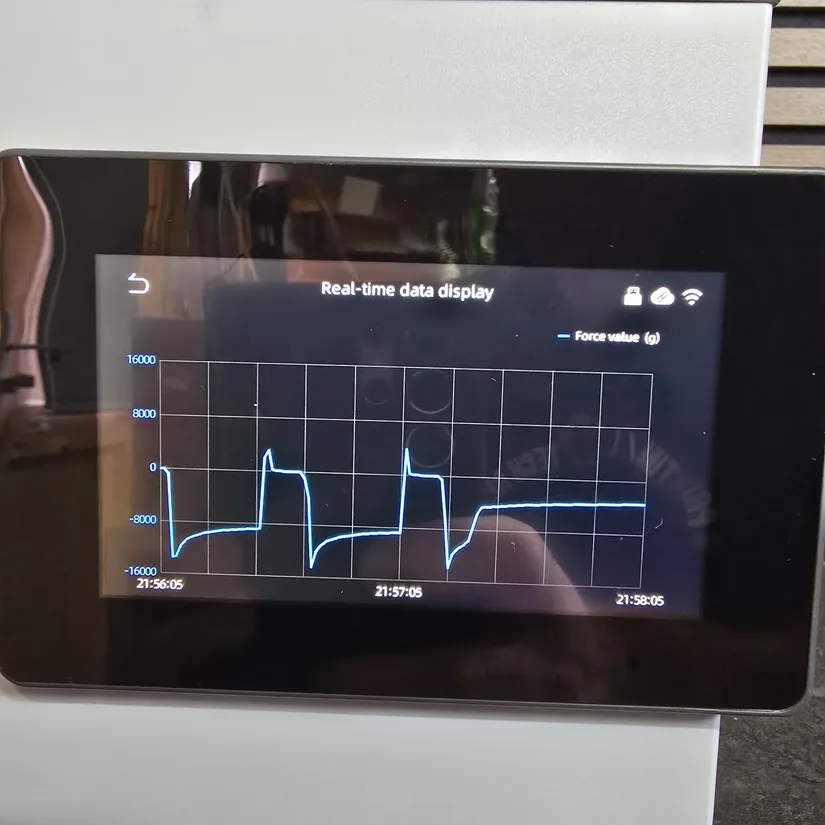
The touchscreen gives clear access to both print progress and live operational data. During printing, it displays useful status information and supports Anycubic’s Dynamic Release and Light-Off Compensation functions, both aimed at improving reliability and maintaining print quality while keeping speeds efficient.
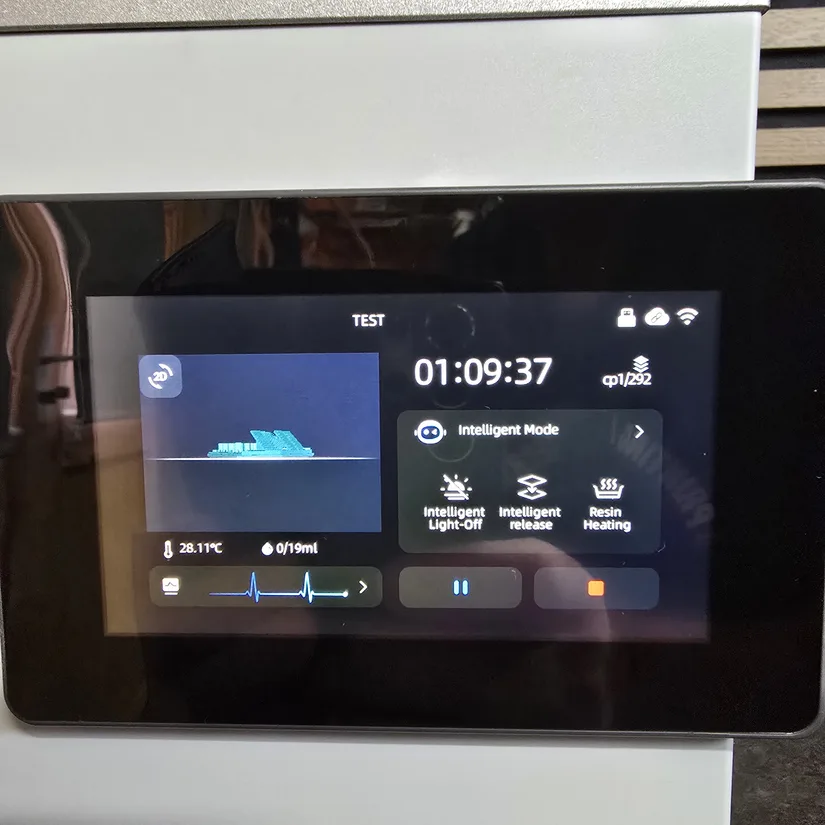
©3DWithUs – Photo: Phil Macey
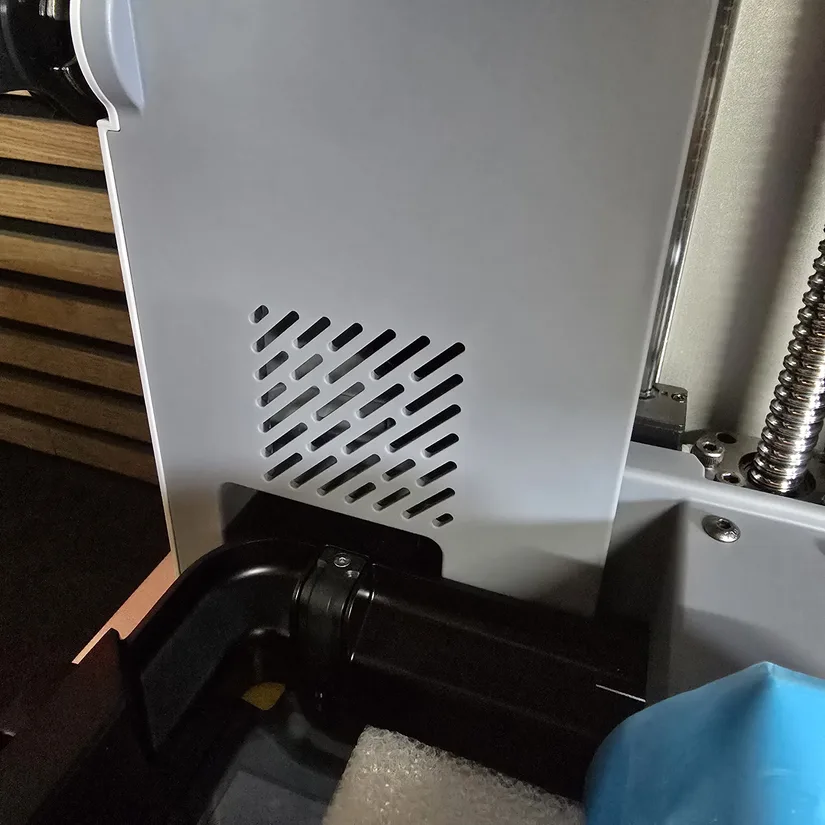
Mechanically, one of the Photon P1’s strengths is its Z-axis assembly. The combination of a precision linear rail and ball-screw system gives the printer a stable motion platform, helping reduce Z-wobble and contributing to consistent layer quality on detailed models and taller prints.

©3DWithUs – Photo: Phil Macey
Another highlight is Anycubic’s Wave Release Technology. The textured release film is designed to lower peel forces compared to more conventional smooth films, which in turn can improve print success and reduce stress on fine supports and delicate details.
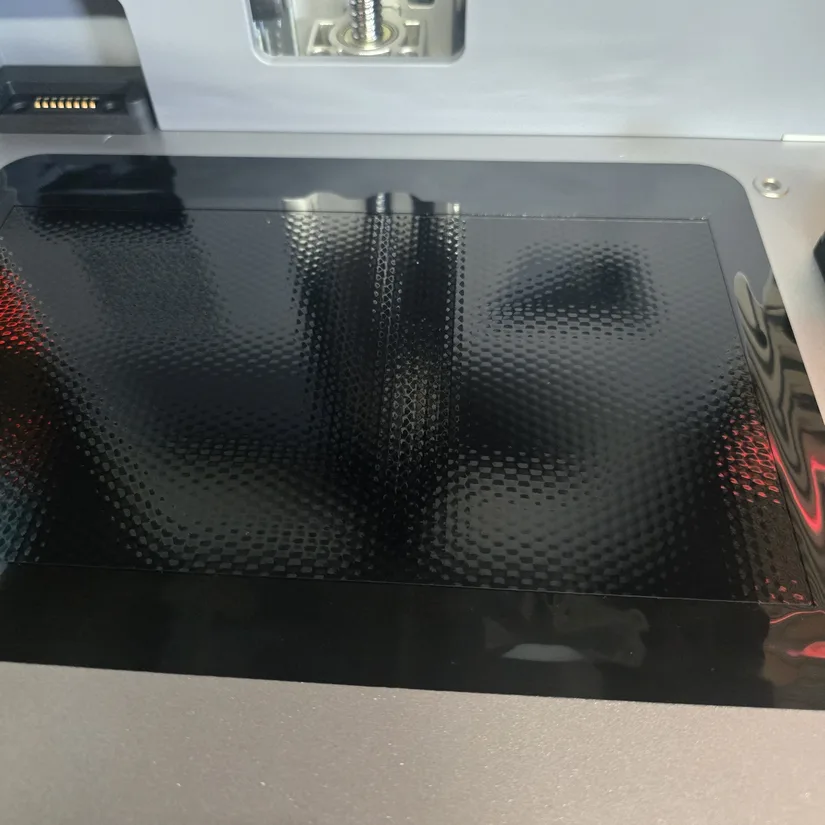
©3DWithUs – Photo: Phil Macey
For monitoring, the Photon P1 includes a built-in 480p camera with LED lighting and a privacy cover. While it is not a high-resolution camera, it is still useful for remote checks, failure monitoring, and time-lapse capture through the Anycubic app.
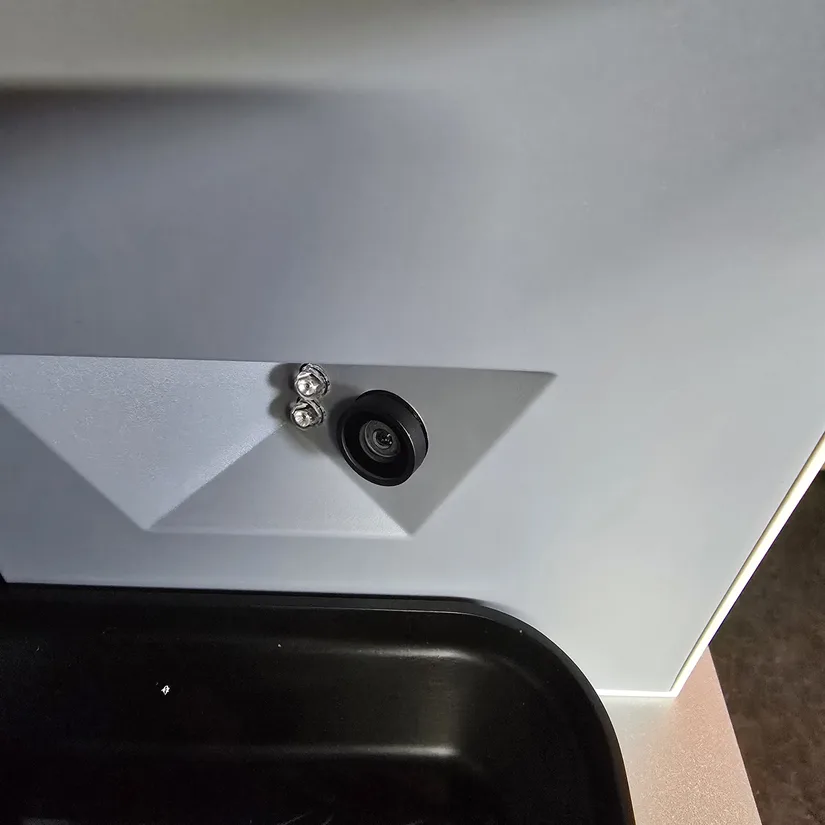
©3DWithUs – Photo: Phil Macey
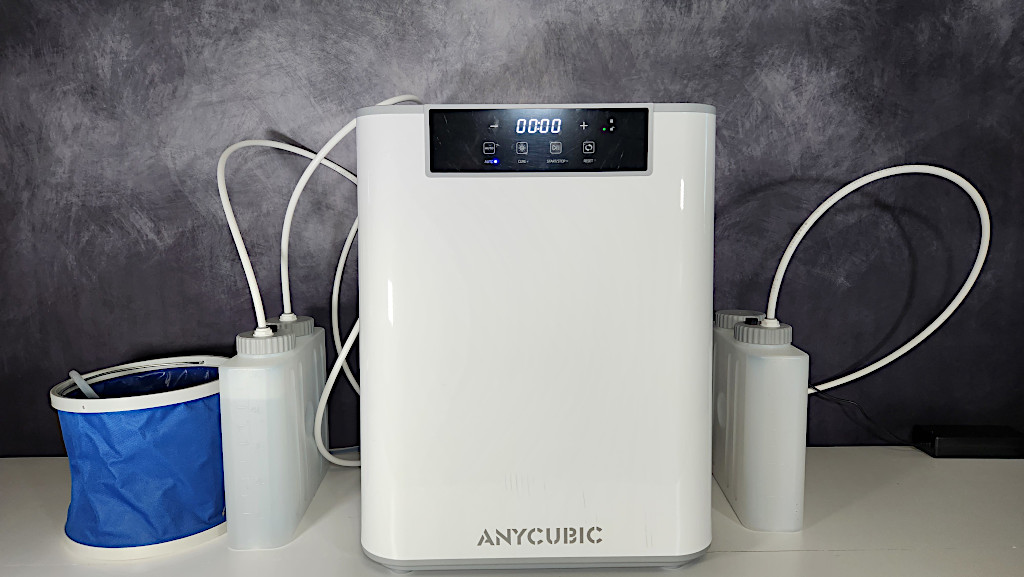
Underpinning the motion system is a precision-ground steel plate that helps keep the Z-axis assembly stable and well supported. It is not a flashy feature, but it contributes to the machine’s overall sense of rigidity and repeatability. Users who want to refine the workflow further can also look at optional accessories such as perforated build plates or the AirPure 2.0 filtration add-on, though these were not tested here.
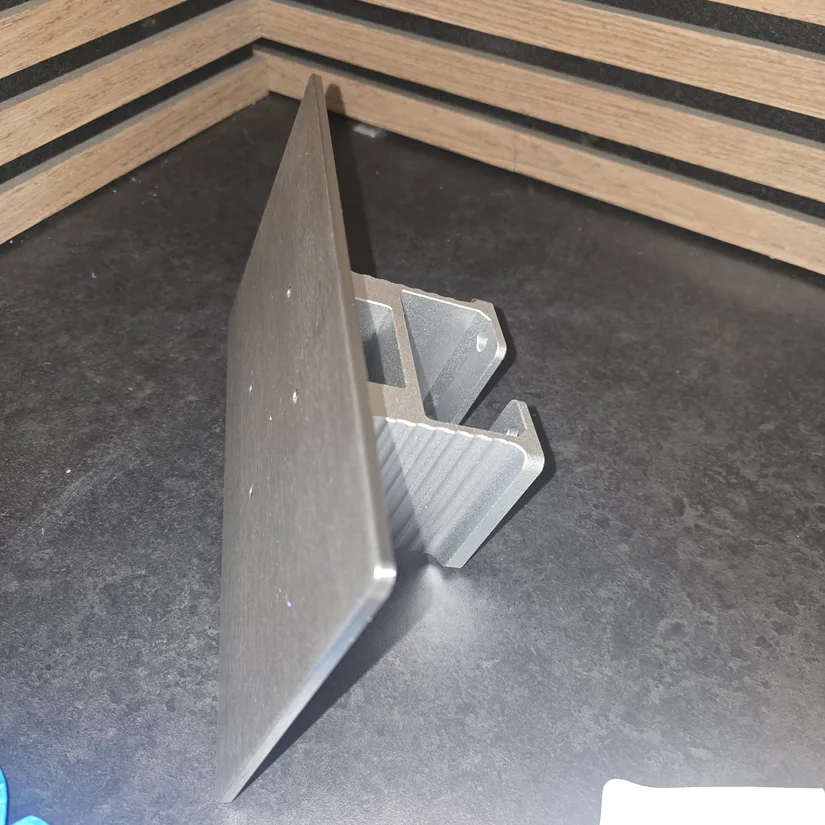
©3DWithUs – Photo: Phil Macey
Software – The All-New Photon Workshop 4.0
The software I used during testing was the new Photon Workshop 4.0. I haven’t used an Anycubic resin slicer in a while, and this update is a clear step forward. Slicing felt smooth and efficient, and the ability to select your resin type—automatically applying the correct parameters—makes the workflow noticeably faster, taking you from slice to print with minimal effort.
Test Printing Results
Model 1 – Calibration Model
For my first test print, I used the default settings for the standard resin, selected through the Anycubic slicer. The model I used was the calibration model found on the USB supplied with the printer itself. Always a good way to test the printer is functioning correctly before doing more complex prints. See below the outcome.
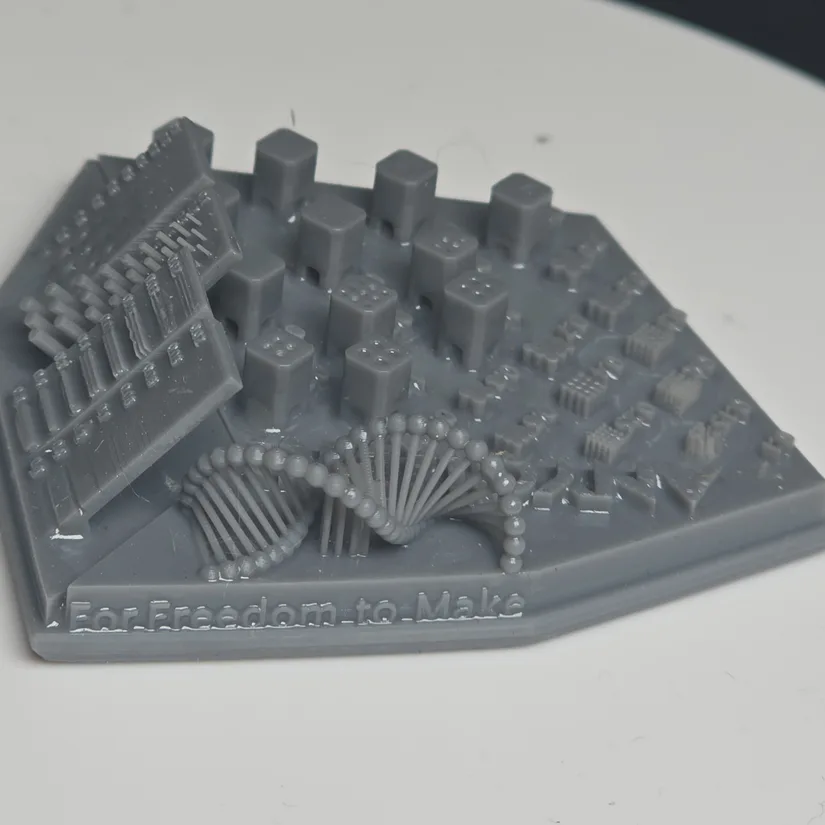
©3DWithUs – Photo: Phil Macey
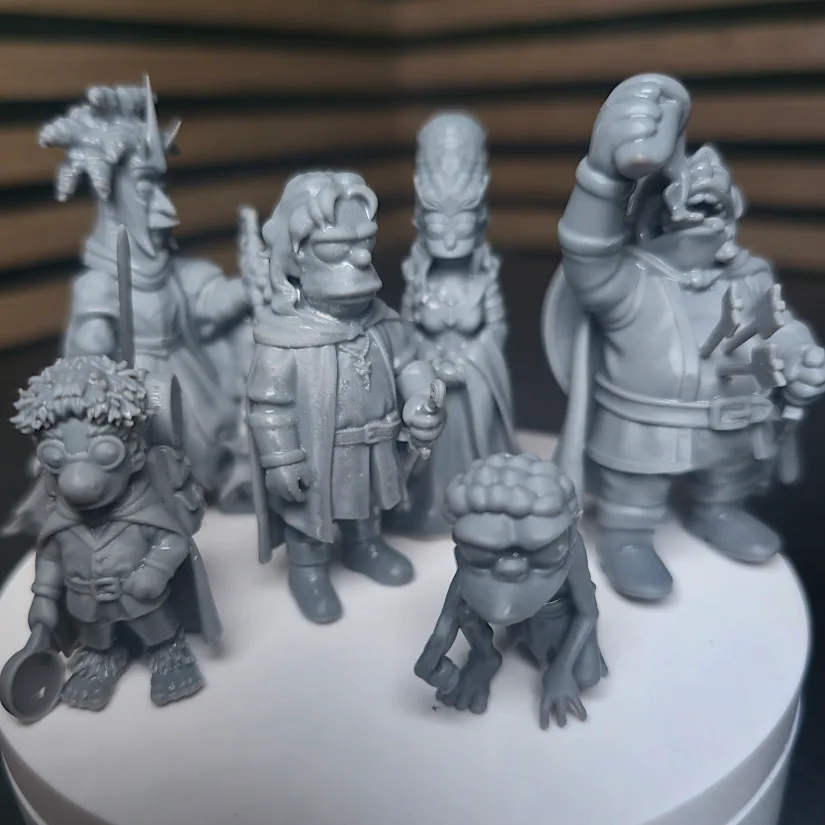
Model 2 – Nostalgic3D Simpsons LOTR Models
For the second print, I moved on to a set of favourite models from Nostalgic3D. These pre-supported Simpsons LOTR Version 3 models were printed in standard Anycubic grey resin. The results showed strong detail reproduction across the characters, with fine features and surfaces carrying through nicely from the digital files to the finished prints.
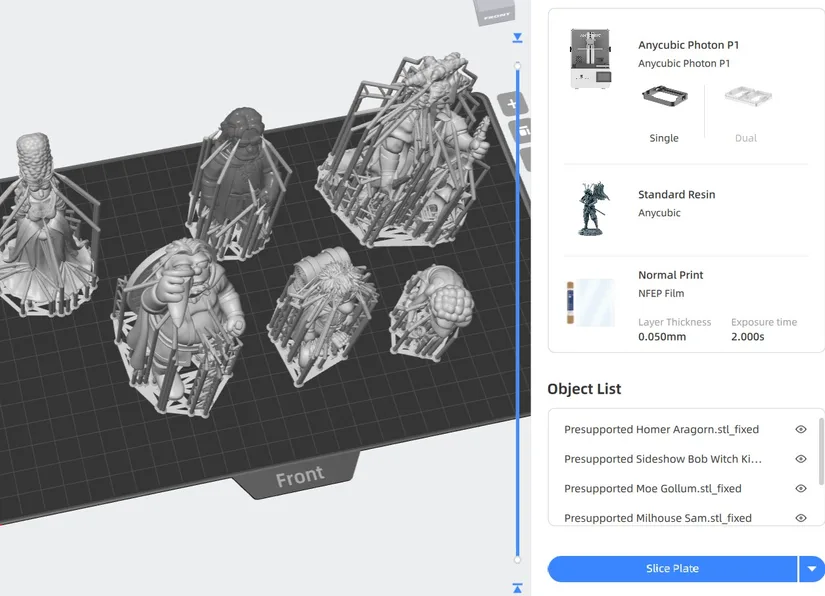
©3DWithUs – Screenshot: Phil Macey
Model 3 – Free Elemental Spirit Models
For the third print, I used the Free Elemental Spirit STL Pack by Creature Craftworks. These models were printed in two parts, with the main figure and lower display platform separated. They filled the build plate effectively and once again highlighted the Photon P1’s ability to reproduce sharp details and clean surfaces on more artistic display pieces.

©3DWithUs – Screenshot: Phil Macey
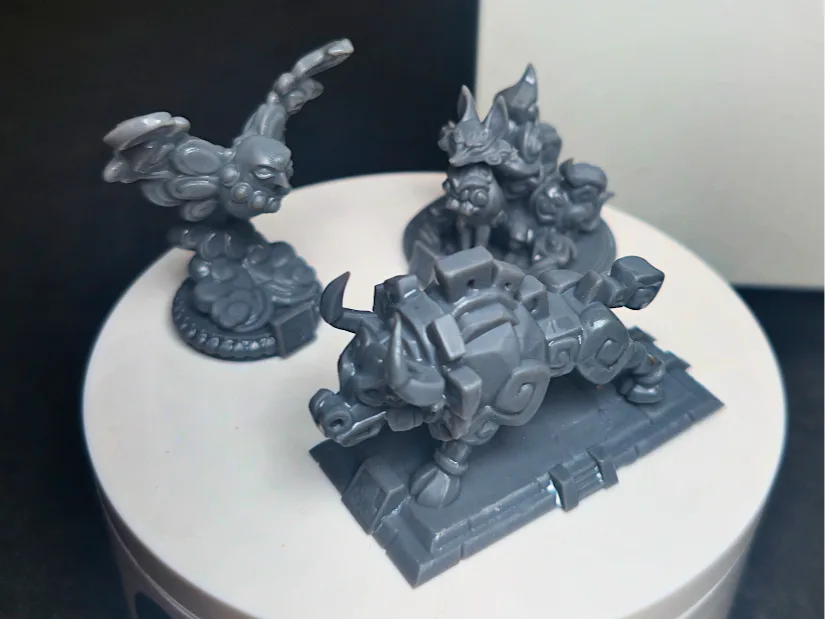
©3DWithUs – Photo: Phil Macey
YouTube Video
– Watch: Anycubic Photon P1 hands-on overview: Assembly, feature breakdown, and test printing.
Anycubic Resin, Post-Processing and Accessories
Apart from the Photon series 3D printers, it is possible to purchase various specific resins on the Anycubic website and Amazon.
©3DWithUs – Print and Photo: Will Zoobkoff
On their website, we also noticed accessories such as extra build plates, resin tanks, and post-processing stations like the Wash and Cure Max. Read more about imporatance of post processing stations on 3DWithUs.
Compare Anycubic Photon P1 to Other 3D Printers
Compare to the similar volume resin 3D printers in the same price range.
What helps the Anycubic Photon P1 stand out against machines such as the PioCreat HALOT-X1 and Uniformation GK3 Pro is how strongly it focuses on ease of use alongside high-detail resin printing. Features such as the latch-based vat and build plate system, vat heating, automated pre-start checks, built-in camera monitoring, and optional dual-material expansion give it a more refined, convenience-led workflow.
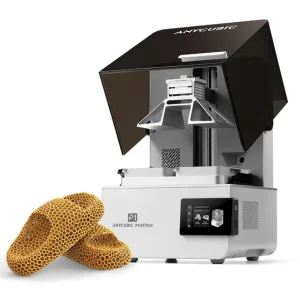
Anycubic is also one of the few brands offering genuinely larger resin printers at more accessible pricing. While the Photon P1 is a more compact and workflow-friendly option, the Anycubic Photon Mono M7 Max shows what the brand can do for users who need significantly more build volume.
©3DWithUs – Photo: Phil Macey
Have questions? Feel free to ask in the comment section below.
For a wider discussion or to share your own Photon P1 prints, join us in the forum:
Conclusion and Pros & Cons
Compare the Prices & Bundles:
Official Store | Amazon | AliExpress
Anycubic Photon P1 Review
Review Summary
The Anycubic Photon P1 makes a strong case for itself as a refined, user-friendly resin printer that still delivers the fine detail enthusiasts expect. Setup is straightforward, the latch-based mechanisms save time, and features such as vat heating, automated checks, and built-in monitoring help smooth out the overall workflow. Combined with a solid Z-axis system and a high-resolution 14K screen, the printer feels well thought out for creators who want performance without unnecessary hassle.
In testing, the Photon P1 handled calibration pieces, character models, and display prints with consistently impressive detail. At the same time, there are still a couple of practical points worth noting. Some resin splashing or residue can appear during the heating cycle, and the flat-edged build plate can hold a fair amount of resin after printing, so extra care is needed when removing finished models. Even with those points in mind, this is a very capable and enjoyable resin printer that made resin printing feel approachable and rewarding again.
Pros
• Fully assembled and easy to set up
• Latch-based vat and build plate mounting is quick and user-friendly
• Stable Z-axis system with linear rail and ball screw
• 14K screen delivers very sharp detail
• Heated vat and automated checks improve workflow
• Good monitoring options with built-in camera
• Reliable print quality across all test models
Cons
• Some resin residue or splashing during the heating cycle
• Build plate can hold a large amount of resin after printing
• Optional accessories and dual-material hardware add to the overall cost