I discovered 3D printing in my freshman year of high school when we were designing a robot and had the option to 3D print the parts. In the months that followed, I tinkered with many different programs trying to find one that was the right fit for my needs. I guess, just like Goldilocks, I found good and bad things with all of them, until I stumbled upon SelfCAD in my sophomore year. I have spent a year now using the program and I honestly love it dearly! The main reason that I love SelfCAD is for its versatility. I have made a variety of things on SelfCAD, ranging from a replica of Hogwarts to a model of Spider-man.
Table of Contents

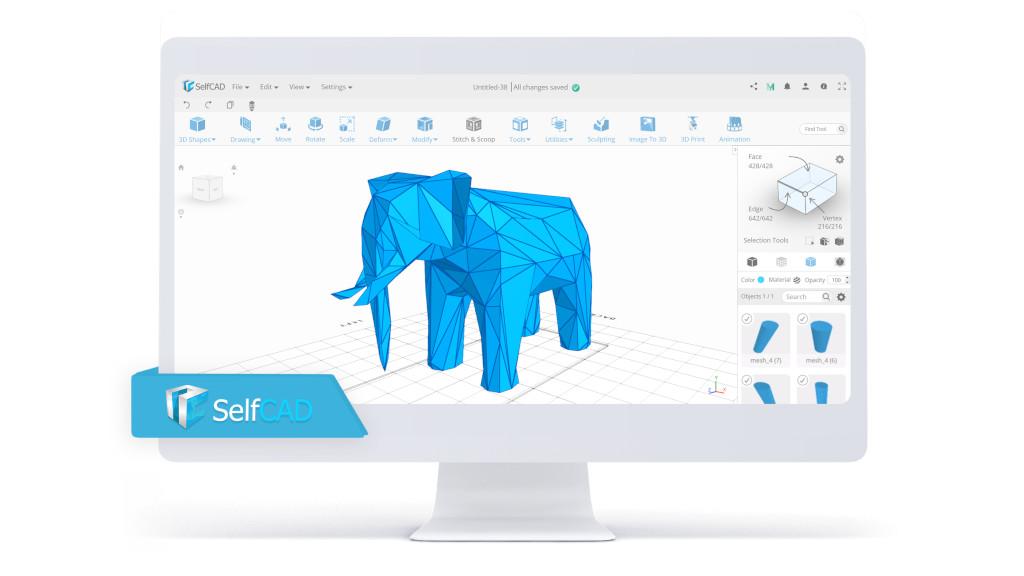
(Image: SelfCAD)
When I first began using SelfCAD, I was very new to the 3D printing and modeling world. I had not taken any classes nor did I have any formal training. I generally limited myself to basic shapes like ovals and squares. However, when I wanted to design complex objects, I found I wasn’t able to produce them with those programs. It was at this moment, that I discovered SelfCAD. I started teaching myself about sculpting from their video tutorials. When I finally felt comfortable to venture out on my own, I was able to produce my first intricate model: The Hogwarts Castle from Harry Potter. I got so much positive feedback on my creation from my classmates and from Instagram that I was inspired to continue learning more about 3D printing.

(Image: anmolmaker)
3D Sculpting
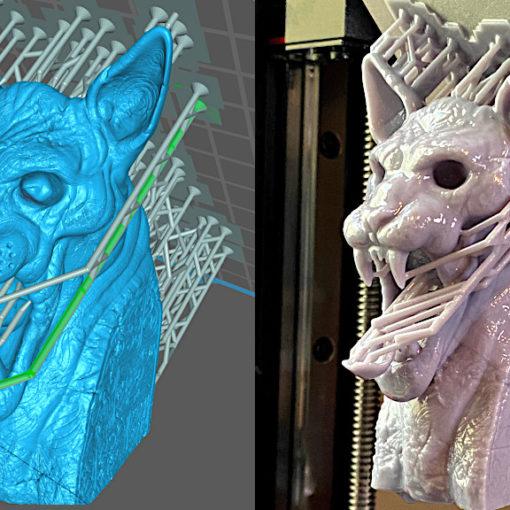
So what do I like about SelfCAD, you may ask? Well, one of my favorite uses is for Sculpting. As a newbie to 3D, I needed something that was simple to grasp yet reliable enough to produce results efficiently. Within a short timeframe, I went from not being able to sculpt anything to being able to sculpt complicated objects, such as faces.

(Image: anmolmaker)
The ease of this 3D software made this transition fairly easy. Another useful feature in SelfCAD is the “Magic fix” tool, which identifies problems in the design and fixes them automatically so that the 3D models can be exported straight to my printer or even directly to account on MyMiniFactory. Additionally, since SelfCAD is an online software, it easy to work on my projects regardless of where I am.
This summer, for example, I was able to work on my designs when I was on vacation on the hotels computer and then continue working on them when I got back home. This feature also allows me to share my creations with others without having to worry about whether or not they have the “correct” software to view my designs and I never have to download anything.

(Image: anmolmaker)
Collaborate and Share to MyMiniFactory
In fact, not only are creating objects easy, but also sharing them. When my friends ask me for tips, using SelfCAD allows us to collaborate easily. I have no doubt that this will be software that I will continue to use and continue to watch grow as the years go by. In fact, SelfCAD is already one of my most used programs on my computer and I love being able to create little keepsakes for upcoming movies. My latest design in the works is Thor, and I intend to complete him shortly. So, would I recommend this software to others? I already do, and will continue to do so!
Tutorial Feature – Record Your Course
Do you have your own 3D design courses? This should be interesting for you.
With the new tutorial feature, designers can record their modeling process, add instructions to it, and share it with others so they can design the model themselves! Tutorials are an excellent tool for educators who would like to show their students how to design a particular model and for designers who would like to train others to improve their 3D modeling skills. It’s just much more convenient to have those step-by-step instructions in the editor instead of constantly looking at the presentation or a video in search of guidelines.
Like with all tools in SelfCAD, you will find the Tutorials in the main toolbar where, after expanding the drop-down list, you will find two modes in which this tool works. The first option, called Record Tutorial, allows you, as you can guess, to record your own step-by-step tutorial, which you can later save and share with others. The second option, called Play Tutorial, allows you to upload a TXT version of the tutorial and play in the Editor, which allows you to preview your recorded steps.

(Image: SelfCAD)
To record a tutorial, you just have to click on the Record button in the tool settings panel at the bottom of the screen. Once you select it, the software will notify you that all objects will be removed from the workspace if there are any, and when you accept, you are all set. Now you can type in the title and the description of your tutorial, though it’s optional, and that’s it. From this moment forward, the software will record each change you make on its own so you can focus solely on your project.
When you’re done with your project, simply click on the Finish button in the tool settings. At this point, you can either Save your tutorial as a TXT so you can open it in the Play Tutorials mode or share it with others via a link. When you save it as TXT, you will be able to check the steps and edit them to add more descriptions to each step, or even translate them to any language for those who don’t understand English. When you share it by a link, anyone can open it directly in the editor. You can check out this video tutorial on Youtube to see this tool in action.
3D Printing Design Software SelfCAD:
SelfCAD is a 3D modeling and slicing software for both beginners and professionals, and its collection of both artistic and technical tools, in addition to rendering and 3D printing features, makes it a perfect choice of software for people in all industries.
Yet despite all of its advanced features, SelfCAD has a simple user-interface that makes it easy to get started.
It costs only $14.99/m or $149.99 per year, and there is an option to sign up for a free account to try it and see if the software is to your liking.
Read More: 3D Printed Lithophane – Designe and Slice in SelfCAD
The arrival of cheaper 3D printers made it more accessible to hobbyists to test all sorts of prints. They discovered that 3D printers and lithophanes were a perfect match. And because we save every image digitally …

(Image: ItsLitho)