What is a lithophane?
A lithophane is a special piece of art from the past. It’s usually a straight surface of thin material which contains a hidden secret. This secret will only reveal itself when light shines on the back of the material and shows its true beauty. A lithophane will reveal an image carved in the material and can contain highly detailed images with a glimpse of light. This is truly an amazing event to witness. The multiple elements required to reveal the hidden images make the lithophane so interesting to observe! No wonder that the lithophane is so unique and special in the world of art.
How Does It Work?
A lithophane is made of thin material with varying thicknesses. Thicker parts within the lithophane will block more light than the thinner parts. This way the material can manipulate different intensities of light passing through the material. With the eye, it can be seen as different intensities of bright and dark on the lithophane. The bright and dark gradient will represent different intensities of gray. These different intensities can create highly detailed images.

(Image: Elke Wetzig)
3D Printed Lithophanes
For centuries, they carved lithophanes out of porcelain. Only artists with years of practice could master the art of the lithophane. The artist carved very precisely on the surface of the porcelain to create wonderfully detailed images.

(Image: ItsLitho)
The arrival of cheaper 3D printers made it more accessible to hobbyists to test all sorts of prints. They discovered that 3D printers and lithophanes were a perfect match. And because we save every image digitally nowadays, we can make a lithophane of everything! From your images on your smartphone to every image on the entire world wide web!
Make Your Own 3D Printed Lithophane
So where to start creating a lithophane yourself? Modeling a lithophane takes a lot of time and practice to master. Lucky for us, there are tools that provide everything we need to get started making a lithophane fast and easy.
A great software tool to 3D model your lithophanes is ItsLitho. The tool gives you the possibility to convert your image(s) into an STL file. ItsLitho provides a lot of creative tools to customize different lithophanes shapes and lots of extras, besides the basics of making a lithophane. ItsLitho has 4 simple steps to create your STL file lithophane.
First of all, we want to choose an image to print. Any image can be used to create your lithophane. It’s even possible to add multiple images if you can’t choose, or just because you can.
Upload your image
Edit image
After you have uploaded your image(s), we can edit the image(s). Editing the image is optional. However, editing the contrast of the image will help you to optimize your lithophane. A lithophane is all about personal taste. We like to enhance the contrast, as in our opinion this will look better in the end. The tool will make the image monochrome because we will print with 1 filament color only. Therefore the images can be color or grey-scaled images.

(Image: ItsLitho)
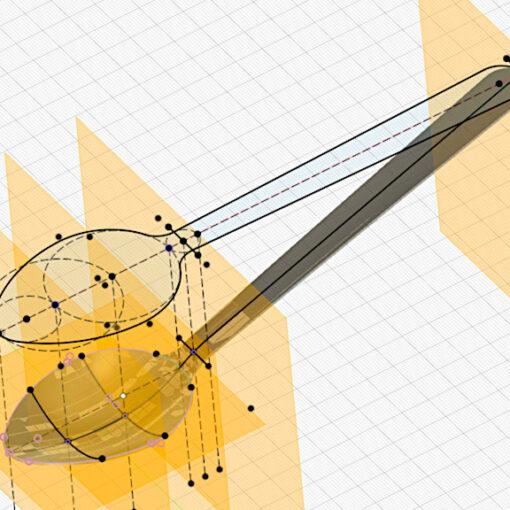
Model your lithophane
When we are happy with the images and the contrast we can create our 3D model! The create model tab has a lot of possibilities to model your lithophane. Great details about this application are the direct indication of your lithophane in the 3D environment. And every adjustment you make will instantly be updated in the 3D environment. This makes it really easy to get a grip on your lithophane model and spot imperfections before you start a long print!

(Image: ItsLitho)
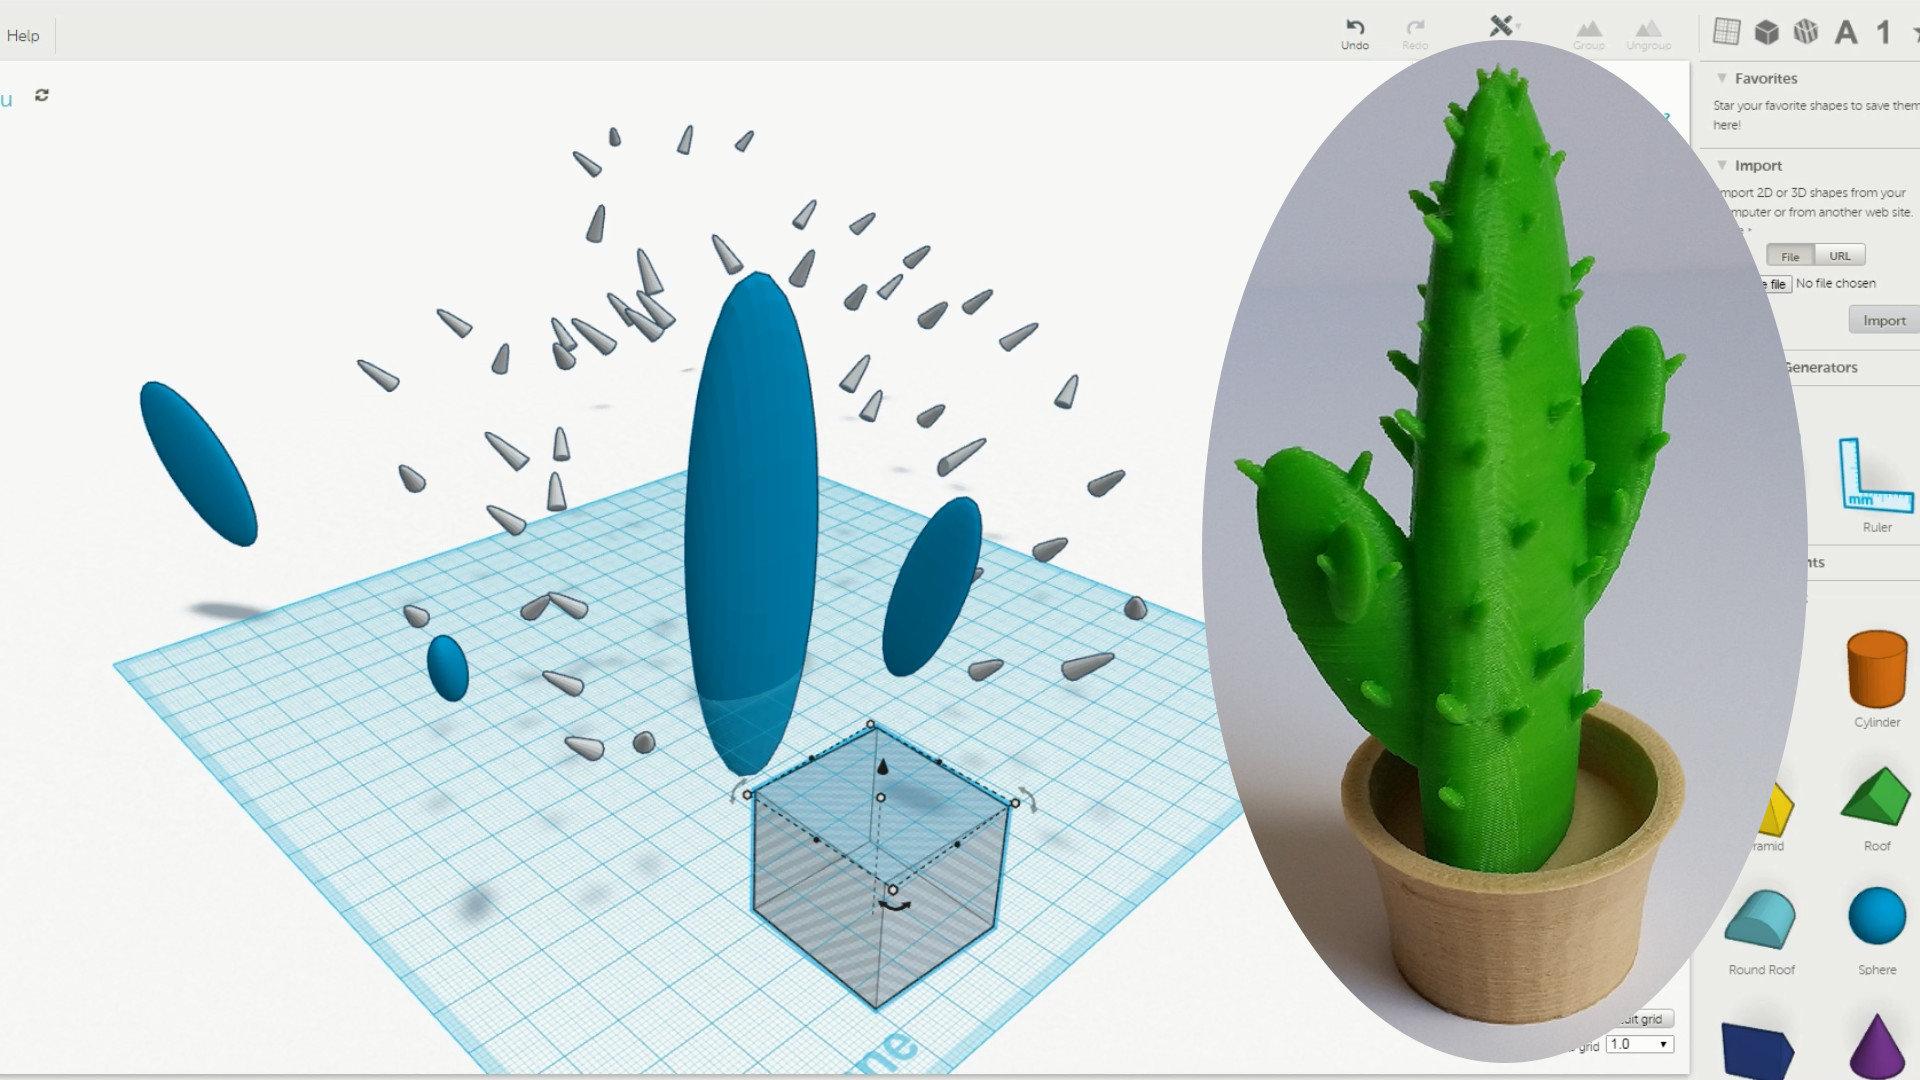
To start we can choose different shapes to work with. The standard shape is a plane that is just like a normal photo you hang in your house but many more shapes can be chosen, such as a cylinder, sphere, arc, and even a pumpkin.
The most important settings of every shape are the minimum thickness and maximum thickness. These are the settings that will define the contrast in the lithophane where the light needs to travel through. The best settings are depending on what kind of filament you use. We suggest to try out the filament you want to use with a lithophane calibration print. In general, a minimum thickness of 0.8 mm and a maximum thickness of 3.2 to 4.0 works well for most (white) PLA.
White HATCHBOX PLA Filament on Amazon (affiliate link)
When you have defined the shape settings we can continue with the extra options. For example, you can add a frame or attributes. All these features are additions for your lithophane, but not essential.
When you are happy with the preview lithophane as shown in the 3d environment, you can download your STL file lithophane!
Slice It And Let’s Print It!
The last thing you will need to do is slice your STL file. SelfCAD is a great tool that you can use to slice your designs. It has an in-built slicer you can use to generate the G-Code that you can send to any 3D printer of your choice.
The best thing about SelfCAD is that you can not only slice your designs in the program, but you can also turn your models into a 3D shape easily not mentioning easy to use 3D modeling, animation, and sculpting tools available. If you would like to venture into 3D modeling, this is one of the best programs you can get started with as it’s easier to use and learn.

(Image: SelfCAD)
Your Creativity Has No Limits
When you like printing lithophanes, there are lots of possibilities and ways to improve your lithophanes. You can master the art of lithophanes by focusing on improving your settings, to create the best-detailed lithophanes.

(Image: ItsLitho)
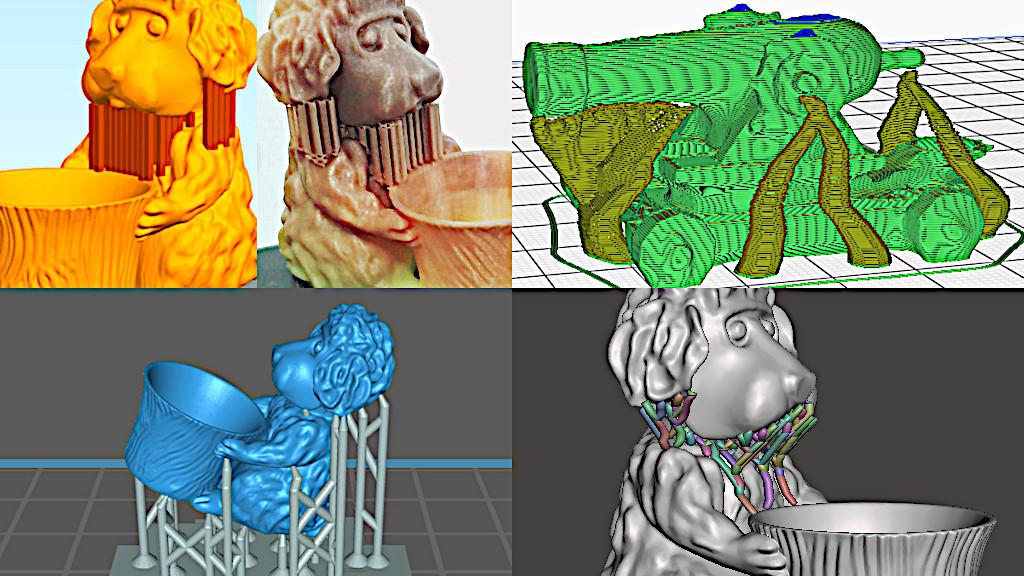
Another path you can choose is to master your model skills with different shapes and attributes. These features are highly customizable, so there are lots of undiscovered ways to model them which could be a great innovative look for lithophanes.
(Image: 3DWithUs)
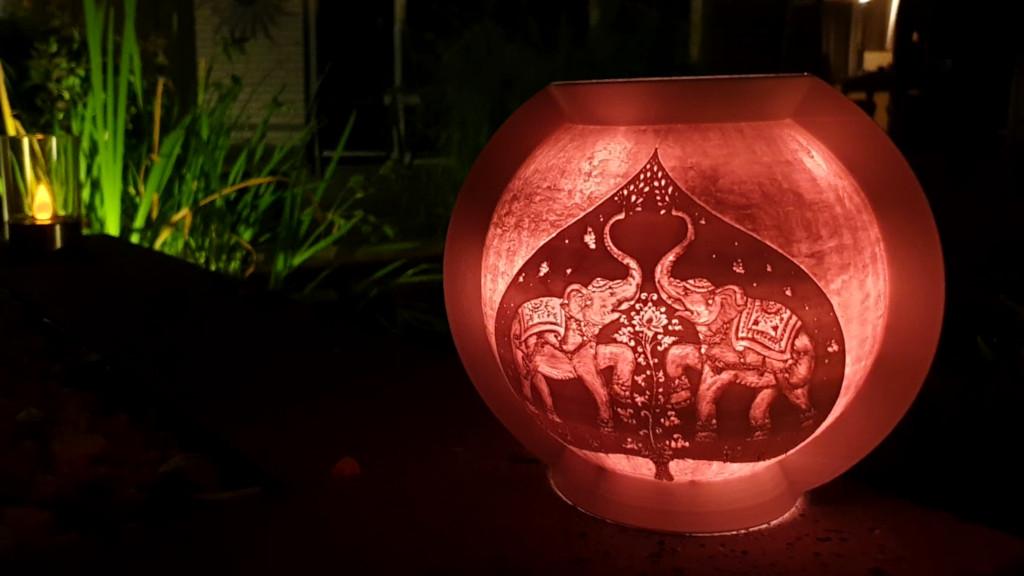
At last, you can start to discover new ways to display lithophanes. We’ve seen a lot of creative ways for the use of lithophanes.

(Image: ItsLitho)
- Read More: 3D Printed Lamp Shades
Lithophane 3D Printing Tips
The best results printing a lithophane is standing up with a layer height of about 0.1mm, and printing it along the Y-axis. ItsLitho will rotate your STL file automatically over the Y-axis. You can use any 3D printer for 3D printing. You can check out reviews of 3D printers and filaments on inov3d.net so that you can know which is best for you. The printing speed should be slow, like a maximum of 40mm/s for the best details. At last, the lithophane needs to be printed with 100% infill.
Read More: SelfCAD – Design Software for 3D Printing
I discovered 3D printing in my freshman year of high school when we were designing a robot and had the option to 3D print the parts. In the months that followed …

(Image: SelfCAD)