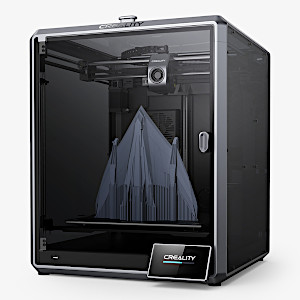
Creality is well-known for their extensive line of low-cost printers that are simple to set up and use. The K1 Max, Creality’s latest flagship printer, stands out for its fast print speeds and revolutionary features. The addition of AI lidar enables smart flow calibration, as well as bed and first-layer scans to detect any inconsistencies that may influence the print. The built-in camera, which has sophisticated AI detection, checks for debris on the print bed before printing and detects print problems as they occur.
The K1 Max has a larger construction volume than the K1, measuring 300x300x300. Furthermore, it has a carbon filter on the enclosure fan, which efficiently eliminates emissions from specific materials like ABS. In our review, we’ll look at the K1 Max’s print quality at greater speeds as well as its benefits and potential shortcomings. In conclusion, we will list the Pros and Cons.
Table Of Contents
- Specifications
- Unboxing – What’s Included
- Setup and Design
- LiDAR Sensor
- Carbon Filter
- Testing and Results
- Compare to Other 3D Printers
- Rooting Creality K1 Series 3D Printers
- Conclusion and Pros & Cons
Creality K1 Max Specifications
Build Volume: 300 x 300 x 300mm (11.8 x 11.8 x 11.8 in)
Material: PLA/PETG/TPU/ABS (up to 300 degrees)
Extruder Type: Direct drive
Nozzle: 0.4mm
Build Platform:Smooth PEI steel flex plate, heated
Bed Leveling: Automatic + LiDAR
Camera: Yes with Ai detection
Filament Runout Sensor: Yes
Connectivity: LAN, Creality Cloud, USB Flash Disk
Interface: 4.3 inch Color touch screen
Machine Footprint: 435 x 462 x 526 mm (17.2 x18.2 x 20.7 in)
Machine Weight: 18 KG (39.6 lbs)
Price: $899-$929
Product affiliate links: 3DWithUs is supported by its audience. Purchases via some links may earn us a small commission at no extra cost to you. This helps us to continue bringing you high-quality content. Our guides and reviews remain unbiased and independent.
Amazon
AliExpress
Official Website
Creality Certified Store
Unboxing and What’s Included
• K1 Max
• 4.3” Touchscreen
• Filament sample
• Metal scraper
• Spool holder
• Side cutters
• Nozzle cleaning roc
• USB flash drive
• Power cable
• M6 Socket wrench
• Rubber feet x4
• Assembly screws
• Wrench and screwdriver
• User manual
• Warranty Card
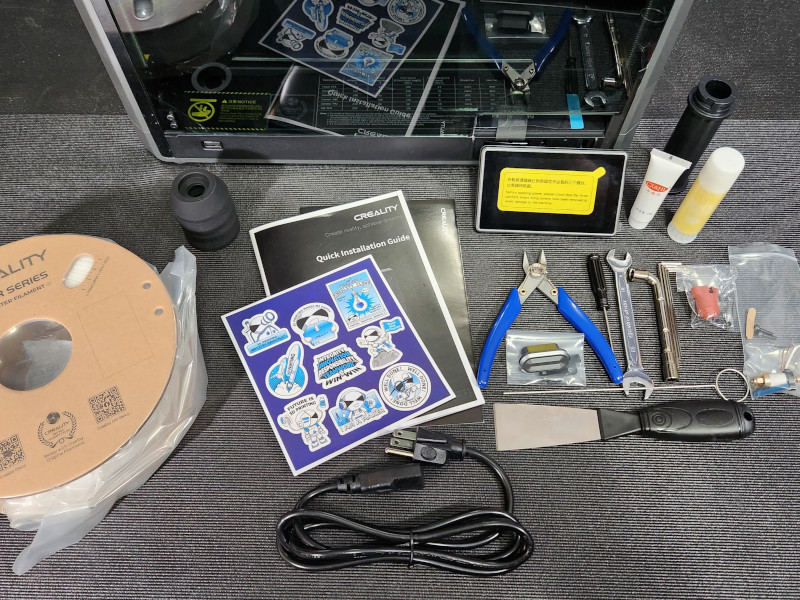
©3DWithUs – Photo: Will Zoobkoff
Setup and Design
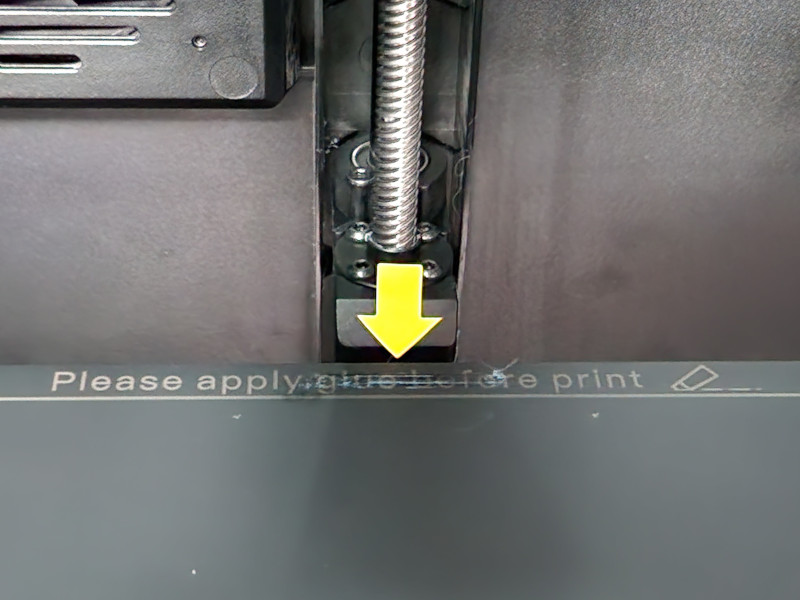
The Creality K1 Max, like its smaller sibling K1, comes almost fully built, requiring only a few steps to begin calibrating and printing. The first step is to remove all of the packaging foam from within the printer, including the touchscreen, power cable, and accessory box, along with the necessary tools for assembly. After you’ve cleared the printer, you’ll need to remove three shipping screws that hold the build platform together during travel. In addition, secure the handle to the door and the touchscreen and filament spool holder to the machine’s rear. After you’ve completed these steps, you’ll be ready to turn on the K1 Max and begin the setup procedure. After picking your language, you’ll see a popup reminding you to remove the three shipping screws that secure the construction platform.
©3DWithUs – Photo: Will Zoobkoff
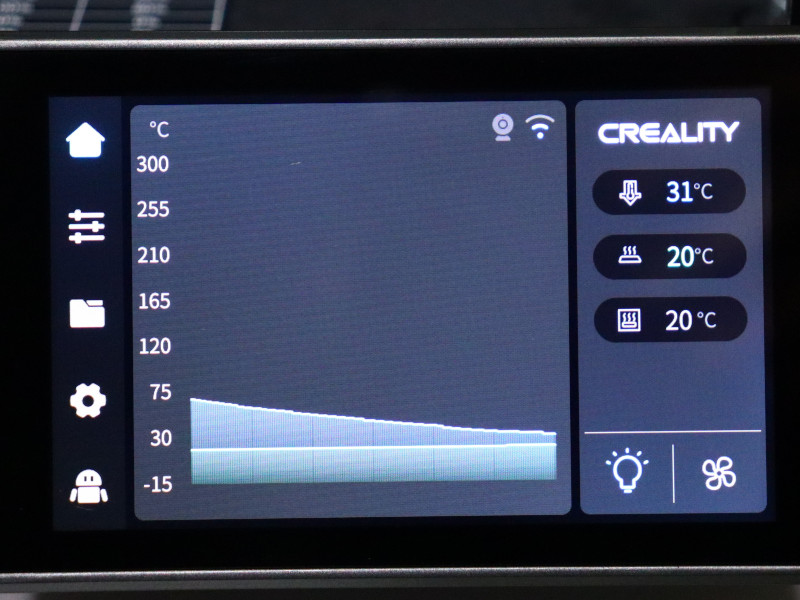
After configuring WiFi connectivity, time zone, and Creality account binding, the printer will perform a self-check taking about 11 minutes. During this operation, the printer inspects the hotend, bed heater, and fans. Following the self-check, it performs input shaper calibration before proceeding to bed leveling. Once you’ve completed these steps, you’re ready to begin printing.
©3DWithUs – Photo: Will Zoobkoff
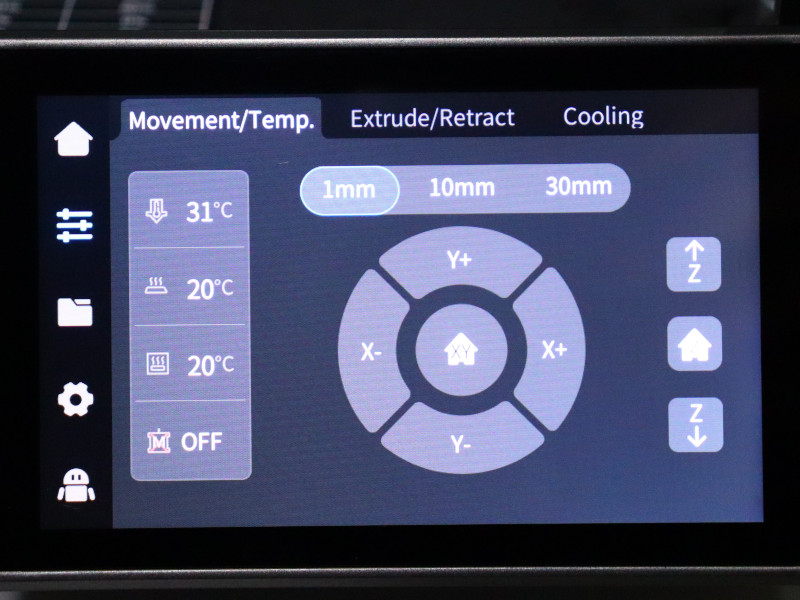
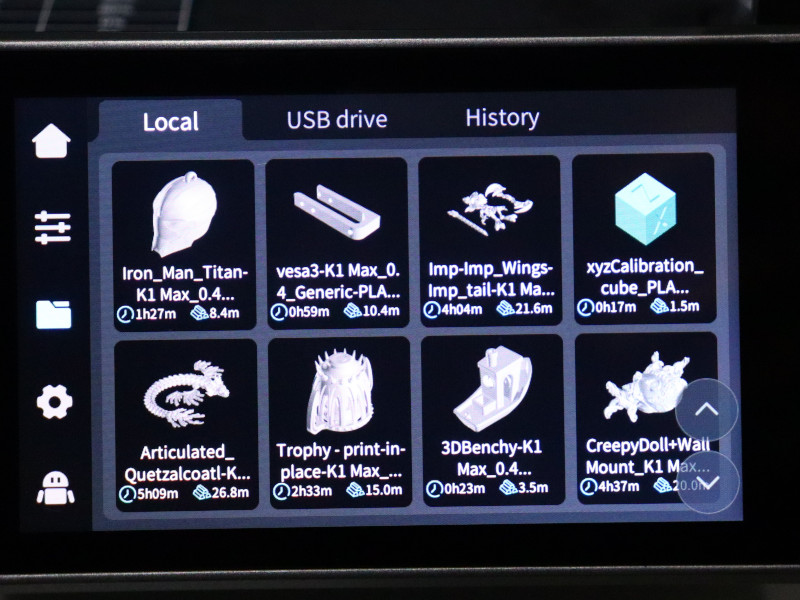
The menu system follows Creality’s heritage of simple, clear, and easy-to-navigate interfaces, allowing access to everything required to load prints, tweak, and calibrate the printer.
©3DWithUs – Photo: Will Zoobkoff
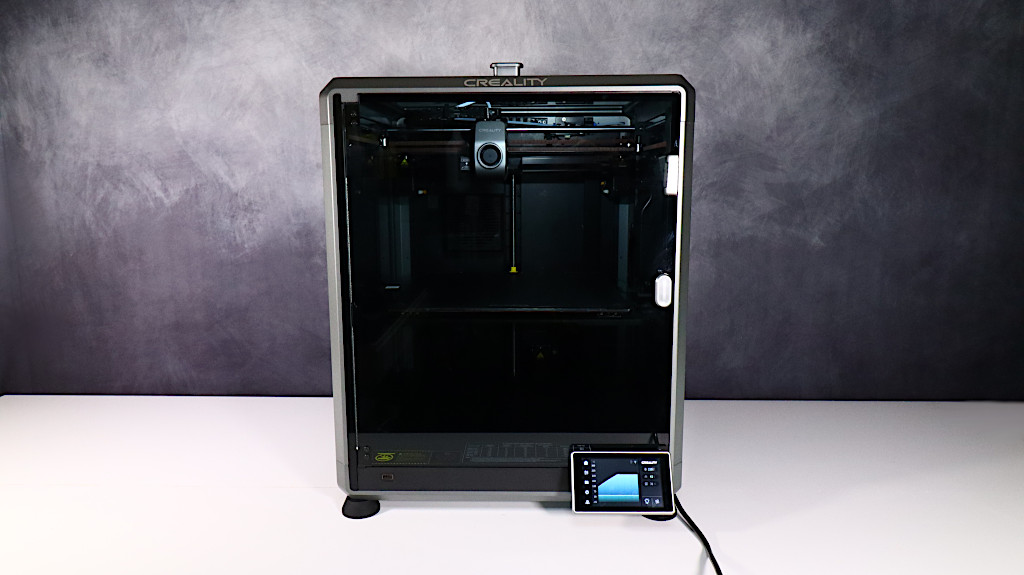
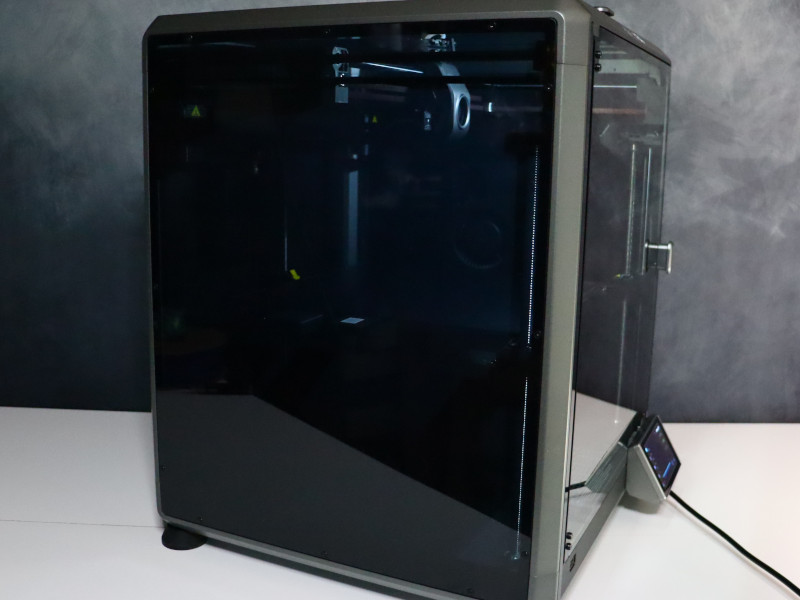
– Design. The K1 Max has the same sleek design as the K1, a completely enclosed printer with dark clear panels on the front, sides, and top.
©3DWithUs – Photo: Will Zoobkoff
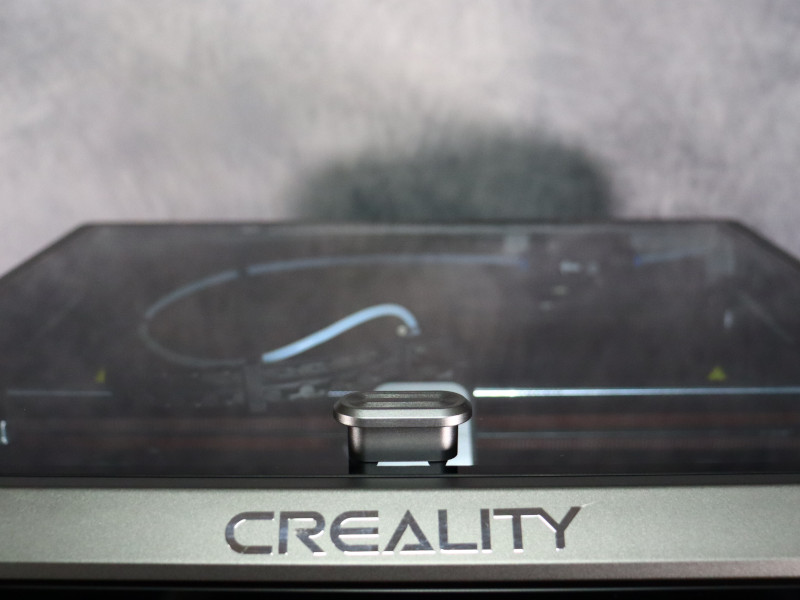
The main difference is that the top panel is flat, not dome-shaped like the one on the K1.
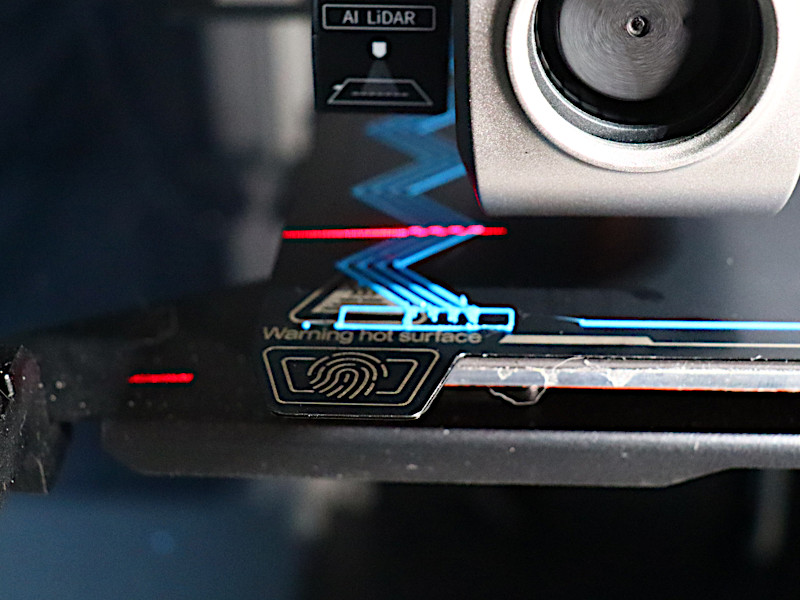
LiDAR Sensor
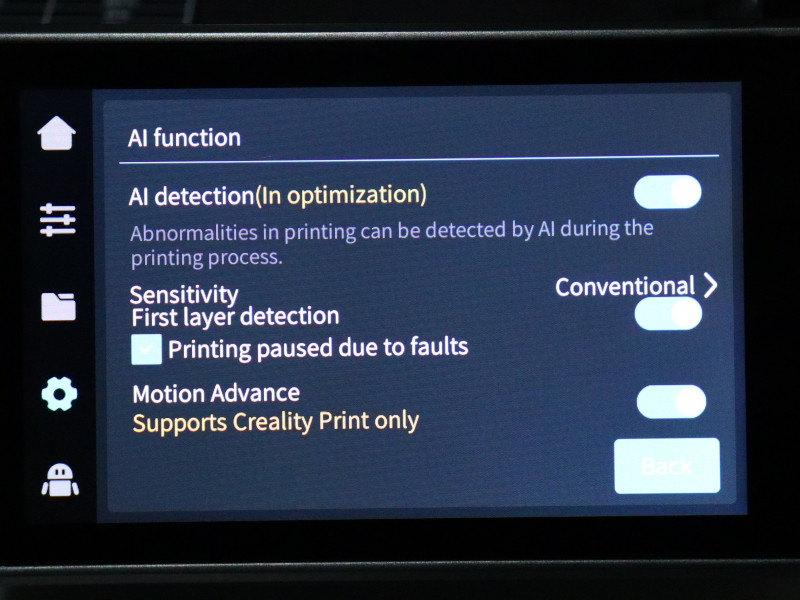
The K1 Max has a LiDAR sensor on the left side of the hotend. AI-powered LiDAR helps to detect first-layer imperfections. This is a handy feature, especially when printing large-footprint objects. The printer will pause printing if abnormalities are detected.
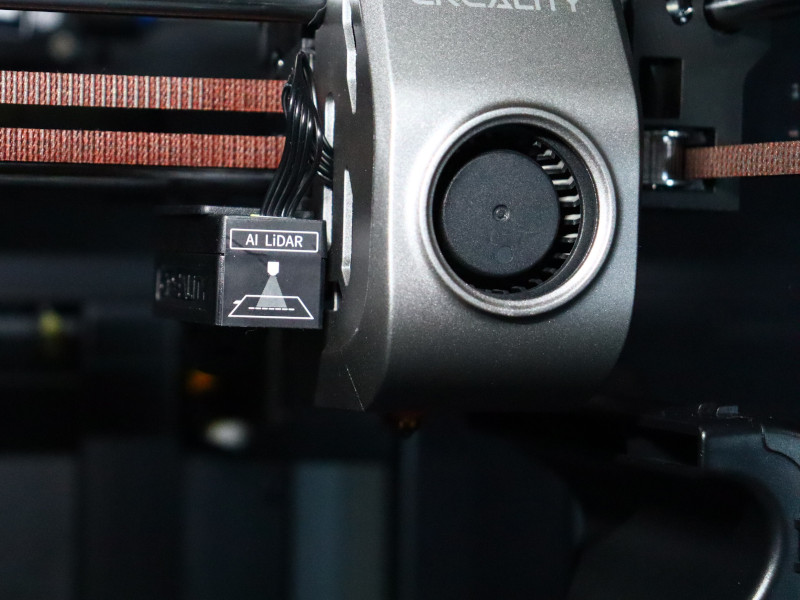
©3DWithUs – Photo: Will Zoobkoff
– Camera. The K1 Max comes with the camera by default. It is pre-assembled in the top-right corner. This is a good feature for time-lapse recording and print process monitoring.
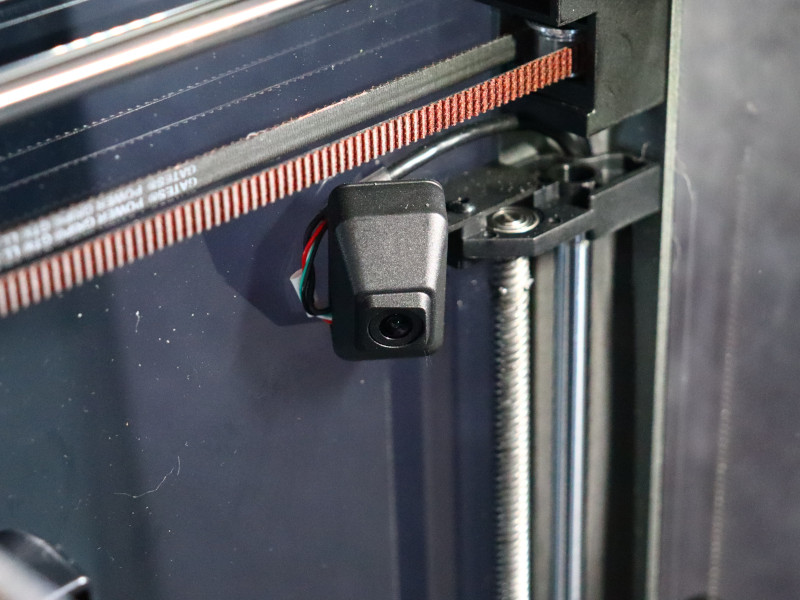
©3DWithUs – Photo: Will Zoobkoff
Carbon Filter
The only other minor alteration is the installation of a carbon filter to the back of the machine to help filter out odors associated with specific materials, such as ABS.
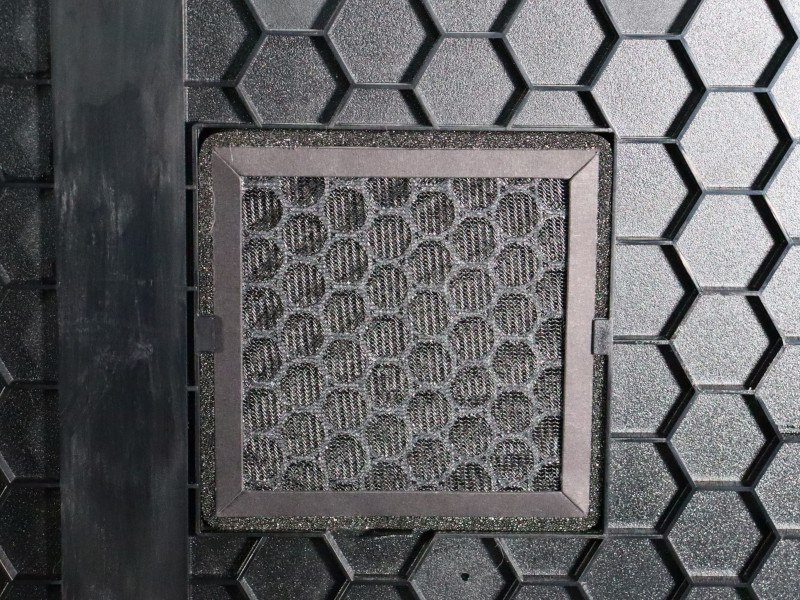
©3DWithUs – Photo: Will Zoobkoff
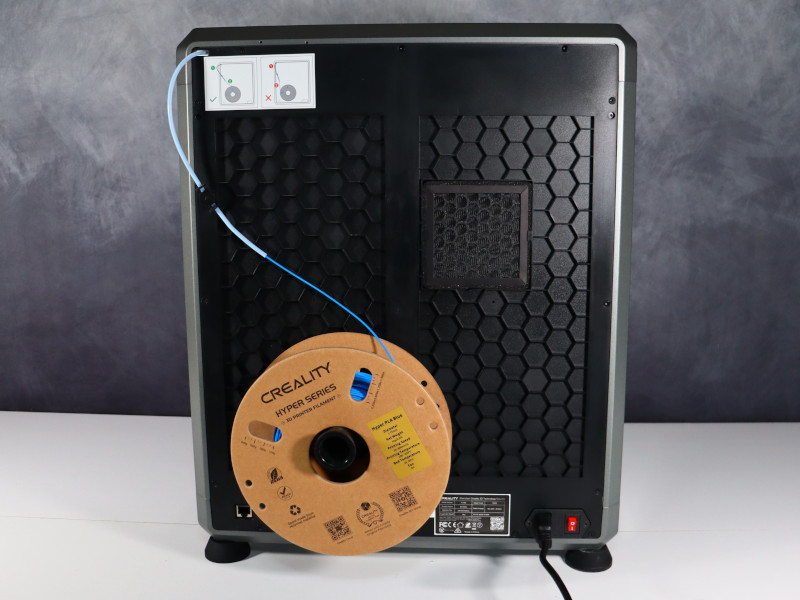
– Enclosure. The enclosed system ensures that specialty filaments such as ABS or Nylon are easier to print with fewer failures due to fluctuating temperatures or any drafts. As a result, the chance of print warping issues is greatly reduced.
Testing and Results
During our testing, we chose to use Creality’s recommended profile settings for the K1 Max, making only small changes to accommodate unique needs. All prints were produced using a layer height of 0.2mm, a speed of 300mm/s, a 10% gyroid infill, and three walls. Our full review involved turning on all AI functions of the printer, including flow calibration and first-layer scanning.
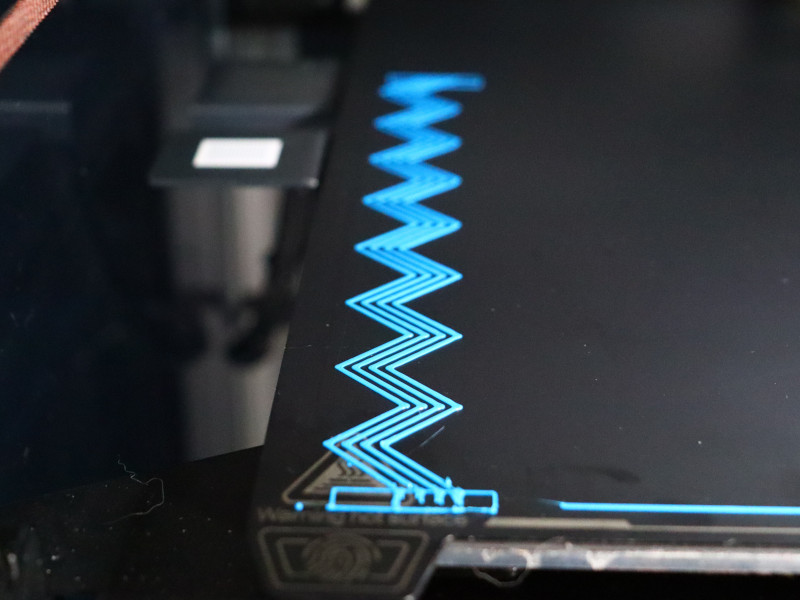
©3DWithUs – Photo: Will Zoobkoff
We also employed the AI camera function, which detects potential flaws or discrepancies throughout the printing process, resulting in a more dependable printing experience.
©3DWithUs – Photo: Will Zoobkoff
3D Printing Articulated Print-in-Place Models
The first print we picked to make is an Articulated Imp by Twisty Prints, one of my favorite Patreon creators. This imp is printed in three pieces: the body, wings, and tail. Because of the 300x300x300 build volume capacity, all three sections fit comfortably.
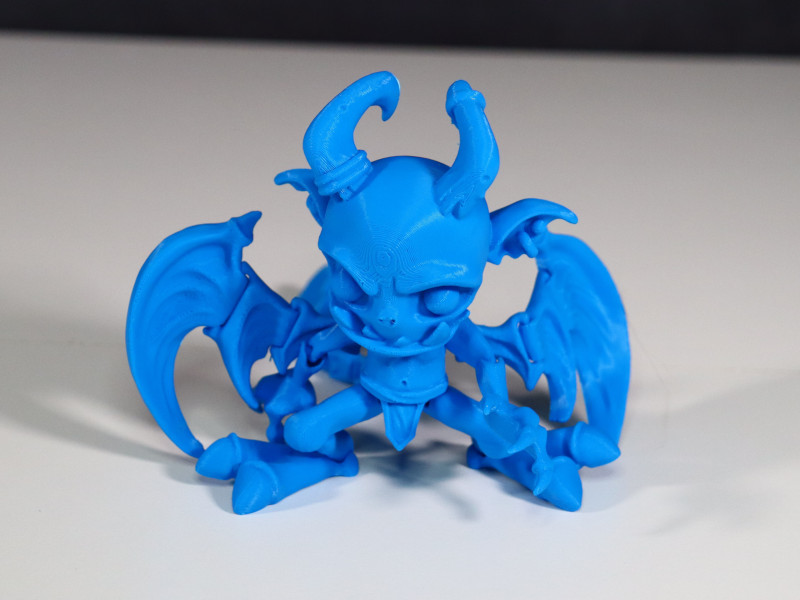
3D Model by Twisty Prints on Cults
©3DWithUs – Print and Photo: Will Zoobkoff

Using Creality Blue Hyper PLA, this print took a little over 4 hours to complete, and the results are pristine, with no overhang issues or problems with joint movement. The pieces also fit together snuggly, demonstrating effective flow calibration in properly determining the required flow for the print.
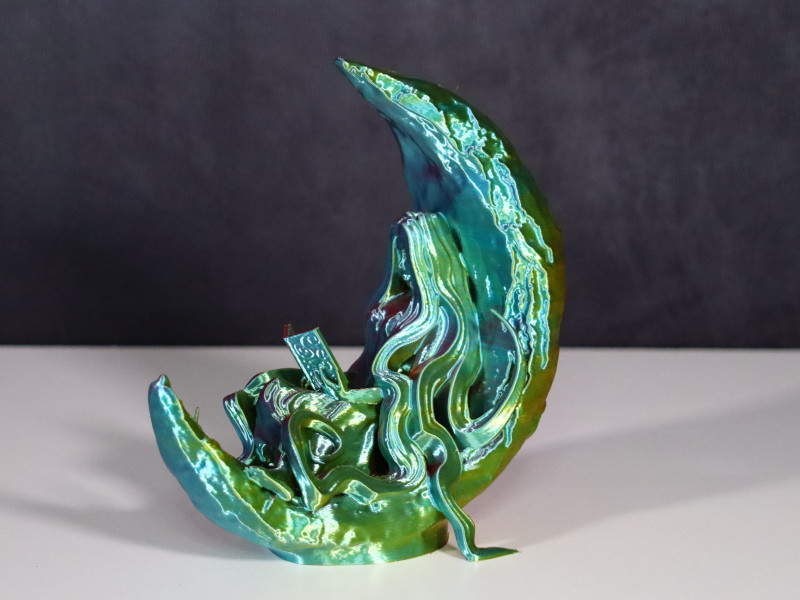
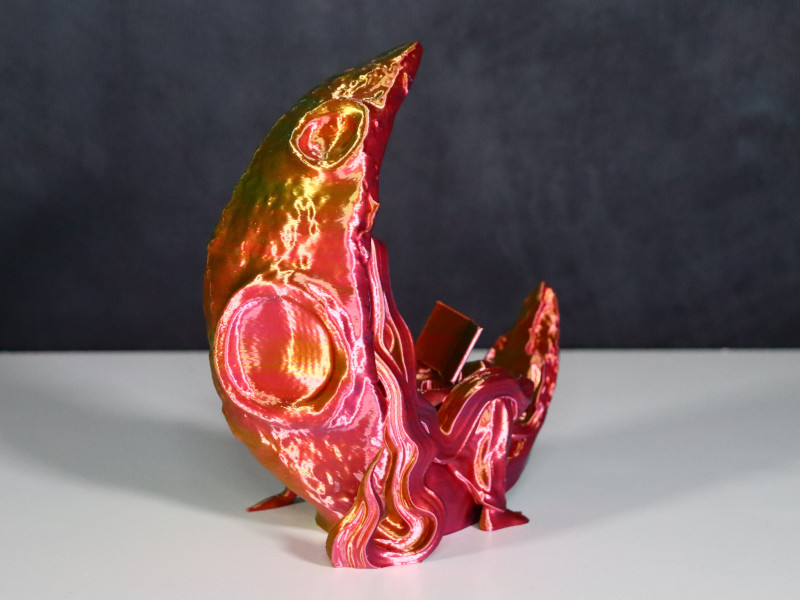
For the following print, we chose a stunning model by Jukka Seppanen Lunael’s dream. This model is a straightforward print-in-place design that requires no supports to print. However, if your printer is not properly calibrated, the multiple overhangs and smaller pieces might provide very rough results. For this print, we utilized Sunlu red, yellow, and green tricolor silk PLA. The finished print took just under 7 hours to complete, and the multicolored silk looks fantastic, highlighting the color transitions and gloss of the silk PLA. Similarly to the previous print, there were no concerns with the steep overhangs or minor details, such as her hands and the ends of her hair curls.
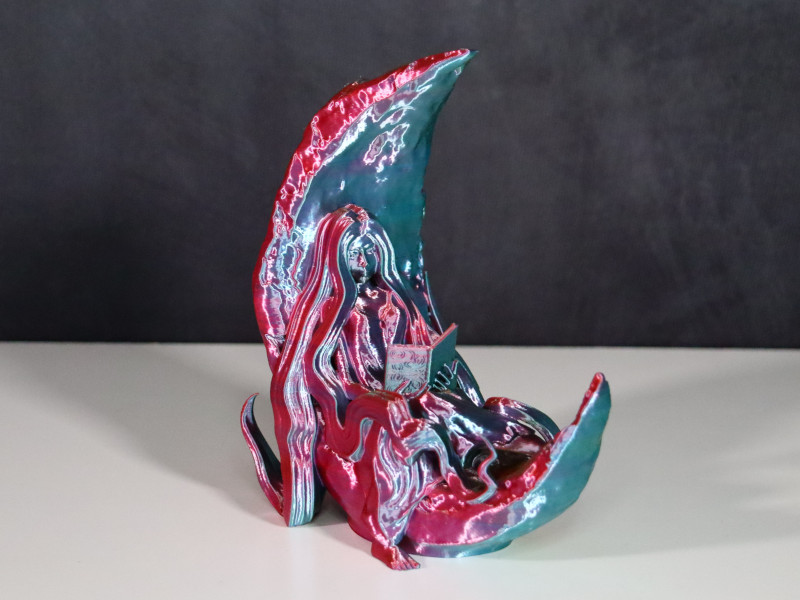
3D Model by Jukka Seppanen on MyMiniFactory
©3DWithUs – Print and Photo: Will Zoobkoff
Next, we went back to the Twisty Prints model collection, notably the Creepy Doll Head Wall Mount from Cults. This is another straightforward print-in-place model. We decided to utilize Sunlu Silk Tri-color Blue, Green, and Purple Silk PLA. This print took just less than 5 hours to make, and the results speak for themselves.
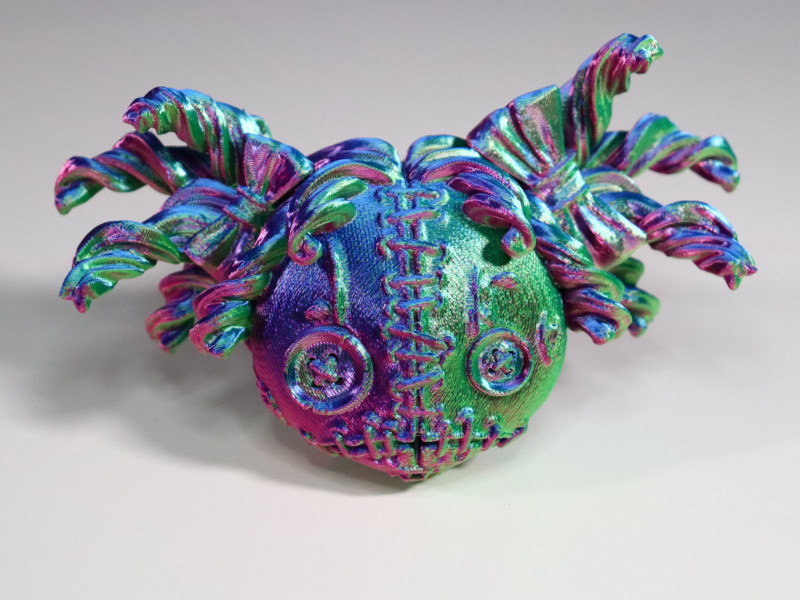
3D Model by Twisty Prints on Cults
©3DWithUs – Print and Photo: Will Zoobkoff
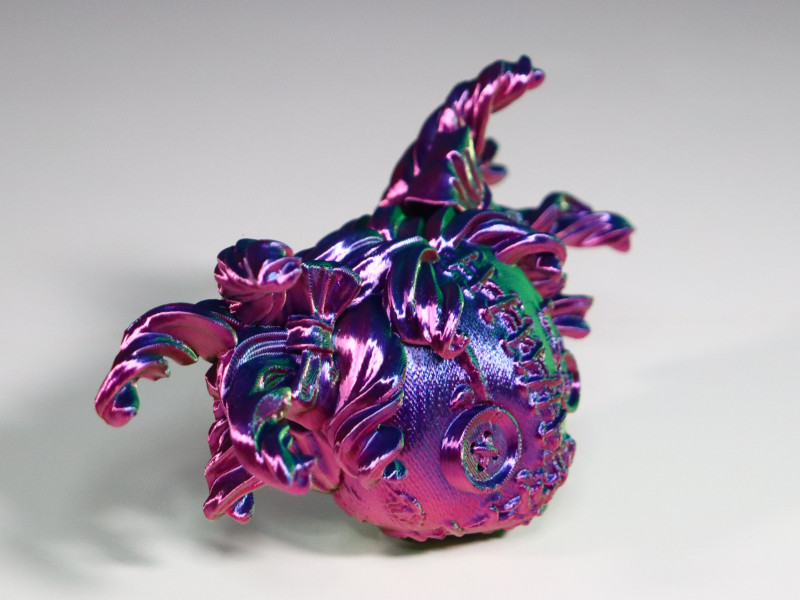
Once again, there were no noticeable difficulties with any of the overhangs, and the finished print is very clean and defect-free. The tri-color silk provides the print a distinct appearance, since the colors shift depending on how the image is viewed. Tri-color silk PLA has quickly become a popular among users.
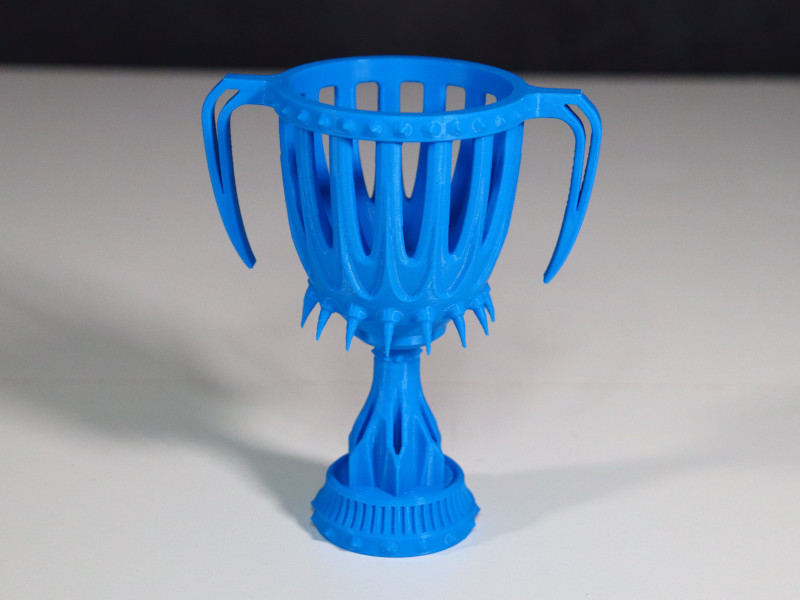
During our testing, we selected a Torture Test Trophy model by 3D Printy to conduct a torture test. Because of its numerous overhangs and complicated elements, it provides a great standard for evaluating printer calibration. The cup and base of the award, which had components printed within, presented issues during post-print disassembly, especially if the flow calibration was incorrect. Impressively, the K1 Max’s automated flow calibration, aided by the LiDAR scan, handled the complicated component expertly. The print time was a little longer than 3 hours while using Creality Blue Hyper PLA and supports. Significantly, there were no overhang issues, and the threaded base released cleanly and without binding.

3D Model by Twisty Prints on Printables
©3DWithUs – Print and Photo: Will Zoobkoff
3D Printing Masks
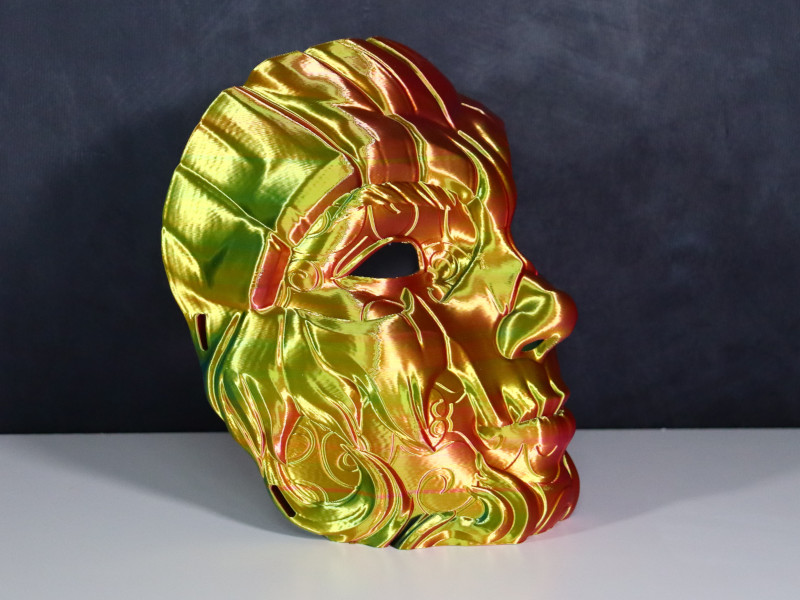
For our final test prints, we chose to print two masks from the popular Pipe Cox Patreon or Cults collection. First, the larger capacity of the K1 Max allowed us to print the Pumpkin Girl mask in a single piece. We needed support for this print, which increased print times slightly; we used Sunlu Tri-color Red, Yellow, and Green Silk PLA. The print, which took just over 13 hours, had amazing color transitions, with each side of the mask highlighting a distinct hue. Unfortunately, the third color ended up on the inside of the mask, but the two showing give the mask a unique look.
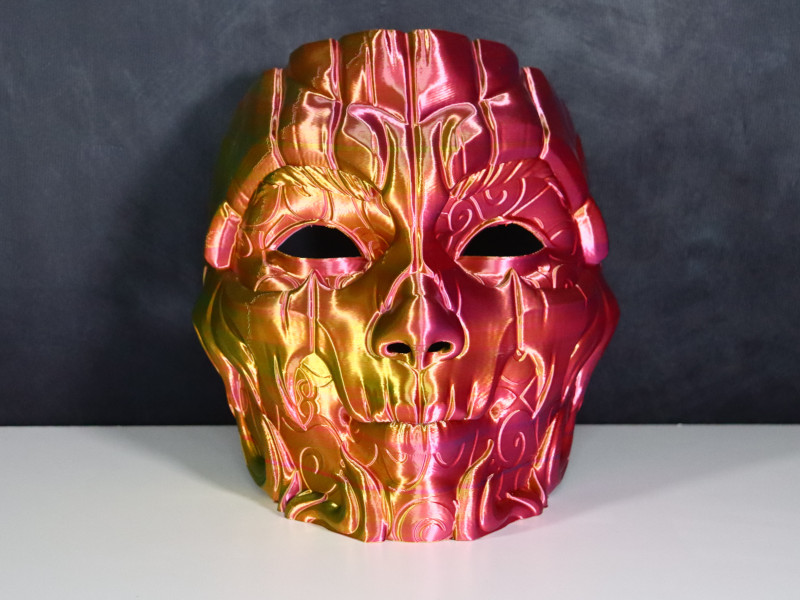
3D Model by Pipe Cox on Patreon
©3DWithUs – Prints and Photo: Will Zoobkoff

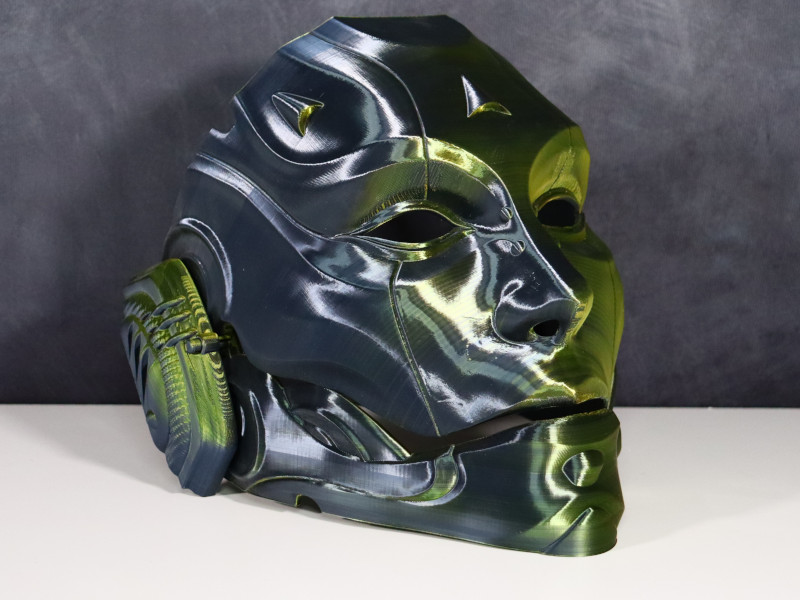
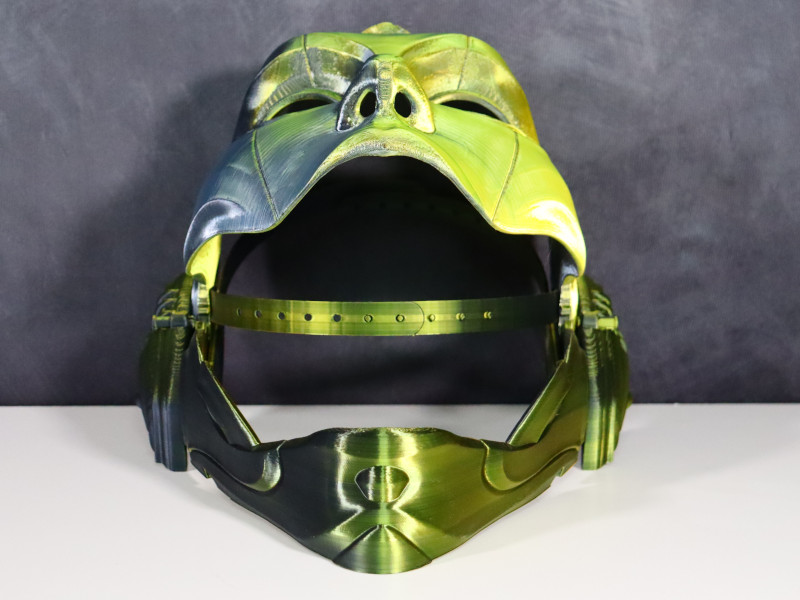
Next, we tackled Pip Cox’s Droid mask. This print took little more than 14 hours and required two beds of pieces to create the mask. We used Sunlu Dual-color Black and Gold Silk PLA, but the color transition wasn’t as smooth as the prior mask owing to filament twisting which can alter how the colors change on the print. Despite this, the Droid mask came out clean and free of defects, and assembly went smoothly owing to the K1 Max’s automated flow calibration before each print.
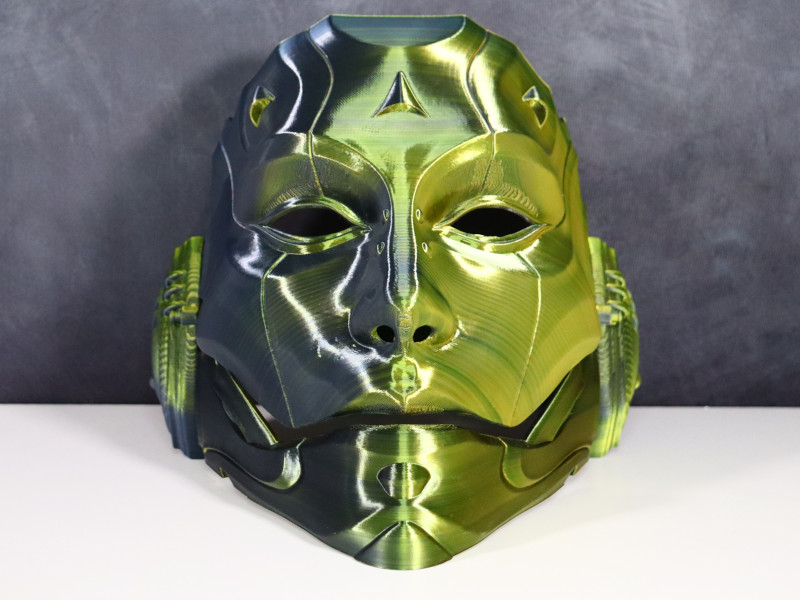
3D Model by Pipe Cox on Patreon
©3DWithUs – Prints and Photo: Will Zoobkoff
As you can see, the masks came out very well. The K1 Max’s build volume and enclosure are very good features for such prints, allowing scaling of the objects as needed and the use of a wide range of materials at the same time.
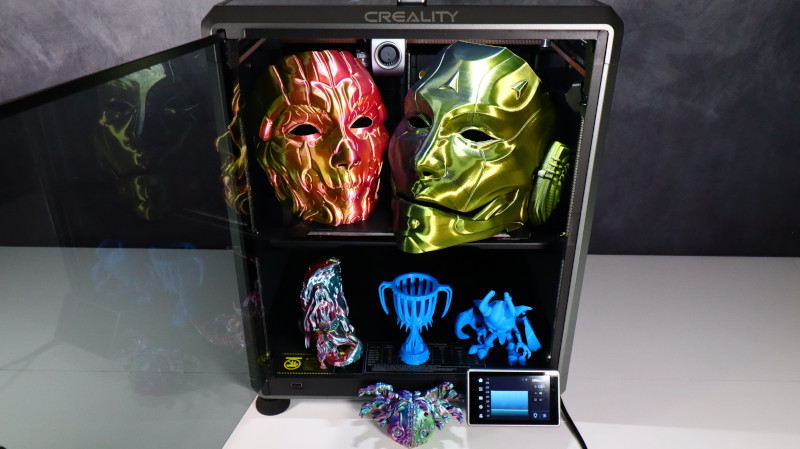
©3DWithUs – Prints and Photo: Will Zoobkoff
Our tests with the K1 Max demonstrated its versatility, easily handling a variety of prints. Highlights included faultless outcomes in intricate models, such as Twisty Prints’ articulated imp and Jukka Seppanen’s Lunael’s Dream. The trophy test highlighted the printer’s automated flow calibration capabilities, demonstrating accuracy even in difficult prints.
Compare to Other Creality Printers
The Creality K1 Max is a unique printer due to its large build volume, which comes with an enclosed chamber and other sophisticated features simultaneously.
Creality is very well known brand for its previous CR and Ender series machines. Over the years, various models have been named as the best 3D printers in budget and other categories. With a new flagship, Creality keeps developing their other series of 3D printers as well.
Compare Creality K1 Max to Other 3D Printers
On 3DWithUs, we have a comprehensive comparison guide covering the best budget FDM 3D printers. This printer falls into the $600+ category. The Creality K1 Max is currently a unique machine as it offers the largest build volume.
Here are important takeaways to consider:
– Speed. There is fierce competition for speed in the consumer 3D printer market. First, AnkerMake was followed by Bambu Lab, and now Creality came in the form of the Speedy Creality K1 and K1 Max 3D printers.
– Price. AnkerMake M5, Bambu Lab P1P, Creality K1 and Prusa i3 MK4 Kit are in the same price range of $600-1000 depending on campaigns.
– Build. Build-wise, both the Creality K1 and BambuLab P1P are on the same level, featuring a stable CoreXY with an enclosed chamber. The Creality K1 Max has the largest volume at the time of writing this article.
– Multi Culor Option. With Bambu Lab X1 AMS and Prusa MMU already on the market, AnkerMake plans to bring their V6 version as well. Creality still has to offer their version of a multi-color option.
In the comparison conclusion, I would say that the four machines mentioned above are in competition at the moment for the same price range.
Rooting Creality K1 Series 3D Printers
By following these steps to root and modify your K1 series 3D printers, you’ll open up a new world of possibilities for your device. Not only will these changes improve the machine’s performance and usability, but they will also enable a more tailored and efficient 3D printing process. Whether you want to fine-tune your printer’s settings, apply quality upgrades, or simply discover your device’s full potential, rooting the K1 with the enhancements indicated in this article will get you started.
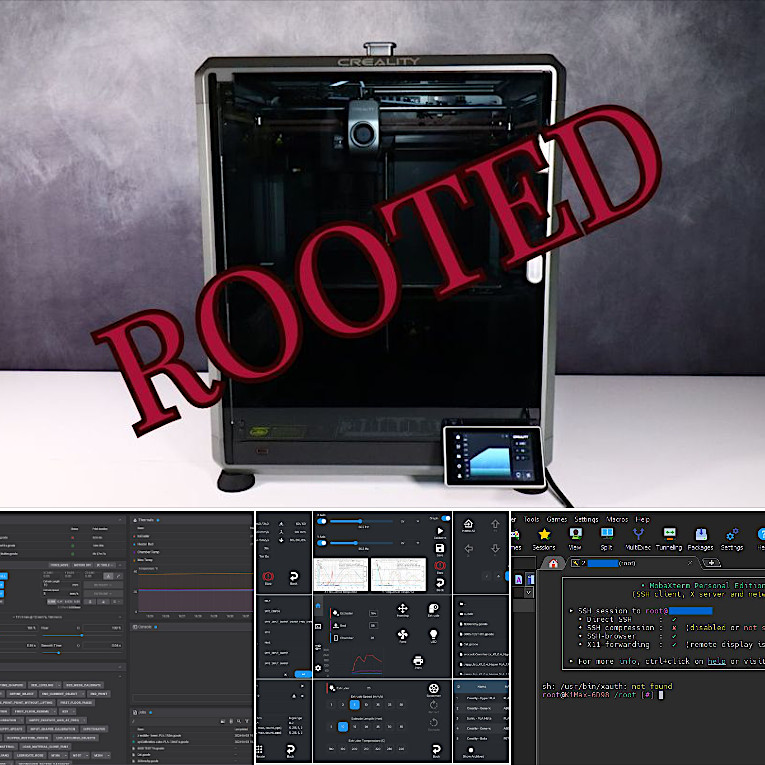
©3DWithUs – Images: WIll Zoobkoff
Conclusion and Pros & Cons
Amazon
AliExpress
Official Website
Creality Certified Store
Creality K1 Max Review
Review Summary
Creality’s K1 Max, the latest addition to their flagship series, makes a lasting impact with its impressive print speeds and innovative features. What distinguishes it is the use of AI lidar technology, which allows for smart flow calibration and detailed scans of the print bed and first layers. The built-in AI camera, which has superior detecting capabilities, provides not only a clean print bed but also prompt identification of any difficulties that may develop during printing. In addition, the input shaper tuning enhances the printer’s allure by lowering vibrations during the printing process.
With a huge build volume of 300x300x300, the K1 Max can comfortably accommodate larger projects, and the inbuilt carbon filter effectively combats emissions from materials such as ABS. The setup is a breeze, staying true to Creality’s legacy of user-friendly setup as well as interfaces.
K1 Max’s overall performance and features, such as Core XY, AI Lidar, and a large build volume, earned it a 4.7 out of 5 rating. The limitations, such as its single-color capacity and Klipper constraints (unless rooted) which will allow full Klipper access and control, are minimal when compared to its numerous benefits.
In essence, the Creality K1 Max is a fantastic choice for anyone looking for a feature-rich 3D printer. It promises not only efficiency but also dependability across a wide range of printing settings, making it an ideal partner for both novice and experienced 3D printing aficionados.
Pros
• Core XY
• Speed
• AI Lidar
• AI Camera
• Large volume
• Klipper
Cons
• Single color
• Klipper limited (unless rooted)