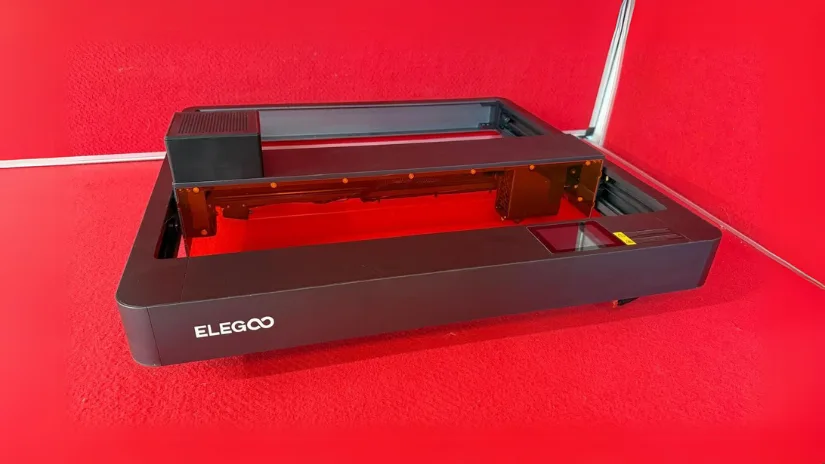
The Elegoo Phecda is the first Elegoo laser I’ve reviewed. Having reviewed their extensive range of FDM printers, I was well-prepared to test the Elegoo Phecda laser and see if it had the same build quality and neat design as the printers. Elegoo lasers have been around for a while, and the Elegoo Phecda 20-Watt is no exception. Its versatility allows it to work on multiple engraving and cutting materials. So, in this test review, I will try to show off what the Phecda is capable of with some of the projects I’ve chosen, using natural materials and more technical ones like acrylic. In conclusion, I will share my final thoughts and list of pros and cons.
Table Of Contents
- Specifications
- Unboxing and What’s Included
- Setup and Design
- Software – LightBurn
- Enclosure
- Rotary Attachment
- Testing, Materials, Settings and Results
- Compare to other Laser Cutters and Engravers
- Conclusion and Pros & Cons
Price: $299 – $779
Product Affiliate Links: 3DWithUs is supported by its audience. Purchases via some links may earn us a small commission at no extra cost to you. This helps us to continue bringing you high-quality content. The product featured was provided in exchange for an honest review. Our guides and reviews remain unbiased and independent.
Compare the Prices & Bundles:
Official Store | Amazon
Elegoo Phecda 20W Specifications
• 10W/20W Output Power
• 400 x 400 mm Engraving Area
• Up to 25,000 mm/min Engraving Speed
• Smoke Filtering Exhaust
• Multiple Operation Methods
• Multilingual UI design
• Machine Size 673mmx660mmx190mm
• Laser Wavelength 455+5nm
• Output Voltage 24v
• Connection method TF Card, USB cable, App
• Spot Size 0.07mmx0.13mm
• Flame Detector, Tilt Detection Alarm
• Supported File formats SVG/DXF/JPG/JPEG/PNG/BMP/TIF
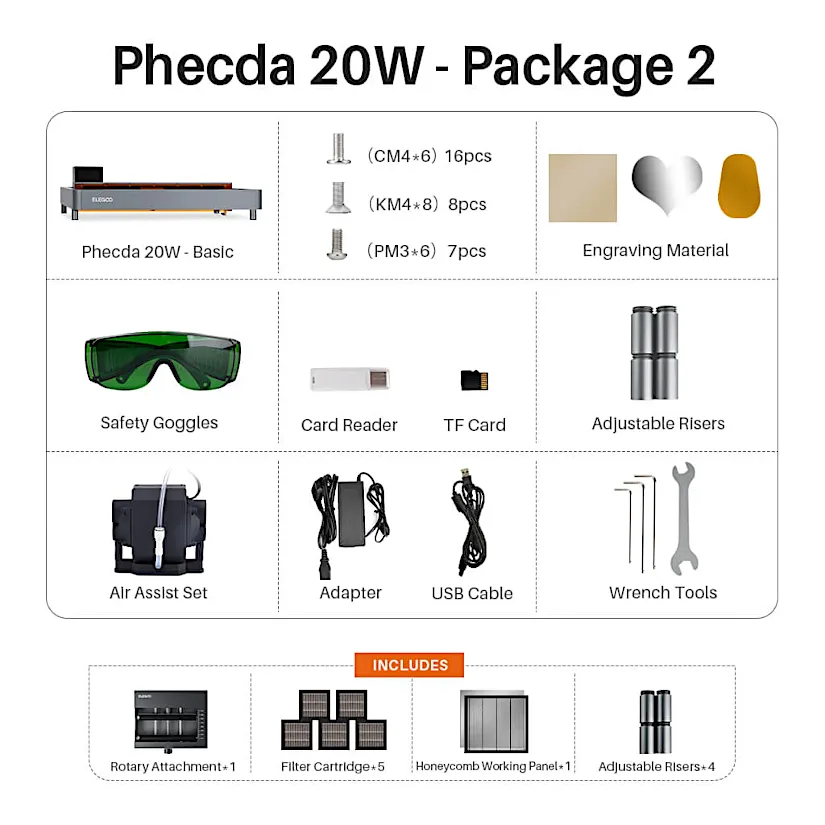
Unboxing and What’s Included
The package includes left, right, front, and back panels, X-Axis assembly, Optical Shaft assembly, front UV cover, rear UV cover, air filters, laser unit, Antenna, top corner panel covers, eight leg pieces, tools, goggles, some test materials, and an air assist unit. The air assist unit, a crucial component in the cutting process, helps to blow away debris and smoke, ensuring a clean and precise cutting result.
Setup and Design
Unboxing and setting up the Elegoo Phecda was a breeze, taking only about 30 minutes. The process was straightforward, with only a few steps that required some time and attention, such as installing the two belts into the corners and fitting the cables due to the tight space. However, these were minor hiccups in an otherwise smooth setup process.
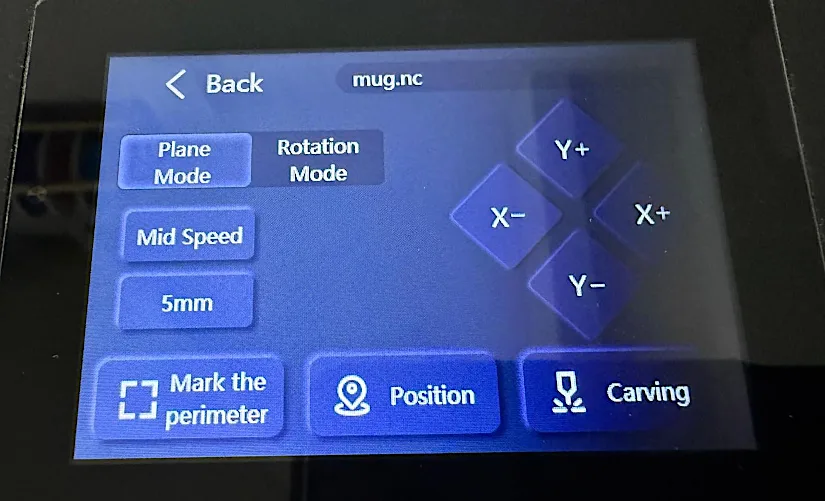
The UI touchscreen has many functions, enabling you to switch between standard cutting engraving and using the rotation device, which I found convenient and user-friendly.
©3DWithUs – Photo: Richard Hirst
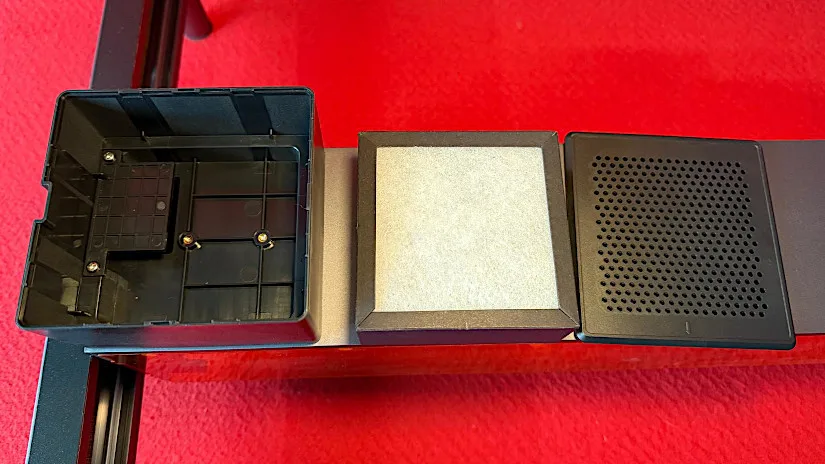
The Elegoo Phecda has an innovative gantry setup with an air filtration system, which I would call a moving enclosure setup. The air filtration system has a removable charcoal filter with concertina dust and filter mesh on both sides. It did filter out some of the smoke but only worked if the air assist was not connected because the front UV screen could not be installed for the air assist tube to move.
©3DWithUs – Photo: Richard Hirst
I found the air assist tube very problematic. I tried to find a way to install it without hindering the laser unit’s movement, but luckily, it was only needed when cutting and not engraving.
I did like the idea of the laser light-blocking panels. They meant that you didn’t need an enclosure until you used the laser for cutting using air assist.
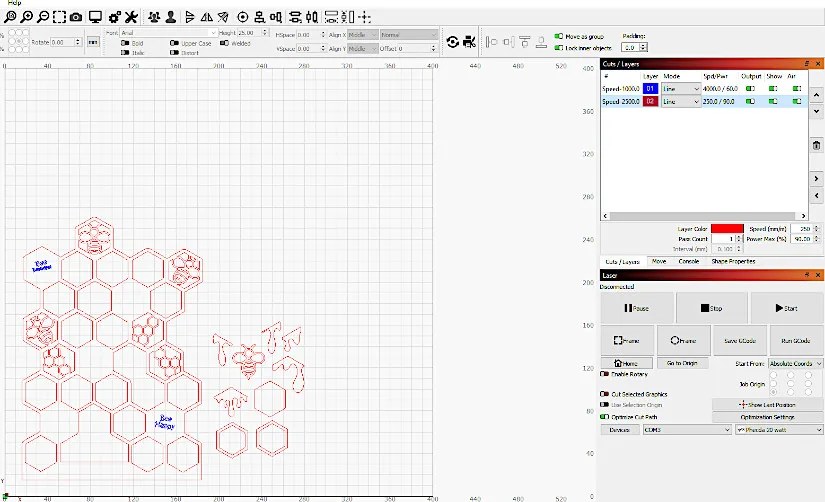
Software – LightBurn
After the setup, it’s just a case of checking everything, ensuring it is square and all cables are in the sockets, plugging in power, installing the software you want to use, and connecting to the PC. For my tests, I used Lightburn, which I am used to.
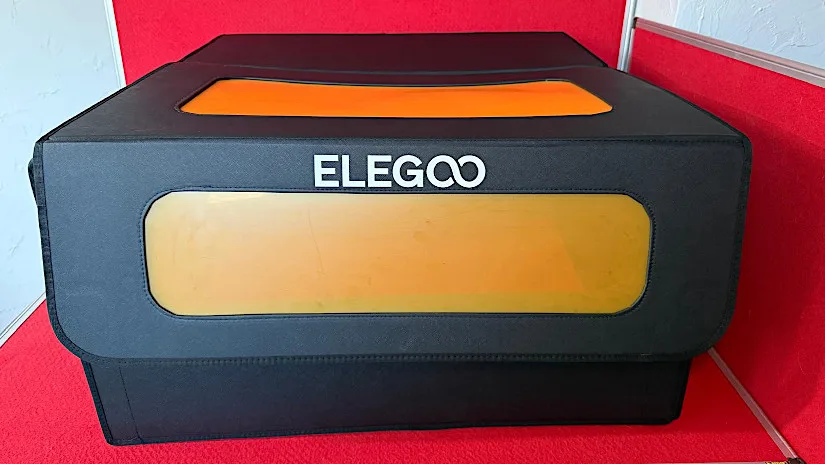
Enclosure
This review package came with an enclosure and a rotation device, which were both used in this testing. The enclosure was used because of the problem with the air hose catching and not letting the laser move. But I would always recommend buying an enclosure just for safety. The laser light-blocking panels and the extraction setup make the working environment more user-friendly and ensure a secure working environment.
©3DWithUs – Photo: Richard Hirst
The enclosure that Elegoo supplied was easy to set up. It took about 10 minutes. The corners and lid Velcro together, then it’s just installing the four bolts to hold the fan, which has its own power supply. It also comes with a decent length of extraction hose, which gives the user a better chance of placing the tube through a window. Also, it has a UV window to the front and top so the user can still see the project.
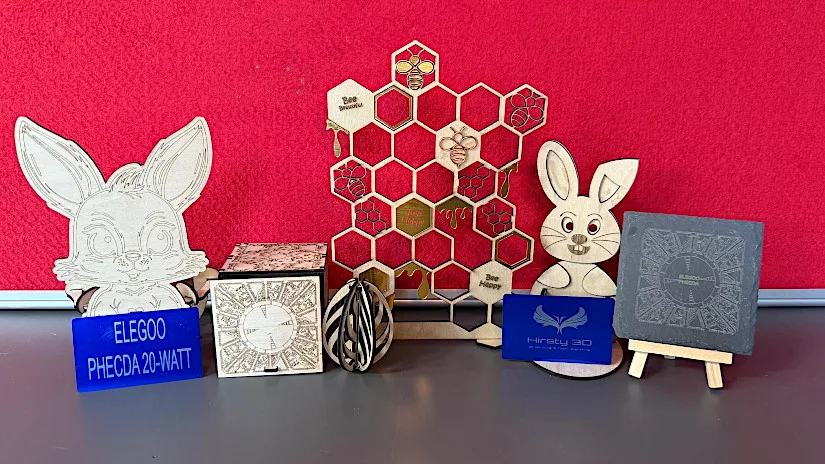
Testing Different Materials
To test and review the Elegoo Phecda 20-Watt, I chose different materials and techniques to showcase its capabilities. I have done some cutting and engraving with wood, engraving on Anodized aluminium, cutting and engraving 3mm Acrylic, and engraving on slate and powered-coated metal. The 20-watt laser unit performed very well. It can cut thick wood and engrave in fine detail, as you hopefully will see in the projects and materials I’ve used.
Anodised Aluminium Cards
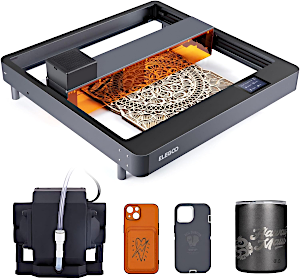
First, I tried some blue anodised aluminium cards, which I engraved with my logo and Elegoo’s. These didn’t take much time, even with some high-detail parts. They were engraved in one pass at a decent speed.
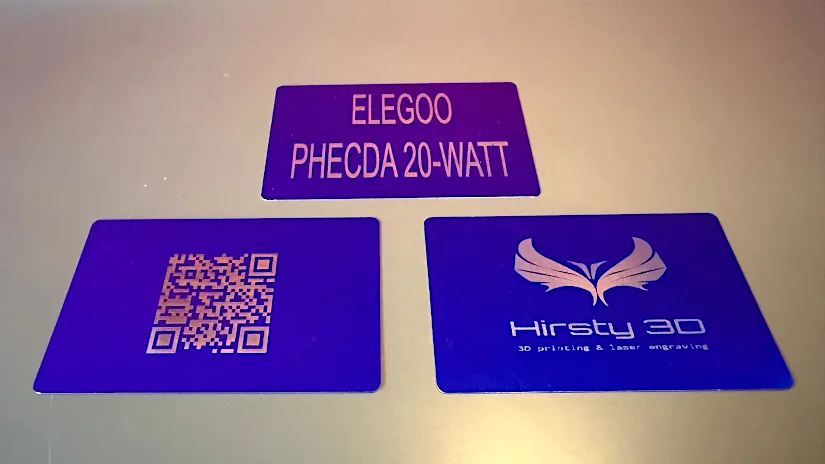
©3DWithUs – Laser Job and Photo: Richard Hirst
Wood Cutting and Engraving
Next, I did some wood cutting and engraving simultaneously, adjusting the power and speeds of the different project sections. The engraving and cutting came out clean with a nice finish, showing the laser has a decent-sized laser dot for a 20-watt unit. The Hellraiser box I cut and engraved, I think, shows the significant details of how fine the laser can engrave and how precise it cuts with the tab joints on all the sides.
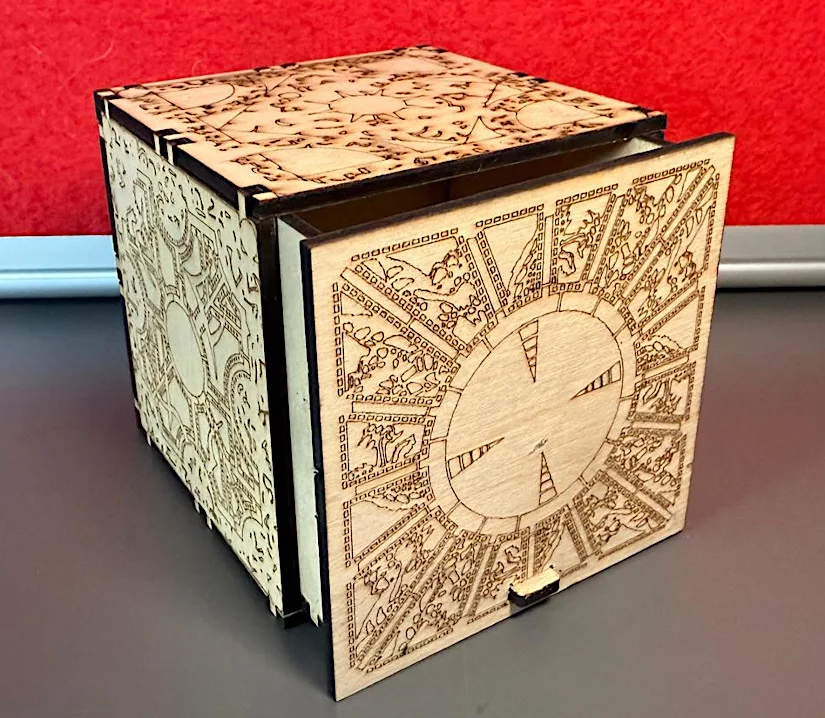
File by Florin on 3axis
©3DWithUs – Laser Job and Photo: Richard Hirst
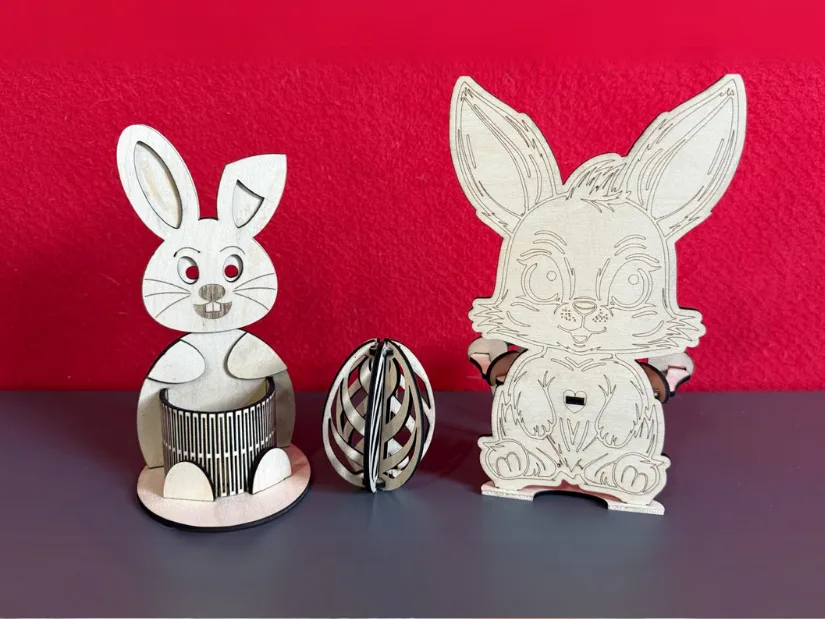
File by Rodney on 3axis
©3DWithUs – Laser Job and Photo: Richard Hirst
Plus, the Easter projects show how clean the cutting detail is with the complex front on the hinged basket. The precision of the Elegoo Phecda’s cutting and engraving capabilities is truly impressive.
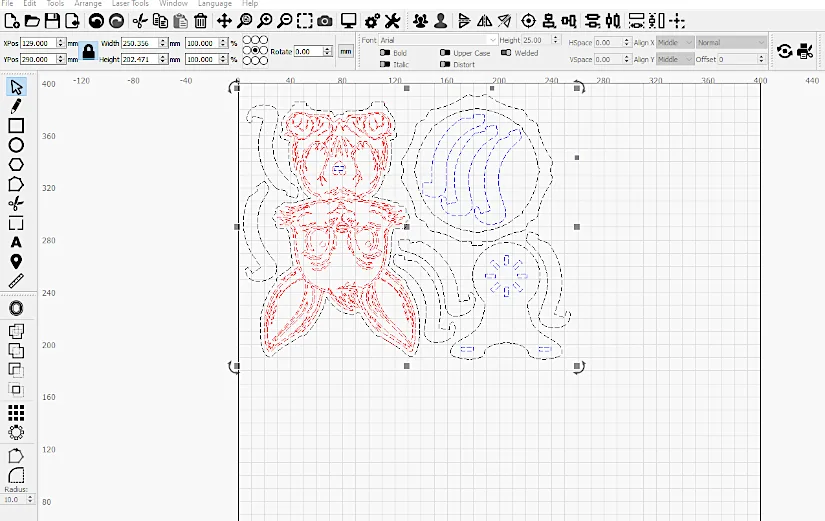
Acrylic
We then tried to see if we could cut and engrave acrylic, which many people ask if a laser can cut. I used a product from Great Carve, which is 1.5mm scratch acrylic with a solid background and a coating that can be engraved to show the background colour. I cut and engraved both in one pass with some excellent results. I was surprised at how clean the cuts were, even on such a detailed design.
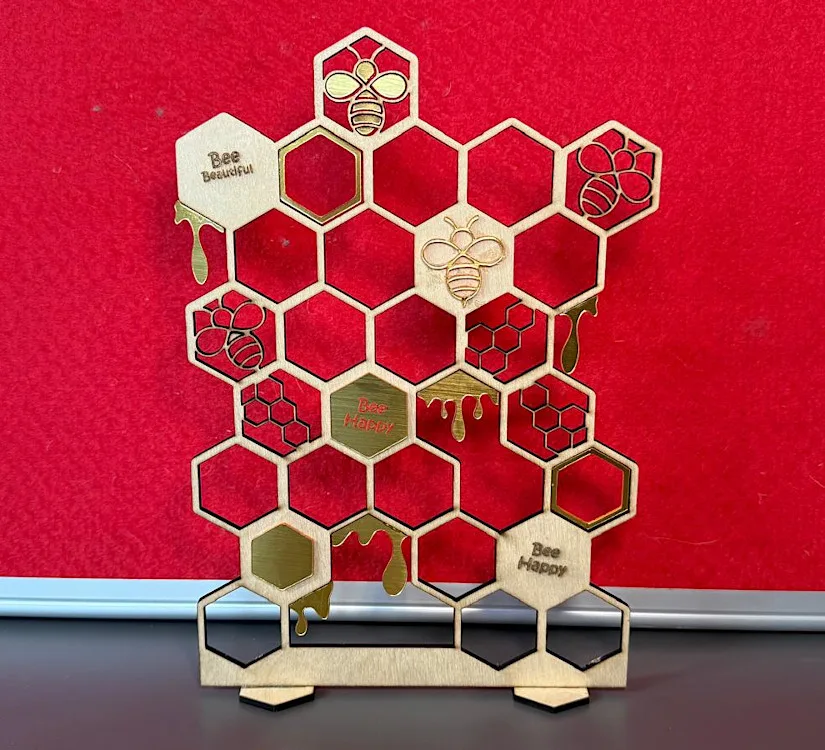
File by Laserliebe by Julia Boch Facebook
©3DWithUs – Laser Job and Photo: Richard Hirst
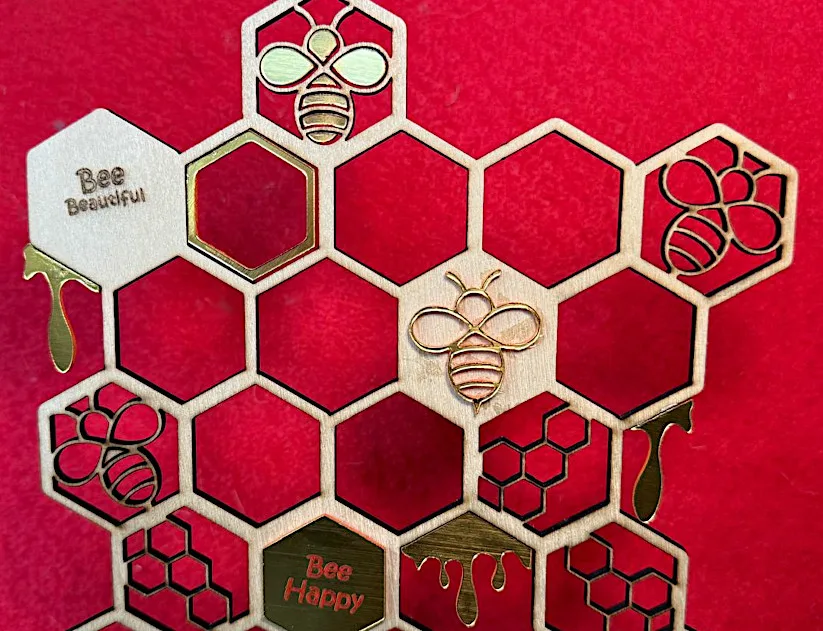
A friend gave me this design. It’s one of her own, but I just had to try it as I liked it. So, incorporating acrylic into the wood design instead of either painting or foiling the pieces made it pop out. Also, using up the cutouts in different sections to fill the bee in or just adding a bit to a couple of the honeycomb edges showed how cleanly the Elegoo Phecda coped with the cutting.
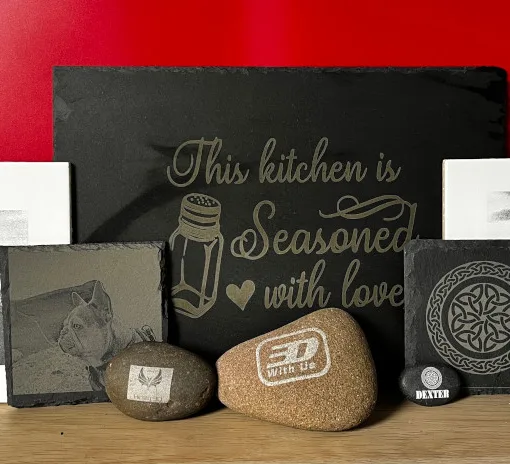
Natural Slate
Then, I used some of my favourite materials: natural slate. These can be bought easily and are not expensive, but they make beautiful gifts or just for your home. These were also done in one pass at the same speed as wood but with higher power.
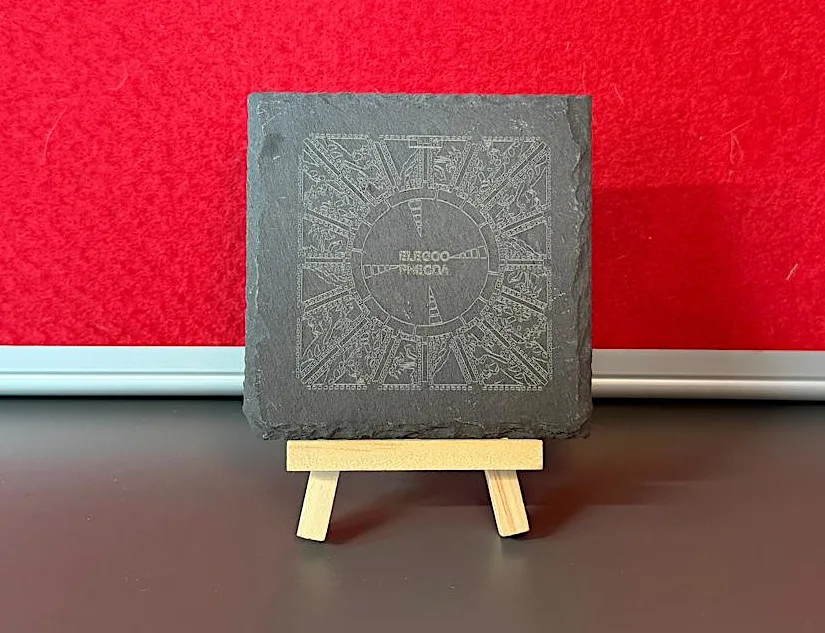
©3DWithUs – Laser Job and Photo: Richard Hirst
I used one of the engravings from the box to show off the incredible detail that can be achieved on the slate, plus adding Elegoo’s name to the centre. It takes very little time for such an effective result to be achieved. The slate took about 1- 1/2 minutes. Read more about Laser Engraving on Stone-like Materials on 3DWithUs.
Rotary Attachment – Powered Coating
Then, we tried the rotation device add-on using an old powered-coated travel mug. The rotation device takes a couple of minutes to install. It’s just a case of removing the y-axis cable from its socket and installing it from the rotation device.
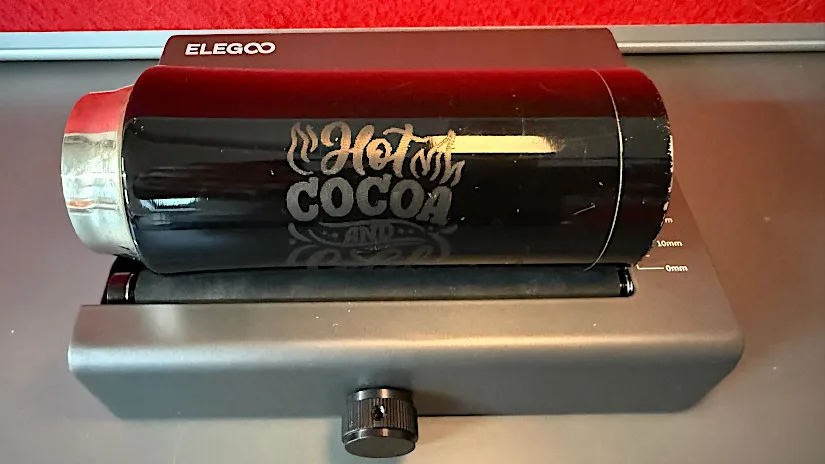
©3DWithUs – Laser Job and Photo: Richard Hirst
The mug was an old one, but it was the only one available at the time. I usually don’t use these types of mugs, and it was my first time trying engraving on thick, powered-coating mugs, not anodised ones. The result still came out nice, even with no testing.
One thing I liked about the Elegoo Phecda was its easy-to-set function on the UI screen to swap between standard engraving and rotation device normally; it can only be done on the laser program, not the UI screen. The rotation device performed nicely and did great on the travel mug.
Compare Elegoo Phecda with Other Laser Engravers and Cutters
On 3DWithUs, we have featured a few laser cutters and engravers that operate with diode lasers. For a comparison please refer to the detailed Best Laser Cutters and Engravers Guide.
On our website, you can compare the prices, capabilities, and functionalities of laser engravers and cutters from brands such as xTool, Snapmaker, LaserPecker, and others. What distinguishes the Elegoo Phecda 20W is its competitive pricing.
©3DWithUs – Laser Job and Photo: Richard Hirst
Conclusion and Pros & Cons
Compare the Prices & Bundles:
Official Store | Amazon
Elegoo Phecda 20W Review
Review Summary
The Elegoo Phecda 20-Watt laser performed exceptionally well on all the materials I used, both engraving and cutting. Especially on the acrylic, cutting it cleanly and with great detail in one pass, which is not easy for a diode laser.
The only problems I found were the belts on the installation setup, which were a bit fiddley to install, and the air assist hose, which I couldn’t use without removing the front UV safety front cover panel and leaving it on the outside and not attached to the cable like in the setup instructions.
As for the build quality, I thought it was sturdy and finished off well. It was sturdy when all together, and the air filtration I liked was that it filtered most of the fumes, which helps both safety and the working environment. The UI screen has a decent array of functions and is easy to use with a few menus.
PROS
Build quality and finish.
Decent UI screen interface
Air filtration + easy-to-install filters
Decent strength laser unit
Gantry UV screen panels
CONS
Air assist hose mounting
The air hose is not flexible enough
Belts are hard to install on setup