3D printing nurtures creativity and curiosity. Some more advanced makers start to find standard printing boring. They look for a challenge and push the boundaries of this technology. They “torture test” their 3D printers to see the maximum capability. New ideas are born. Designing hairy 3D prints is one of such innovative ideas.
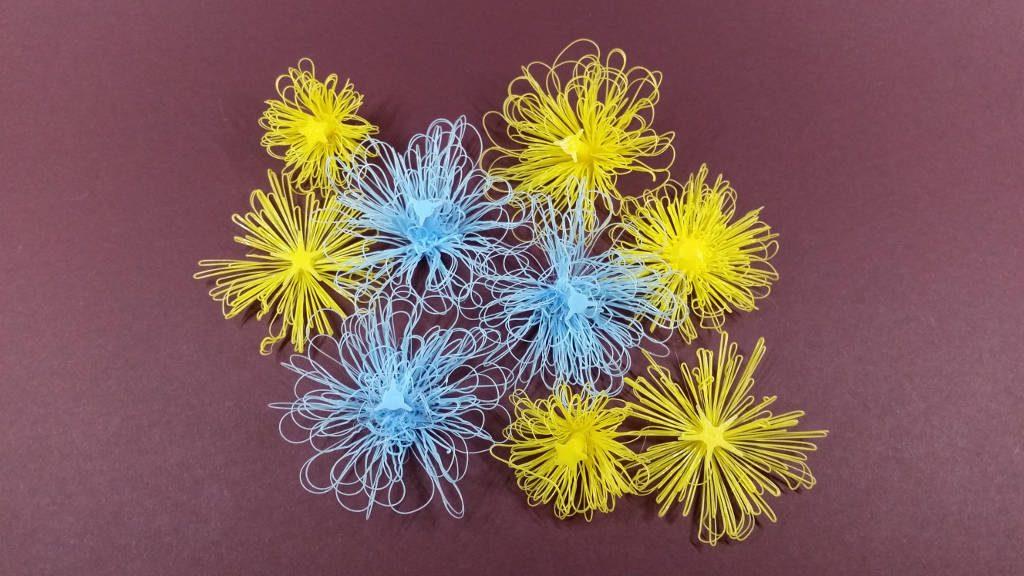
We first learned about this feature thanks to Daniel Norée when he posted his Furry Vase on Twitter. He borrowed an idea from Mark Peeters, the creator of Drooloop Flowers (in the picture above). We have printed a whole bunch of these flowers and yes, indeed, it is a completely new and interesting technique. The idea of hairy 3D prints was immediately picked up by 3D printing enthusiasts who dedicated their time and used their imagination to create many fun hairy objects. Hairy 3D printing technique using bridges were mentioned in 2014.
(Image: 3DWithUs)
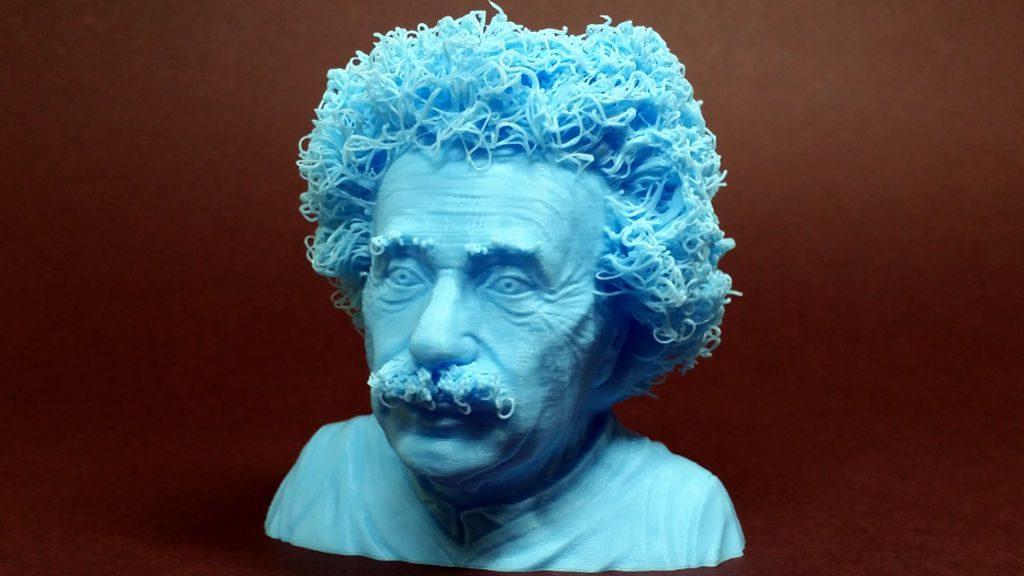
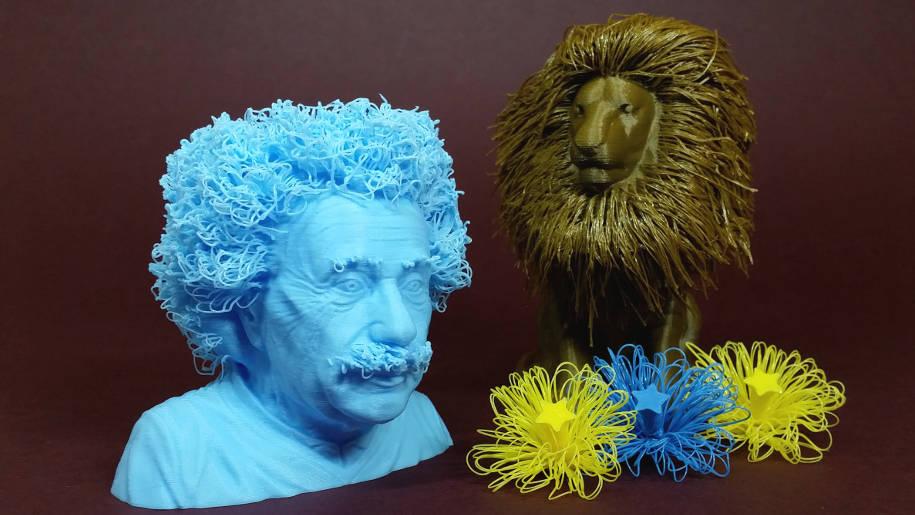
One of our favourite hairy 3D prints is Hairy Einstein designed by Print That Thing. Great physicist Albert Einstein looks very real after Jwall remixed this model. In his YouTube video, Jwall shows how he added hair to the original design by freeform3d and what software he used. It took us a while before we became brave enough to print it as this model looks quite weird in the slicer software. There are a lot of bridging without attachment points. This in practice produces curls. “I have no special talents. I am only passionately curious.” (Albert Einstein 1879-1955)
Hairy Lion, by Primoz Cepin, is one of the hairy 3D prints that became a huge hit before the Einstein model was created. It had a massive success in 3D printing community, similar to Baby Groot and Pangalion. We could not resist and tried to print it. We must admit that getting the settings right was not easy and we would not recommend this print to beginners.
You have to know your slicer software well, also reading designer’s instructions carefully can provide some clues. It is very likely that an object is impossible to scale as then the hair may come out detached. Also, as we show in our video below, we encountered a problem with the shell.
HATCHBOX Brown ABS Filament on Amazon (affiliate link)
Because it is very thin, it can easily come off the bed during the printing process. We were close to “killing the print” and starting all over again. Later we learned that adding a brim helps in this situation. This Hairy Lion became very popular at my wife’s office. Everyone hinted that it looked like Aslan from The Chronicles of Narnia.
Hairy 3D Prints Tips and Tricks
– First of all – read designer’s instruction very carefully, go through their recommendation.
– Model scaling should be done with extra caution as it might lead to baldness and other fails.
– Consider adding a brim in a slicer software if using thin wall shell.
– Learn how to put settings right in your slicer software, optimise it for bridging in some cases.
– Use the filament with good bridging properties. ABS is the best, but PLA also works well.
– Switch off the cooling fan in other cases.
SUNLU Rainbow Silk PLA Filament on Amazon (affiliate link)
STL files:
Drooloop Flowers:
Thingiverse
The Furry Vase:
Thingiverse
Hairy Einstein:
Cults
Hairy Lion:
Thingiverse
(Image: 3DWithUs)




I think this could lend itself well to a fuzzy Wookie or Sasquatch. Thanks for the tutorial.