Snapmaker is one of the first of its kind module 3-in-1 desktop machines that can be turned into either a 3D printer, CNC carver or laser engraver/cutter in minutes. We were a bit sceptical in the beginning, wondering if such transformers were able to perform all these tasks up to a high standard. However, once we saw a cute little Snapmaker at the TCT Show Birmingham, we fell for its charm, and we just had to test it out. Here is what we found after a few weeks of use.
Snapmaker Original Specifications:
3D Printing Module
Laser Engraving Module
CNC Module
Comparison
Conclusion and Pros & Cons
Product Affiliate links:
Amazon
AliExpress
Official Website
(-20% for Students and Educators)
Just before unboxing and reviewing each module separately, we would like to mention that this particular machine, and its next-generation model Snapmaker 2, managed together to generate a whopping $10 mil on the Kickstarter crowdfunding platform, $2 mln and $8 mln respectively. The latter became the most funded 3D printer in history.
(Image: 3DWithUs)
Snapmaker Unboxing & Assembly
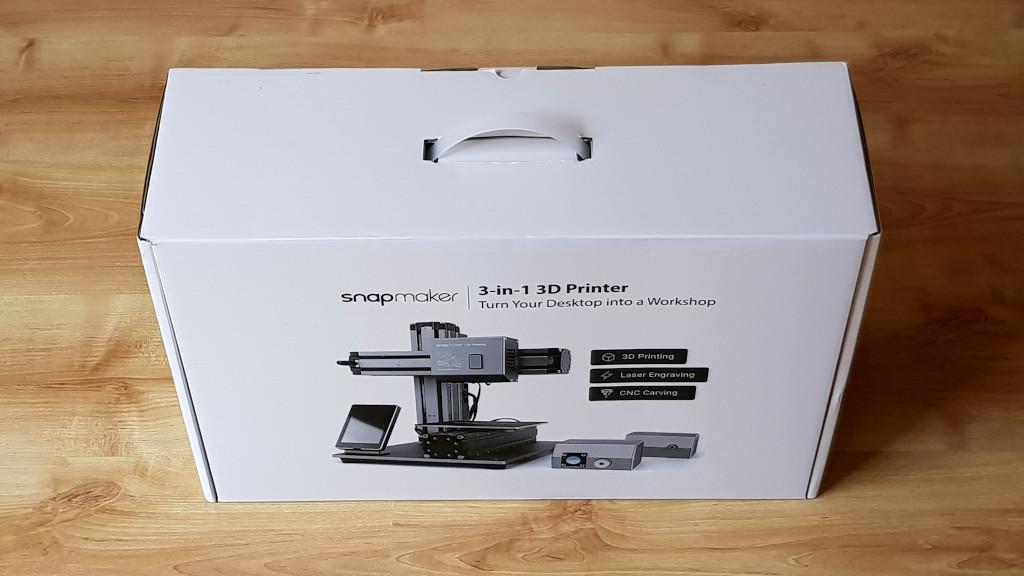
– Packaging. Imagine a new 17 inch laptop box. And now double it in width. This was our first impression, as the box has all markings as a branded laptop has. All items inside had their own compartments to eliminate any shipment-related damage to the parts.
– Assembly. The assembly was as easy as advertised. The instructions were clear. It took us less than 15 min to complete the assembly. All tools were provided. In fact, the ball driver screw driver is a very nice tool I keep using it in various DIY projects.
(Image: 3DWithUs)
Snapmaker Original Size & Weight
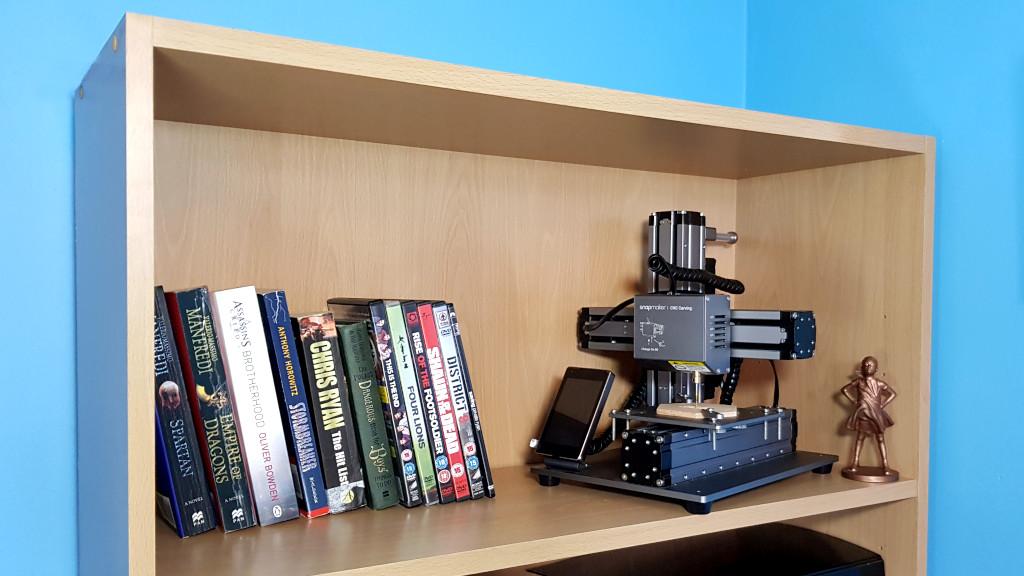
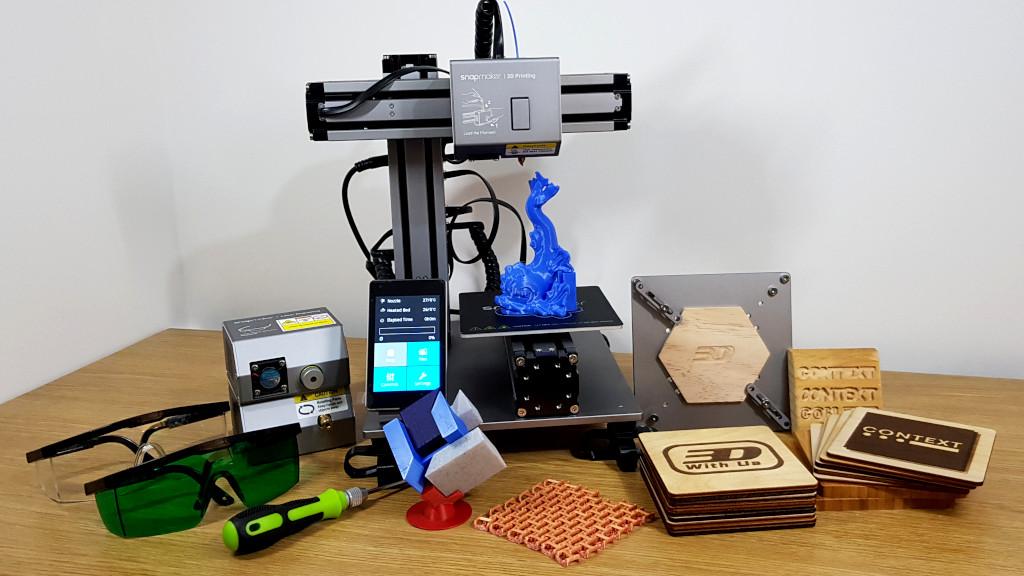
– Size. We would say this is one of the biggest traits of this 3D printer/CNC machine. It can be kept on a bookshelf. Please see the picture above.
– Weight. Small size doesn’t mean light in weight. This cute robot weighs 4.5 kg, and it is sturdy with all parts in metal to make sure it is fit for the purpose.
– Height – 289 mm (11.4”)
– Width – 272 mm (10.7”)
– Depth – 335 mm (13.2”)
– Weight – 4.5 kg
Touchscreen and Wi-Fi
– Touchscreen. The touchscreen has a comprehensive interface, easy to use. Another great feature is that it can be detached from the machine. This is handy when changing the build plate or the billet.
– Wi-Fi. It is possible to connect the machine with the laptop using the cable provided or the Wi-Fi. Even though Snapmaker Luban software has a Wi-Fi connection option, this feature does not apply to this particular machine. (It is still possible to connect with Octoprint and Raspberry Pi.) We haven’t tried these features and used the USB stick.
Noise – How to Eliminate. Noise Dampers and Enclosure
– Noise. It is a heavy machine with the aesthetically-looking base feet. However, even when made of hard rubber, these transmit vibration to the table and therefore the machine makes noise.
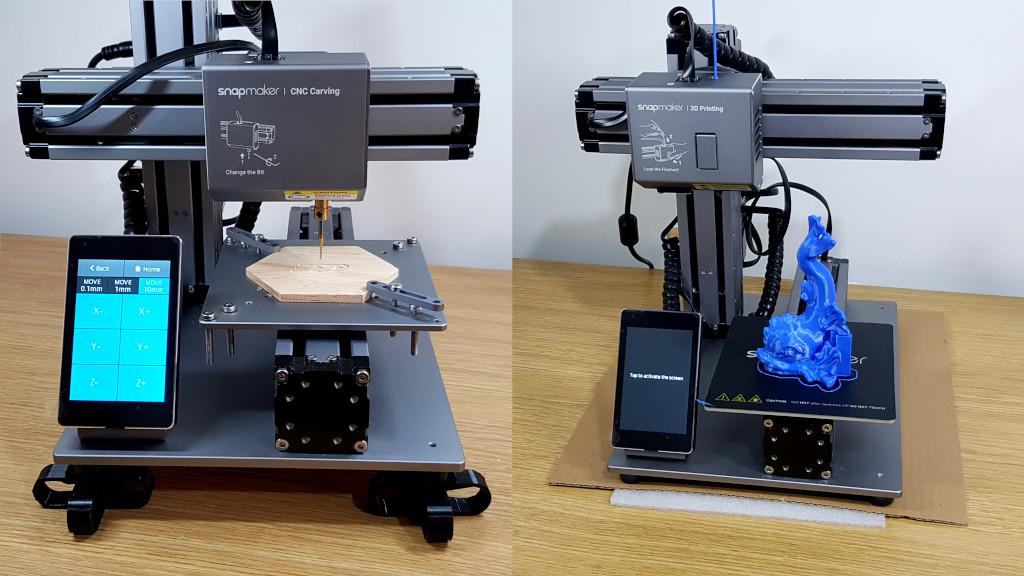
3D printing and laser engraving are the quietest operations. In order not to disturb our neighbours, we temporarily placed it on soft packaging material. Please see the picture below. We couldn’t believe it but this simple trick eliminated the noise significantly. 3D printed noise dampers also work well.
(Image: 3DWithUs)
The noise during the CNC process is a completely different matter. This little robot is feisty, and we tried every possible place where to put it to reduce the noise.
– Enclosure. An extra step would be to buy an enclosure. It may help to stop the wood dust spreading during the CNC process, and may even possibly reduce the noise. However, we found that both were manageable, depending on the location of the machine. It would help to place it somewhere in a separate room with all doors closed. Just make sure that there are not many other items in the proximity which would make the vacuuming harder upon the finish.
Snapmaker 3D Printing Module
– Volume. The size of the machine restricts the print volume. This build volume will be enough to 3D print Lego-like parts, figurines and different sorts of puzzle pieces. However, there is an extension that you can buy to increase the height, so you could print the taller objects.
We were interested to see how Snapmaker’s 3D printing module would cope with the bridging. The fan’s position may’ve undermined the cooling and thus affecting the printed parts. It completed the chain mail (3D Printed Fabric) quite well. This model, found in a case library (Luban Software), is a real torture test for the machine as it has many little parts, and printing involved a lot of retraction. It is recommended to tick the Z-Hop setting in Luban slicer.
– Heated Bed: Yes, up to 80°C
– 3D Printing Volume: 125x125x125mm (4.9”x4.9”x4.9”)
– Nozzle: 0.4 mm
– Max Temp: 250°C
– Material. We would not recommend to experiment with exotic materials but to stick to PLA only, unless you have enough of nozzle replacement parts. (1 extra was included in the package). During our initial test, we encountered a problem which was filament related. The nozzle got blocked twice when we were printing in marble filament. We cannot say if it was down to the sparkly particles or the inconsistent flow, or just the filament quality generally. We would refer to the marble filament as the experimental one, due to the added particles. In any case, after we changed back to the trusted spool of PLA filament, our task was completed successfully.
(Screenshot: Luban)
Snapmaker Luban Software
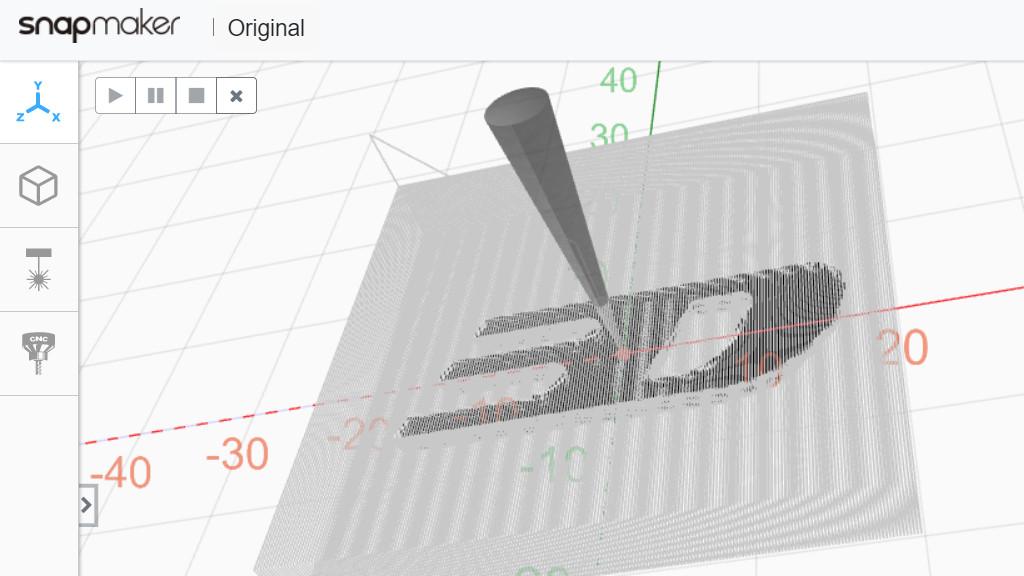
Snapmaker Luban 3-in-1 software is updated regularly. After using it for a while, we got used to its interface. We had to use Simplify3D for the customized supports though, in order to reduce the filament usage and post processing. But for the Laser Engraving and CNC we entirely trusted the original Snapmaker software.
Snapmaker Laser Engraver Module Review
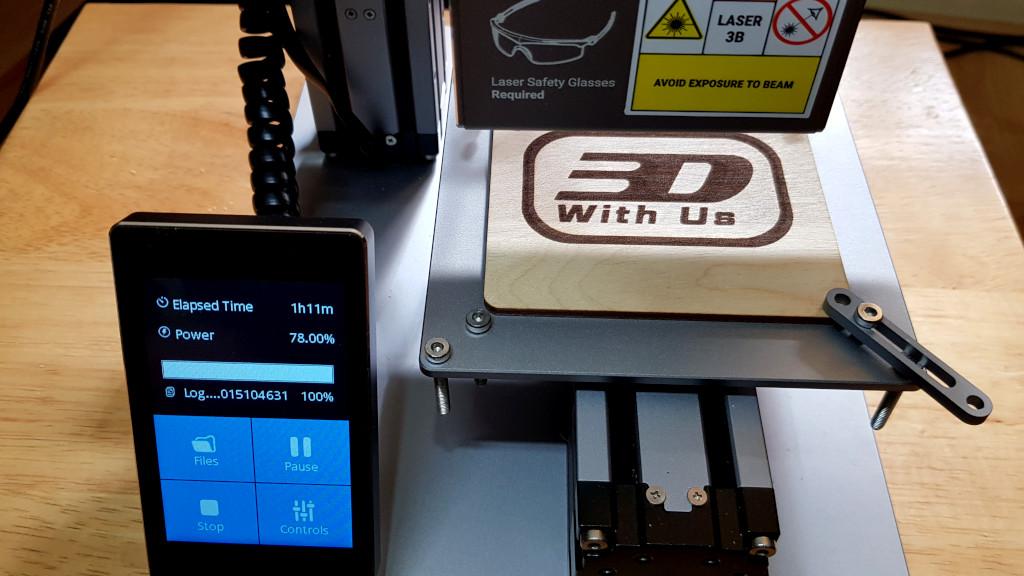
– Safety. Goggles were provided. An extra enclosure can be bought for extra safety. We found this module was the easiest to work with and it provided great results.
(Image: 3DWithUs)
– Coasters. We bought plenty of pre-treated wooden coasters on Amazon (affiliate link). Happy with achieved results. Even a real man’s monochrome photo came out well. Unfortunately, we cannot display it for privacy reasons. Fixing the billet in the right place on the build plate, making sure that it is positioned straight and is centred properly, is not hard but may feel time consuming.
– Engraving Area: 125x125mm (4.9”x4.9”)
– Laser Power: 200 mW
– Material. So far we played with pre-treated birch and bamboo coasters. The official list of supported materials: wood, bamboo, leather, paper, non-transparent acrylic, fabric, plastic, etc. It won’t work with reflective materials.
Read more for comparison: 10W High Power Module Review for Snapmaker 2.0
Snapmaker CNC Module Review
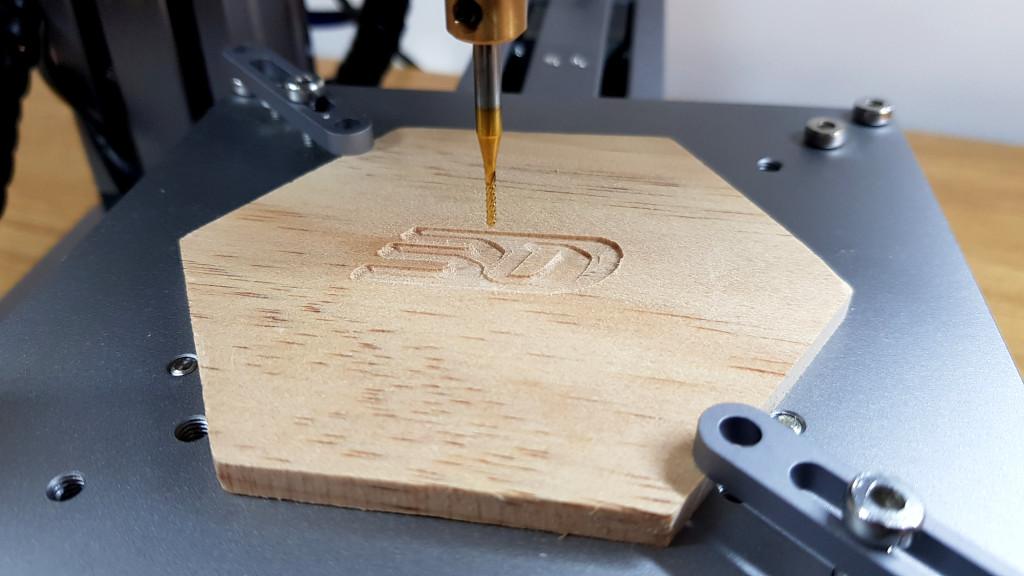
– Safety. The goggles are provided in the package, special for CNC.
(Image: 3DWithUs)
– Noise. In the home environment, CNC looks like the most challenging task. There are a few aspects here. First, the noise. This little machine produces a lot of noise during the CNC process. We had to make sure that it is placed so that the neighbours were not disturbed.
– Dust. Another thing to think about is the wood residue in the form of dust that has to be contained and vacuumed swiftly afterwards.
Disclaimer: This was our first introduction to CNC.
Depending on the project, it could be easier or harder to achieve a good result. Letters may be trickier and may take a few attempts to adjust the model design for this particular process. Larger letters will be easier to cut out. To master CNC, it is better to learn how to get the files ready. Please mind the background of the image. Even if it is transparent, or white, the slicer may still understand it as a part of the whole object, and it will set to carve the extra space around the image. A design (in our case, a logo) that worked straightforwardly for laser engraving had to be redesigned for CNC.
– Material. And again, Amazon supplied us with the good quality pre-treated bamboo and wooden billets (affiliate link). The official list of supported materials: wood, acrylic, PBC, carbon fiber sheet jade, etc. It won’t work with metal or glass materials.
– Work Area: 90x90x50mm (3.5”x3.5”x2.0”)
– Spindle Speed: 19,000 RPM
Snapmaker Original Review Conclusion
After have been using it for a while we can see why this machine attracted such a powerful back-up. Looks like Snapmaker Original was so good that it kickstarted its brother to the historical top. To find other 3D printing-related campaigns, please check our table.
Links & Files:
We would recommend visiting the community groups around this brand. You could explore the most recent awesome examples of work created and posted by 3D printer users.
Community group
on Facebook.
Community forum
in Snapmaker showcase forum thread.
Snapmaker
Official Website.
(Image: 3DWithUs)
Read More: Snapmaker 2.0 A350T Review
Snapmaker 2.0 A350T is the latest and largest volume machine from the Snapmaker team. Let’s test the whole 3-in-1 combination: a 3D printer, a laser cutter and engraver and a CNC machine…
Read More & Compare
Read More & Compare
For a comparison with other FDM 3D printers please refer to the
detailed budget FDM 3D printers guide.
For a comparison with other laser cutters and engravers please refer to the
detailed budget laser cutter and engravers guide.
Conclusion and Pros & Cons

Amazon
AliExpress
Official Website
(-20% for Students and Educators)
Snapmaker Original Review
Review Summary
After having been using it for a while we can see why this machine attracted such a powerful backup and propelled its bigger brother to the historical top. If to look at the machine modules separately, then these may be weaker than their counterparts. This machine is strong as it is a comfortable 3-in-1 combination. Overall, the entry and educational experience is unbeatable.
PROS
– Solid, stable, quality in mind, all-metal parts machine
– Small and compact, can be held on a bookshelf
– Accessories & replacement parts – a great range and availability
CONS
– 3D printing, CNC, engraving – small size/volume.
– Limited 3D printing material choice
– CNC may be too noisy




Laser cutters are usually faster. Laser cutters tend to deliver finished products faster than 3D printers.