The Kobra S1 Combo is Anycubic’s first CoreXY 3D printer, marking an exciting milestone for the company. Delivering efficiency without compromising quality, the Kobra S1 boasts a top printing speed of 600 mm/s. Equipped with a high-temperature hotend capable of reaching 320°C, it supports a wide range of filaments, including advanced materials. With its advanced auto-calibration and AI-based features, it is made to recognize printing problems and halt the process automatically to save time and minimize material loss. The ACE Pro 4-color unit powers the multicolor printing capability, allowing for vivid, detailed prints in up to four colours. By adding a second unit and an 8-color hub, the system may be expanded to 8 colours. In this review, we’ll explore the features and ACE Pro capabilities of the Kobra S1 Combo and assess the print quality. As usual, we’ll wrap up with final thoughts and a list of pros and cons.
Table Of Contents (Jump to a Section)
- Specifications
- Unboxing – What’s Included
- Setup and Design
- Software
- Testing and Results
- RFID Materials
- Compare to Other 3D Printers
- Conclusion and Pros & Cons
Where to Buy the Kobra S1 Combo
Price: From $549 – $749

Compare the Prices & Bundles:
Official Website | Amazon
Kobra S1 Combo Specifications
• Printing technology: FDM (Fused Deposition Modeling)
• Print volume: 250 x 250 x 250 mm (9.84 × 9.84 × 9.84 inches)
• Maximum nozzle temperature: 320°C (608°F)
• Maximum bed temperature: 120°C (248°F)
• Printing speed: Up to 600 mm/s, standard 300 mm/s
• Extruder type: Direct drive
• Nozzle diameter: Standard 0.4 mm
• Filament diameter: 1.75 mm
• Construction: CoreXY
• Z-axis configuration: Single motor with guide rails
• Bed leveling: Automatic print bed leveling
• Heating bed: Dual-sided PEI magnetic printing bed, flexible
• Operation: 4.3-inch touchscreen, color
• Connectivity: USB, WLAN
• Anycubic Color Engine: ACE Pro 4-color and 8-color
What’s in the Box
Kobra S1 • Ace pro 4 color unit • 2x Power cables • Ace pro connection cable • 4 color hub • Carbon filter pouch • Spool holder • x4 Bowden tubes for Ace • DIY Speaker kit • Assembly screws • Allen wrenches • User manual • Quick start guide

©3DWithUs – Photo: Will Zoobkoff
Setup and Design
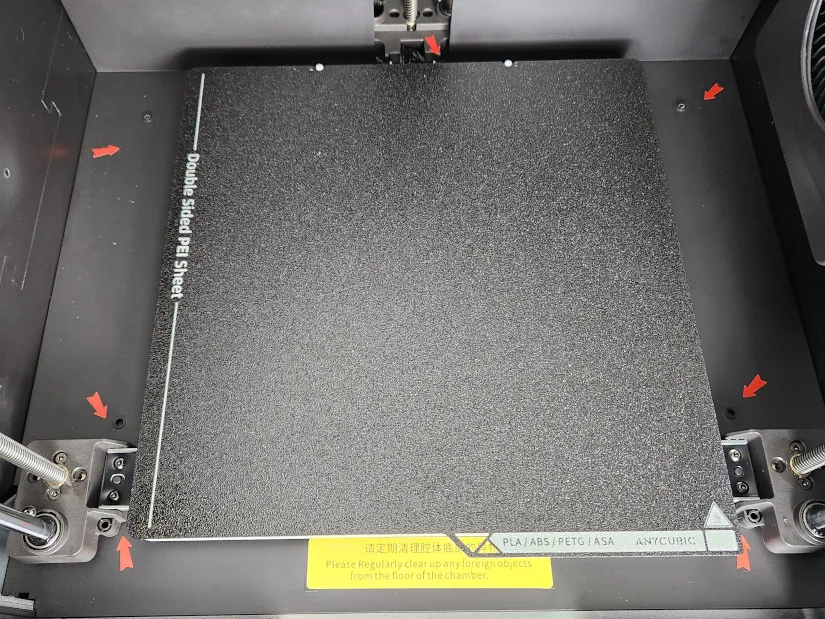
The setup time for the Anycubic Kobra S1 is just 15 minutes. The assembly time is relatively minimal. Remove the printer from the box, remove the top and the packaging materials. The Ace Pro kit will slide through the top. Remove the four screws that connect the shipping bracket to the print plate. Take the three screws which hold the print platform on the bottom and allow it to move freely.
©3DWithUs – Photo: Will Zoobkoff
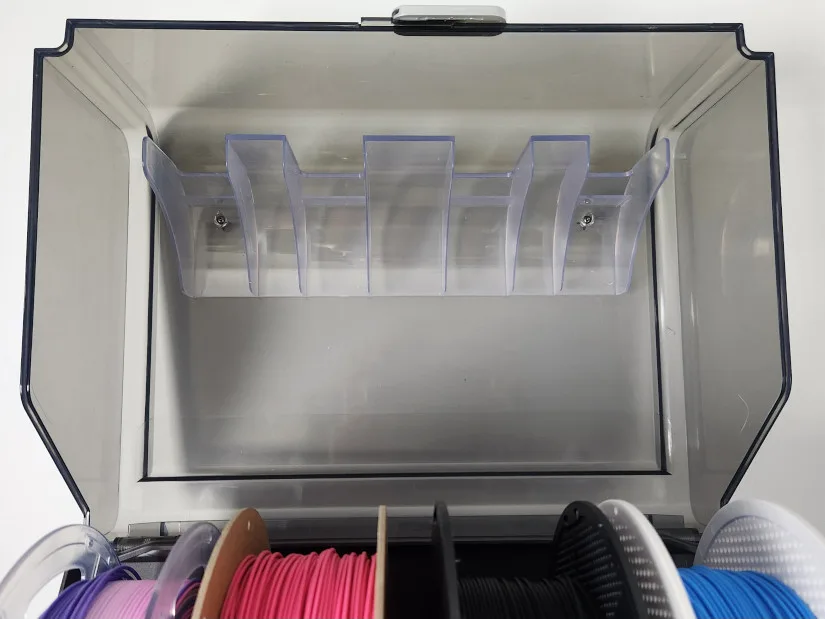
Attach the filament spool holder and the 4-color filament hub using the supplied screws. Insert the carbon filter pouch into the compartment at the back of the machine near the enclosure fan and replace the cover.
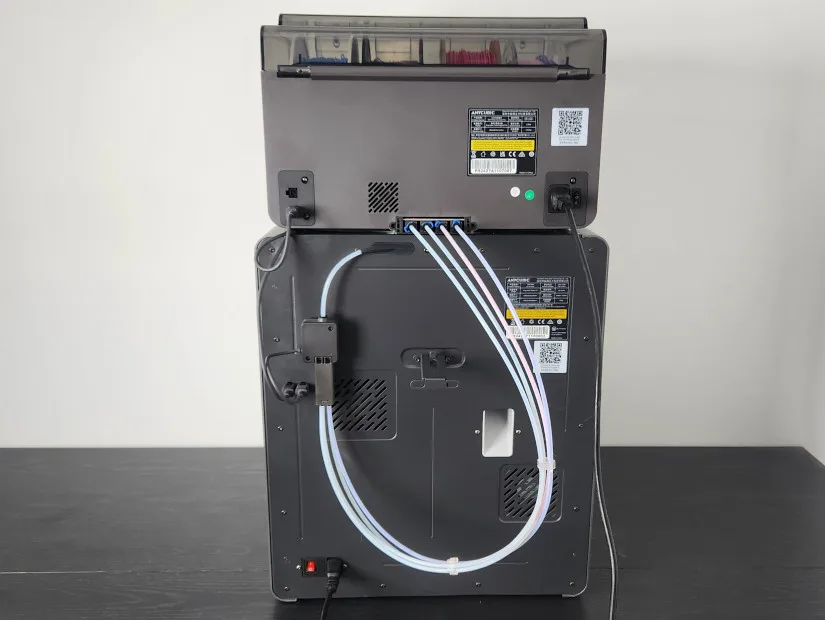
Connect the four Bowden tubes to the back of the Ace Pro unit by removing the blue locking clips, inserting the tubes, and replacing the clips. Attach the other ends of the tubes to the filament hub on the rear of the Kobra S1.
Finally, connect the data and power cables to the Ace Pro and the printer, insert the USB drive, and power on both devices. The setup process will guide you through calibration. Once complete, load the filament into the Ace Pro, or if using TPU, place the TPU spool on the rear filament rack, remove the Bowden tube from the print head and filament hub, and feed the filament manually.
©3DWithUs – Photo: Will Zoobkoff
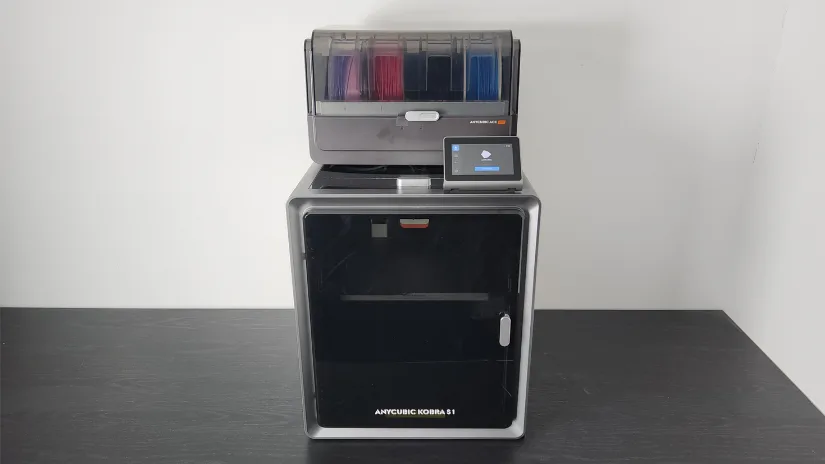
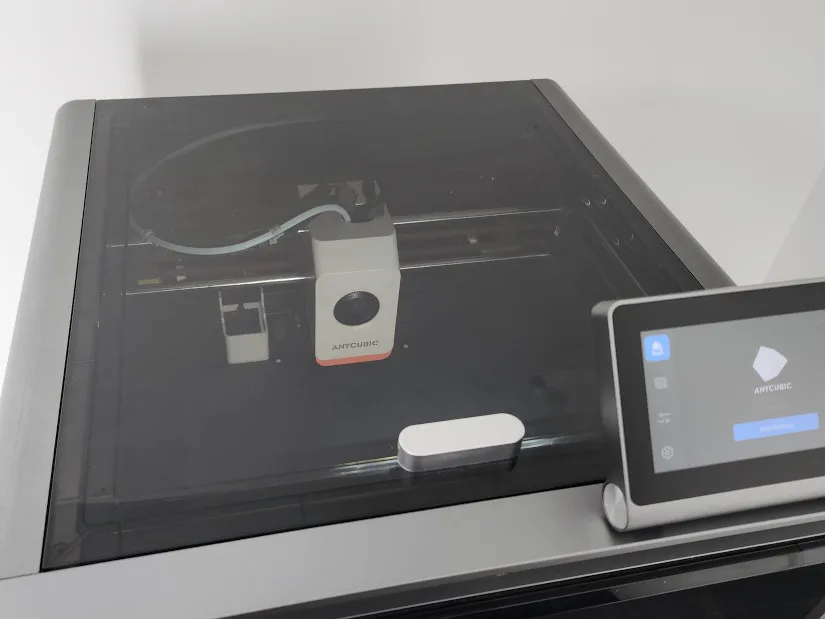
– Design and Features. The Kobra S1 has a fully enclosed design featuring an acrylic removable top cover and a front door. The back of the machine houses the spool holder and the filament hub for the ACE (Anycubic Color Engine) Pro color change unit, as well as the power cord plug and power switch. On the right front side of the top panel, there’s a USB port and a tiltable touchscreen interface. The Ace Pro can be placed on top of the printer or beside it, offering flexibility based on your available desk space.
©3DWithUs – Photo: Will Zoobkoff
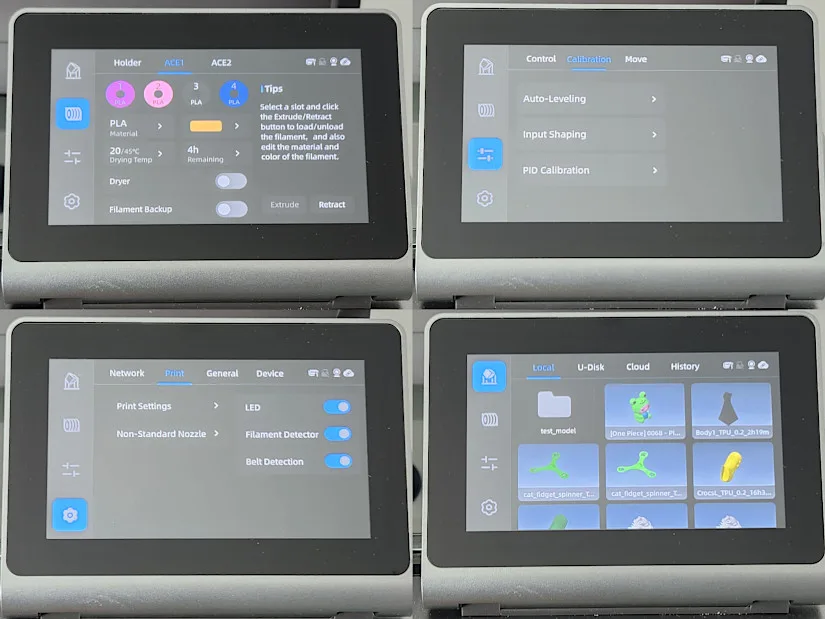
– Screen. The user interface is bright, clear, and easy to navigate, providing all the controls you need for calibration, starting and monitoring print jobs, and managing the ACE Pro filament dryer options.
©3DWithUs – Photo: Will Zoobkoff
Both the Kobra S1 and ACE Pro share a gray color scheme, with the Kobra S1’s metallic finish adding a premium touch. The tinted acrylic door and top cover not only make monitoring prints easy but also add a stylish flair.
©3DWithUs – Photo: Will Zoobkoff
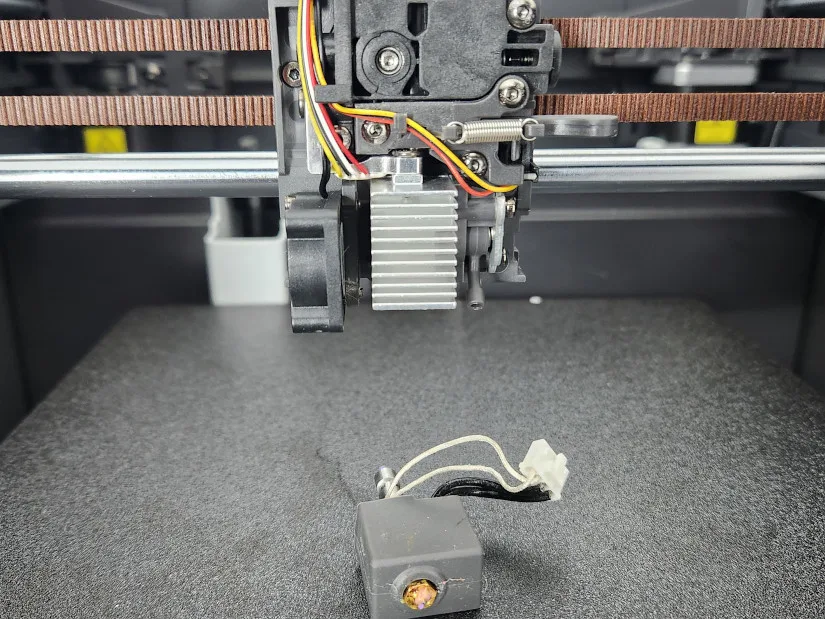
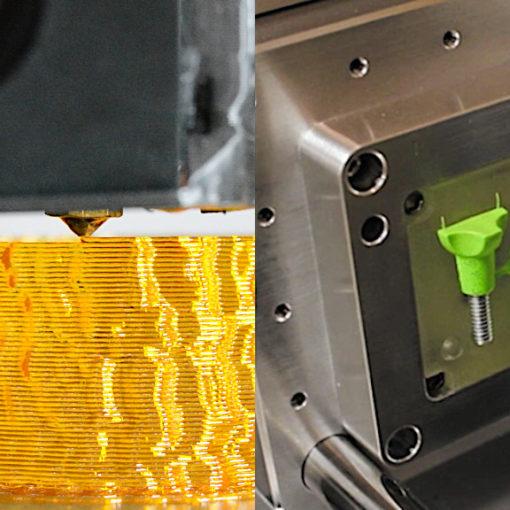
– Improved Hotend and Nozzle System. The hotend has been upgraded with a new quick-release nozzle system, allowing nozzle changes with a simple flick of a lever beside the hotend. To replace the nozzle, unplug the thermistor and heater wires from the rear of the hotend assembly before removing it. This system makes switching nozzle sizes and types fast and efficient.

©3DWithUs – Photo: Will Zoobkoff
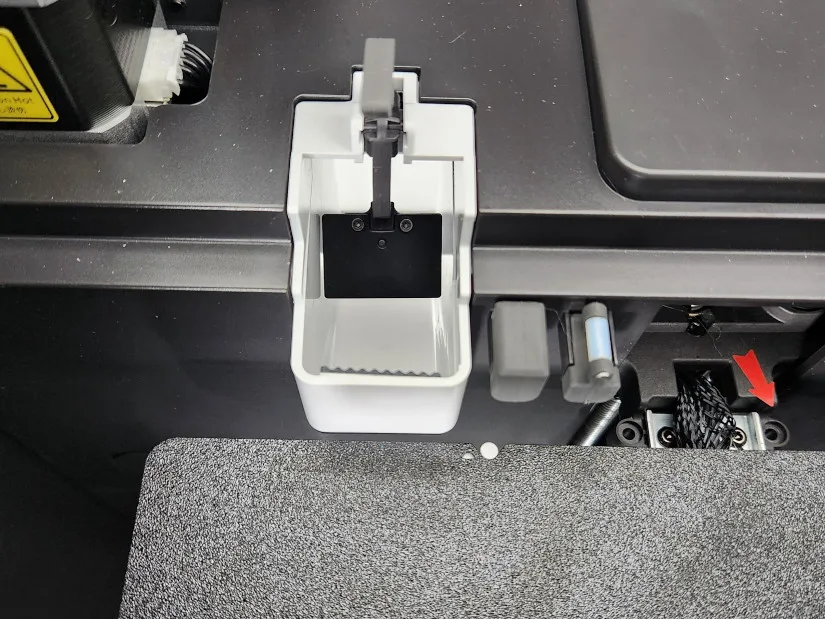
– Ejection Chute. Additionally, the printer includes an ejection chute at the rear for material disposal during color changes. A silicone pad and wiper are positioned next to the chute to clean the nozzle after a color change, reducing the risk of blobs or excess material affecting your prints.
– AI Detection and Auto Calibration. With its advanced auto-calibration and AI-based features, the “spaghetti detector” recognizes printing problems and automatically halts the process to save time and minimize material loss. This feature is quite helpful. It saved the filament and allowed the printing to continue after the pause.
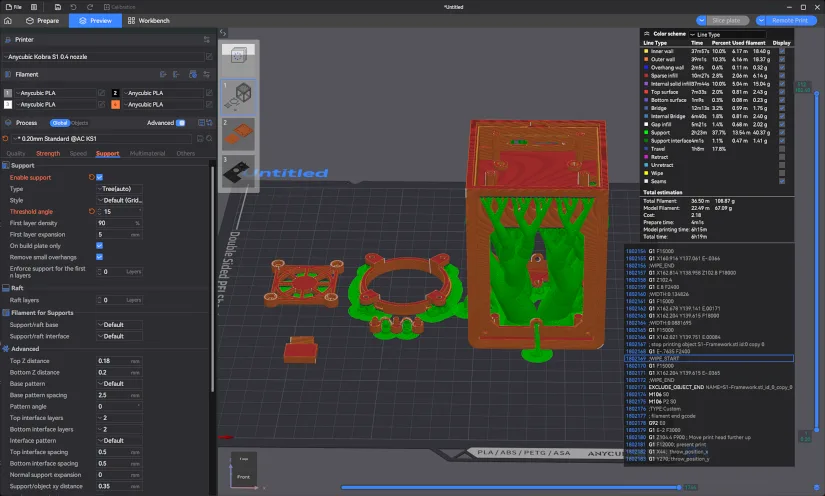
Software – Anycubic Slicer Next
The Kobra S1 utilizes the new Anycubic Slicer Next, which is based on Orca Slicer. This slicer allows you to load multicolor 3MF files or manually paint your models.
It includes all the latest features from Orca Slicer, such as the new interlocking bar option for multicolor printing. This feature prints an interlocking pattern between colors to ensure they are securely joined. However, it significantly increases filament usage, so it’s something to consider when using this option.
– AI Camera. The slicer also enables you to upload sliced files and monitor your prints. Before starting a print, you can choose from various options, including auto-leveling, input shaping, AI camera monitoring, timelapse creation, and the new flow calibration feature.
For those familiar with Orca Slicer, transitioning to Anycubic Slicer Next will be straightforward. Additionally, support for the Kobra S1 is expected to be added to Orca Slicer in the near future.
Test Printing Settings and Results
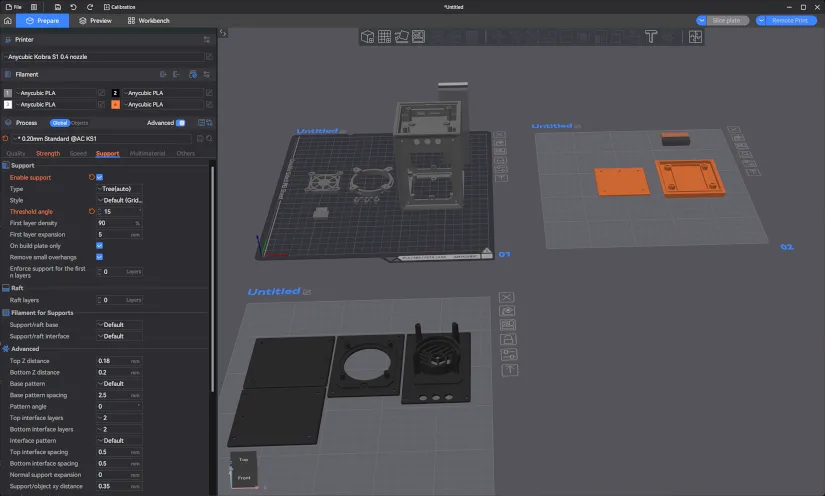
For all our test prints, we used the default profile included with the slicer. The only adjustments made were increasing the wall count to 3 and setting the infill to a 10% grid. Additionally, we enabled the scarf seam and the Arcane Wall Generator. The stock purge and purge tower settings remained unchanged throughout the tests.
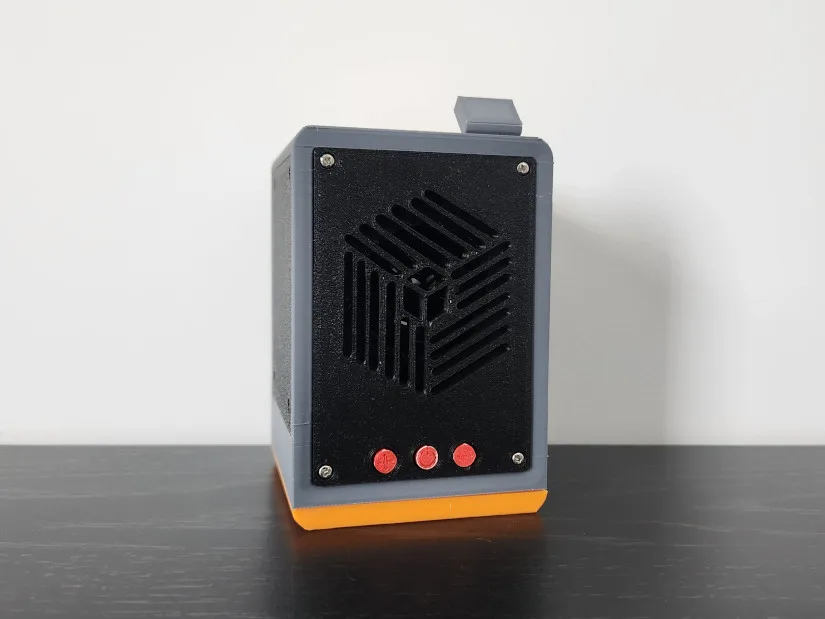
– Kobra S1 Speaker Kit. The first print in our testing was the portable Speaker Kit included with the Kobra S1. The files for this model are available on Makeronline. This project is broken into several pieces, grouped for convenience when loaded into the Anycubic Slicer Next. The main frame of the speaker required supports, and we found that organic tree supports worked exceptionally well – they were effective and easy to remove.
3D Model on Makeronline
©3DWithUs – Print and Photo: Will Zoobkoff
For the print, we used Sunlu Grey PLA, Insologic Black PLA+, and Anycubic Orange PLA from Amazon. The entire model took 9 hours and 20 minutes to complete. Once the supports were removed, all the parts fit together snugly, and the control board and speaker fit perfectly into their designated spaces.
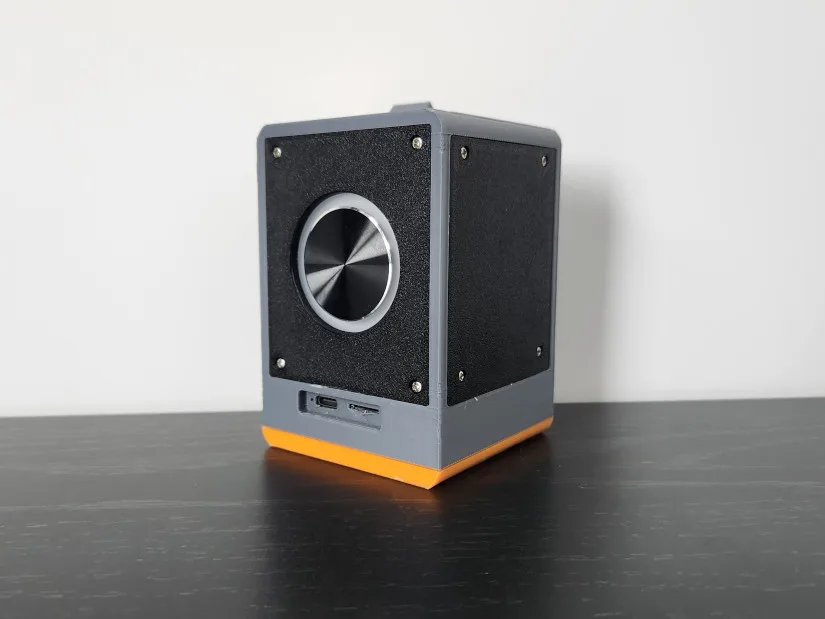
The print came out fantastic, with no issues in the overhangs or supported areas. Including projects like this with the printer is a great idea, as it provides an out-of-the-box project to showcase the capabilities of a new 3D printer.
– Kuchisake Mask. The next print in our testing was an extremely long print, the Kuchisake Mask, from one of our favorite artists, Pipe Cox.
3D Model by Pipe Cox on Patreon
©3DWithUs – Print and Photo: Will Zoobkoff

For this print, we used Sunlu White PLA from Amazon, Insologic Black PLA+, and Bambu Labs Blue PLA. Both the top and bottom parts of the mask fit on the print bed simultaneously, which saved some time, but the print still took just over 73 hours to complete.

©3DWithUs – Print and Photo: Will Zoobkoff
The final result was outstanding, with clean overhangs and supported areas. The combination of colors truly makes this mask stand out. However, the 73-hour print time could be significantly reduced if Anycubic optimizes the time between color changes, which currently takes about 2 minutes per change. Hopefully, a future update can address this. We also printed the same mask in single color, which only took 9 hours to complete.
– Tengu Wall Mask. For the next print in our testing, we selected another piece by Pipe Cox: the Tengu Wall Mask. This smaller print took just over 29 hours to complete, using Sunlu Red High-Speed PLA, Sunlu Blue PLA from Amazon, and Insologic Black PLA+.

3D Model by Pipe Cox on Thangs
©3DWithUs – Print and Photo: Will Zoobkoff

As with the previous prints, the Tengu mask turned out fantastic, with the contrast of colors working beautifully for this model. During the print, the AI detection triggered two false “spaghetti” detections, which paused the print. Upon inspection, no issues were found, and we were able to resume the print without any negative effects from the pauses. The most recent firmware update seems to have helped reduce the false positive detection.
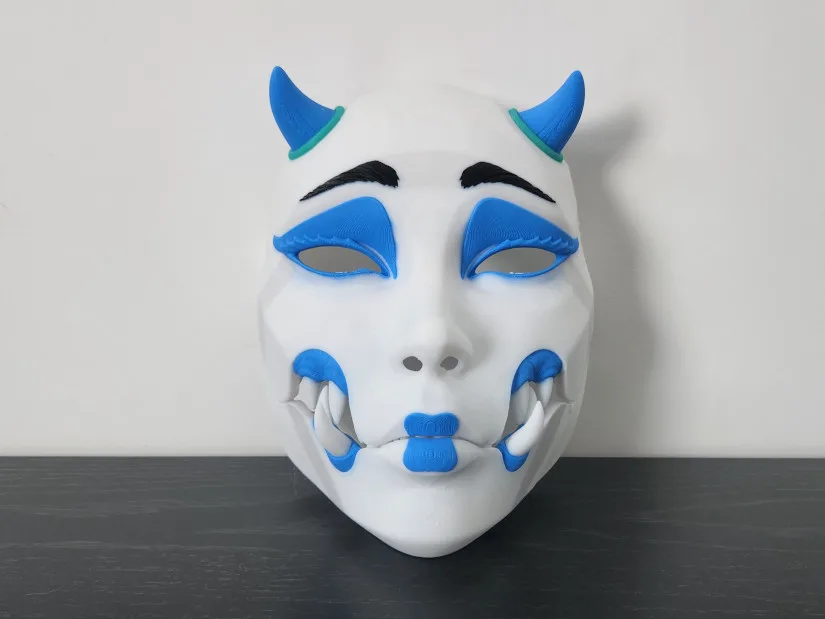
– Kuchisake Wall mask For the final print in our testing, we selected the Kuchisake Wall Mask, a smaller version of the mask we had printed earlier. This piece is a great example of how multicolor printing can enhance the visual appeal of a model. For this print, we used a combination of Sunlu White PLA, Sunlu Red High-Speed PLA, Sunlu Blue PLA, and Insologic Black PLA+.

3D Model by Pipe Cox on Patreon
©3DWithUs – Print and Photo: Will Zoobkoff

The print took 26 hours to complete, and the results were outstanding. There were no issues with overhangs, and all the intricate details of the design came out crisp and clean. The combination of colors complements the model perfectly, adding depth and making it truly pop as a display piece.
The Kuchisake Wall Mask is not only a striking piece of art but also an excellent test for the printer’s multicolor capabilities. It demonstrates how effectively the Anycubic Kobra S1 handles precision and color transitions, resulting in a visually stunning and professional-quality print.
RFID Materials
Radio Frequency Identification
3D printing companies are introducing RFID-enabled materials to improve user convenience and precision. RFID chips in filament spools allow printers to automatically recognize material types and adjust settings, reducing errors and saving time. This technology also helps manufacturers collect usage data to enhance future products and personalize user experiences.
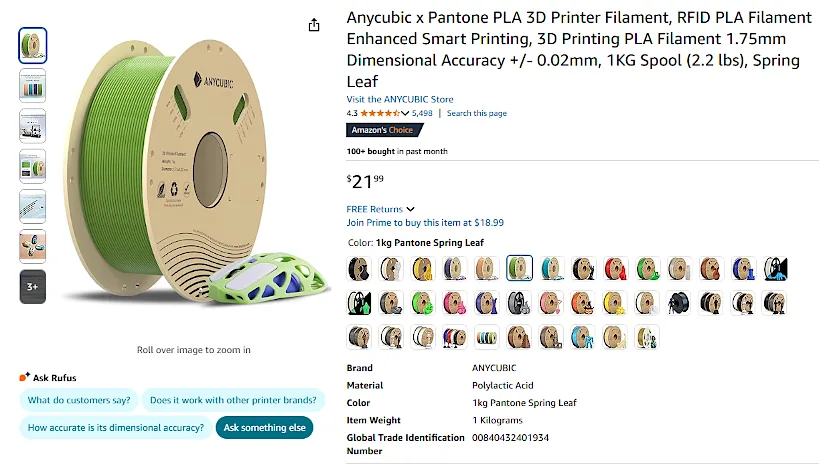
As you can see from my review, I was able to use third-party filament without any issues. Anycubic has its own RFID-compatible filament collection on Amazon and the Official Website, which we recommend checking out.
Compare Anycubic Kobra S1 Combo to Other 3D Printers
Compare to other Anycubic FDM 3D printers:
Previously, Anycubic introduced the ACE (Anycubic Color Engine) Pro for their bed slinger printers, the Kobra 3 and Cobra 3 Max. In comparison, it might be worth considering the Kobra Max 3 for its 420x420x500mm print volume. Price-wise, both machines cost the same.
Compare to similar builds, volume and price range, FDM 3D printers on 3DWithUs.
The Anycubic Kobra S1 Combo, in terms of price, build, and features, has brought serious competition to products such as the Bambu Lab P1S Combo. Another product to watch is the Bambu Lab A1 Combo, but a bed slinger option. Alternatively, the Creality K2 Plus offers a larger build volume but at a significantly higher price.
©3DWithUs – Print and Photo: Will Zoobkoff
Have questions? Feel free to ask in the comment section below.
For a wider discussion or to share your own Anycubic Kobra S1 prints, join us in the forum:
Conclusion and Pros & Cons
Price: From $549 – $749
Compare the Prices & Bundles:
Official Website | Amazon
Anycubic Kobra S1 Combo Review
Review Summary
The Anycubic Kobra S1 Combo marks a notable advancement for the company. It is their first CoreXY 3D printer with multicolour capabilities.
Key features include:
– High-speed performance up to 600 mm/s.
– Robust design that ensures excellent print quality.
– A 320°C hotend that supports a variety of filaments.
– The ACE Pro system, which allows for detailed multicolor prints and the option to expand to eight colors for complex projects.
Setting up the printer is quick and user-friendly. It includes advanced features like AI-based ‘spaghetti’ detection and auto-calibration, making it suitable for users at any skill level. The additional DIY speaker kit is a nice touch, providing an immediate project to demonstrate the printer’s capabilities.
There are areas for improvement. The 2-minute color change time can extend multicolor print durations, which could benefit from optimization in future firmware updates. Limited system access may also restrict advanced users seeking customization options.
Despite these minor issues, the Anycubic Kobra S1 Combo stands out in performance, design, and usability. It appeals to both beginners and experienced 3D printing enthusiasts. With its precision, speed, and multicolor features, the Kobra S1 is a strong contender in the high-performance FDM 3D printer market.
For those in search of a reliable, feature-rich CoreXY printer, the Kobra S1 Combo offers a blend of accessibility and innovation.
Pros
• Quick, easy setup
• Fully Enclosed CoreXY
• Fast up to 600 mm/s
• ACE Pro system improved over Kobra 3 Combo
• Fast and high-quality prints
• Multicolor up to 8
Cons
• Color change slow 2 minutes
• No system access


comprei uma anycubic kobra S1combo e com apenas 3 semanas de ela não liberando o bico de injeçao