Some models are successfully 3D printed by their creators and files are shared for others to print. However, 3D printers, materials and slicer settings are different in every case and therefore the end results may vary. It is quite frustrating when a print fails several hours into 3D printing. Eye-catching models may have a few tricky parts that would need special attention. This is where the local filament and 3D printer test print test file technique comes in.
Local Test File Technique
When a designer shares a file, there is a little extra that he or she can do to help makers in achieving good results. By taking 5 minutes to cut out tricky parts and posting these in a separate file, designers give an opportunity to test these in advance. Instead of 3D printing the whole model and discovering problematic areas in the process, smaller prints help to save time, material and to adjust the settings accordingly.

(Screenshot: Simplify3D)
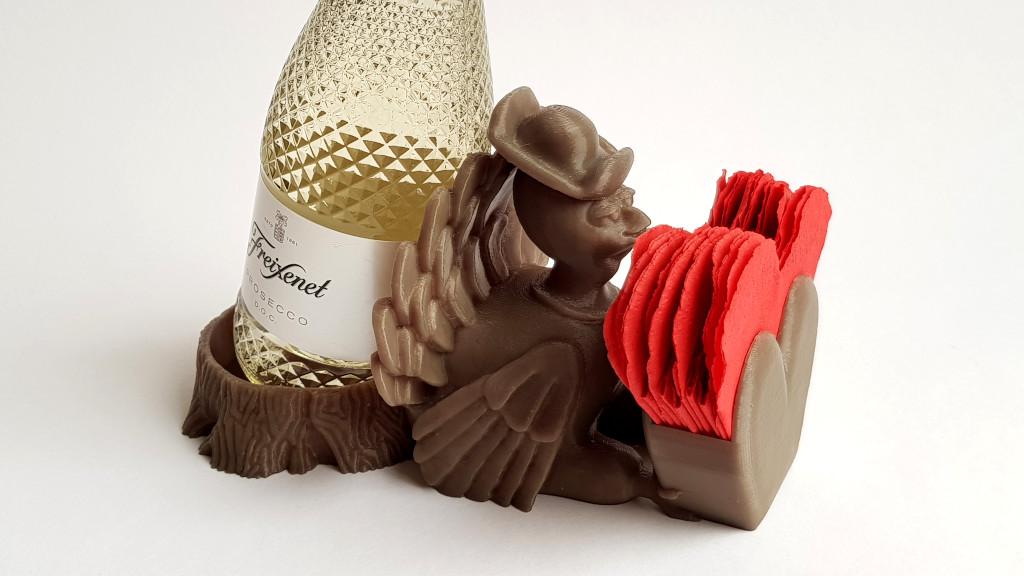
– Bunny Ears. When printing in wood, it is highly recommended to test your slicer settings using a local test file. For example, our Easter Bunny’s ears can produce a lot of stringing and even missing layers if printed in wood filament. The original model takes about 6 hours to complete, but a separate Ears file takes less than an hour.

(Image: 3DWithUs)
Excessive Retraction and Stringing – Tips & Tricks
OK. Excessive stringing detected. How to minimize the risk of print failure. Wood filament, for example, is prone to stringing. Excessive retraction will cause a lot of stringing and will waste some filament in the process. As a result, the missing layers may appear and ruin the print in process.
There are two ways to avoid this. 1) 3D print “Local Test File” (a specific part of the object) and tune the slicer settings so there is no stringing. Either 2) Pause the machine for the filament change, unload and load the filament to reset the printer to the original flow.
Opportunity for Designers for 3D Printing
This concept gives designers a chance to be more flexible with modeling for 3D printing. A rule of thumb for support-free models is not going lower than 45-degree angles. Often, there is a dilemma: to create a nice, natural-looking model or to fiddle a bit with the angles to make it support free. With the help of local test files, suspicious overhangs can be tested in a quick print. Designers will be able to add more decorative features and be more creative.
A local filament and 3D printer test print file is easy to prepare. It takes a couple of minutes with Meshmixer “Edit – Plain Cut” function. It would be very appreciated if designers could add such test files for their earlier models, which will make the makers’ life easier.

(Screenshot: Meshmixer)
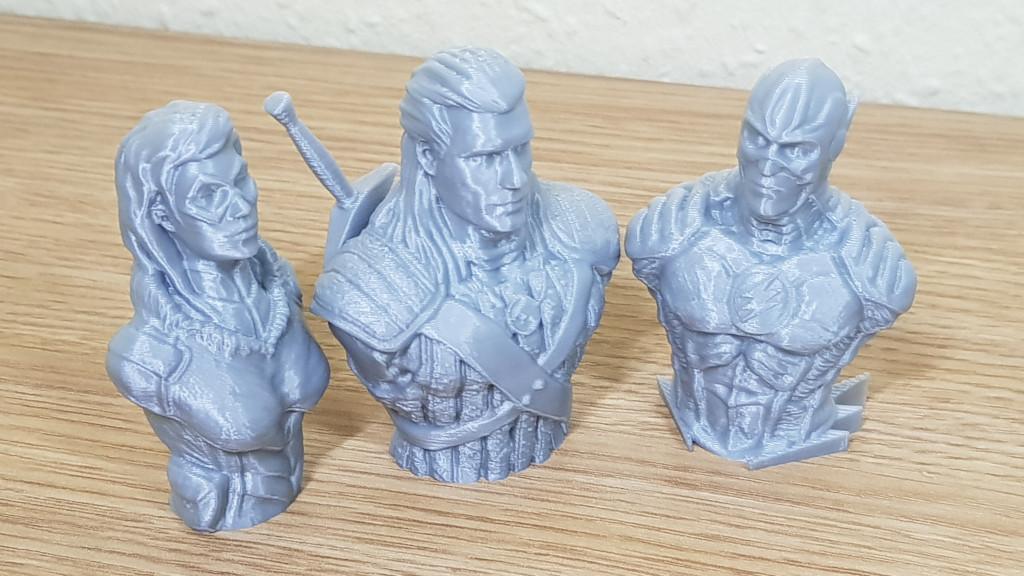
Fingers. Here is another good example – printing hands. Eight taller fingers (the first image) require a lot of retraction and the print may fail. Because of the missing layers, the fingers become fragile losing their functionality. To avoid disappointment at the very end of the print, this part can be tested separately and the settings adjusted.
Other cases where local test files could be of great help: parts with hard to remove supports, flat and wide models requiring a lot of filament, interconnecting parts, moving parts, testing out experimental filaments, etc., etc. If you are a designer and using this technique, please share them together with your models on file repositories.
—
3D Printing Test – Filament and 3D Printer Test Print
Once your new 3D printer arrives it is good to understand its capabilities. There are many 3D printing test files to choose from on file repositories. The reason to use a proper test file is because it contains all hard-to-print bits. After printing such object it becomes clear what settings you need to complete tricky and detailed projects. Read more…

(Image: 3DWithUs)
Featured Model and Test Print Files:
Easter Bunny Toy/Pot/Planter
by Max Funkner
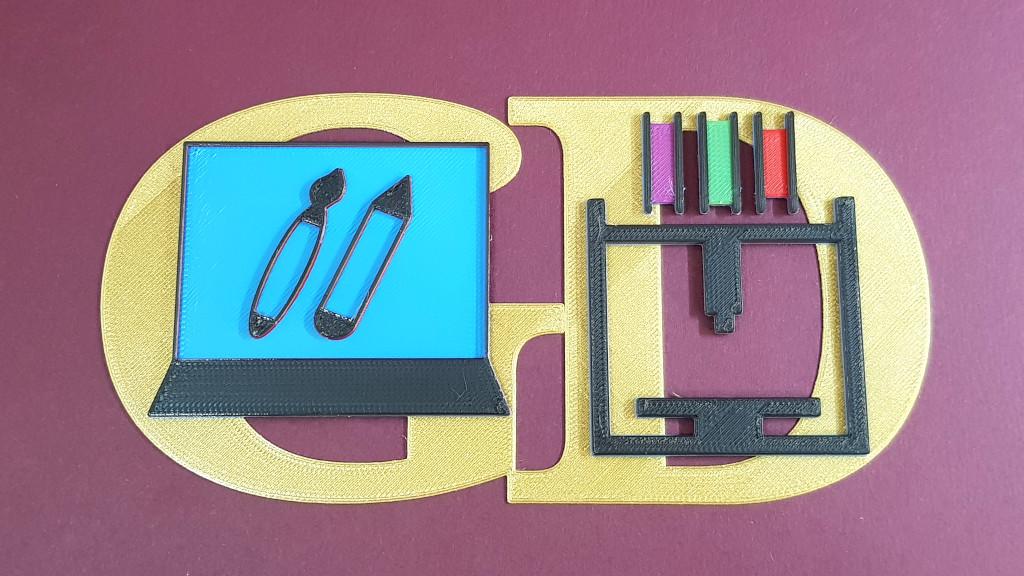
3DPG Tool and Pen Holder

(Image: 3DWithUs)