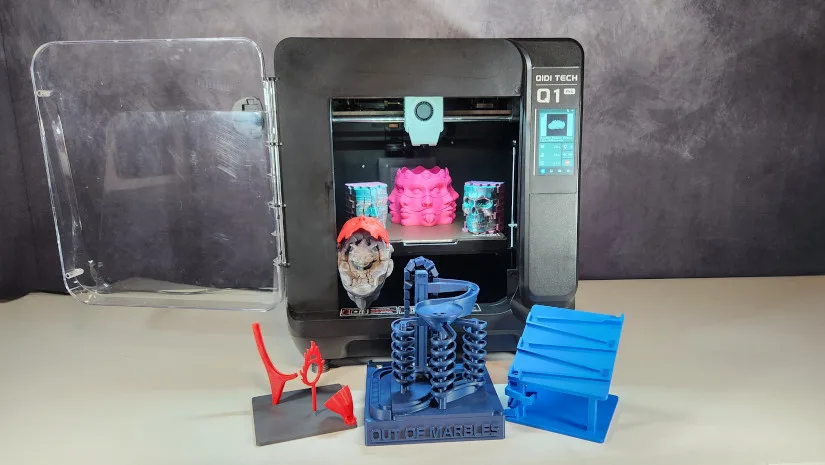
The latest fully enclosed high-speed printer from Qidi Tech is called the Qidi Q1 Pro. This cutting-edge printer has several impressive features, such as a 350-degree high-temperature nozzle, bed tilt calibration, and chamber heating. Additionally, Klipper firmware is pre-installed on the Q1 Pro, enabling customization of almost all printer functions. In this review, we will test the Q1 Pro’s features and fast printing speeds to evaluate how well the print quality holds up. As usual, in conclusion, we will also list the pros and cons.
Table Of Contents
- Specifications
- Unboxing – What’s Included
- Setup and Design
- Software
- Testing and Results
- Compare to Other 3D Printers
- Conclusion and Pros & Cons
Price: $449 – 599
Product Affiliate Links: 3DWithUs is supported by its audience. Purchases via some links may earn us a small commission at no extra cost to you. This helps us to continue bringing you high-quality content. The product featured was provided for an honest, detailed review. Our guides and reviews remain unbiased and independent.
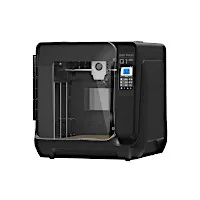
Qidi Q1 Pro Specifications
• Printing technology: FDM (Fused Deposition Modeling)
• Print volume: 240 × 240 × 240 mm
• Maximum nozzle temperature: 350 °C
• Maximum bed temperature: 120 °C
• Printing speed: Up to 500 mm/s, standard 300 mm/s
• Extruder type: Direct drive with hardened steel gears
• Nozzle diameter: Standard 0.4 mm
• Filament diameter: 1.75 mm
• Construction: CoreXY
• Z-axis configuration: Dual Z-axis
• Bed leveling: Automatic print bed leveling
• Heating bed: PEI magnetic printing bed, flexible
• Operation: 4.3-inch touchscreen, color
• Connectivity: USB, WLAN
• Supported filaments: PLA, ABS, PETG, TPU, PA, PC, ASA, as well as carbon and glass fiber reinforced filaments
• Software compatibility: Qidi Slicer, Cura, PrusaSlicer, Orca Slicer
• Additional functions: Filament detection, power-off resume, built-in camera with timelapse function, automatic nozzle cleaning
• Enclosure: Steel chassis with plastic enclosure
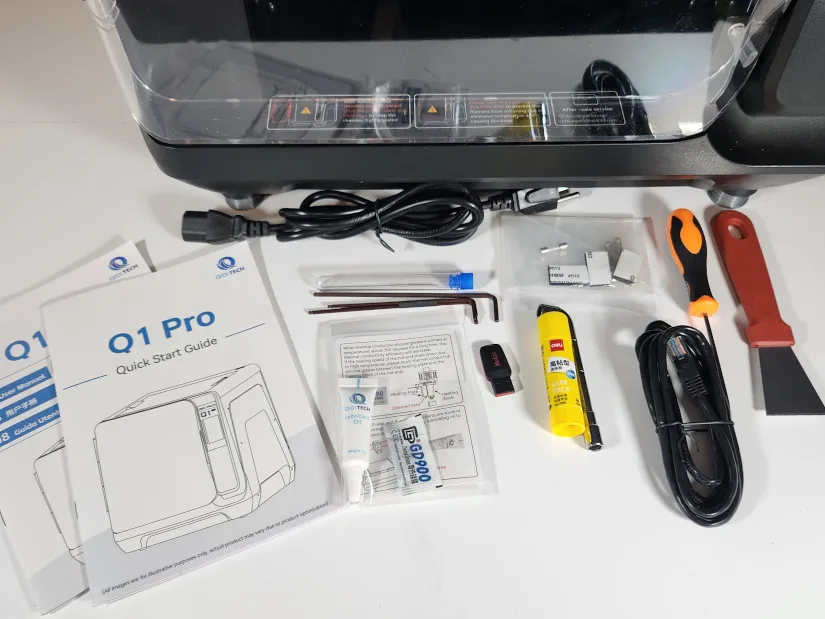
What’s in the Box
QIDI Q1 Pro 3D Printer, Power Cable, Filament Spool Holder, Filament Spool Holder Cover, Filament Extension Stand, USB Cable, Toolkit, Allen Keys (H1.5, H2.0, H2.5), 7mm Spanner, Flat Head Screwdriver, Scraper, Filament Spool (material may vary), User Manual & Quick Start Guide, 0.4mm Nozzle Cleaning Tool, USB 2.0 Flash Drive, Spare Parts Kit.
©3DWithUs – Photo: Will Zoobkoff
Setup and Design
The Qidi Q1 Pro is easy to set up, requiring only a few simple steps. First, remove the printer from its packaging, plug it in, and turn it on. Once the printer is running, follow the Q1 Pro’s visual setup guide to complete the process. This includes removing the cardboard and zip-ties from the X gantry and hotend. Next, remove the four screws holding the printing platform in place for shipping. After installing the spool holder, you can load your filament and start your first print. The entire initial setup takes about ten minutes.
– Klipper Firmware. After the setup is finished, you can access the web UI by opening your web browser and navigating to the printer’s IP address to access the pre-loaded Klipper firmware.
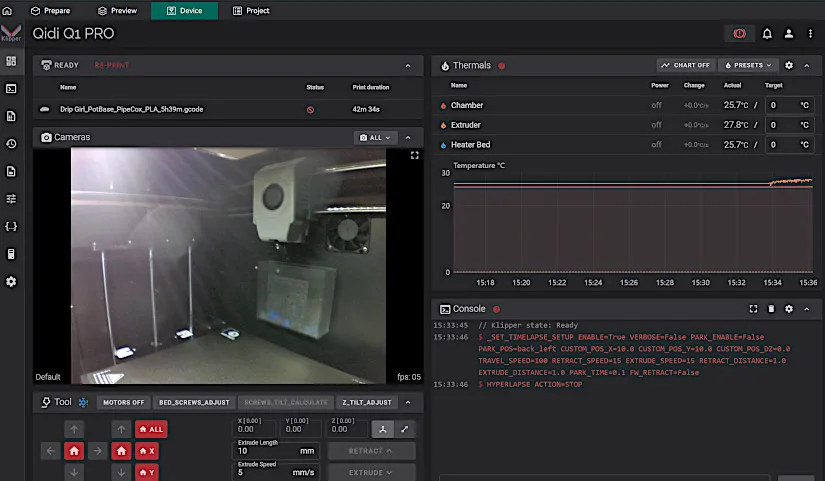

– Macros. You can change and fine-tune the printer settings here to meet your individual requirements. Additionally, the Qidi comes with a number of predefined macros that you may use to adjust and calibrate the printer to your liking.
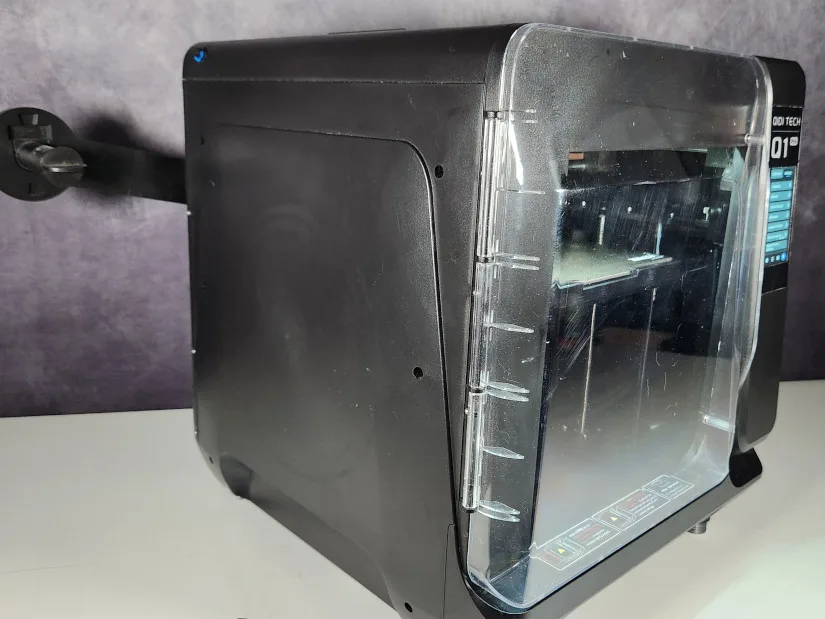
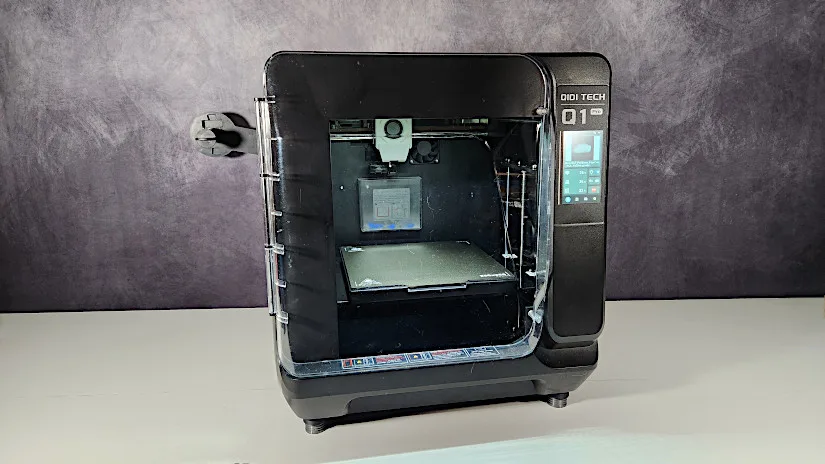
– Enclosure. The Qidi Q1 Pro has a strong metal frame that can withstand high printing speeds. All the electronics, tubes, and wires are hidden behind a stylish black exterior shell.
©3DWithUs – Photo: Will Zoobkoff

Both the front door and the detachable top panel are composed of clear acrylic, which allows for easy access and viewing. All the information you need to calibrate the printer and begin printing is displayed on the clear and bright portrait touch screen. You may also access the HD camera and all the necessary settings and calibration options through the web UI.
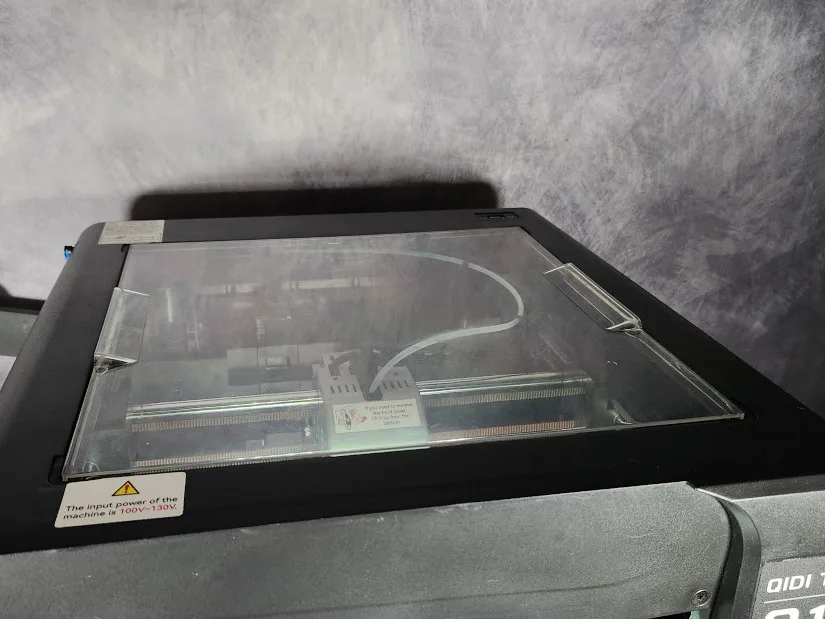
– Design. With its sleek design, the Q1 Pro printer will look fantastic in any workstation. The enclosed structure and heater enable it to handle many filament types. The printing platform can reach 120 degrees, and the hotend up to 350 degrees.
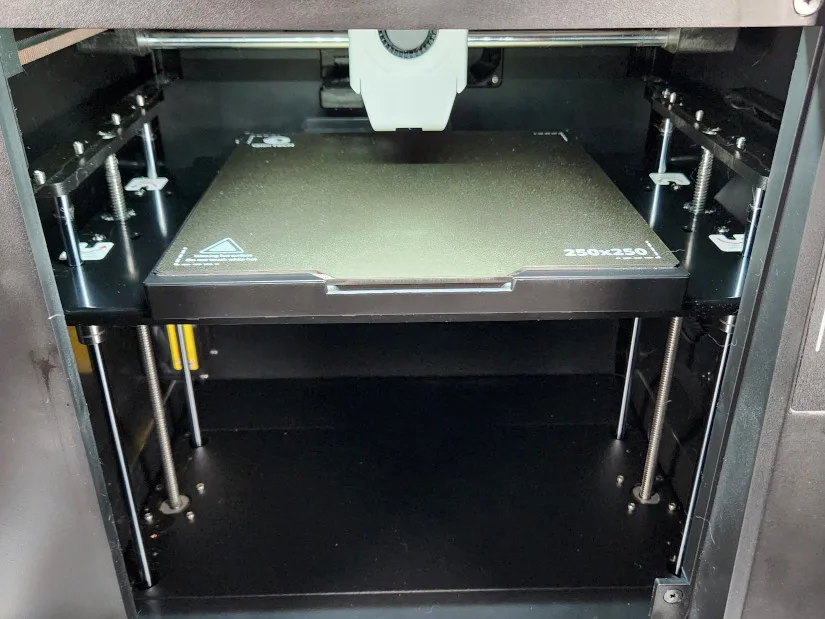
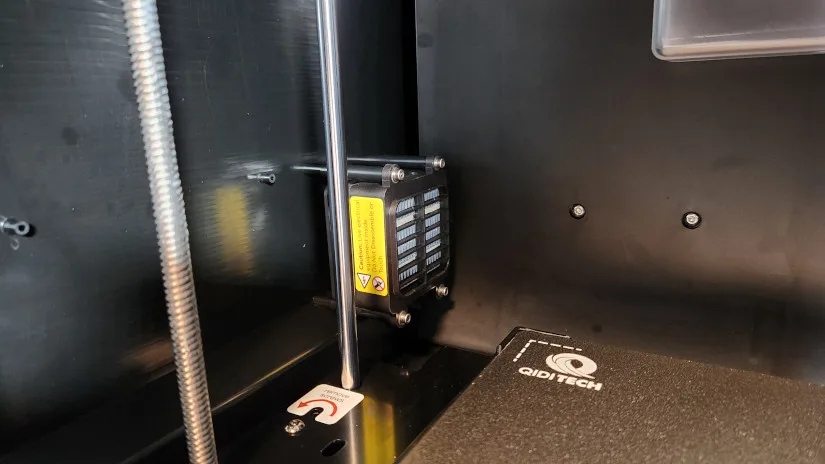
– Heater. On top of that, the Q1 Pro features a heater that can reach 60 degrees, which is ideal for specific filaments that require a heated chamber. This feature makes the machine ideal for handling a wide range of filament types for specialized applications.
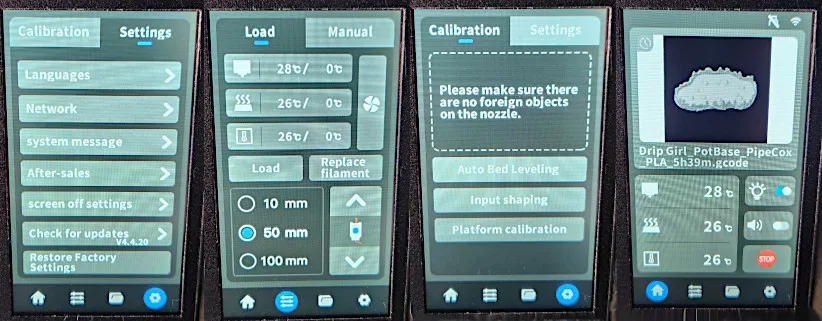
– Screen. The color 4.3-inch touchscreen offers comfortable navigation through the machine options and settings.
Software – Orca Slicer
We used our favorite slicer, Orca Slicer, for all our slicing and file uploading needs. With its recent upgrades, it has become one of our favorite slicers to use.
– Timelapse. To capture timelapse videos with the Q1 Pro, add a line of code to the g-code section of the printer settings. Find the “before layer change” box and type TIMELAPSE_TAKE_FRAME into it.
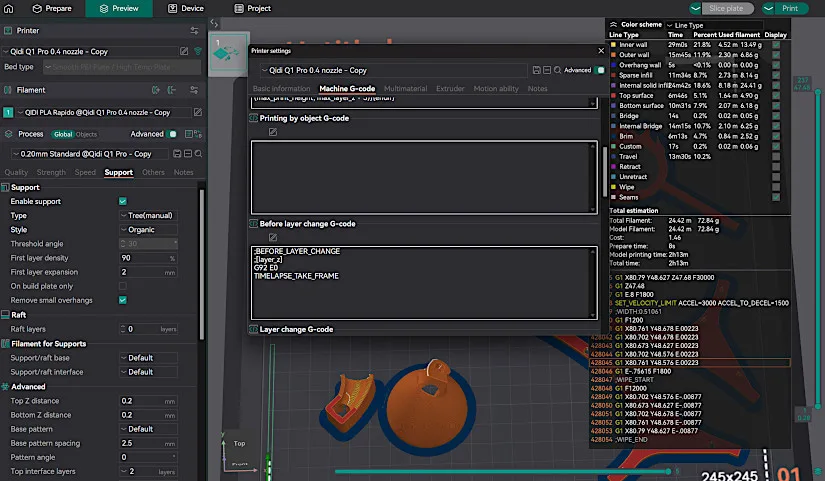
When you run a print, you will now receive a timelapse movie once it is completed. This simple update improves your printing experience by allowing you to easily document and share your creations.
For all our models, we used 0.2mm layer heights with 15% crosshatch infill, which was recently added to Orca Slicer. We also printed all models at 300 mm/s, adding organic tree supports when needed.
Test Printing Results
For our first print during testing, we selected a multiface vase designed by Pipe Cox, using Polymaker Watermelon PLA from Amazon. This unique model prints in place but features three rotating sections that allow you to change the different faces around the vase. This print took just over six hours to complete.

3D Model by Pipe Cox on Cults
©3DWithUs – Print and Photo: Will Zoobkoff
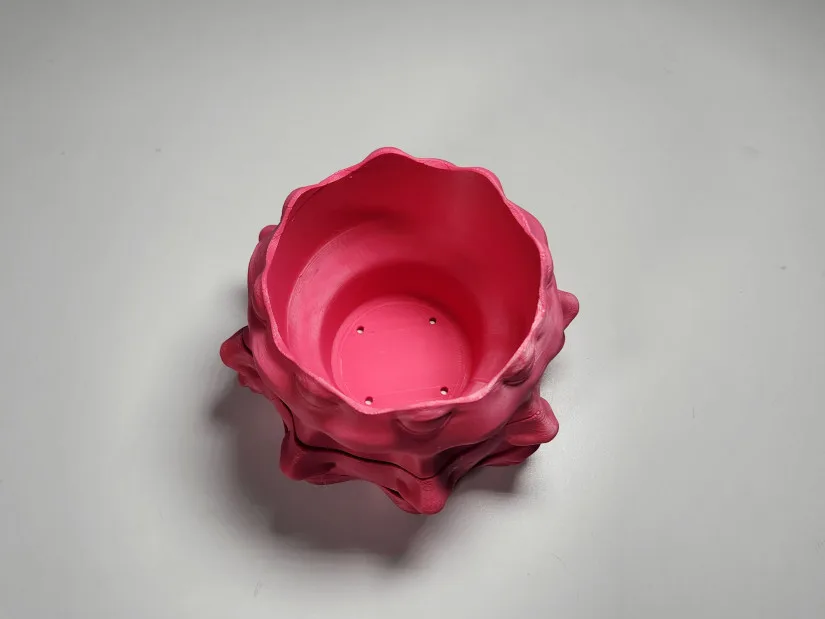
The print turned out fantastic, with no issues related to overhangs. Each section of the vase turned and moved with ease, demonstrating the precision of the Q1 Pro. This vase is not only visually appealing but also functional, making it a great option for storing pens, brushes, or any other small items you may have lying around.
Print-in-Place Example
We then tested a set of new PIXEL fidget prints from the Pipe Cox line. These prints are ideal for testing because they require a well-tuned 3D printer to ensure that each part moves freely. We printed the girl and skull PIXEL, as well as the holder, with Eryone dual-color silk PLA from Amazon.
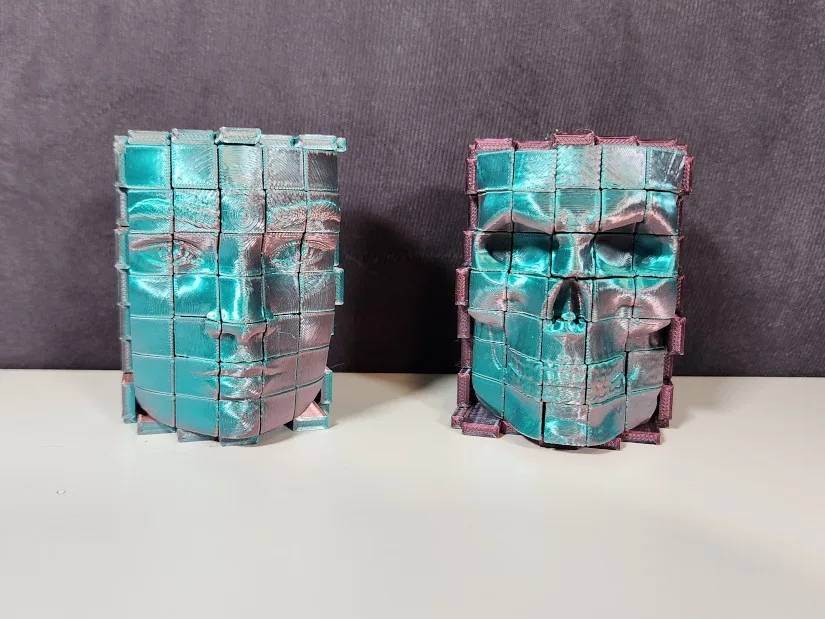
3D Model by Pipe Cox on Cults
©3DWithUs – Print and Photo: Will Zoobkoff
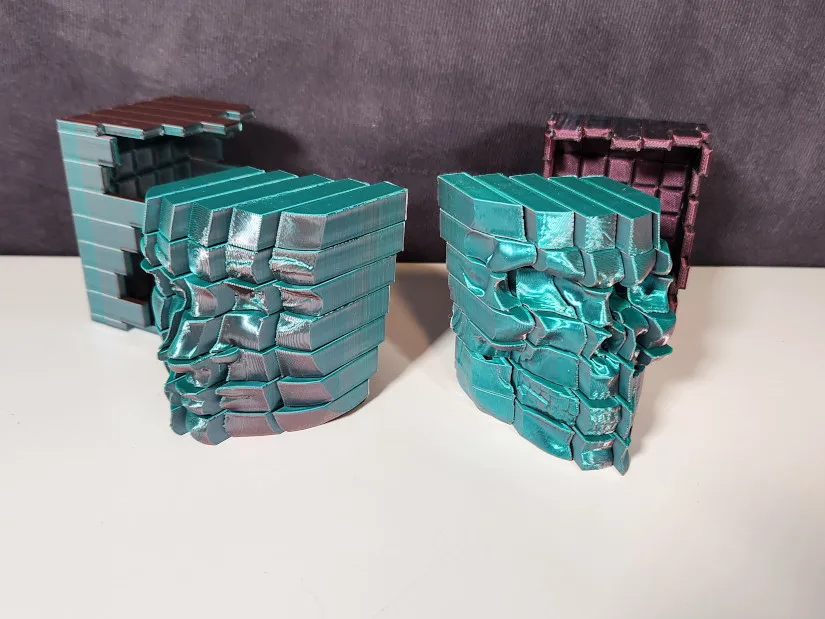
These prints turned out beautifully, with no problems with any of the parts. Bed adhesion is critical for these prints, which are made up of multiple towers joined inside to keep them aligned. Once removed from the bed, the towers moved easily without any issues.
These PIXEL prints are not only unique and aesthetically appealing, but they also serve as an excellent example of how well a printer is adjusted. They demonstrate the Q1 Pro’s precision and ability to tackle multi-piece designs effortlessly.
Staying with the Pipe Cox collection, we decided to print the Alienbot mask. This mask is made up of four pieces: the head with the alien inside, the faceplate, and two connector pins. We used Sunlu Grey high-speed PLA, which has a metallic finish that looks great with this model. We used Creality Red PLA for the faceplate.
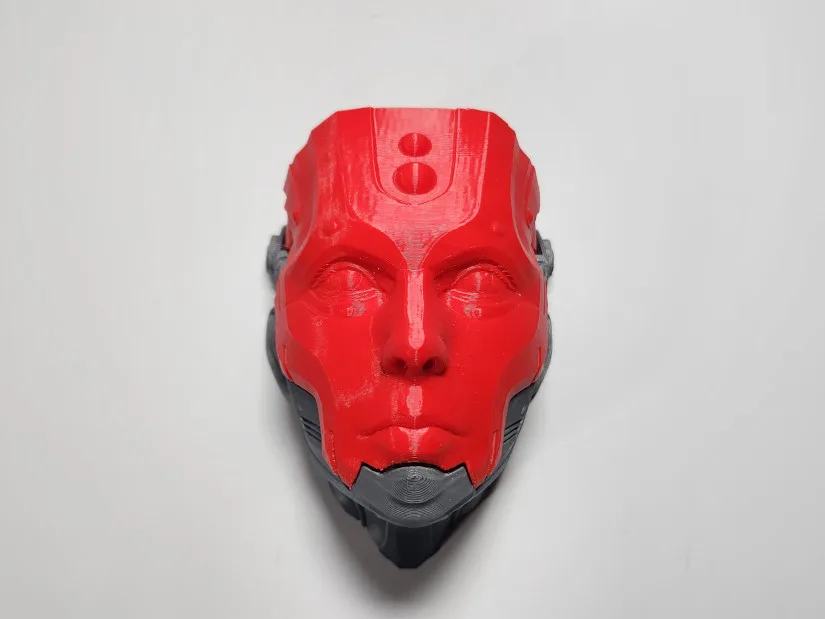
3D Model by Pipe Cox on Cults
©3DWithUs – Print and Photo: Will Zoobkoff

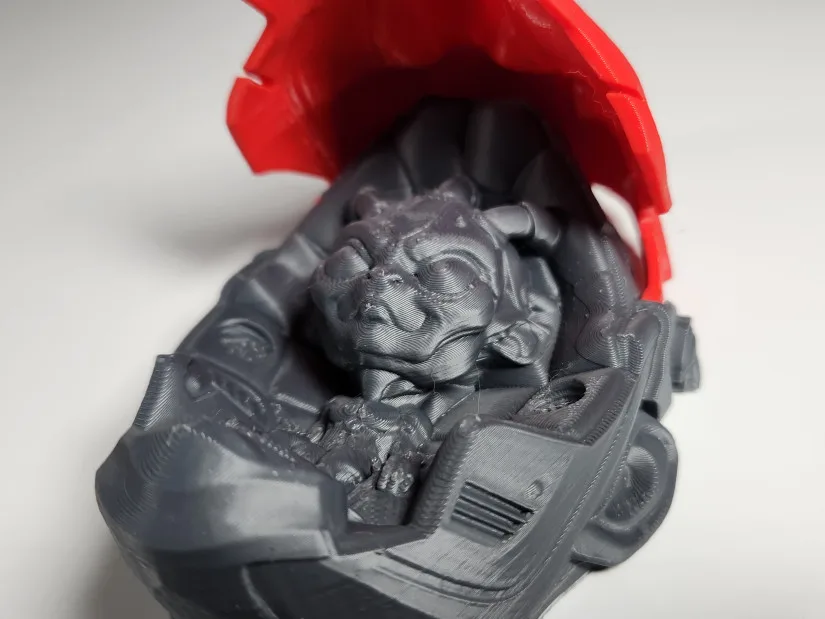
The head took 3.5 hours to print, and the results are excellent. All the details came through clearly, especially the minute features on the little alien inside the head. The faceplate and pins took slightly more than two hours to construct, and the results, like the head, are amazing. All the elements fit firmly together, and the faceplate can move freely up and down.
The combination of metallic grey and brilliant red filaments enhances the overall appearance of the Alienbot mask, making it a striking item.
Marble Run Machine
We chose a more intricate print for our final test: the Bucket Tower from OutOfMarbles.com. I am a huge fan of these marble machines. Although printing all the parts can take some time, the latest high-speed printers have substantially decreased that time.
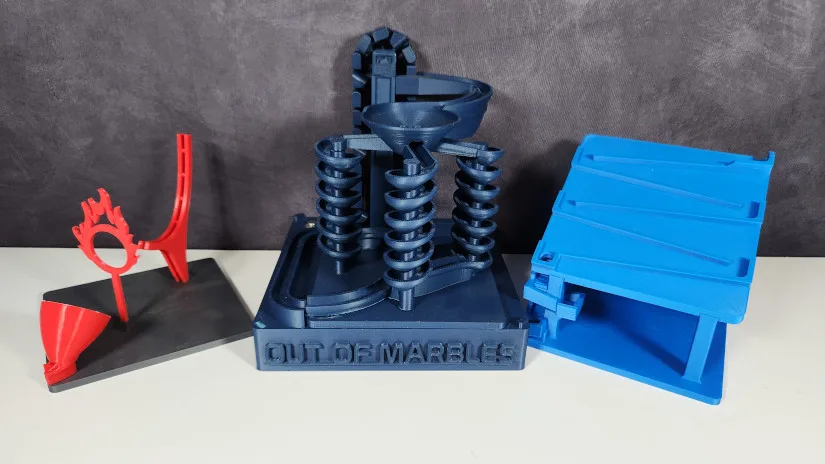
3D Model on OutOfMarbles
©3DWithUs – Print and Photo: Will Zoobkoff
The Bucket Tower is made up of numerous sections that, once built, can be customized with any available modules from OutOfMarbles.com. We selected the Triple Spiral, Donkey Kong, and Ring of Fire modules. The Bucket Tower looked excellent when made using Creality matte purple PLA. The foundation took just under five hours to print, while the lift buckets took less than four hours. Once completed, simply snap the bucket chain together to assemble the base.

The Triple Spiral was printed using the same PLA as the base. The spirals took five hours to print, although the base took only one hour. Both prints finished cleanly and without issues.
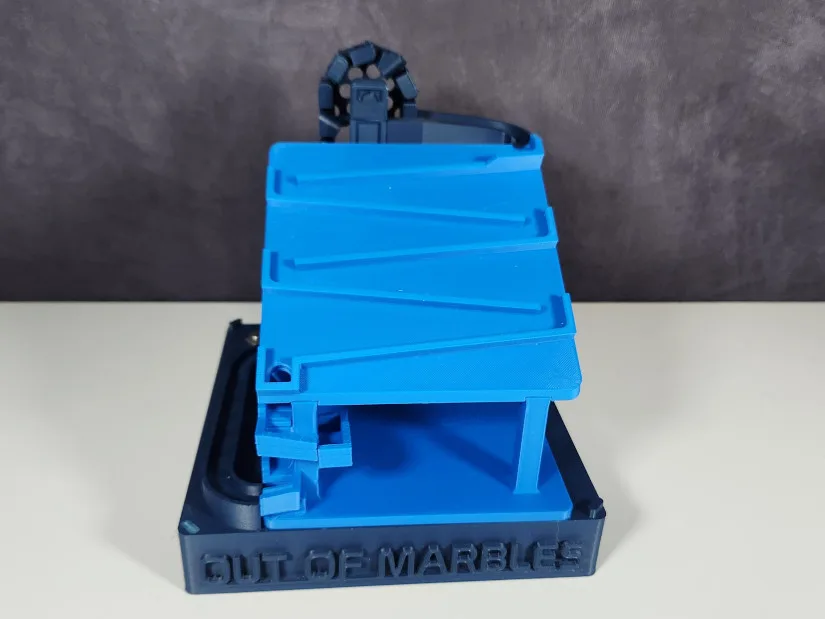
Next, we printed the Donkey Kong module. This simple zigzag module was created with Sunlu Blue PLA. The base took slightly over two hours, while the ramp took an hour and a half.
Finally, we produced the Ring of Fire module, which depicted a jump through a ring, landing, and returning to the lift. We used Sunlu Grey PLA for the base and Sunlu Red PLA for the ring and leap. This module took just over two hours to print.
The ability to swap modules gives these prints lasting appeal, and with the Bucket Lift, you can create a tower with multiple modules stacked together. This versatility makes the Bucket Tower an engaging project that showcases the capabilities of high-speed printers.
All these challenging prints showcase the Qidi Q1 Pro’s capability to print quickly and precisely.
Compare Qidi Tech Q1 Pro to Other 3D Printers
The Q1 Pro is Qidi Tech’s most recent Core XY enclosed printer, building upon its previous series machines.
Compare to the Qidi 3D printers:
Compare to similar builds, volume and price range, FDM 3D printers.
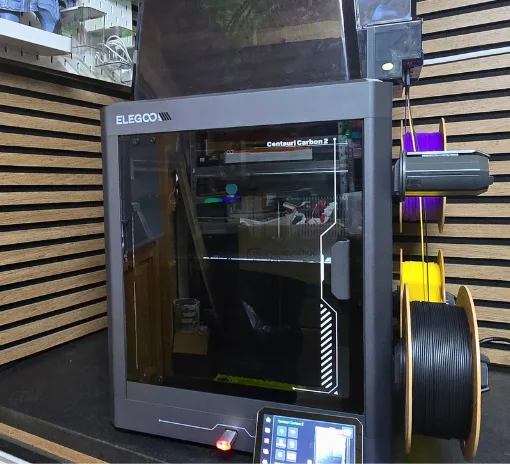
These three machines are close competitors to the Q1 Pro in price, Core XY build, and build volume. What makes the Q1 Pro stand out are its higher bed and hotend temperatures and the included inside heater, which allows for a wider variety of materials to be printed on this machine successfully. The P1S’s strong point is that, for an extra cost, it can be purchased together with the AMS system for multicolor 3D printing. The Flashforge AD5MP machine has a swappable hotend system.
©3DWithUs – Print and Photo: Will Zoobkoff
Conclusion and Pros & Cons

QIDI Tech Q1 Pro Review
Review Summary
The Qidi Q1 Pro impresses with its extensive features and fast printing speeds. This fully enclosed 3D printer, with its 350-degree high-temperature nozzle, bed tilt calibration, and chamber heating, is engineered for versatility and performance. The pre-installed Klipper firmware extends its capabilities by allowing for significant customization.
Our tests validated the Q1 Pro’s excellent performance. The setup process is simple, lasting about ten minutes thanks to auto-calibration and a user-friendly visual tutorial. The printer’s sturdy metal frame, enclosed design, and high-speed capabilities make it a dependable option for both new and experienced users.
Throughout our tests, we printed a variety of complicated and detailed models, each exhibiting the Q1 Pro’s accuracy and efficiency. The Multiface Vase, PIXEL Fidget prints, AlienBot mask, and Bucket Tower Marble Run all demonstrated the printer’s capacity to handle complex designs while producing high-quality outputs.
The Qidi Q1 Pro’s ability to print with a variety of filaments, paired with user-friendly software and an intuitive web UI, sets it apart in the 3D printing market. Despite minor flaws like the necessity for caution marks on the heater and loud fans during printing, the Q1 Pro’s benefits far outweigh its negatives.
Overall, the Qidi Q1 Pro is a high-end 3D printer with exceptional performance, ease of use, and print quality. Whether you’re a hobbyist or a professional, the Q1 Pro is an indispensable addition to any workspace, capable of executing a wide range of tasks with precision and speed.
Pros
• High speed printing
• Chamber heater
• 350 degree hotend
• Fully enclosed
Cons
• Heater needs warning marking
• Loud fans when printing



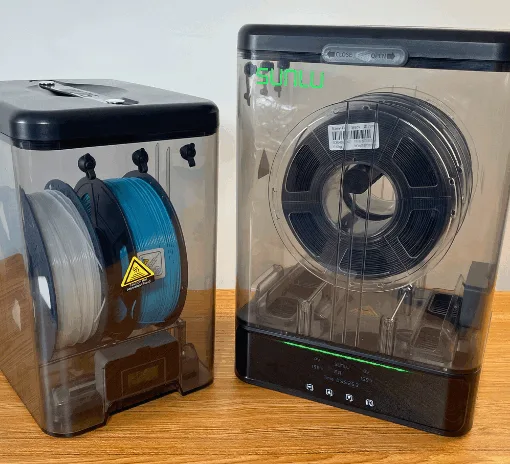
The QIDI Q1 Pro is the most affordable enclosed 3D printer that can 3D print with high-temp 3D printer filament like ABS, ASA and Nylon filament.