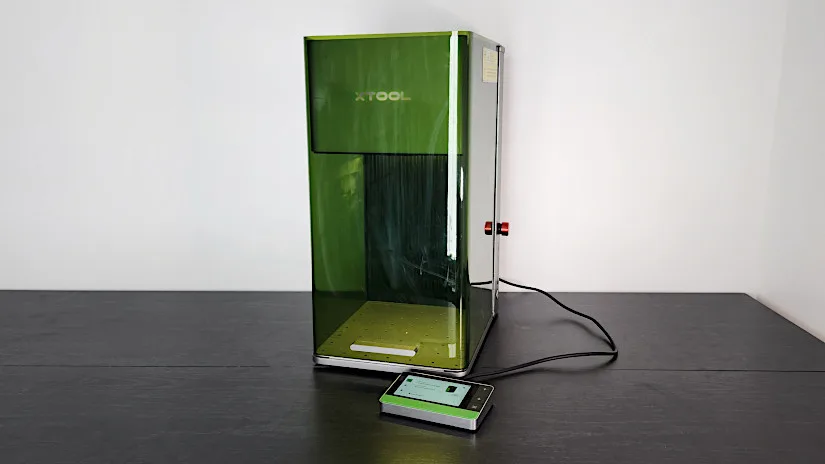
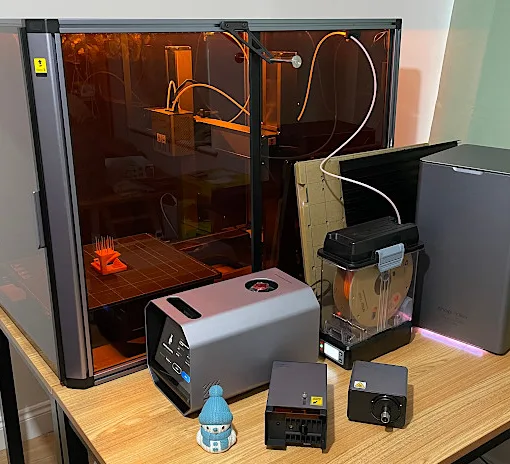
The new xTool F1 Ultra, the big brother of the original F1, has a larger work surface of 220 x 220 mm, which is a 115% increase over the F1. It also includes a new 20W diode laser and a 20W fibre laser, which replace the previous 2W IR laser. With this strong laser combination, the F1 Ultra can engrave on over 300 different materials. Both 20W diode and fibre lasers can also cut through thin metals. In this article, we’ll thoroughly review the xTool F1 Ultra and the optional additions. We will test laser cutting and engraving on materials such as metal, brass, stone, jewellery and others, featuring settings and tips. In conclusion, we will list the Pros and Cons.
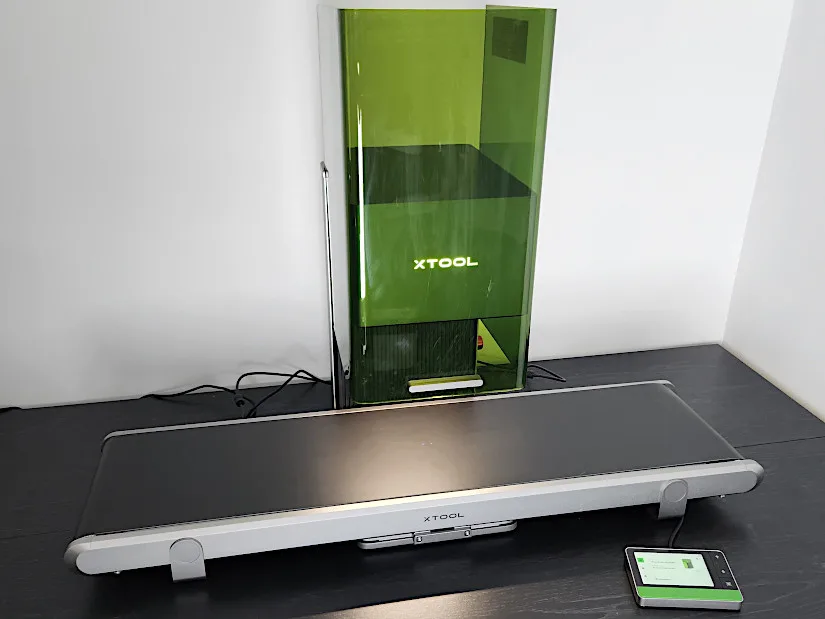
The F1 Ultra has outstanding accessories, including a new conveyor belt adapter that is suitable for batch engraving and larger objects.
©3DWithUs – Photo: Will Zoobkoff
Disclaimer: Laser cutting and engraving may be hazardous if improperly operated. Please make sure to follow the safety guidelines such as wearing eye-protective goggles and using the machine enclosure while operating.
Table Of Contents
- Specifications
- Unboxing and What’s Included
- Setup and Design
- Diode and Fiber Lasers
- xTool Creative Space Software
- Materials, Settings and Supplies
- Testing, Materials, Settings and Results
- Compare to other Laser Cutters and Engravers
- Conclusion and Pros & Cons
Price: $3,849 – $4,799
Product Affiliate Links: 3DWithUs is supported by its audience. Purchases via some links may earn us a small commission at no extra cost to you. This helps us to continue bringing you high-quality content. Our guides and reviews remain unbiased and independent.

xTool F1 Ultra Specifications:
• Laser power and source: 20W Fibre + 20W Diode
• Focus adjustment: Autofocus + Manual two dot alignment
• Working area: 220 x 200 mm ( 200 x 500 mm Conveyor)
• Z-Axis movement: 3”(75mm)
• Max working speed: 10000 mm/s
• Laser spot size: 0.08 x 0.1mm Diode / 0.03 x 0.03mm Fibre
• Preview: Camera preview, High-speed light live preview
• Connection: WiFi / USB
• Supported file format: SVG/DXF/JPG/JPEG/PNG/BMP, etc
• Supported systems: Android/ iOS/ iPad/ Windows/ Mac
Unboxing and What’s Included
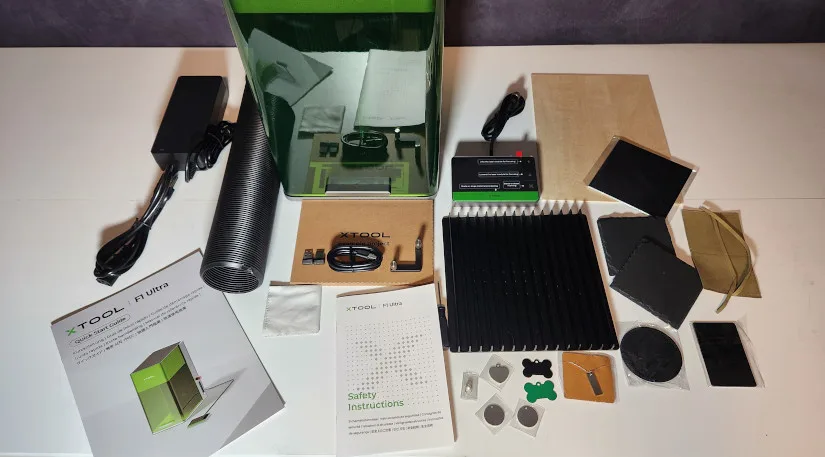
• xTool F1 Ultra • Touchscreen controller • Exhaust hose • Power adapter • Power cable • USB cable • Slatted panel • Screwdriver • L-shaped position piece • 2x USB safety key • Lens cleaning cloth • Material pack • User manual • Safety instructions
©3DWithUs – Photo: Will Zoobkoff
Conveyor System
• Conveyor • Connection cable • Screwdriver • Fastening piece A • Fastening piece B • Screws • Manual
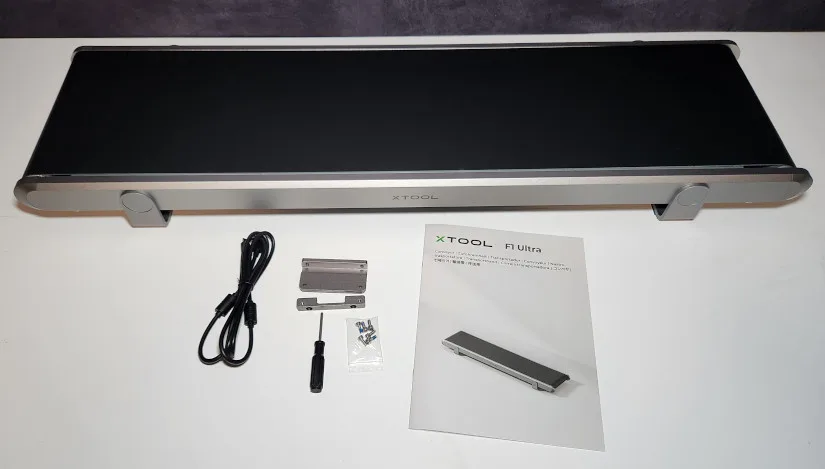
©3DWithUs – Photo: Will Zoobkoff
Setup and Design
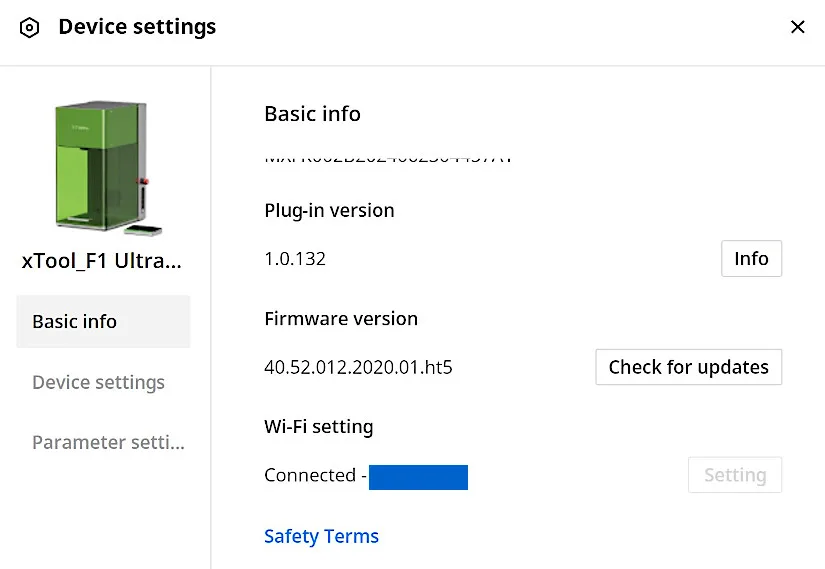
The xTool F1 Ultra comes pre-assembled, requiring just a few setup steps. First, remove the laser’s lens cover carefully to avoid fingerprints, which could affect performance.
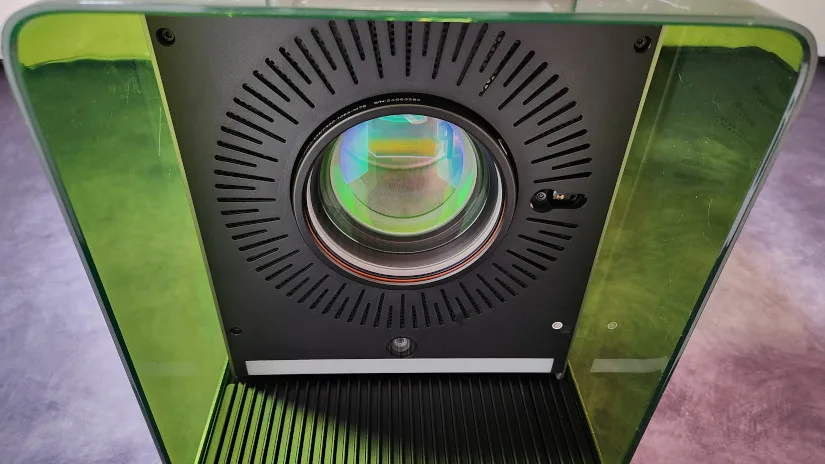
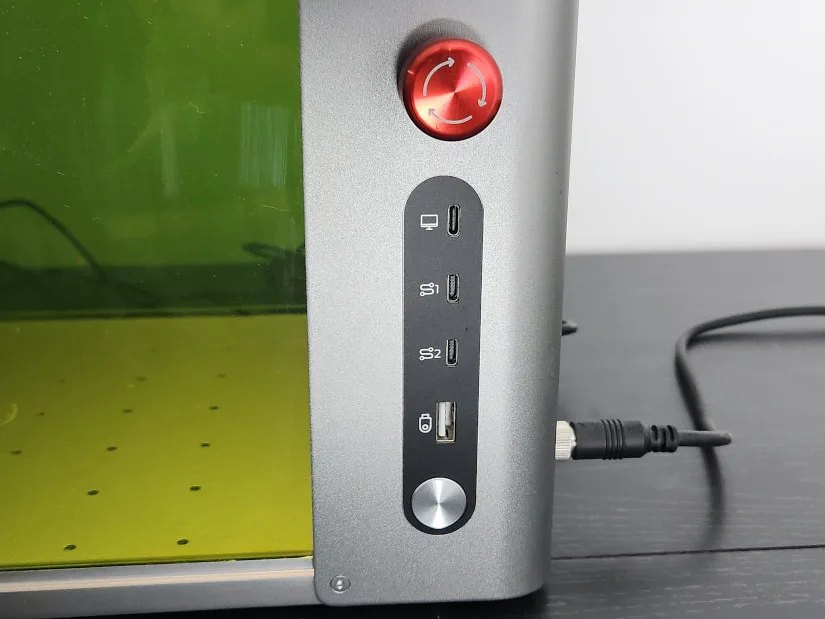
– Safety Key. To enable operation, insert one of the two provided USB safety keys (keep the spare safe in case of loss).
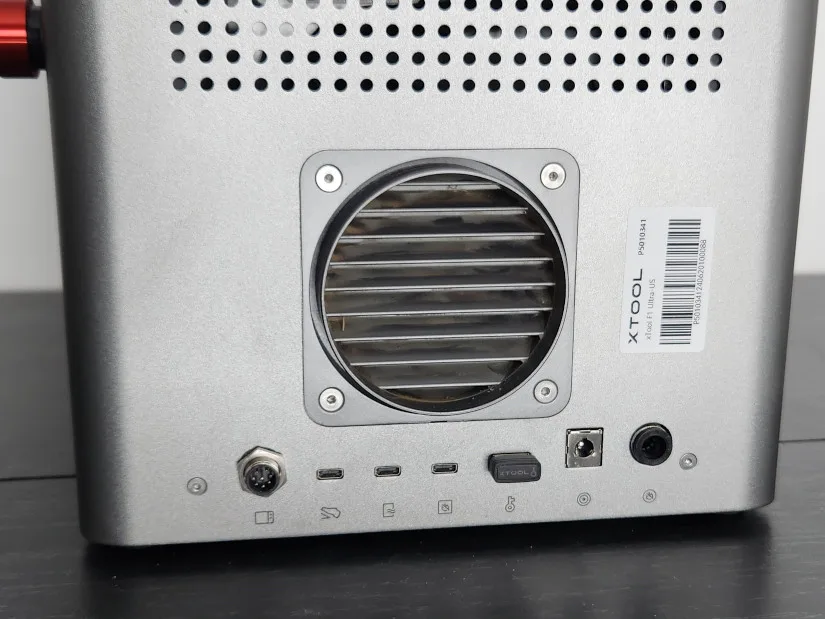
Stop Button. Make sure the emergency stop button is released; if needed, press and turn it clockwise to release.
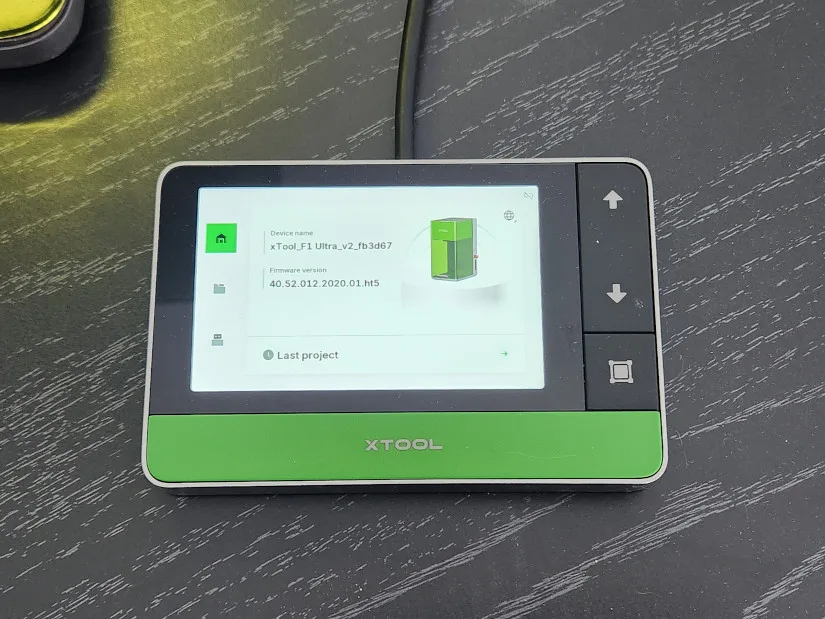
Attach the exhaust hose to the rear and connect the touchscreen controller.
To start, power the machine and connect it to your computer or mobile device. For PC setup, connect via USB and select ‘USB’ in xTool Creative Space under ‘Connect Device.’ Then, set up Wi-Fi under ‘Device Settings’. For mobile, press and hold the touchscreen controller button for five seconds to enter AP mode, allowing your device to connect and complete network setup.
Design. The xTool F1 Ultra combines a sleek, modern design with strong industrial-grade materials. It features a compact, matte black and metallic frame suited for both professional and home workshops. The spacious 220 x 220 mm work surface makes material handling easy.
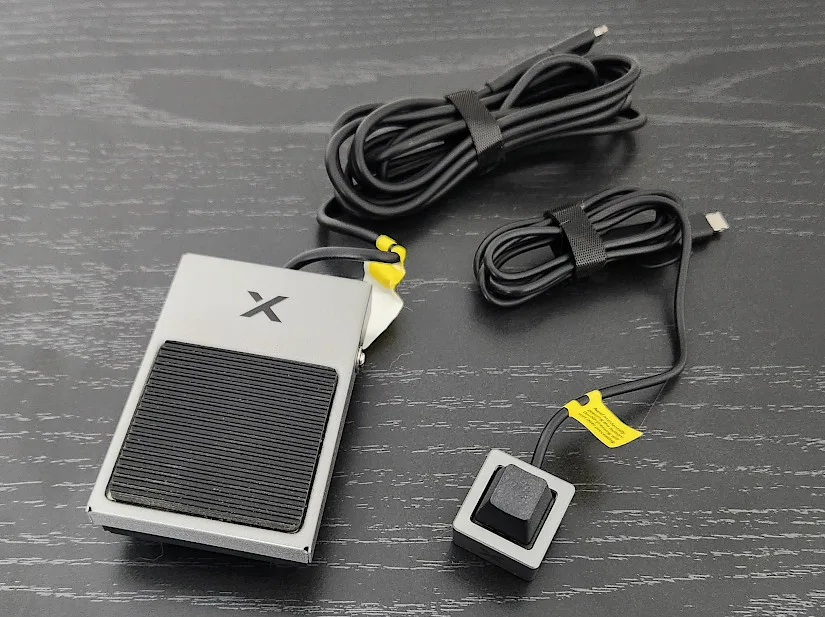
Optional foot pedal support allows hands-free engraving, which is ideal for batch processing.
©3DWithUs – Photo: Will Zoobkoff
The 16 MP camera offers precise project alignment from a top-frame view. At the same time, a sturdy, shielded chassis houses the 20W diode and fiber lasers, ensuring durability and safety for diverse material engraving and cutting.
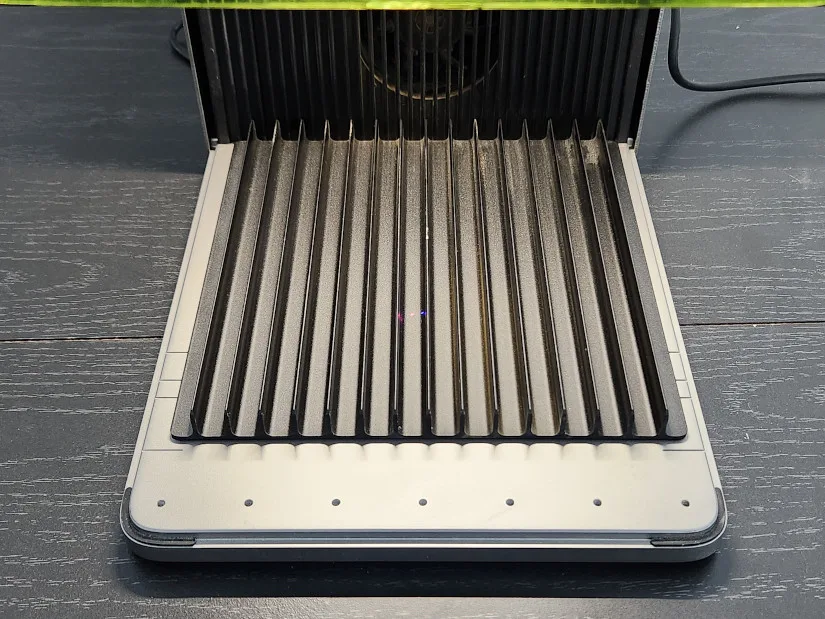
The built-in 16 MPx2 camera makes project alignment easier, and the powerful exhaust fan effectively removes smoke and dust from engraving and embossing.
©3DWithUs – Photo: Will Zoobkoff
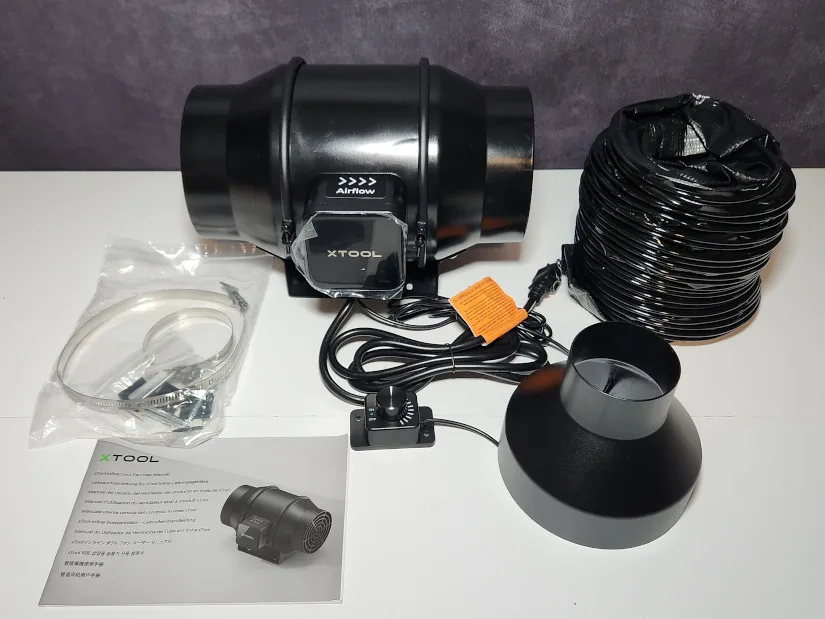
xTool additionally provides an inline exhaust booster with a 410 CFM rating, which ensures the elimination of smoke and most dust generated while working.
– Updated RA2 Rotary (Optional). Furthermore, for those who already own the popular RA2 rotary, a new tilt adjustment attachment broadens the range of suitable products.
We will review the different capabilities available on the F1 Ultra and try a range of materials, including the new embossing mode. We will also assess how successfully the dust is cleared from the work area and handle any potential concerns that may develop during testing.
Diode and Fiber Lasers
The xTool F1 Ultra expands on the hybrid twin laser system, which was advantageous for the xTool F1 predecessor, as it used a diode and an infrared laser. However, the F1 Ultra has witnessed a major improvement in the IR laser. Fibre lasers have taken the position of diode-pumped solid-state (DPSS) lasers as the gain medium. This adjustment makes deeper cuttings and engravings possible, boosting the laser’s power output.
Equipped with this new, enhanced fibre laser, the F1 Ultra still cuts and engraves the same diverse range of materials as the xTool F1 with more power. It results in quicker, more efficient cutting and deeper, more precise engravings. In addition, fiber laser strength also can cut metal very thin, like 0.3 mm stainless steel, 0.2 mm aluminium, and 0.4 mm brass. While the F1 Ultra is fast and cuts and engraves deeper than its predecessor, some applications require multiple passes to achieve the desired depth or detail.
Software – Creative Space
With the release of the new F1 Ultra, xTool updated its XCS 2.0 software (xTool Creative Space) to incorporate additional tools designed specifically for it, including a new ‘Embossing mode‘.
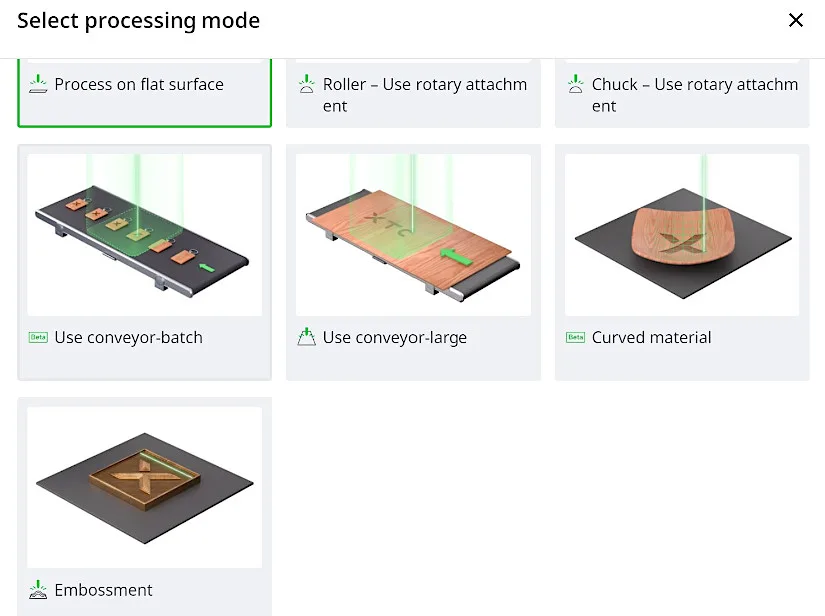
– AI Tool. One of the most recent AI tools is a sophisticated depth map generator that can build depth maps from photographs, allowing you to emboss almost anything. It is crucial to note that not all photos function well as depth maps; however, the xTool AI generator does an amazing job of creating images suitable for this purpose.
Numerous other generators are available in addition to these tools, and more will be added soon. xTool’s extensive materials section makes finding the ideal settings for your project simple. This section includes options for cutting, engraving, and scoring a variety of materials. Each material has a graphic that shows several power and speed settings; all you have to do is click on the preferred outcome to import it into the XCS workspace.
Similar to our reviews of the xTool P2 and xTool S1, we will not delve too deeply into the program here because it might easily be the subject of a separate post.
Materials, Settings and Supplies
I was pleasantly surprised to find a vast collection of materials and supplies for laser engraving and cutting on the xTool website.
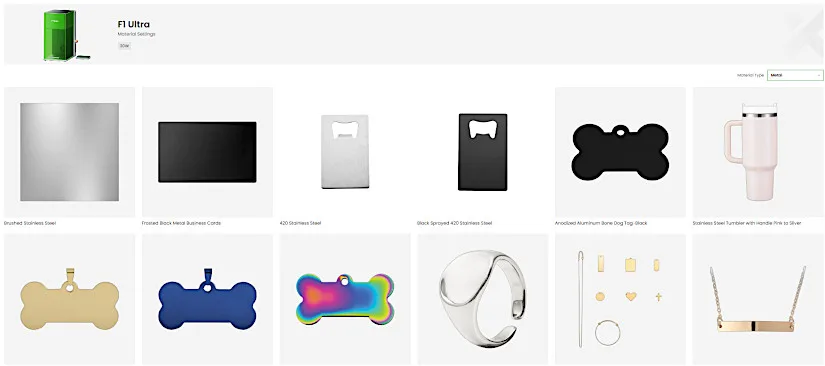
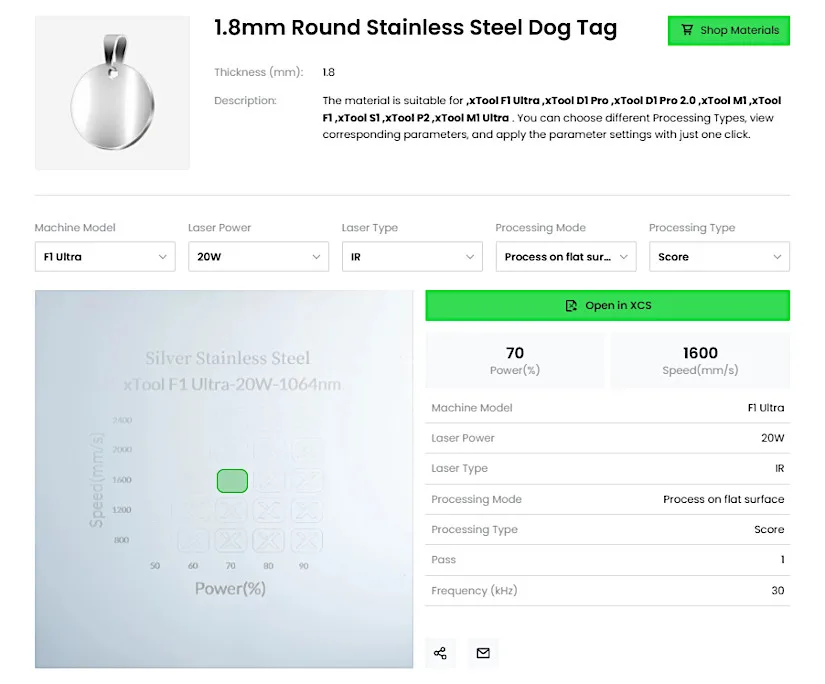
Apart from the materials available for purchase, their database includes all the settings for xTool machines. This library is very handy for investigating materials and settings before planning a project.
Testing and Results
We streamlined the testing procedure using the xTool settings from their material library in XCS. Any modifications will be mentioned under the relevant topic. We recommend experimenting with settings or using material test grids to determine your project’s ideal settings, even though the reference settings are effective for most project demands.
Fibre Laser Test
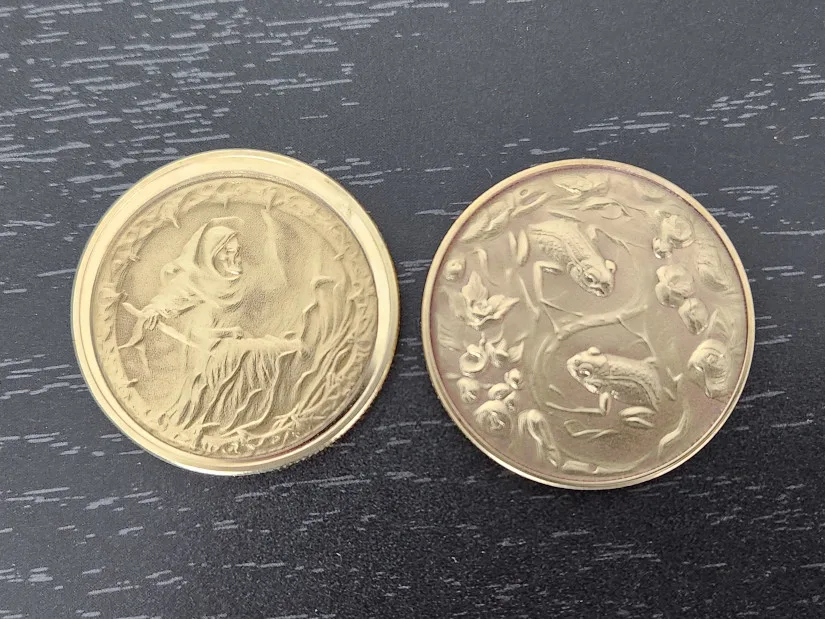
We began with three challenge coins because this is the first fibre laser we have tested. I created depth maps using the photos I found on the laser-pics.com website and with the XCS depth map generator. One thing to keep in mind is that the generator requires points to generate. However, earning points is simple; the xTool website has further details.
– Embossing Brass Coins. After converting the photos into depth maps, it is important to crop the photos into circles. We embossed each coin using the brass coin reference settings. This procedure could take several hours to complete depending on speed and the number of layers being engraved.
©3DWithUs – Photo: Will Zoobkoff
– Cleaning Pass. When the engraving was finished, we had to perform a cleaning pass. This required two passes at 35% power and 5000 mm/s for all our coins. Following the cleaning pass, we further polished and cleaned the coins using a brass brush and a Dremel. The outcomes are breathtaking, with the depth of the engraving and the detail clearly visible, giving the pictures a striking appearance. Considering the quality attained, these coins are well worth the processing time.
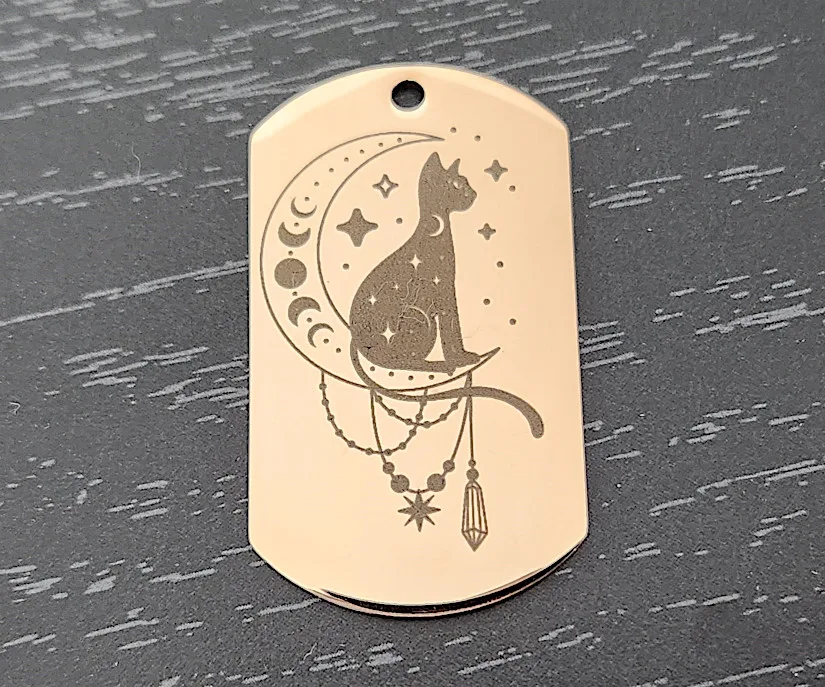
– Engraving on Brass Pendants. We then decided to use the fibre laser to engrave a few military pendants using the settings listed on the xTool materials settings page. With the reference settings, we began by engraving the first image, a picture of a cat, which took just 37 seconds to finish. By changing the Bitmap mode to Atkinson, we achieved lightning-fast engraving while keeping remarkable detail and clarity in the finished result.
©3DWithUs – Photo: Will Zoobkoff
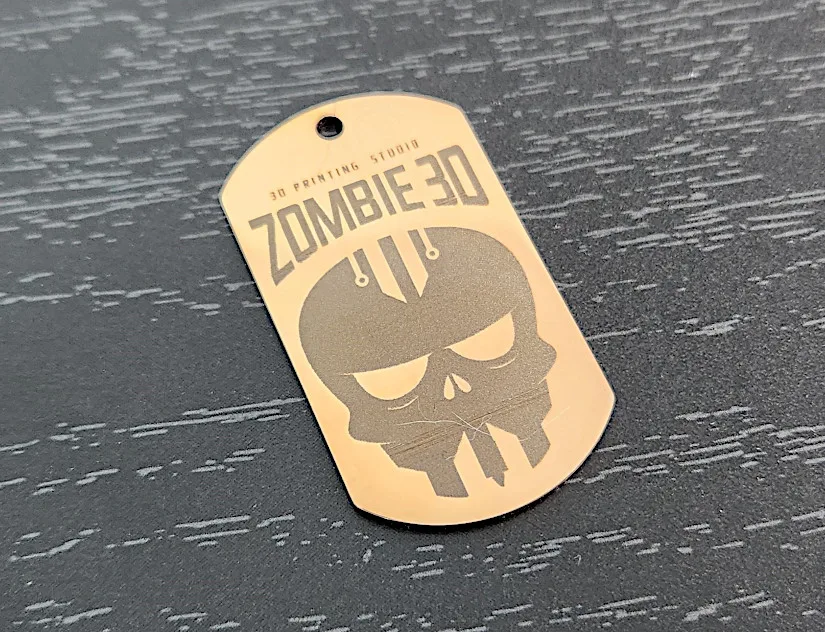
We engraved the StudioZombie3D logo for the second image, which was finished in an astonishingly short amount of time—just 1 minute and 44 seconds. The engraving is clear and detailed, and there were no problems as with the prior one.
©3DWithUs – Photo: Will Zoobkoff
Engraving basic images like this allows you to create several pendants quickly, making it a useful procedure for larger projects. The remarkable results demonstrated the fibre laser’s speed and ability to capture intricate features, which is especially useful for precision-based designs.
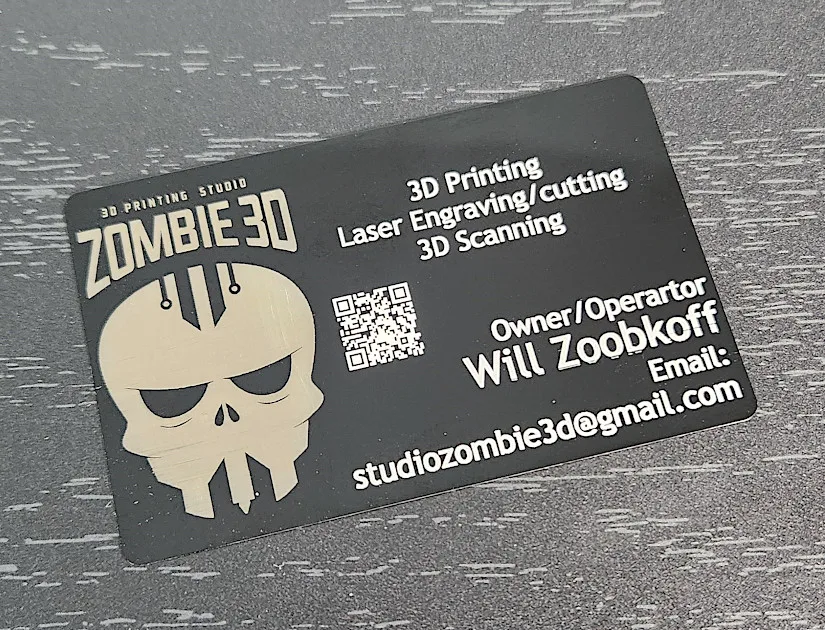
– Anodized Business Card. Next, we tried engraving a business card. For the business card, we used a StudioZombie3D test card. The black metal anodized business card reference settings were used to engrave the lettering, ensuring clear, readable writing due to the 20W fibre laser’s 0.03 x 0.03 mm spot size. The image was engraved using the diode laser, which is clear and sharp but has a larger spot size of 0.08 x 0.1 mm. It was finished in just 1 minute and 35 seconds.
©3DWithUs – Photo: Will Zoobkoff
Next, we engraved a detailed dragon image from laser-pics.com into a black business card using the same settings. To ensure that the engraving displays correctly, it’s crucial to remember to invert the image when engraving on this kind of card. You will still receive an engraving if you do not invert the image, but it can be more difficult to see the details of the finished product. Despite its complexity, the engraving took 4 minutes and 53 seconds, which is still quite quick for laser engraving such a detailed image.
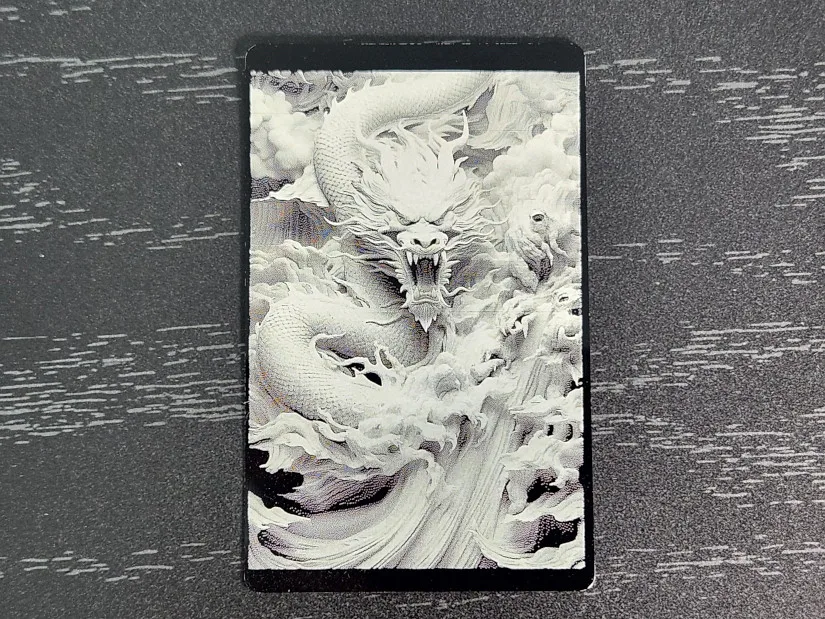
©3DWithUs – Laser Job and Photo: Will Zoobkoff
– Slate Stone Embossing and Engraving. We then made two slate coasters, one with an embossed design and the other with a simple engraving. Both pictures are from the Laser-Pics website.
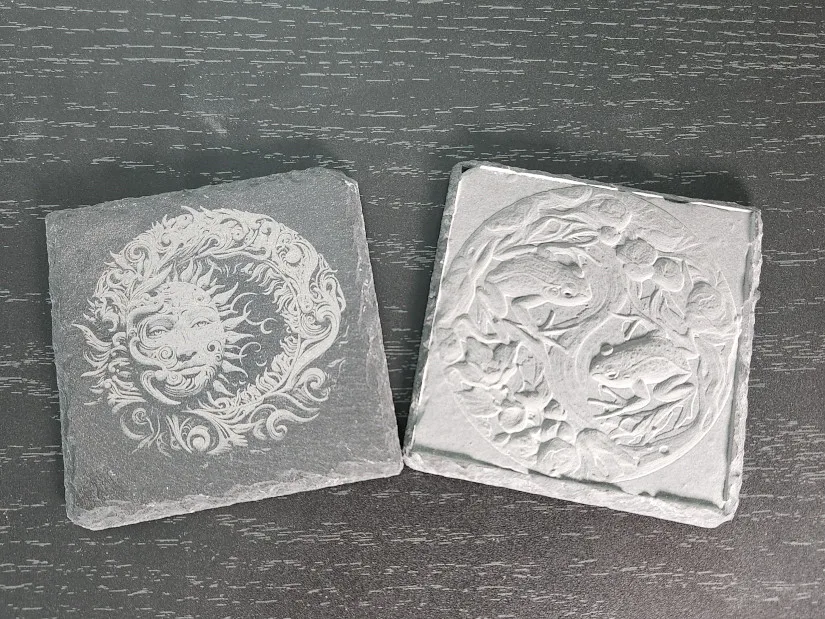
©3DWithUs – Laser Job and Photo: Will Zoobkoff
To make the details stand out, we inverted the image and adjusted the greyscale to darken it a bit for the engraving. The procedure took slightly under three minutes using the recommended slate stone settings.
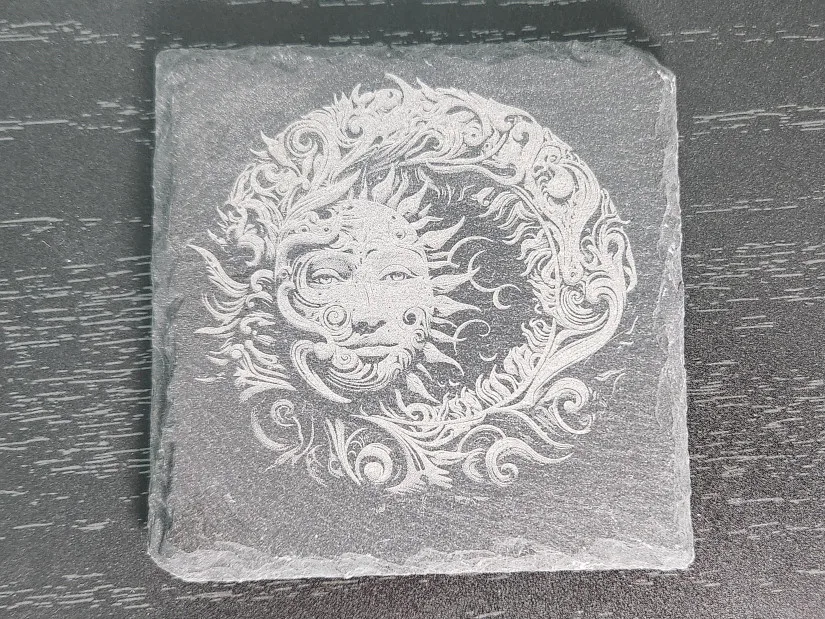
©3DWithUs – Laser Job and Photo: Will Zoobkoff
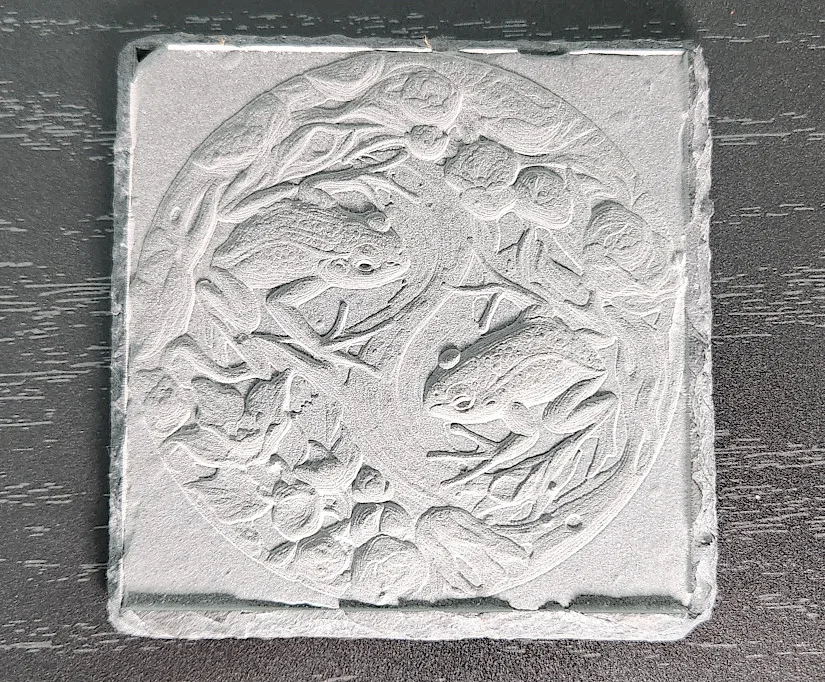
It took over three hours to emboss the second coaster using the slate stone settings, but the outcome is incredible, and the design is particularly stunning. On 3DWithUs, we offer a detailed guide on laser engraving on stone-like materials. Embossing on slate stone takes it to a whole new level.
– Engraving on Jewelry. Even tiny, intricate objects, like a silver moon phase necklace or a gold-plated bookmark with a charm, can be precisely engraved with the F1 Ultra’s 20W fibre laser. The bookmark, with its tiny charm, took little more than one minute and thirty seconds to create, whereas the necklace engraving was finished in just four seconds.
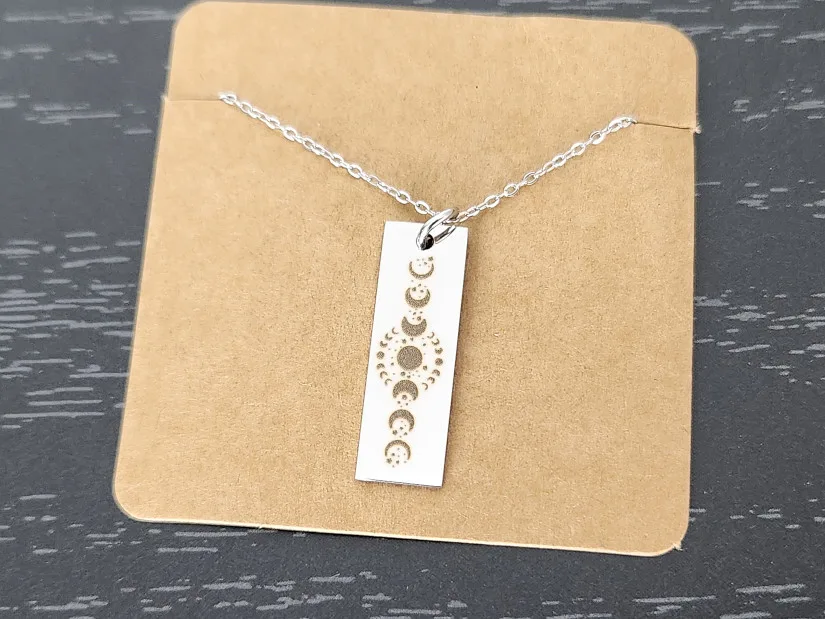
©3DWithUs – Laser Job and Photo: Will Zoobkoff
In addition to looking great, these smaller items are perfect for corporate use because they are high-quality, quick to create, and enable complex, detailed designs that truly pop. They make customization effective and striking, making them ideal for high-demand commodities.
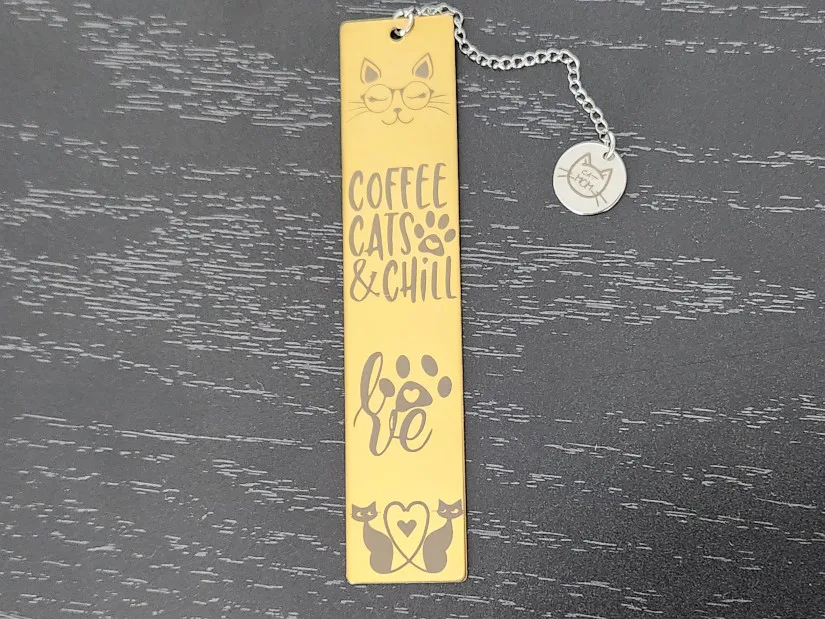
©3DWithUs – Laser Job and Photo: Will Zoobkoff
– 3D Curve Engraving. This outstanding F1 Ultra feature allows engraving on curved objects without a rotary attachment. I used a boiled egg to achieve a custom engraving as a test. I utilized the blue diode laser with these settings: 75 dot duration, 40% power, and 300 dpi.
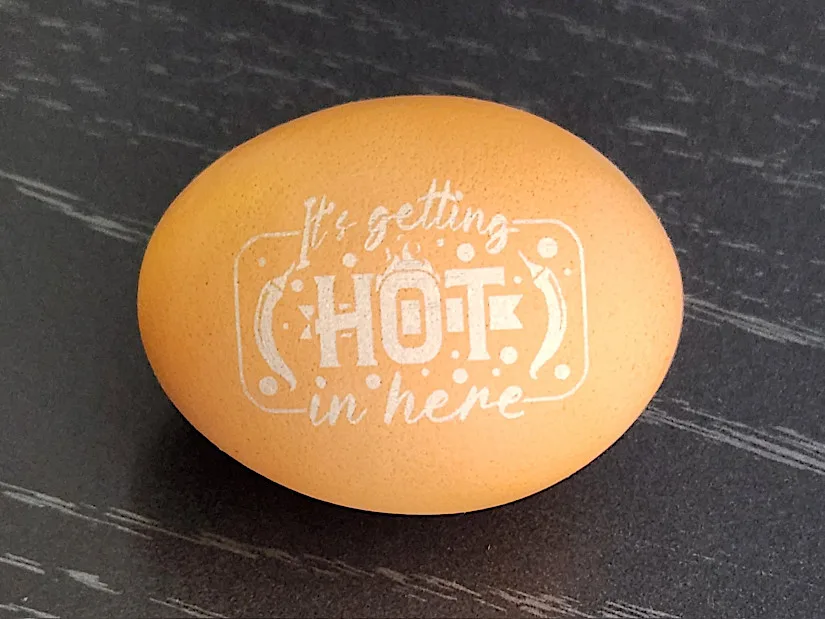
©3DWithUs – Laser Job and Photo: Will Zoobkoff
Completing such an engraving took me a minute and a half. I can see that this feature could have various applications. The F1 Ultra handles not only 300+ materials but, thanks to the 3D curve option, a larger number of objects.
– Engraving on Basswood. As a last test, we utilized the reference settings to create a basic engraving on basswood, which took only 42 minutes. Despite its simplicity, the engraving is of exceptional quality; the precise, clean edges highlight the accuracy and versatility of the F1 Ultra’s dual-laser technology. The simplicity and quality of woodworking demonstrate the machine’s flexibility for various projects.
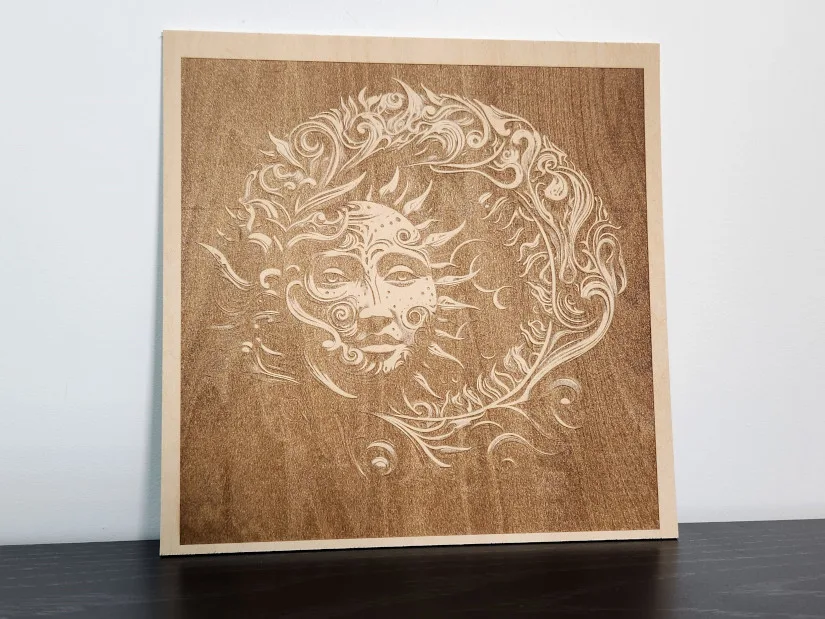
©3DWithUs – Laser Job and Photo: Will Zoobkoff
It was tough to decide which goods to emphasize in this evaluation due to their compatibility with a wide range of materials. One of the F1 Ultra’s most remarkable characteristics is its 20W Fibre Laser, which greatly expands the capability of any workshop.
Compare to Other Laser Cutters and Engravers
Compare to Other xTool Laser Cutting and Engraving Machines:
xTool has a diverse range of laser systems to cover all needs. Here is a very helpful comparison page where it is possible to compare products and laser types.
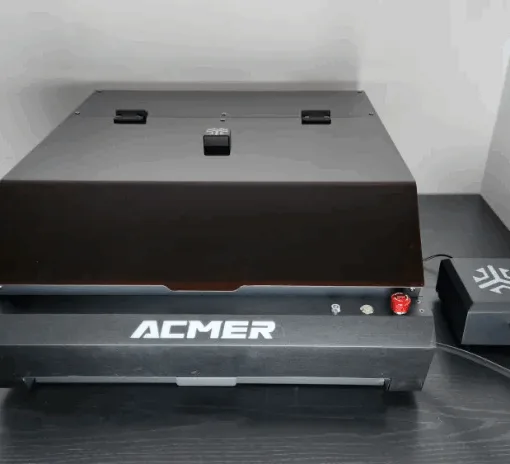
On 3DWithUs, we have featured a few laser cutters and engravers that operate with diode lasers.
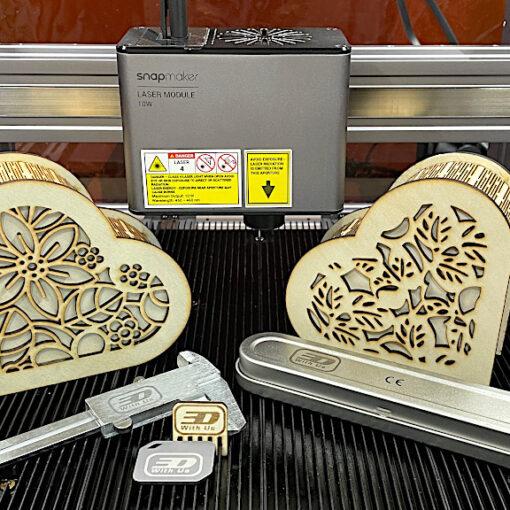
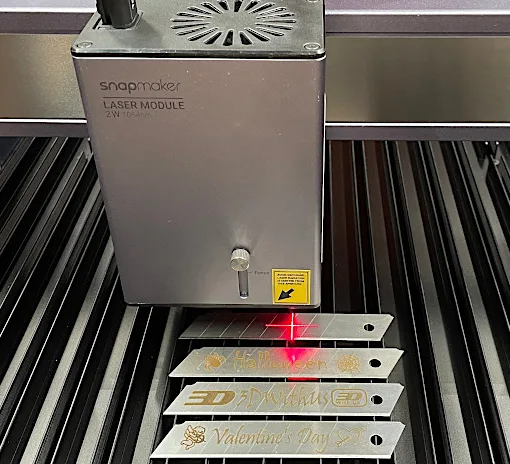
- Snapmaker 40W Laser Module (Review)
- Longer Nano Pro 12W (Review)
- LaserPecker LP2 Laser Engraver (Review)
For a comparison with other laser cutters and engravers, please refer to the detailed Best Laser Cutters and Engravers Guide.
The xTool F1 Ultra can work as a portable machine, placing it in the same category as products from LaserPecker and Longer. On our website, you can compare their prices, capabilities, and functionalities. Besides innovative Diod and Fiber Laser, xTool F1 Ultra stands for its leading-edge add-on systems, including conveyor options.
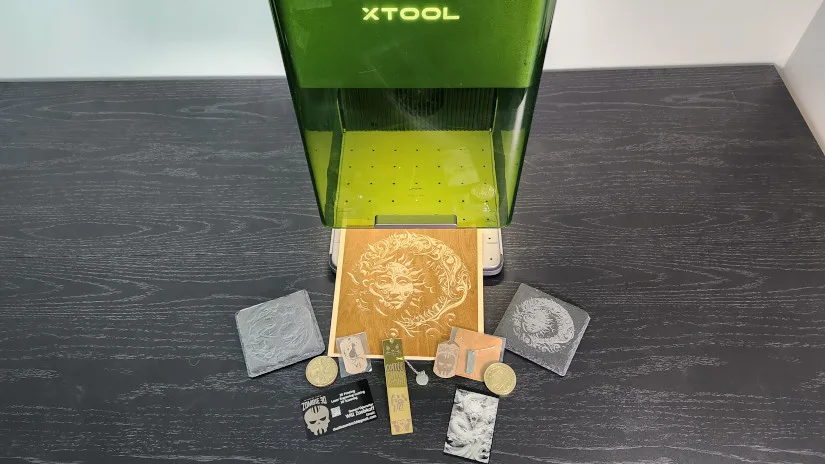
©3DWithUs – Laser Job and Photo: Will Zoobkoff
Conclusion and Pros & Cons

xTool F1 Ultra Review
Review Summary
The xTool F1 Ultra is a versatile and promising device that revolutionizes laser engraving and cutting. Since it has a larger work area measuring 220 x 220 mm in width, new dual 20W diode and fiber lasers, and great accessory compatibility, it has the potential to be an essential addition to any workshop. One of the tools that stand out is the 20W fibre laser that allows engravings on more than 300 different materials, such as metals, wood, and slate. The performance of this machine on anything from wooden engravings to metallic designs captures its effectiveness, thus meeting most engraving and cutting needs, whether they are mass production or complex segmentation.
Several parameters, like its integrated 16 MP camera or its optional conveyor and hands-free pedal, make the F1 Ultra helpful for completing intricate single-piece work or mass-combining batch processing. A strong exhaust system and optional inline booster of 410 CFM even allow for a clean, smoke-free workspace. Finally, constant software updates, like embossing depth map generation, only add to its potential.
The xTool F1 Ultra is quite fast and produces professional-grade work, making it possible for anyone to improve their engraving and cutting projects. It is quite advanced in its body design and comes with several accessories to cater to complex, big, or mass-production jobs, which makes it an excellent tool for any hobbyist, small business owner, or creator.
PROS
• Built-in camera
• Accessories
• Autofocus
• Material compatibility 300+
• 10000 mm/s max speed
• 3D curve engraving
• 220 x 220 mm work area
CONS
• Price
• Camera can be blurry when zoomed in

