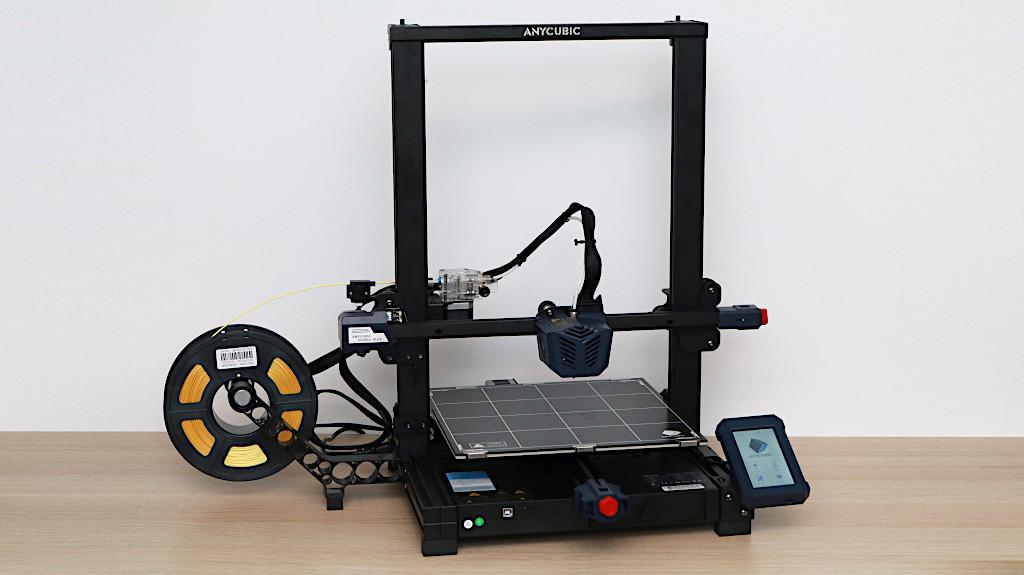
The Anycubic Kobra Plus is the middle child of the new Kobra line of printers. The Kobra Plus is designed with the prosumer market in mind and shares many of the same features found on the larger and more expensive Kobra machine in this series. During testing for the review, the Kobra Plus provided impressive results without any mechanical hiccups or issues. The overall experience from unboxing and assembling to removing prints was quick and easy. Let’s list the PROS and CONS and compare Kobra Plus to two other machines in the series.
3D Printer Specifications
Build Volume: 300 x 300 x 350 mm (11.8” x 11.8” x 13.8”)
Nozzle Size: 0.4mm
Bed Leveling: Anycubic LeviQ Automatic Bed Leveling Sensor (25 Point)
Material: PLA, PLA+, ABS
Build Platform: Removable Carborundum Glass Plate
Connectivity: MicroSD Card
Interface: 4.3” Color Touchscreen LCD
Comparison Table
Price: $439-530
Affiliate Links:
Amazon
Official Website
Timelapse recorded on Kobra Plus
©3DWithUs – Print & MP4: Andrew Sink
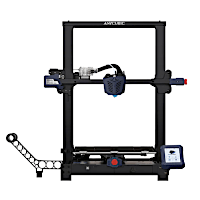
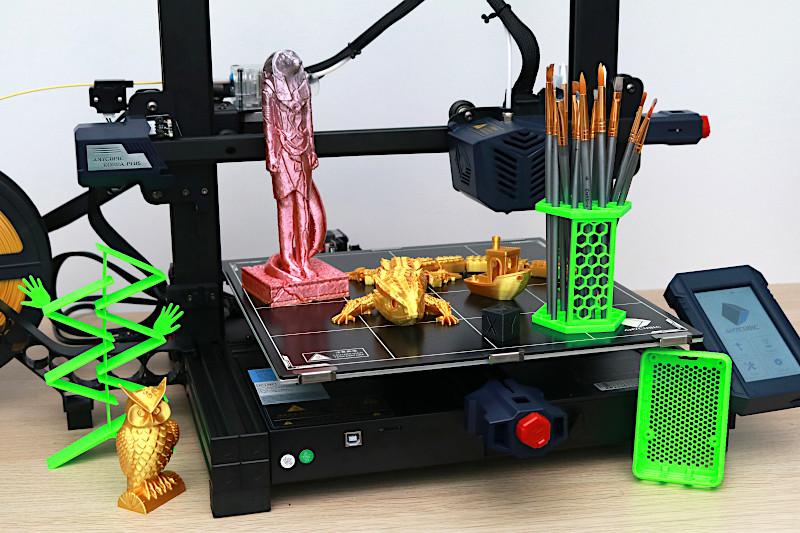
The 350W power supply, large build volume, LeviQ automatic bed leveling system and more come together to make the Kobra Plus an appealing option for anyone interested in a prosumer filament 3D printer without the typical prosumer price.

©3DWithUs – Photo: Andrew Sink
©3DWithUs – Photo: Andrew Sink
Assembly and Hardware Features
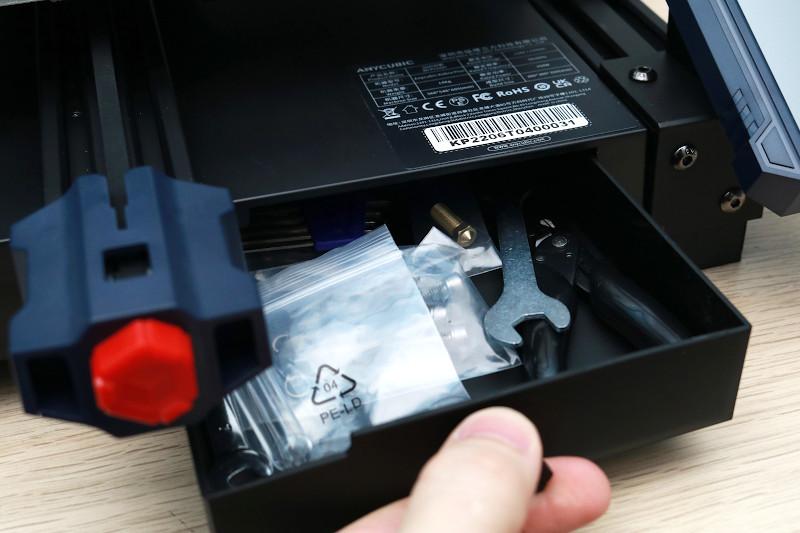
The Anycubic Kobra Plus ships in a mostly-assembled state, and only requires 4 bolts to attach the frame to the base, three bolts to attach the touchscreen, and a few electrical connections. The assembly process takes well under an hour, and first-time users should be able to follow along with no problems. The Kobra Plus is a feature-rich machine, and the overall design of the printer is a step above most inexpensive aluminum extrusion-based i3-style printers. The 300mm x 300mm x 350mm build volume, E3D-style Volcano hotend, LeviQ bed leveling system, integrated tool storage drawer, and other features all help the Kobra Plus to stand out from the competition.
©3DWithUs – Photo: Andrew Sink
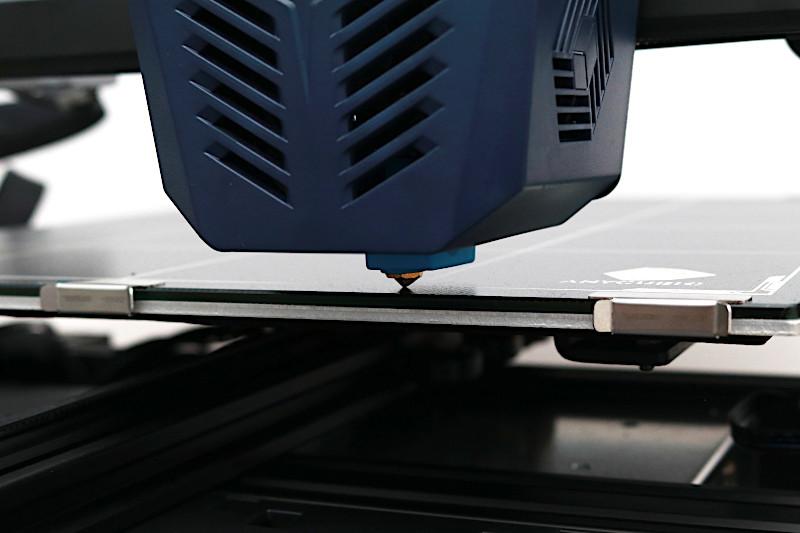
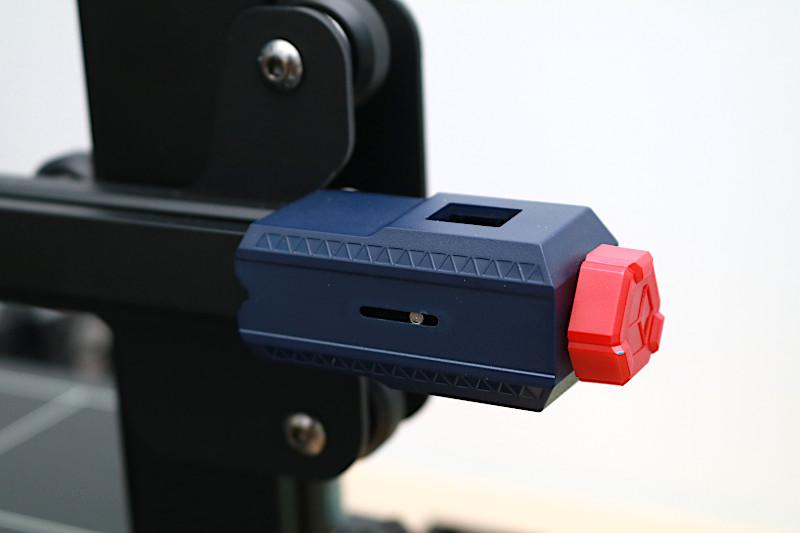
LeviQ Automatic Bed Leveling System
The Kobra Plus features the LeviQ automatic bed leveling system, a best-in-class strain-gauge-based system that worked perfectly during testing. The LeviQ system works by probing the bed at various points, determining the offset between the nozzle and the platform, and storing this information in memory. This automatic process reduces the amount of time a user needs to spend dialing in the first layer, and is ideal for a production environment where the printer needs to run unattended after an initial leveling.
©3DWithUs – Photo: Andrew Sink
©3DWithUs – Photo: Andrew Sink
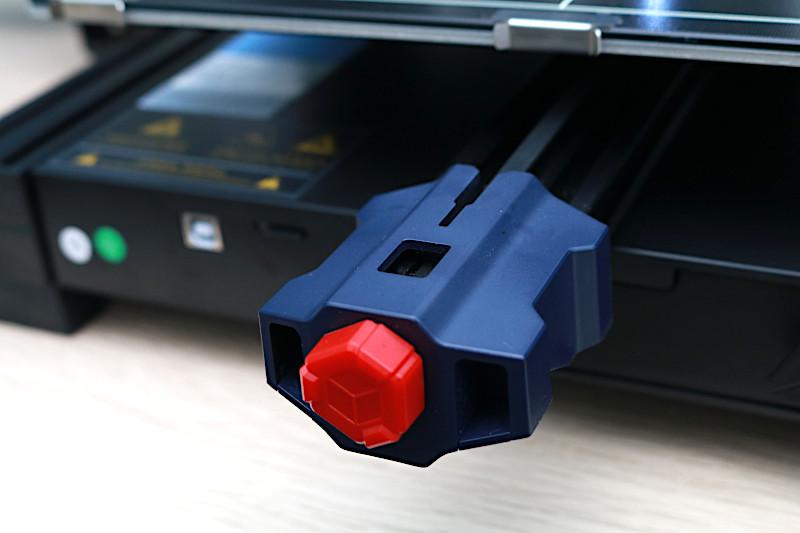
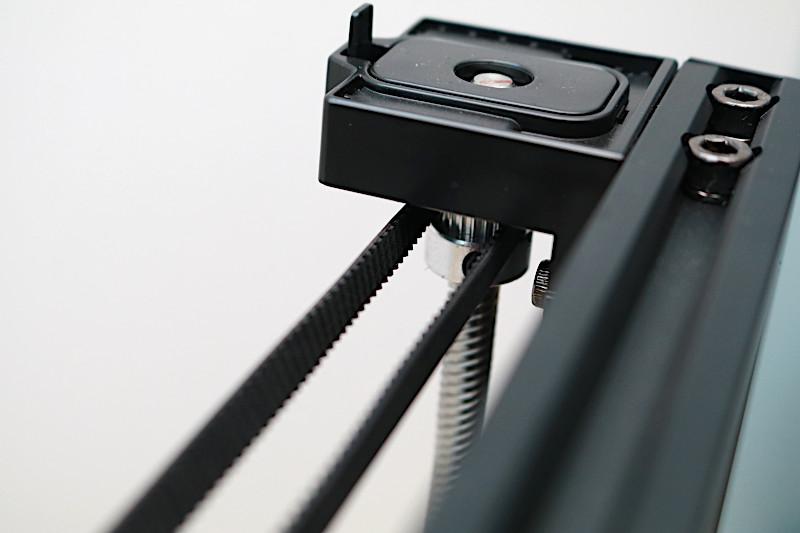
Adjustable X/Y Belt Tensioners
Just like the larger Kobra Max, the Kobra Plus features adjustable belt tensioning knobs on the X and Y axes. The belts arrive with a bit of slack in them to prevent stretching during transit, so a quick tensioning solution makes the initial setup a fast process. These tensioners are housed in an injection molded shell that feels sturdy and robust, and is one of the many pieces of industrial design on the Kobra Plus that gives it a more prosumer appearance than the typical i3-style aluminum extrusion-based 3D printer.
©3DWithUs – Photo: Andrew Sink
Dual Z-Axis with Synchronization Belt
The Kobra Plus features dual threaded Z rods, with a synchronization belt that runs between a pair of timing pulleys that connect both rods. This dual-drive Z axis allows for fast and smooth motion up and down the Z axis while minimizing the amount of X gantry buckling or bowing during printing. Each threaded rod is connected to the gantry using an anti-backlash nut, which helps minimize the amount of banding (or layer shift) present in printed models.
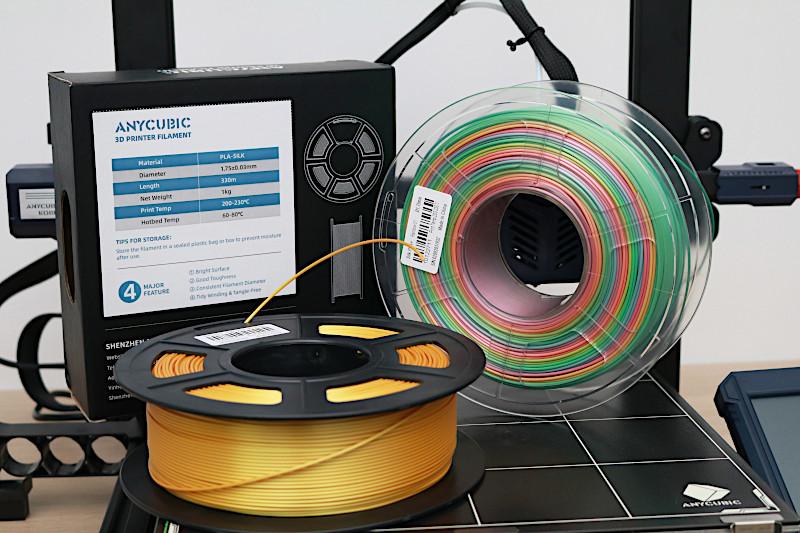
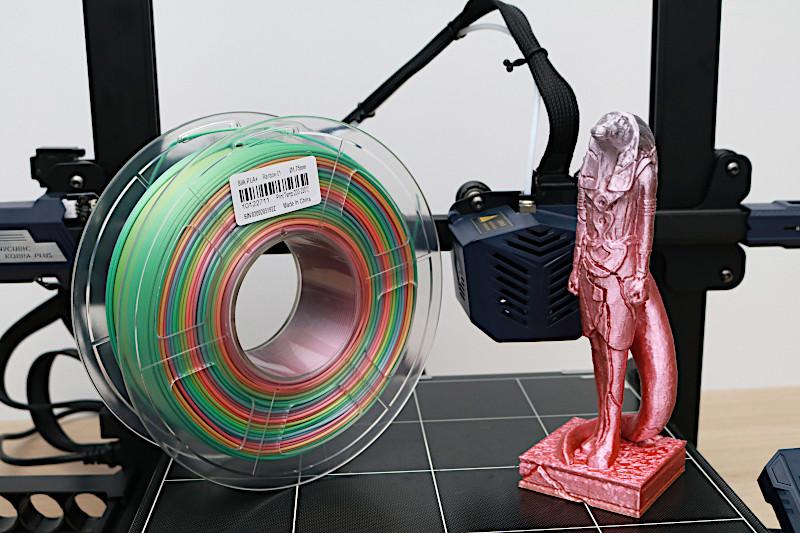
Anycubic Silk PLA+ / Light Gold and Rainbow
Anycubic included two spools of their Silk PLA+ with this printer, in Light Gold and Rainbow colors. This filament is extremely shiny, and has a metallic appearance that is very bright and reflective. Due to the shiny nature of this material, any defect is instantly apparent in a print, and things like start/stop points on the contours of a model stand out much more than on matte materials. This material is ideal for shiny parts that don’t require any post-processing, but printing highly detailed models can sometimes look a bit uneven.
©3DWithUs – Photo: Andrew Sink
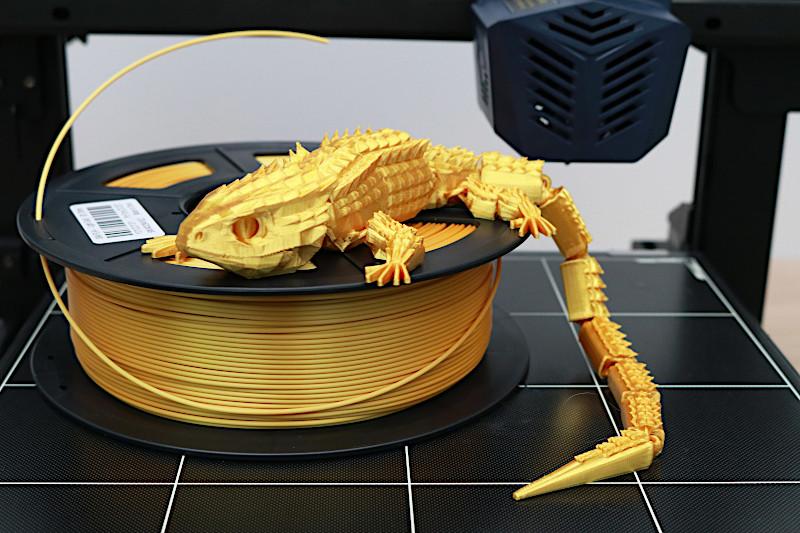
©3DWithUs – Print & Photo: Andrew Sink
©3DWithUs – Print & Photo: Andrew Sink
The Red-Eyed Skink by Trejager and Ammit sculpture by Hickory Hill printed with this material flawlessly using the recommended settings provided by Anycubic.

©3DWithUs – Print & Photo: Andrew Sink
©3DWithUs – Print & Photo: Andrew Sink
Printing Included Test Print
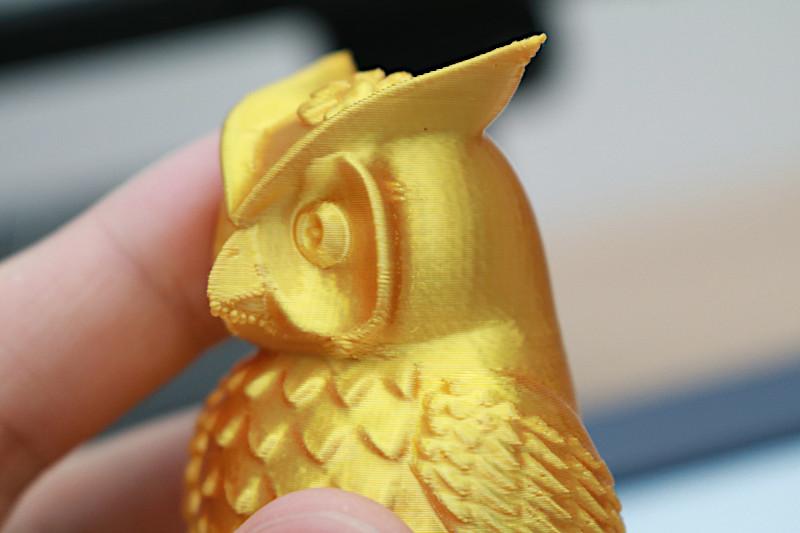
The Kobra Plus ships with a prepared demo model on the SD card titled “owl0217.gcode”, which is a model of an owl with a small bow on its head. This model appears to be identical to the demo model that ships with the other machines in Kobra series, and it printed without issue. Using Anycubic Silk PLA+ in Light Gold, the model looks clean and consistent, but I can’t help but feel like this is a missed opportunity from Anycubic to demonstrate the strength of the Kobra Plus. This test print takes about 2.5 hours, and results in a model that is roughly ~3.5” tall. Given the large build volume of the machine, a large model printed in vase mode or several small models on various points on the bed would take a similar amount of time and demonstrate the unique strengths of this printer.
Screenshot: Cura
Screenshot: Cura
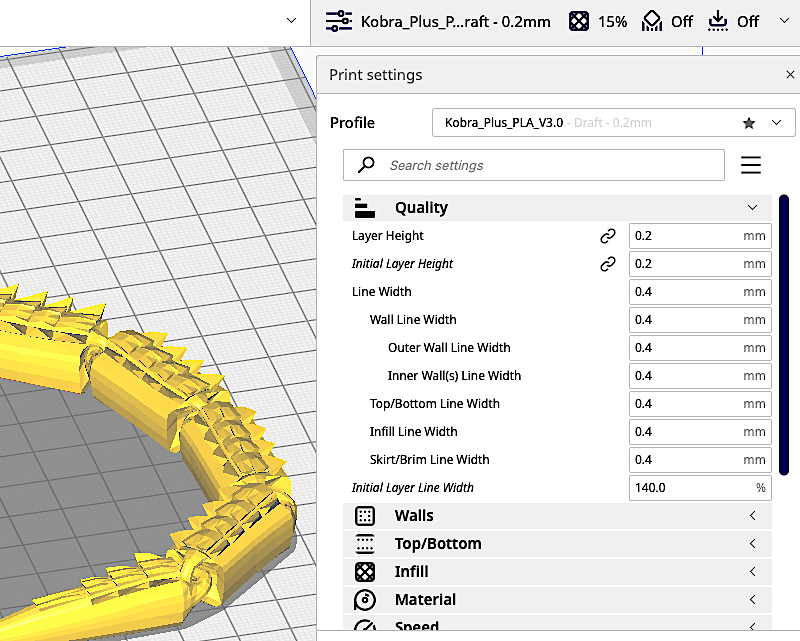
Ultimaker Cura Slicer Software Profile and Settings
The Kobra Plus ships with a copy of Ultimaker Cura as well as a pre-built profile designed for PLA filament. Cura currently doesn’t offer the Kobra Plus as a native printer, so the printer needs to be added manually, which Anycubic covers in a step-by-step process in the instruction manual.
Just like the profile included with the Kobra Max, the printer has a few strange quirks (infill before walls) which lead to suboptimal print quality. Increasing the print temperature from 195° C to 205° C, printing infill after walls, and removing the brim are quick and easy tweaks that will dramatically increase the quality of your printed part. Below, you can find the settings used for this review.
Kobra Plus Settings in Cura
Layer Height – .2mm
Wall Thickness – 1.2mm
Wall Line Count – 3
Infill Density – 15%
Infill Type – Grid
Print Speed – 80 mm/s
Extruder Temp. – 205° C
Print Bed Temp. – 60° C
Top / Bottom Layers – 6
Retraction Distance – 6mm
Retraction Speed – 40mm/sec
©3DWithUs – Print & Photo: Andrew Sink
©3DWithUs – Print & Photo: Andrew Sink
©3DWithUs – Print & Photo: Andrew Sink
Printing on the Anycubic Kobra Plus
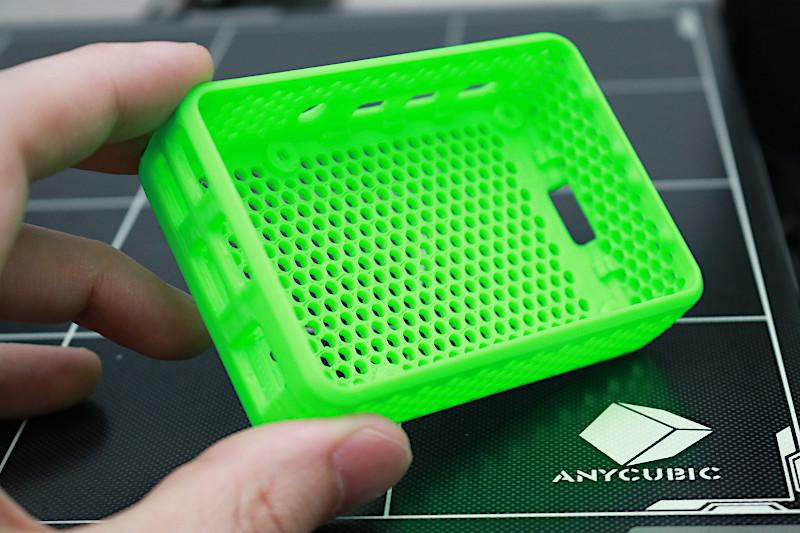
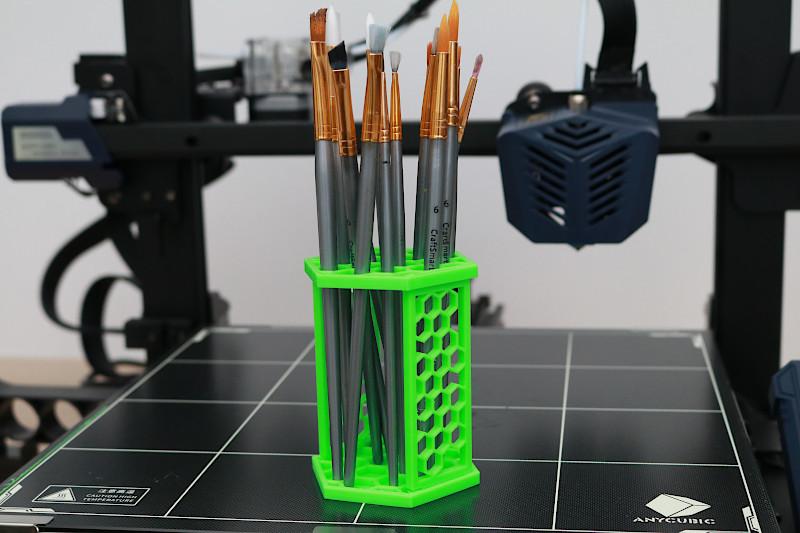
Using the included settings for Cura, I printed a variety of models to test out the performance of the Kobra Plus. Functional parts like the Hexagonal Brush Stand by Culhwch and Pi4 Case by Carter printed without any stringing, despite the large number of retraction moves during the prints. The Carborundum glass build platform kept parts firmly laminated during printing, and they were easily removed after cooling using a flat scraper tool.
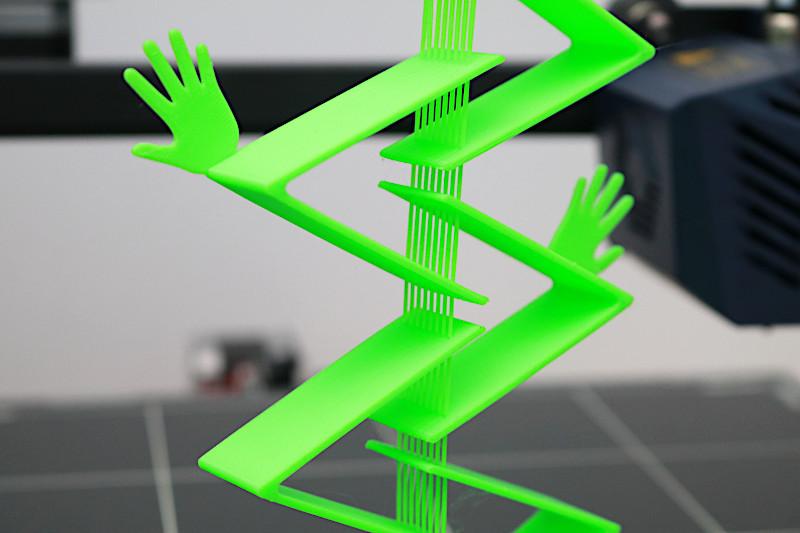
Tensegrity sculpture printed on the Kobra Plus
Print & MP4: Andrew Sink
The Happy Tensegrity print by 3DPrintBunny was printed without any issues, and the part has all the articulation you would expect from a tensegrity print. These tensegrity prints are a great way to test out the ability of a slicer and a printer to handle a difficult model; the long individual contours that make up the flexible components of the print need to laminate to the rigid components, but also remain pliable enough to flex during movement.
©3DWithUs – Prints & Photo: Andrew Sink
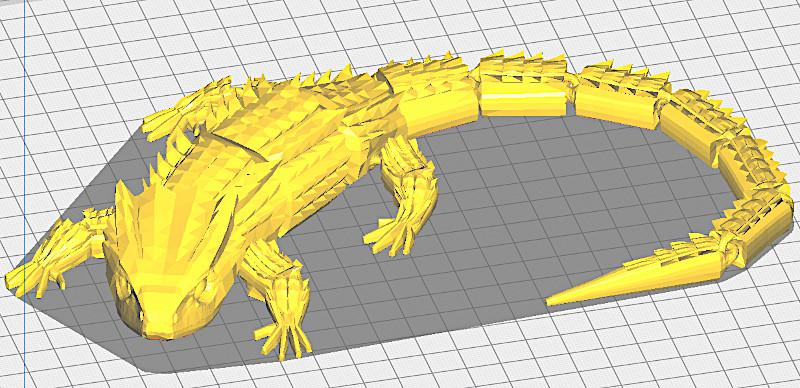
Recording Time Lapse on Kobra Plus
Using the Frog model and printing on the Anycubic Kobra Plus, I enabled the timelapse functionality on the web app of the Beagleprint (review) and created a timelapse. This timelapse required additional hardware (LED light panels, a tripod for the camera, etc.), but the resulting video is smooth and looks like the type of professional timelapse most users will likely expect.
Timelapse created with Beagleprint, further edited and reversed in Ezgif
©3DWithUs – MP4: Andrew Sink
Conclusion
To sum up this review, the Anycubic Kobra Plus is a solid machine with lots of features that make it a great choice for a mid-size printer that offers a larger-than-average volume without taking up as much desk space as larger machines like the Anycubic Kobra Max. Ease-of-use improvements like the integrated tool drawer, dual Z threaded rods, and LeviQ automatic bed leveling help the Kobra Plus to rise above the competition.
Compare to Other 3D Printers
Compare to the similar volume FDM 3D printers in the same $300 price range:
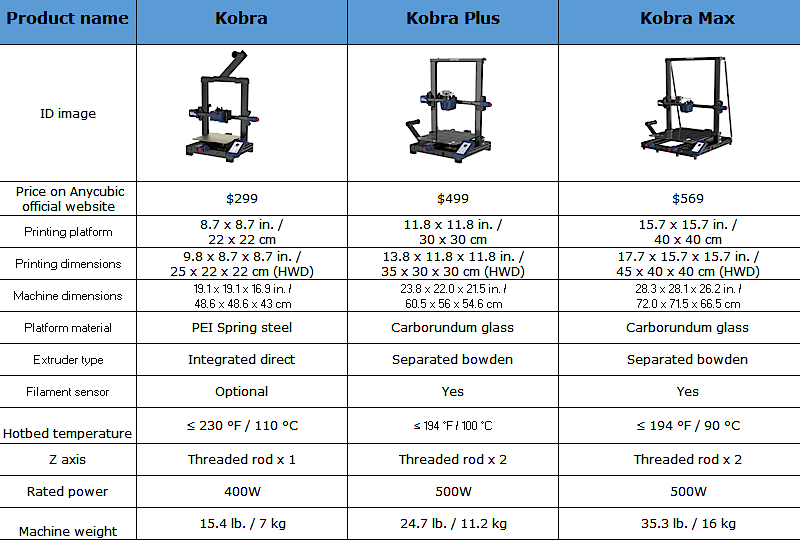
Anycubic Kobra, Anycubic Kobra Plus, and Anycubic Kobra Max Comparison
Anycubic has released three printers in the Kobra line: the Anycubic Kobra, the Anycubic Kobra Plus, and the Anycubic Kobra Max. Please compare the machines in the table below.
- Read more: Anycubic Kobra Review
- Read more: Anycubic Kobra Max Review
The Kobra stands alone as the sole direct-drive machine in the lineup with a PEI spring steel build platform, while both the Kobra Plus and the Kobra Max use a Bowden style extruder with a Carborundum glass build platform and the LeviQ 25 point automatic bed leveling system. The relatively low price of the Kobra ($299) makes it an ideal machine for lower volume applications, while the more expensive Kobra Plus and Kobra Max are targeted at high-throughput and large volume applications. The Kobra Plus and Kobra Max also utilize higher-wattage power supplies, which are able to heat the large build platform more quickly and evenly. All three printers include TMC2209 silent stepper drivers, which make them ideal for anyone who is concerned with the amount of noise generated by the printer during operation.
Anycubic Kobra Plus Star Rating
Review Summary
The Anycubic Kobra Plus is the middle child of the new Kobra line of printers. The Kobra Plus is designed with the prosumer market in mind, and shares many of the same features found on the larger and more expensive Kobra machine in this series. During testing, the Kobra Plus provided impressive results without any mechanical hiccups or issues, and the overall experience from unboxing and assembling to removing prints was quick and easy.
The 350W power supply, large build volume, LeviQ automatic bed leveling system and more come together to make the Kobra Plus an appealing option for anyone interested in a prosumer filament 3D printer without the typical prosumer price.
PROS:
– LeviQ automatic bed leveling system works perfectly, even on the full build volume
– 350W PSU heats bed and nozzle up quickly
– Large color LCD is easy to read and use during printing
– Silent stepper drivers and quiet fans keep noise to a minimum
CONS:
– Cura profile needs adjustment
– Lackluster test model