In this review, we will delve deep into the Creality Ender 3 V3 Plus features and performance. We will carry out various challenging prints to test the machine’s capabilities, such as high-speed printing and handling exotic filaments. We will also look at the print quality. Here, you will find the full video of the machine assembled and tested. In conclusion, we will share the final thoughts and list of pros and cons.
With the Ender 3 V3 and Ender 3 V3 Plus, Creality has relaunched the most popular in the world series back into the 3D printing spotlight. Over the years, the Ender series has been at the forefront of printing technology and the industry standard benchmark in the budget 3D printers category. I learned a lot from my previous Ender, which gave me valuable experience for the testing and reviews on my YouTube channel.
Table Of Contents
- Specifications
- Unboxing – What’s Included
- Setup and Design
- Software – Creality Print 5
- Testing and Results
- Compare to Other 3D Printers
- Conclusion and Pros & Cons
Price: $429 – $519
Product Affiliate Links: 3DWithUs is supported by its audience. Purchases via some links may earn us a small commission at no extra cost to you. This helps us to continue bringing you high-quality content. Our guides and reviews remain unbiased and independent.
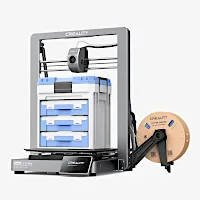
Creality Ender 3 V3 Plus Specifications
• Print Technology: FDM
• Build Area: 300 x 300 x 330 mm
• Maximum nozzle temperature: 300 °C
• Maximum bed temperature: 100 °C
• Minimum Layer Resolution: 0.1 mm
• Maximum Layer Resolution: 0.4 mm
• Dimensions: 410 x 445 x 577 mm
• Weight: 7.8 kg
• Bed: Heated
• Print Surface: Removable magnetic build plate
• Software: Creality Slicer, Cura, Repetier-Host, Simplify3D
• Materials: PLA, ABS, PETG, TPU
• Print Speed: Up to 600 mm/s
• Optional Camera
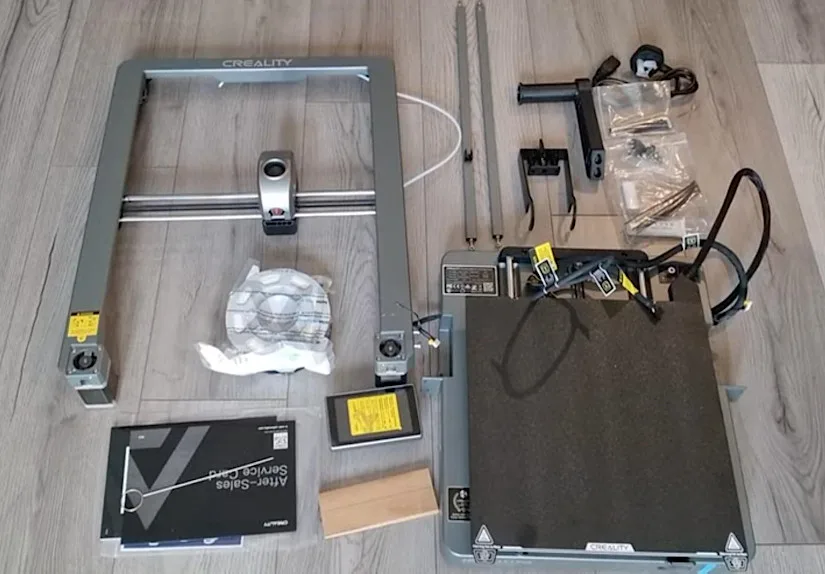
What’s in the Box
Ender 3 V3 Plus base, Gantry frame, Touch screen, Spool holder, Anti-tangle spool attachment, Power cable, Side cutters, Bowden tube, USB drive, Tools, Nozzle cleaner, User manual.
©3DWithUs – Photo: Phil Macey
Setup and Design
The Ender 3 V3 Plus assembled quickly, following the on-screen instructions, and was up and running within 20 minutes of being unpacked, without taking into account the calibration time.
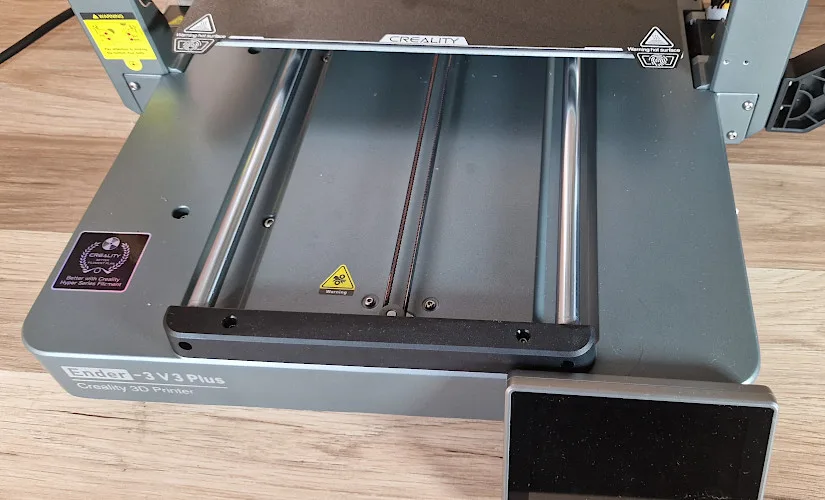
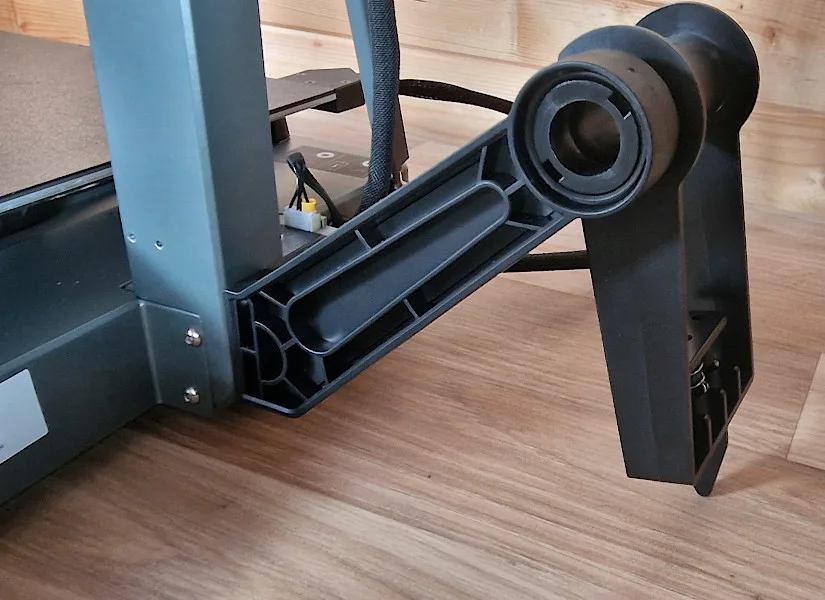
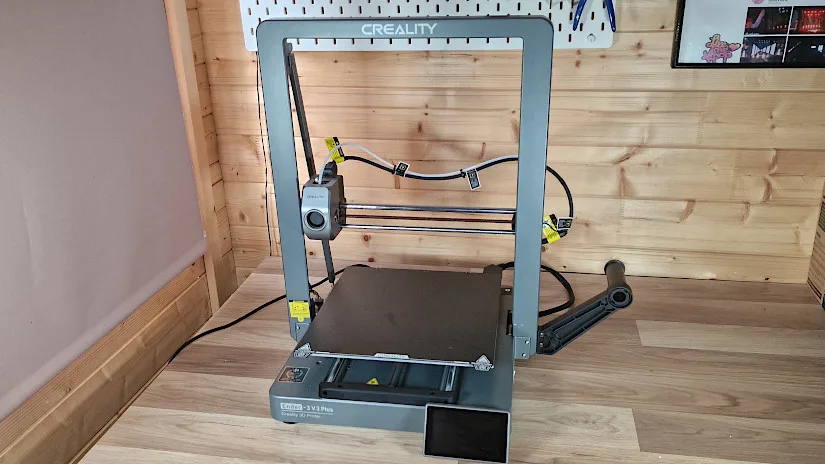
There are two major components: the printer base with the printing platform and the upright X and Z axes. The setup procedure requires a few easy steps: Attach the spool holder to the upright frame and then to the printer base. Attach the touch screen to the machine’s front end.
©3DWithUs – Photo: Phil Macey
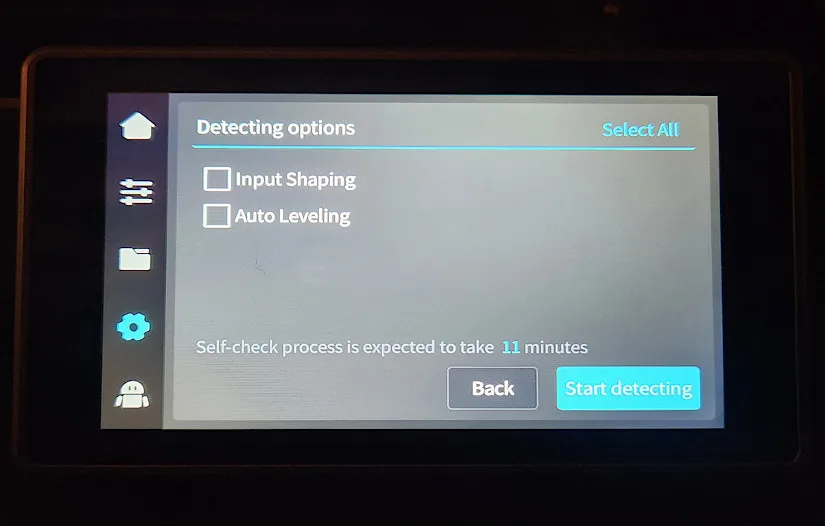
– Self Check. Join and route the cables with the included clips and ties. Once you have assembled the printer, you can turn on the printer and perform the self-check and calibration process. Ender 3 V3 Plus performs numerous checks before attempting to level the bed. It also comes equipped with a custom Klipper-based firmware. Be aware that the self-check and calibration process will need to be revisited when updating firmware.
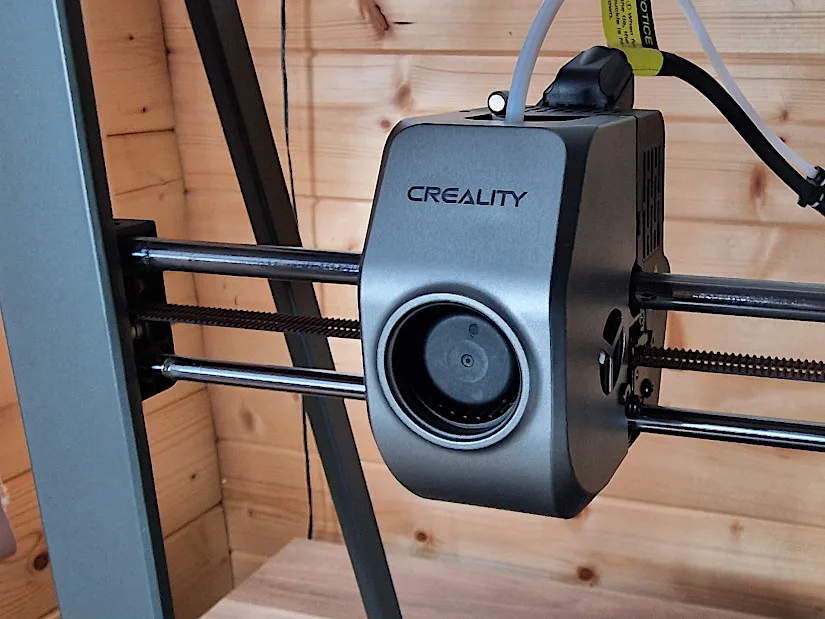
– Build. The previous aluminum extrusion frame has been replaced by a solid cast base and the X and Z axes are enclosed in a solidly moulded piece of metal. Ender 3 V3 Plus is the most stable Ender model to date. The traditional wheels on a typical bed-slinger layout have been swapped out for tube-style linear rods, allowing faster speeds with less jerkiness than traditional wheel configurations. The Z-axis benefits from these linear rods, which give steady movement and allow for significantly quicker travel than earlier designs.
– Interface. Everything you need to set up, calibrate, and get printing is included in the touchscreen interface of Creality K1 series printers. The Web UI can also be accessed via Creality Print, Orca Slicer, or your web browser, allowing you to monitor, upload, and operate your printer even if you are not in the same area. There is also the Creality Cloud that you can use to slice, upload, and start prints.
In my video, I go through the detailed unpacking and assembly process with a few 3D print time-lapses in the end.
Software
The Creality Print 5.0 Beta slicer meets all requirements. It has been updated with new features and a fresh user interface, keeping up with some of the more powerful ones out there. You could also use Orca Slicer, a popular tool for slicing, uploading, and monitoring compatible printers.
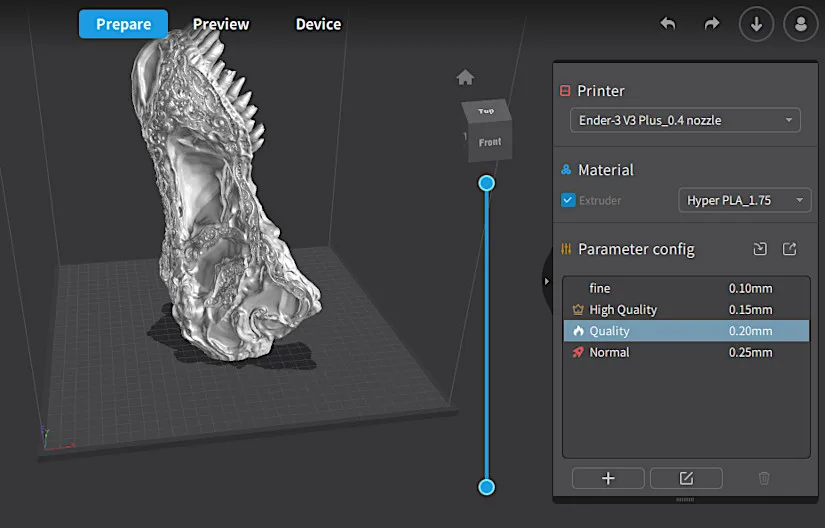
All the prints in our review had a layer height of 0.2mm and a 25% grid fill. To balance speed and quality, we went with three walls and a speed of 300 mm/s. The Scarf Seam Tool in the new Creality Print software drastically eliminates seam lines commonly found on FDM 3D prints. The default settings on the included Ender 3 V3 Plus profile effectively minimize seam visibility when the scarf checkbox is checked.
Testing and Results
I selected several models to test the Ender V3 plus’s capabilities using a variety of filaments. The Ender 3 V3 plus seems to handle all tasks exceptionally well, with no issues on any of the overhangs. The details came out clean with no visible defects.
3D Model by CinderWing3D on Cults
©3DWithUs – Print and Photo: Phil Macey
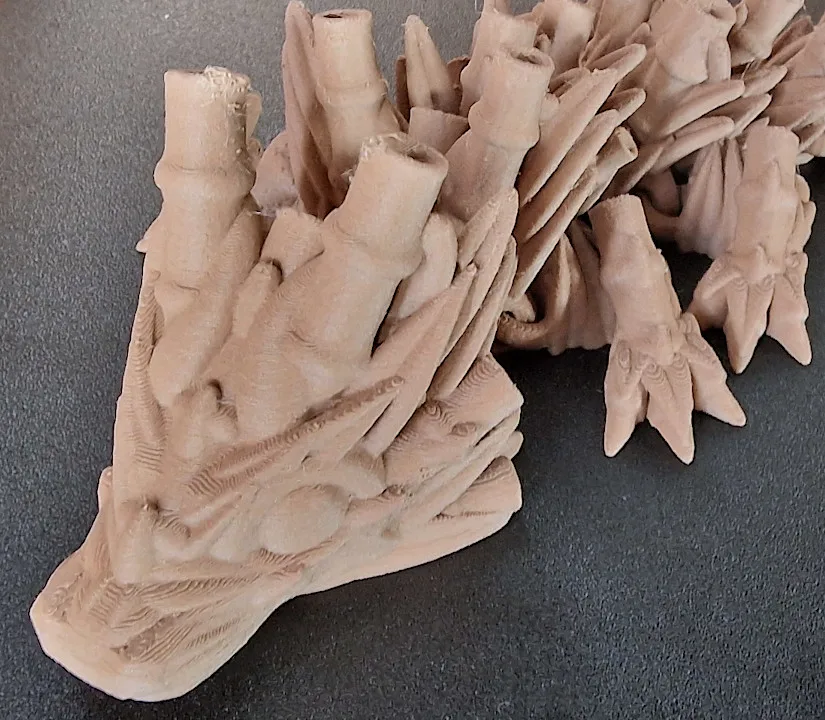
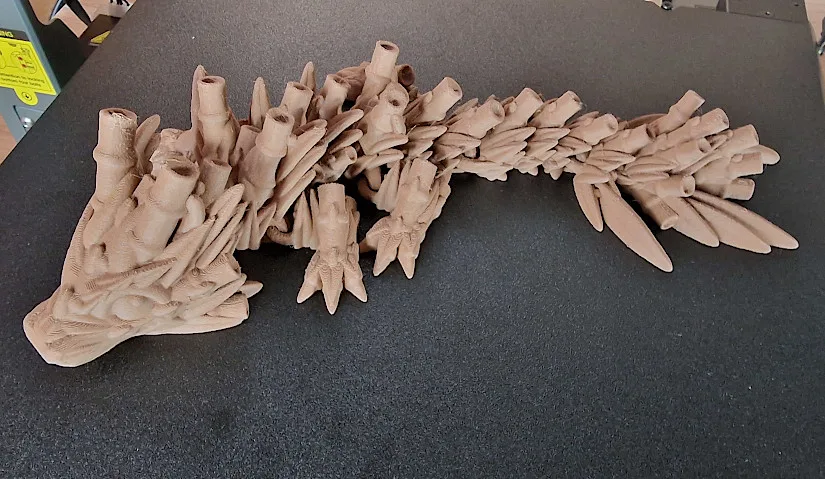
– Wood Filament. I selected an articulated Dragon model from Cinderwing3D to challenge the Ender 3 V3 Plus using Eryone Wood PLA filament. Due to the nature of this filament, speeds were reduced. High speed isn’t advisable on wood filaments due to the melting point. With a layer height of 0.2, three wall layers, and a speed of 65 mm/s, the model took approximately eight hours to print, and the quality came out clean, as shown.
3D Model by Scheettini on Printables
©3DWithUs – Print and Photo: Phil Macey
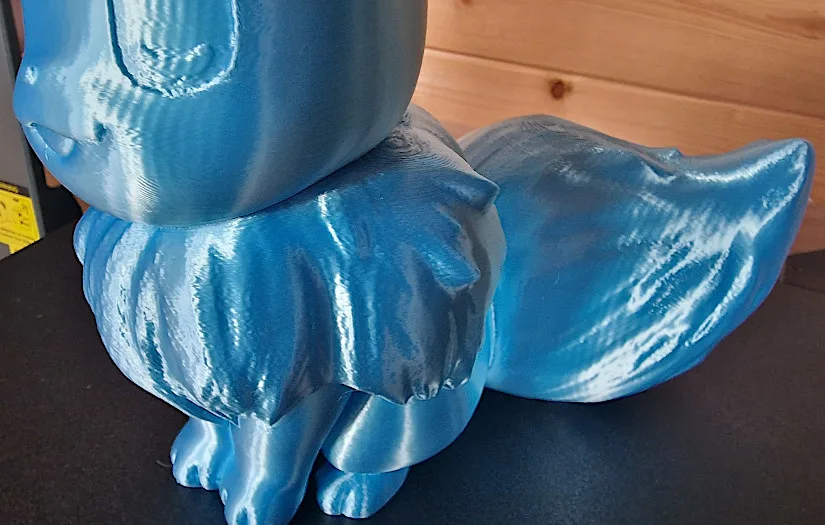
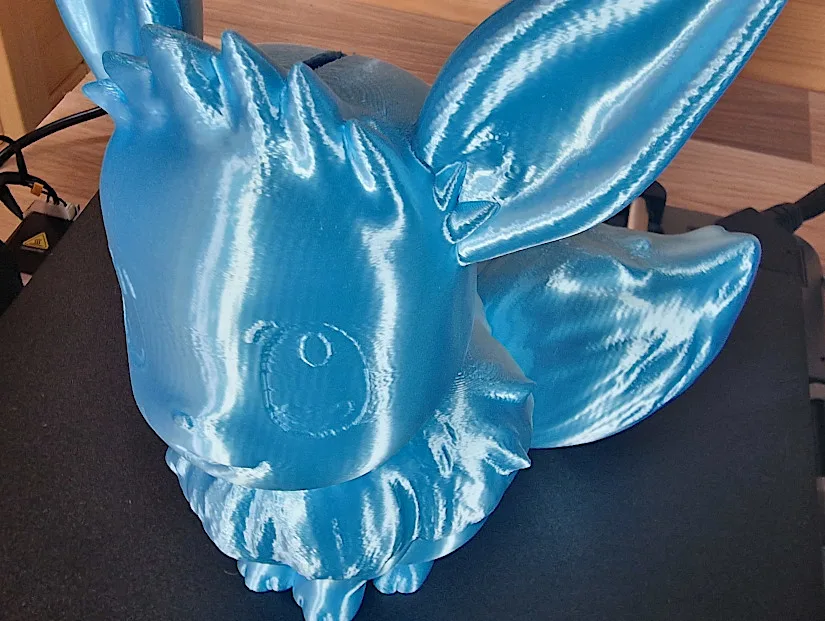
– Overhangs. For the second model, I selected a Pokemon Evie coin box. Due to the nature of the model, this would challenge the Ender 3 v3 Plus for overhangs and no infill. I selected 0.26 layer height due to the length of the print time, an approximate 12-hour print using Eryone Blue Silk PLA. The speed was set at 120 mm/s. Overall, quality was above average due to the speeds and quality levels selected.
3D Model by CinderWing3D on Cults
©3DWithUs – Print and Photo: Phil Macey
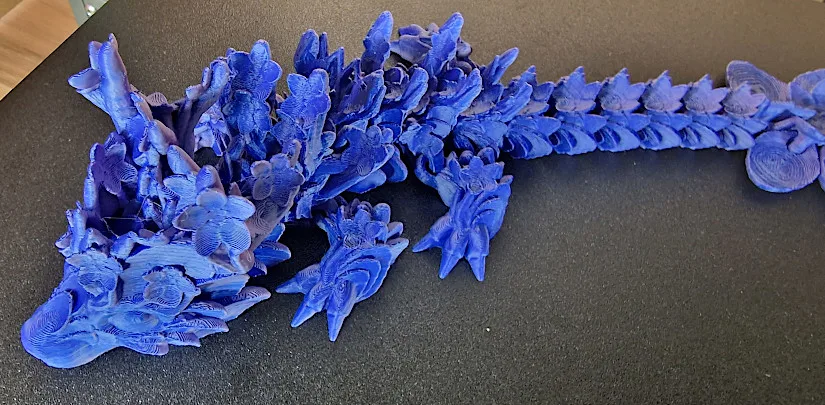
– Print-in-Place. For the third model, I selected another Articulated Dragon from Cinderwing3d printing using Silk Purple PLA by Eryone. This time, I chose a layer height of 0.16 and increased the speed of the print to 150 mm/s. As shown in the pictures, the quality was excellent, and the print was completed within 8 hours. The Ender 3 V3 Plus copes well with the speed and quality crossover even with such challenging models as flexible articulated dragons.
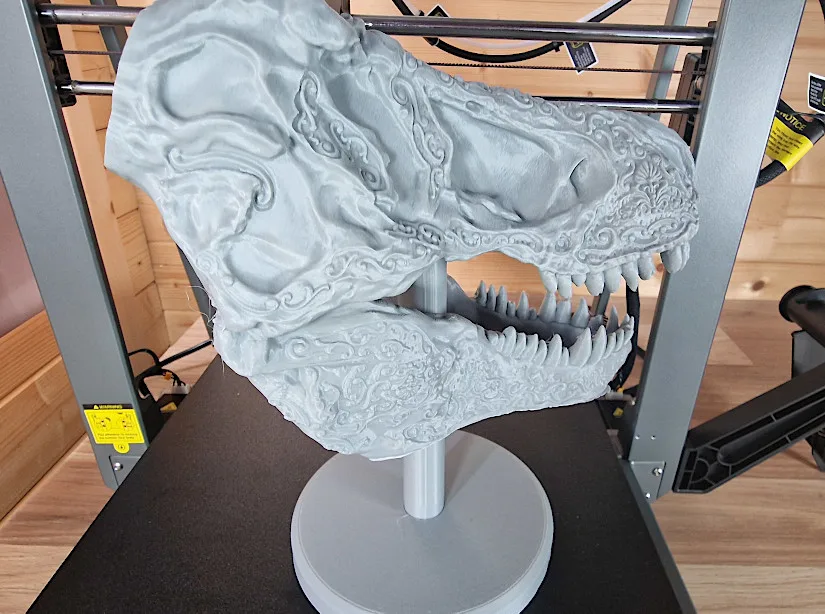
3D Model on STLFlix
©3DWithUs – Print and Photo: Phil Macey
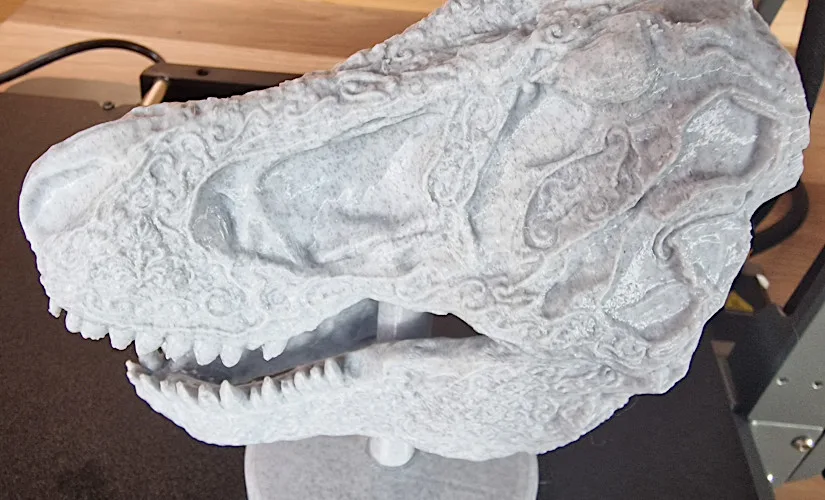
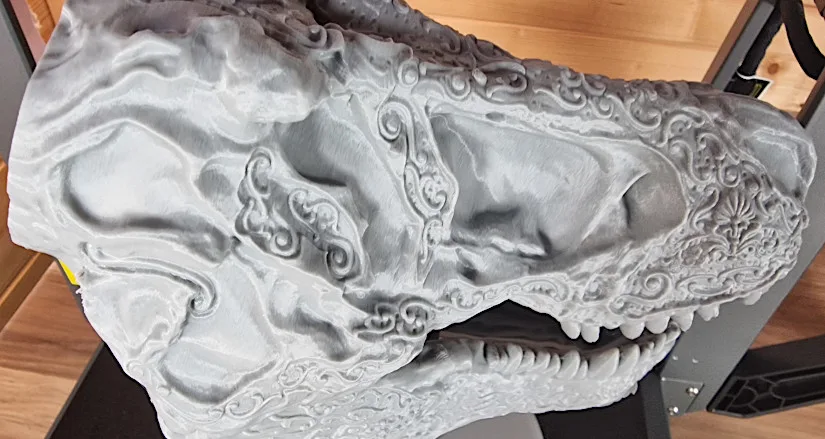
I selected the final prints to be a T-Rex Skull model from STLFlix. First, I printed a 50% scale version in Eryone Marble PLA, which looks stunning, at 0.2 layer height and a speed of 150 mm/s, and then a 150% scale model using Creality Grey PLA at speeds of 200 mm/s using the same layer height settings. The Ender 3 V3 Plus delivered both models with amazing quality and a stunning print, as shown in the images.
Compare Creality Ender 3 V3 Plus to Other 3D Printers
The Ender 3 V3 Plus is one of Creality’s most recent bed slinger printers, building upon its previous Ender series of machines.
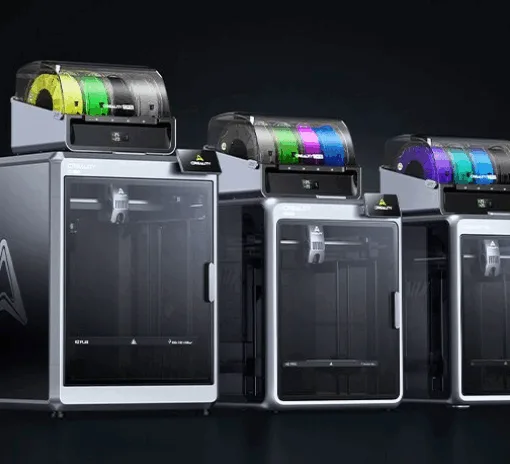
Compare to the Creality printers:
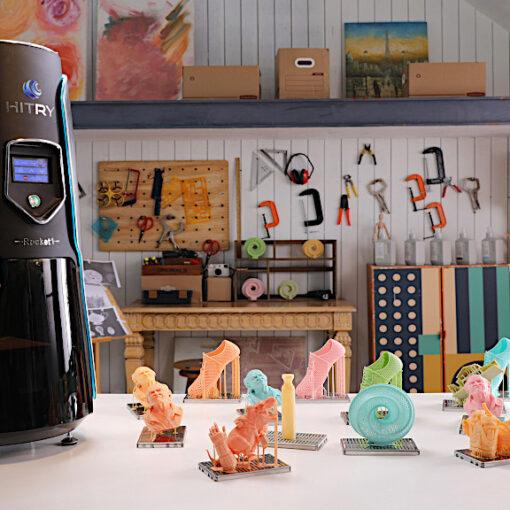
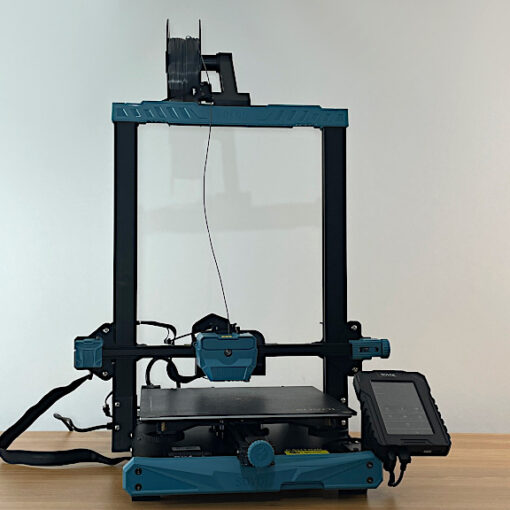
Compare to similar builds, volume and price range, FDM 3D printers.
These three machines are competitors to the Creality Ender 3 V3 Plus in price, Core XZ build (bed slinger), and build volume. What makes the Ender 3 V3 stand out is the reputation of the previous Ender series machines, their vast community, and the availability of print profiles and various slicer software. Also, Creality has already announced its own CFS multi-filament system. It will be compatible with Ender 3 series 3D printers and is expected to be delivered to the market soon.
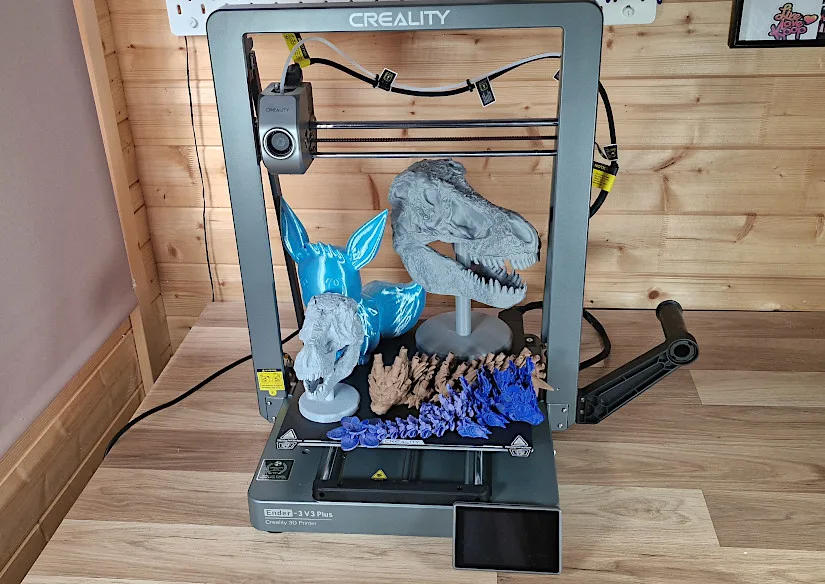
©3DWithUs – Prints and Photo: Phil Macey
Conclusion and Pros & Cons

Creality Ender 3 V3 Plus Review
Review Summary
The Creality Ender 3 V3 Plus represents a significant upgrade in the Ender 3 series, enhancing acceleration, stability, and precision. This model maintains the series’ reputation for high-quality, reliable 3D printing, making it an excellent choice for hobbyists and professionals.
In performance evaluations, the Ender 3 V3 Plus performed exceptionally well in a range of intricate printing tasks. The printer managed all challenges effortlessly, showcasing its robust capabilities.
This powerful and user-friendly printer has a straightforward setup and intuitive interface. It combines rapid printing speeds, robust construction, and comprehensive features right out of the box, offering significant value despite the slight limitation of its bed slinger design. The Ender 3 V3 Plus stands out as a top contender in the 3D printing market, ideal for newcomers and seasoned users alike.
Pros
• Fast print speeds
• Large build volume
• Excellent print quality
• Fully featured out of box
Cons
• Bed slinger style needs more space




Hi Phil,
I have a Creality Ender 3 V3 pro and need some advice on setting up the Z axis. Nowhere can I find values of the Z position to addjust it.
Even after doing all the leveling, etc it still prints the first layer way to flat and hard to get if the bed when finished. Your advice would be much appreciated.
Cheers, Brian.