What do you think about 3D printed logos, icons and thumbnails? Do you get the message when you look at them? May this replace/disrupt the traditional way of showcasing 3D printing, when vectors are produced using graphic design? Let’s dig into the subject and check the pros and cons. And find out how to create a 3D printed version.
Do We Need 3D Printed Logos, Icons and Thumbnails?
We feel that the traditional graphic design vectors showcasing 3D printing feel a little bit mediocre, and in some cases, don’t make sense. And here is why:
– 3D Printed Logos. It is possible to find hundreds of them by simply googling. When 3D printing became possible at home, a 3D printed logo for a company or a friend was one of the first things to do to surprise with the unique gift.
3D Printed Logo
(Video: 3DWithUs)
– 3D Printed Icons. Here is where the Google search engine gets it wrong. When we type “3D Printed Icon” into the search, we don’t see the images of 3D printed icons (in plastic or resin) – but tons of traditionally graphic designed icons featuring 3D printers! It doesn’t make sense. We guess it is a new trend and it needs to be started to get things right. And yes, there is a lot of 3D printable signs, icons, emojis, available on the file repository websites.
– 3D Printed Thumbnails. Just to be clear, there is no such thing as a “3D Printed Thumbnail” and this concept doesn’t have its own name, yet. There is no doubt that 3D printed logos and icons are in demand. But do we need so called “3D Printed Thumbnails”?
We think that yes. Recently, we tested this idea and produced at least three 3D printed thumbnails for our blogs. They were made just to provide something original as we didn’t have a cover image, and we never use stock images on our website. Vectors, produced traditionally, by graphic design, felt a little bit cold, and in some cases, don’t “pass the message” as graphic design demands it.
What is Graphic Design?
Just a quick reminder. There is a 5 min read in Wikipeedia about the graphics design, but in the 1st sentence it says it all:
Graphic design is the process of visual communication and problem-solving through the use of typography, photography, iconography and illustration.
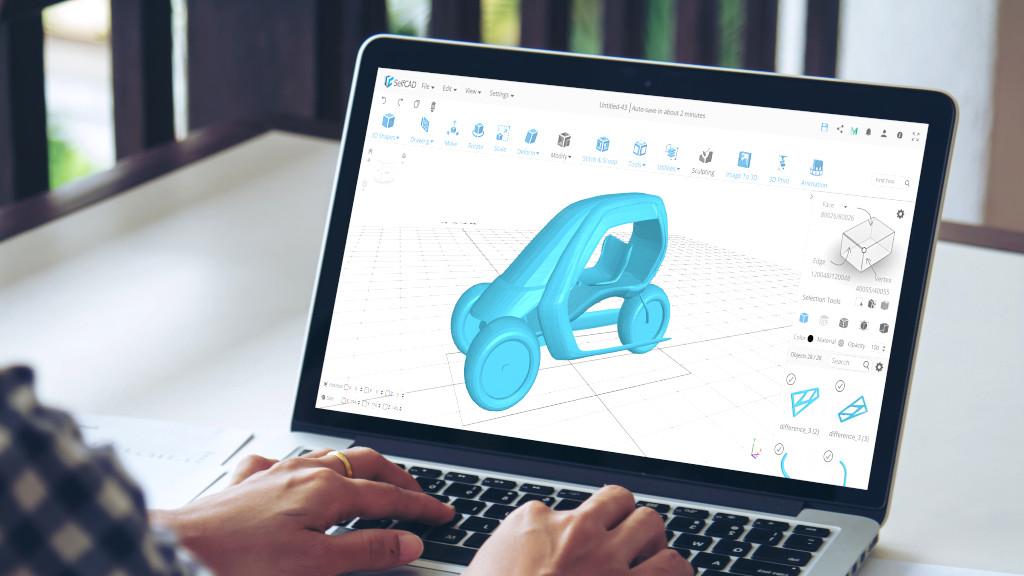
How to Graphic Design with Your 3D Printer
– Design Software. Tinkercad works well for such tasks. In two cases, we used the Scribble tool to computer-draw an idea without the need to draw it using a pencil and paper.
Another Tinkercad bonus is the ease of applying color to the objects. So the “visual communication sending” can be achieved without a problem in a 3D model.

(Image: 3DWithUs)
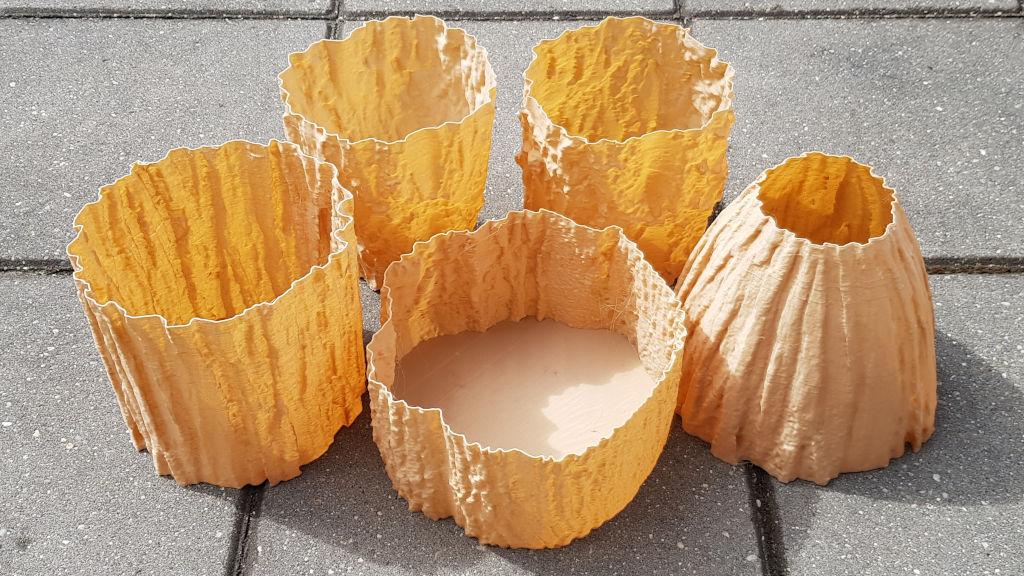
– Measurements. Approx 100m x 170m objects worked well for us. A special attention should be paid to the thickness of the object. If you like to 3D print the first layer 150% (0.3), it should be taken into consideration.
– Colour Changes. We recommend to have 3 first layers as a base (0.6 mm in heights) to make sure that the bed adhesion works. Then change color every 2 layers (0.4 mm). Two layers are enough even from black to white transition. Small amount of layers will save you a lot of time.

(Image: 3DWithUs)
– Slicer Software. PrusaSlicer has a special feature for such tasks and it is awesome. It perfectly applies all layer changes needed. Before generating a G-Code, make sure that the color changes in the slicer preview are the same as in Tinkercad preview.
– 3D Printing. When 3D printer is paused for the color change, be patient and check to make sure is the color change was successful.
Good luck! It may seem an easy task to 3D print such an object, but it is not if there are 5-6 color changes. We would recommend to 3D print the objects with 1-2 color changes first.

(Image: 3DWithUs)
The positive thing is that 3D printing such logos, icons and thumbnails take a very small amount of plastic.
Gizmo Dorks PLA Filament, 4 Color Pack (200g/each) on Amazon (affiliate link)
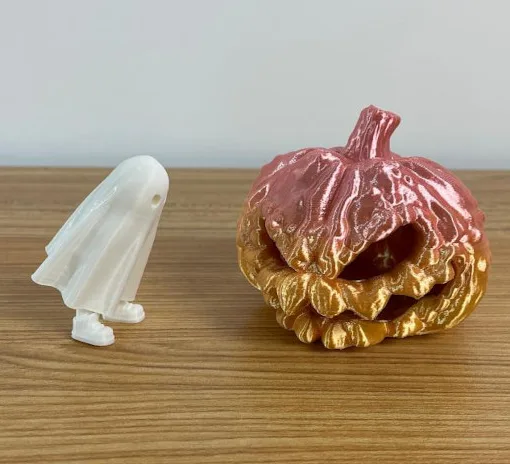
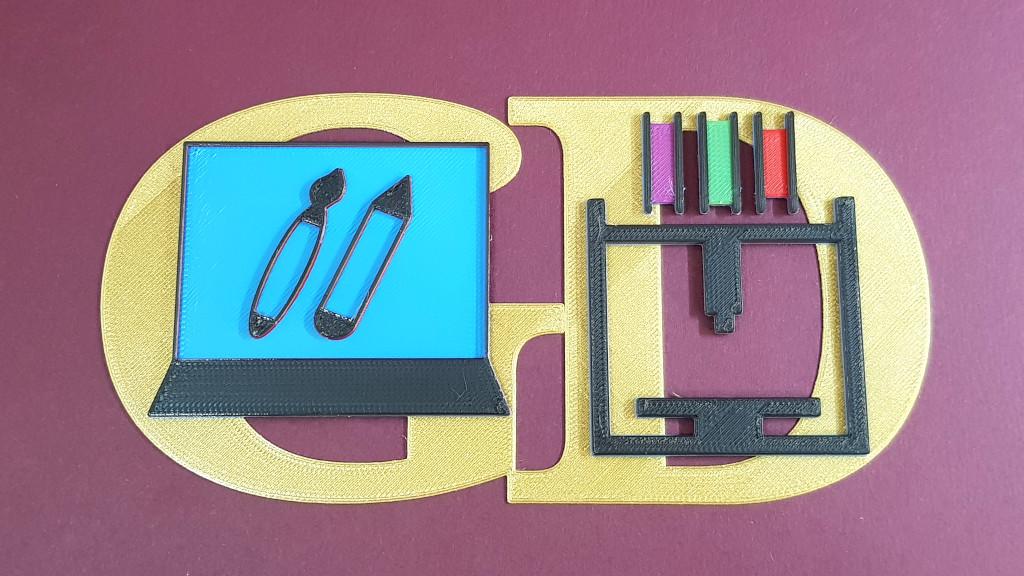
3D Printed Thumbnails – Gallery
Original thumbnails were created in order to avoid using stock images of the traditional graphic design vectors.

(Image: 3DWithUs)

(Image: 3DWithUs)
(Image: 3DWithUs)
Read More: Multicolor 3D Printing with Single Extruder
Earlier, we covered the subject in another blog. We also used a color-changing method with a single extruder to get the results. Back then we 3D printed the funny signs and fridge magnets and used Prusa Research in a browser application. Read more …

(Image: 3DWithUs)
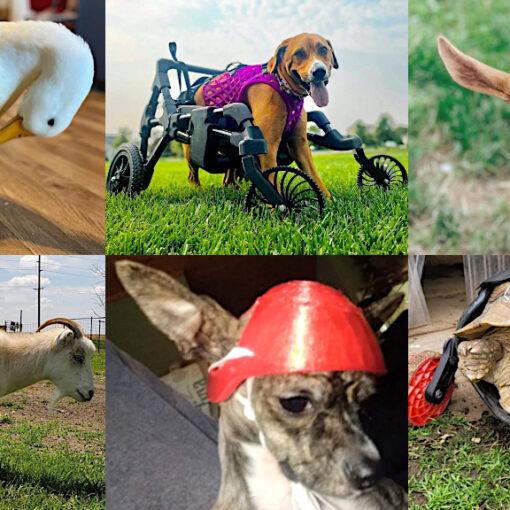
Read More: 3D to 2D Concept Art – Useful Applications and Fun Gimmicks
While looking for the relevant thumbnails for some of our blogs, we found an interesting way to convert existing 3D models into fun 2D images with just a few clicks. Such “stickers” can be used further as the image add-on elements or for video overlays, for example. Let’s take a quick look at 3D to 2D concept art and see what casual CAD users may achieve with minimal effort.