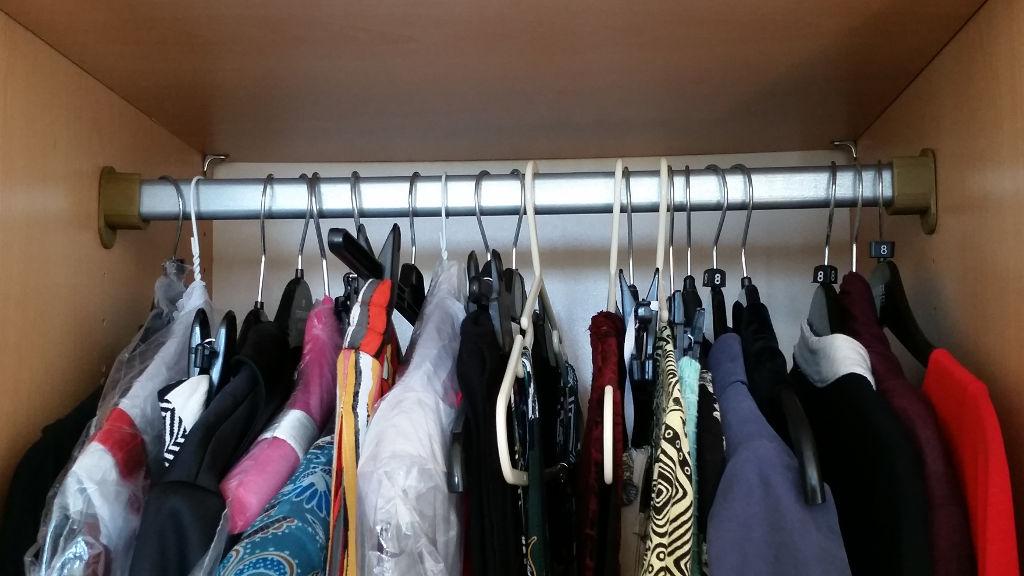
Recently functional 3d printing helped us to avert a wardrobe disaster. One of the brackets holding a hanging rail broke sending all dresses down in a messy pile. We figured that it would be possible to 3D design and 3D print the bracket. It took us 30 min to design and 2 hours to print the replacement in rigid.ink ABS.
During designing stage, the bracket received an upgrade, acquiring more strength and depth to support the rail. What could be a wardrobe-replacement scenario ended up as a temporary inconvenience. All dresses were soon back in the wardrobe, neatly hanging and waiting for their turn to go out.
3D Printed Bracket for Wardrobe Rail
We had a lot of positive feedback on social media in regards to this quick fix. One 3D printing community follower on Facebook even asked for an STL file. At first, we thought that publishing an STL file would be pointless as this model was customized specifically for our wardrobe. However, after given it some thought, we decided to create the instructions for its design and to publish it here.
Step 1: Measurements

(Image: 3DWithUs)
Caliper: Of course, the first thing we did was take the measurements of the broken piece. By the way, calipher is one of the essential tools for both designing and 3D printing. Check the full list of essential, safety and optional 3D printing tools.
Step 2: 3D Designing in Tinkercad
It could be quite a lengthy exercise to describe every step in detail. Instead, we have put together a short video where the model is constructed out of basic blocks. Please pause when necessary. There was no need for a sketch prior to designing as the broken piece was right in front of us.
Step 3: Positioning in Simplify3D and PrusaSlicer

(Image: 3DWithUs)
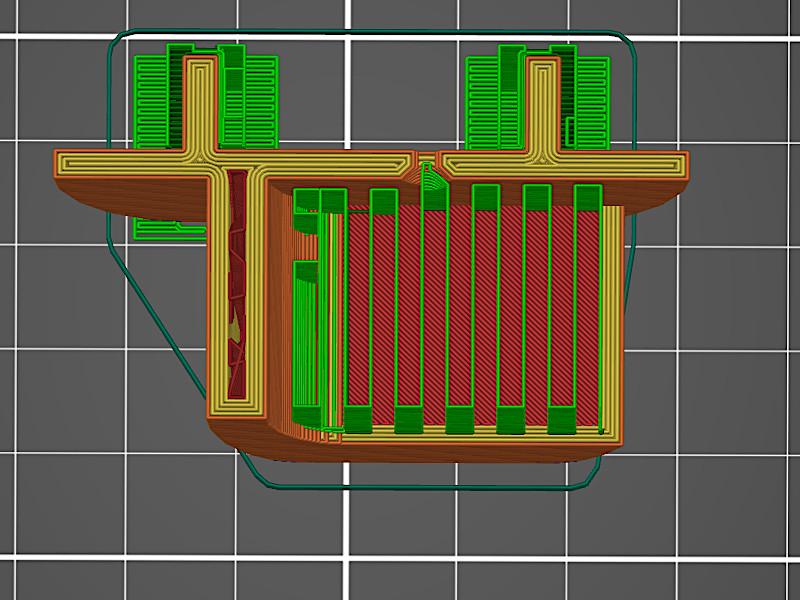
Simplify3D has an awesome function “Place Surface On Bed” (Place on Face in PrusaSlicer) that helped us to put the object on its side. We altered a few automatically generated supports to make sure there would be no problem with support removing and post-processing. Why should it be printed in this position?
Our model must be able to hold a massive weight, with the main tension directed at the side of the bracket. If printed upright, the layers would be placed in the same direction as the main tension from the rail. The end result can be prone to breaking. When the bracket is 3D printed on the side, with the layers placed continually in the direction, opposite to the tension point, it will strengthen the model.

(Image: 3DWithUs)
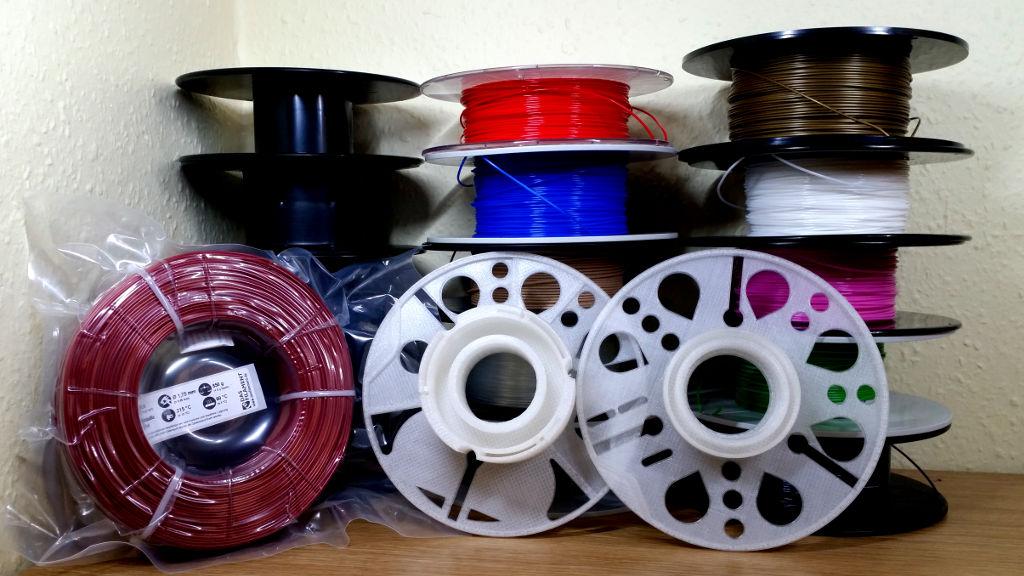
We chose to print in rigid.ink ABS as ABS filament is stronger than PLA and this object has a serious task – to hold all valuables on the rail. In particularly this case, however, we think that PLA could work as well. Our item is twice bigger than the original and is quite strong. Even though an experienced eye may notice a low-poly texture of the object, the carefully chosen colour makes the end result look authentic.
- Buy ABS Filament on Amazon (affiliate link)
- Read more: Fix the Sinking Chair with a 3D Print
- Read more: Practical 3D Prints
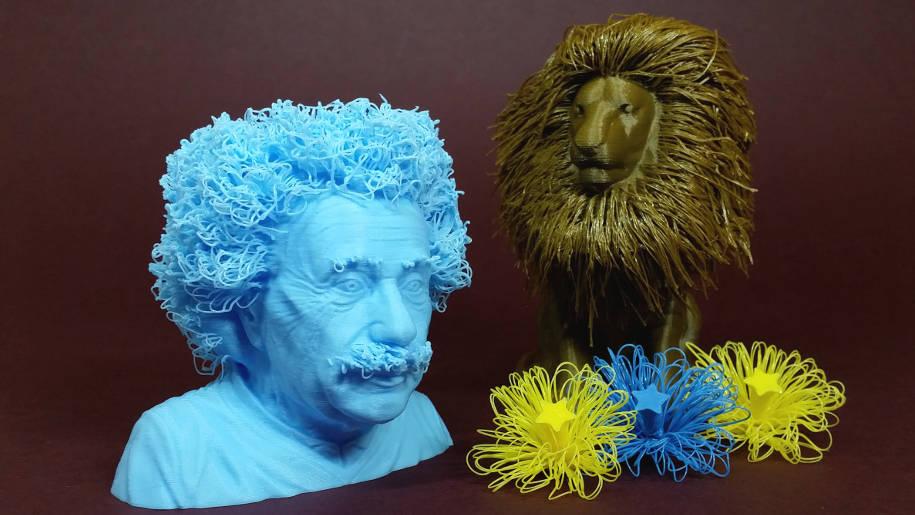
Yet again, we are happy to prove that domestic desktop 3D printer can be used not only for trinkets or art objects, but also for something functional.
Wardrobe Rail Bracket STL file:
Cults3D: STL File
Thingiverse: STL File
As promised, we published our STL file on the file-sharing websites. There may not be much use for it as it is designed specifically for our wardrobe, but it may help to learn and practice using basic 3D design software.

(Image: 3DWithUs)