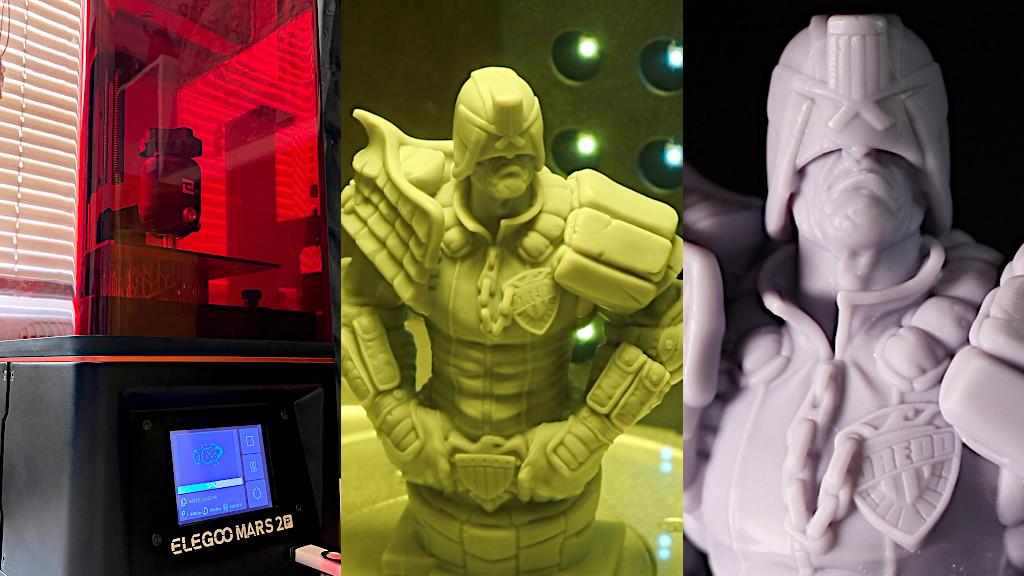
In the increasingly competitive resin 3D printing market, the Elegoo Mars 2 Pro has carved out a place for itself as an inexpensive, powerful, and easy to use machine. The Mars 2 Pro includes an easy to follow User Guide and their robust and active forums supporting the machine on Facebook and other social networks make the printer accessible to anyone regardless of their prior knowledge of resin 3D printing. After unboxing the Mars 2 Pro, I had the machine filled with resin and printing the demonstration model in under an hour and I believe that anyone using the machine will see similar results. In this article, I’ll cover the basic workflow of using the Mars 2 Pro, the CHITUBOX software, and share my thoughts on the machine.
Elegoo Mars 2 Pro Specifications:
Layer Height: .01mm to .2mm
Print Speed: 30-50 mm/h
Build Volume: 129 x 80 x 160 mm
Materials: 405nm wavelength UV resin
LCD: 6.08” 2K Mono LCD
Connectivity: USB Thumb Drive
Interface: Color Touchscreen LCD
Product affiliate links:

Updated versions:
Amazon
Official Website
CHITUBOX – Software for Resin 3D Printers
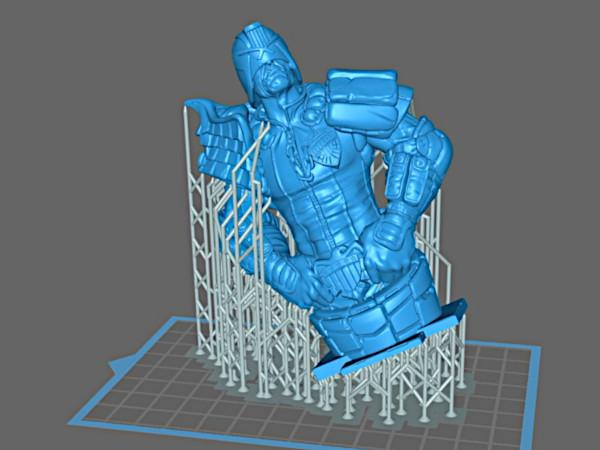
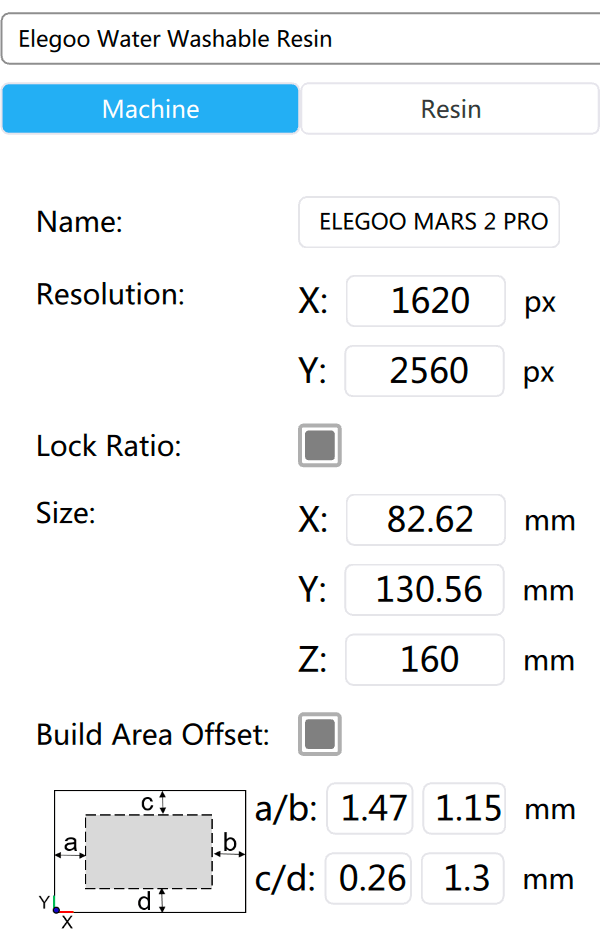
Elegoo recommends the free application CHITUBOX as the preferred slicer for the Mars series of resin 3D printers. CHITUBOX includes native profiles for the Mars, Mars 2, Mars 2 Pro, and other Elegoo 3D printers. CHITUBOX is a powerful slicing program that contains many useful features for printing on resin 3D printers. One of the key features of this software is the ability to hollow a model before printing.
(Screenshot: CHITUBOX)
Hollowing a model allows you to use less resin on a print, as well as reducing the overall cross-sectional width that is making contact with the FEP film. This directly translates to less surface area pulling up on the FEP vat and reduces the amount of strain that it is exposed to. Once the model has been hollowed, CHITUBOX can automatically generate support material to keep the model attached to the print surface, as well as identify potential islands (pixels that would cure with nothing attached, similar to floating surfaces or overhangs in FDM 3D printing) and add drain holes to allow trapped resin to escape.
Printing a model
For this article, I’m using the Judge Dredd bust by Eastman from MyMiniFactory as a test model due to the high level of detail present in the model. After hollowing the model, generating the supports, adding drain holes, and saving the .CTB file to a thumb drive, the model is sliced and ready to print.
(Screenshot: CHITUBOX)
To prepare the printer, you first have to level the build plate against the LCD screen to prepare it for the vat, a process that is covered in the user guide with simple, easy-to-follow instructions. Once the build plate has been leveled, the vat is filled with resin for printing. The vat includes a fill indicator that shows the maximum fill level for resin so you don’t accidentally spill resin from an overfilled vat when the build plate lowers into the vat.
(Photo: Andrew Sink)
Resin Choices
Because the Mars 2 Pro is compatible with a range of resins, there is a large selection of tinted, transparent, and specialty resins that can be used. To start; I used the Elegoo Water Washable Ceramic Grey (from Amazon Affiliate Link) material because the finished color showed a lot of detail while still being easy to photograph. Pouring the resin into the vat requires a slow, steady pour to avoid splashing or dripping.
- Read More: Elegoo Mars Pro Review by Tessa Nesci
- Read More: ChituBox Review and Guide – Slicer Software for MSLA Resin 3D Printers
- Read More: Wash and Cure Stations
Washing printed parts
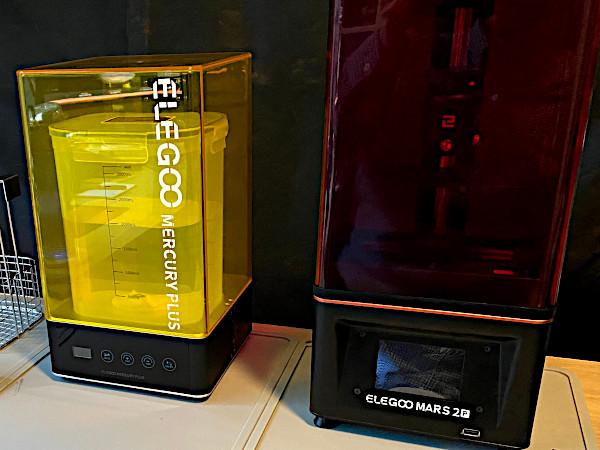
After the part has finished printing, it has to be washed, separated from the support material, and cured. Elegoo manufactures a unit called the Mercury Plus, which has the ability to both wash and cure the printed resin parts.
If you’re interested in learning more about the wash and cure process enabled by the Mercury Plus, you can read the full article and workflow in this article. Elegoo Mercury Plus Review.
(Andrew Sink)
Removing Support Material
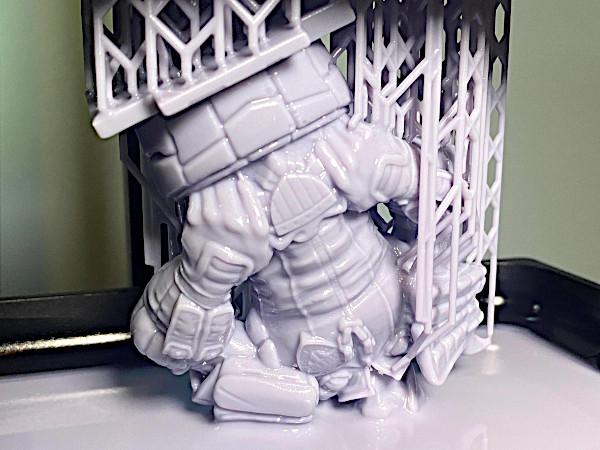
The support material generated by Chitubox for the Elegoo Mars snaps right off, and after years of removing same-material support from FDM prints, I was expecting more resistance and difficulty in removing the supports. After letting the part soak in a container of warm tap water for a few minutes, the support material popped off with almost no difficulty.
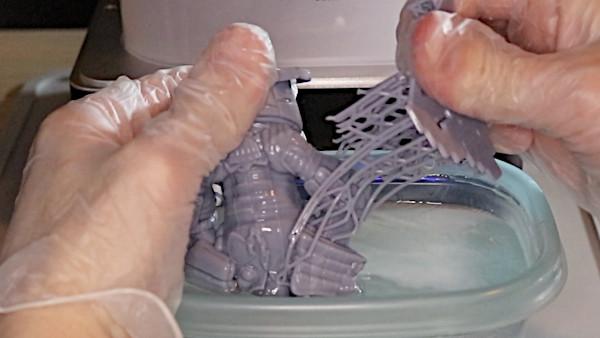
(Photo: Andrew Sink)
This part requires care and attention, as the uncured part is still tacky and soft to the touch. If a support structure is broken off and scrapes across the part, it will leave a scratch mark that will be present in the cured model. I used the “Medium” support setting in CHITUBOX (review and guide link), but the settings can be further adjusted to create thinner or more robust support structures depending on your application. Once the support material has been removed, the part should be placed in a UV curing chamber to finalize the polymerization of any uncured resin.
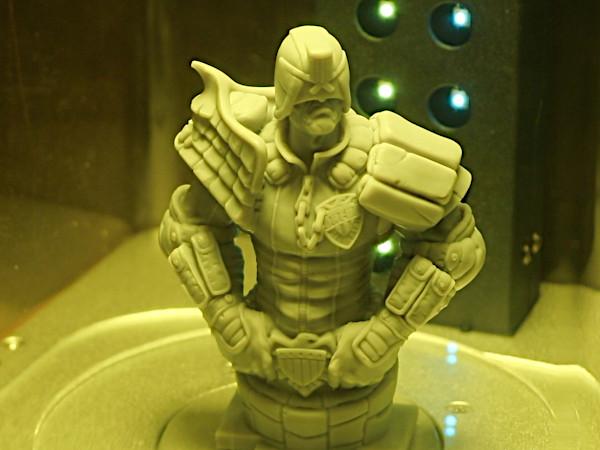
(Photo: Andrew Sink)

(Photo: Andrew Sink)
Should you buy the Elegoo Mar 2 Pro?
When printed at a resolution of .05mm, the model printed with virtually no visible layer lines and the only defects on the model are from the process of removing the support structure. To see the layer lines, you need to use either a macro lens or harsh directional lighting. I was really impressed with the simple, easy-to-use workflow that the Elegoo ecosystem provides with the Mars 2 Pro and the Mercury Plus. For anyone interested in trying out resin 3D printing but concerned about a messy workflow and difficult software, the Elegoo Mars 2 Pro is a great choice to get started. For more experienced users, the high resolution and wide range of available materials make this printer a bargain at the sub-$350 price point.
Read More: Wash and UV Cure Machine
If you’ve used a DLP, MSLA, or SLA resin 3D printer before, you’ll immediately understand the appeal of the Elegoo Mercury Plus, a standalone machine which combines wash and UV cure stages into a single unit. Using a resin 3D printer can be a messy process, and the post-processing steps can turn even the cleanest desk into a sticky mess as photopolymer resin, isopropyl alcohol, and other cleaning fluids are used in the printing process. Read more …
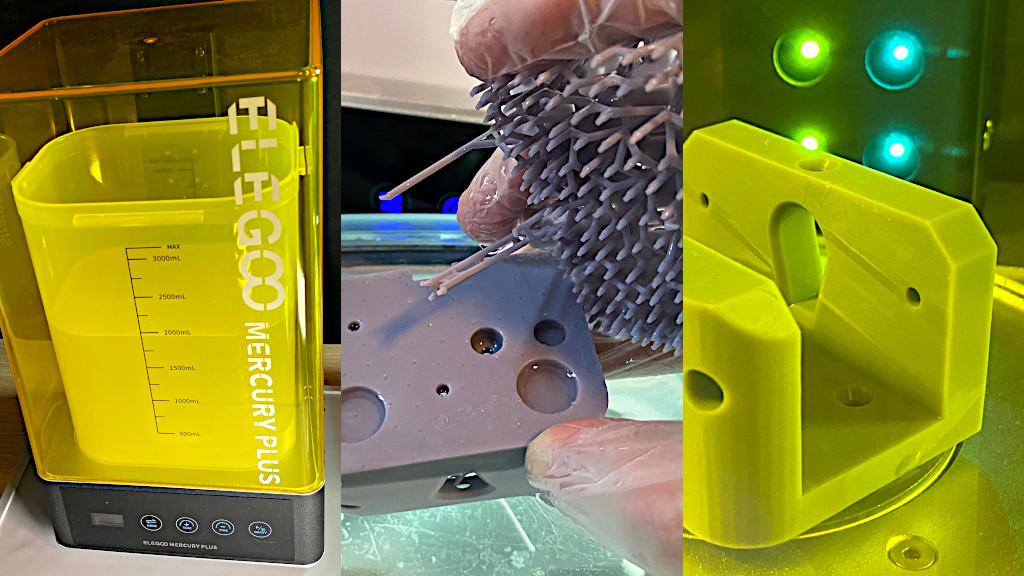
3D Printing – Elegoo Mercury Plus
(Photo: Andrew Sink)
Read More: Elegoo Standard Photopolymer Resin Review
In addition to making some of the best budget resin 3D printers on the market, Elegoo also makes the Elegoo Standard Photopolymer Resin, an inexpensive resin that works with a variety of different 3D printers and is available in a variety of different colors.
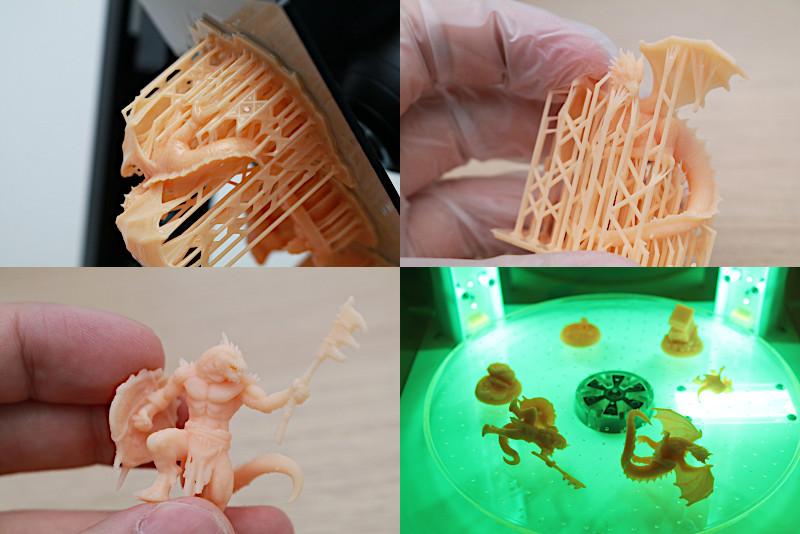
(Photo: Andrew Sink)

Updated versions:
Amazon
Official Website
Read More & Compare
Read more about desktop 3D printer builds and processes. Type, volume, FDM or Resin, all to consider. Or jump to the latest 3D printer reviews.
For a comparison with other resin 3D printers please refer to the
detailed resin 3D printers guide.

