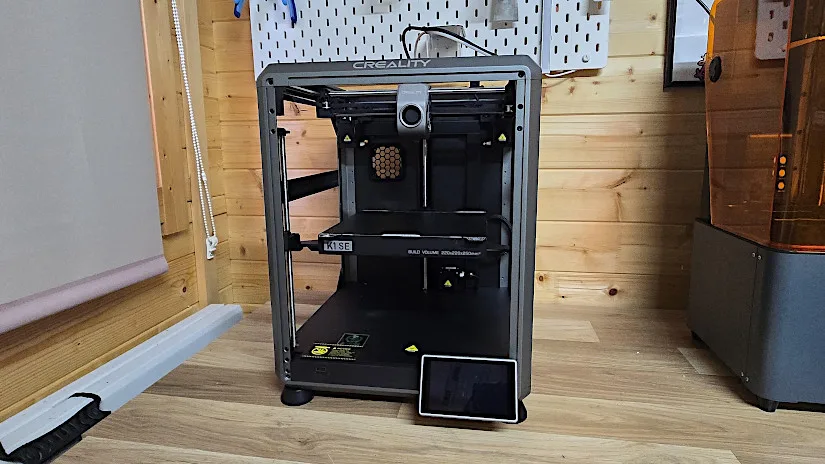
Creality has added another K1 Printer to the ever-growing flagship lineup of K1s. This time, the new stripped-down version is called the K1 SE (Special Edition). Since I have already reviewed the K1 and K1 Max on my YouTube channel, I am in a good position to benchmark the quality of the Creality K1 SE. During this review, we will examine Creality K1SE features and performance, as well as what has been added and removed from this particular version. This version is designed to be a more affordable option for the consumer. In conclusion, I will share my final thoughts and list of pros and cons.
Table Of Contents
- Specifications
- Unboxing – What’s Included
- Setup and Design
- Software – Creality Print 5
- Testing and Results
- Compare to Other 3D Printers
- Conclusion and Pros & Cons
Price: $299 – $359
Product Affiliate Links: 3DWithUs is supported by its audience. Purchases via some links may earn us a small commission at no extra cost to you. This helps us to continue bringing you high-quality content. Our guides and reviews remain unbiased and independent.
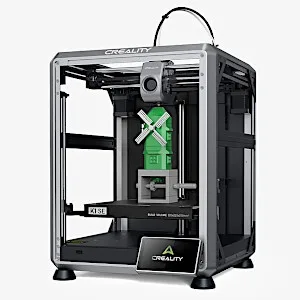
Creality K1 SE Specifications
• Print Technology: FDM
• Build Area: 220 x 220 x 250 mm
• Maximum Nozzle Temperature: 300 °C
• Maximum Bed Temperature: 100 °C
• Minimum Layer Resolution: 0.1 mm
• Maximum Layer Resolution: 0.35 mm
• Dimensions: 355 x 355 x 482 mm
• Weight: 10.24 kg
• Bed: Heated
• Print Surface: Removable magnetic build plate
• Software: Creality Slicer, Cura, Repetier-Host, Simplify3D
• Materials: PLA, ABS, PETG, TPU
• Print Speed: Up to 600 mm/s
• Optional Camera
Unboxing – What’s Included
• K1SE metal die-cast frame • Touch screen • Rear spool holder • Power cable • Side cutters • Bowden tube • USB drive • Tools • Nozzle cleaner • 250g hyper PLA • User manual
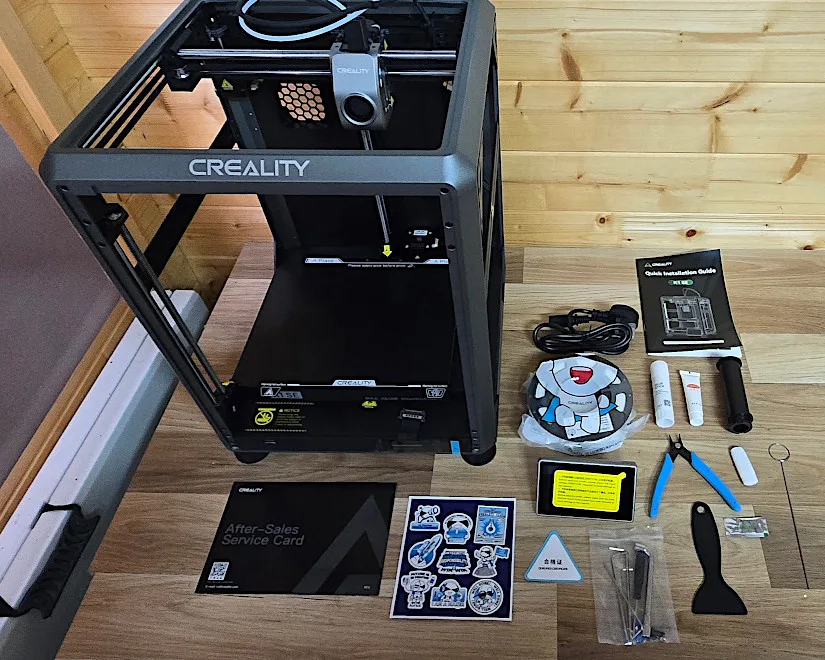
©3DWithUs – Photo: Phil Macey
Setup and Design
The Creality K1SE assembled quickly, and I had it ready within three minutes from unboxing. However, the time increased due to necessary firmware updates. Following the on-screen instructions, I managed to get the printer up and running within 20 minutes after calibration.
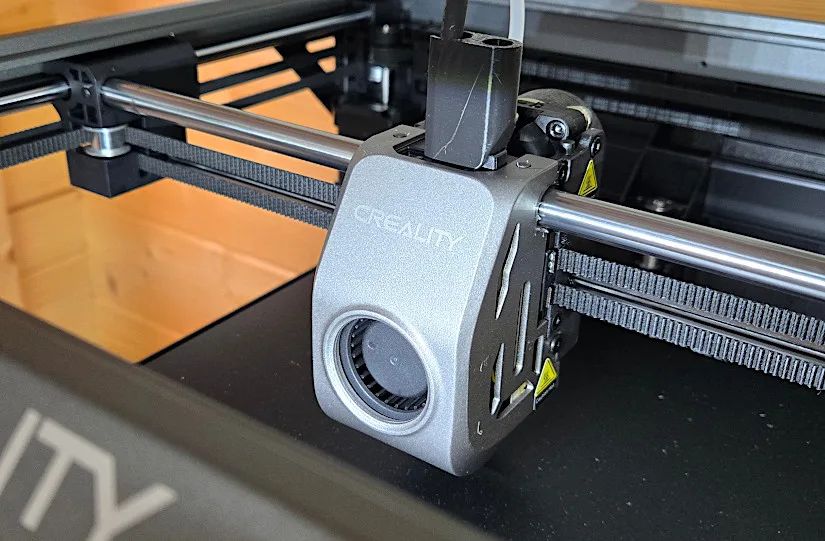
©3DWithUs – Photo: Phil Macey
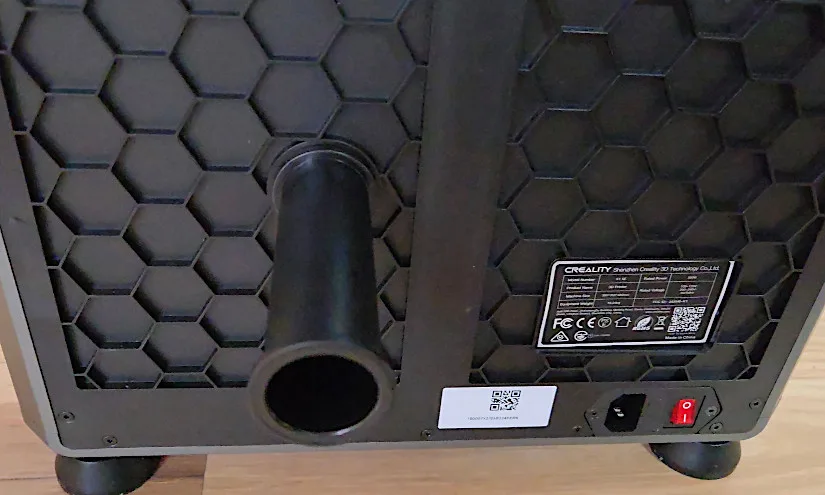
The assembly process was straightforward. I started by attaching the spool holder to the rear of the frame and then mounted the touchscreen on the front end of the machine. Before powering up, I made sure to check the power rating. I also removed three bed screws, which were conveniently marked with arrows.
©3DWithUs – Photo: Phil Macey
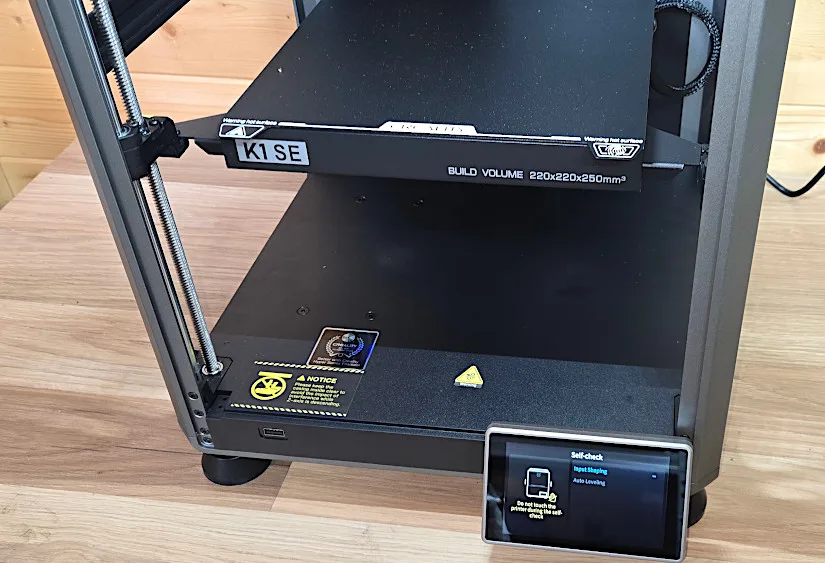
Once the printer was assembled, I turned it on to perform the self-check and calibration. The K1SE conducts several checks before it attempts to level the bed and run the input shaper. It also comes equipped with a custom Klipper-based firmware. I learned that whenever the firmware is updated, it’s necessary to revisit the self-check and calibration process.
©3DWithUs – Photo: Phil Macey
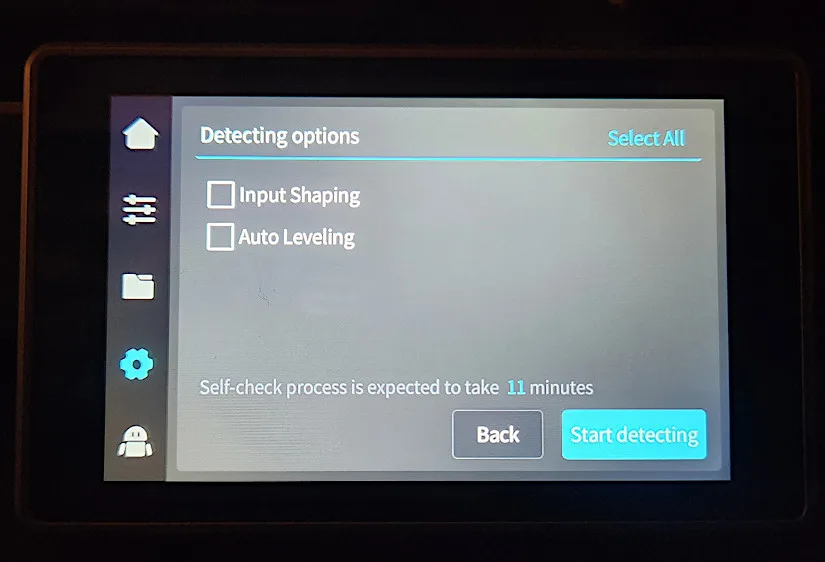
Everything you need to set up, calibrate, and get printing is included in the touchscreen interface of Creality K1 series printers. The Web UI can also be accessed via Creality Print, Orca Slicer, or your web browser, which will allow you to monitor, upload, and operate your printer even if you are not in the same area. There is also the Creality Cloud that you can use to slice, upload, and start prints.
I go through the detailed unpacking and assembly process in my video with a few 3D print time-lapses.
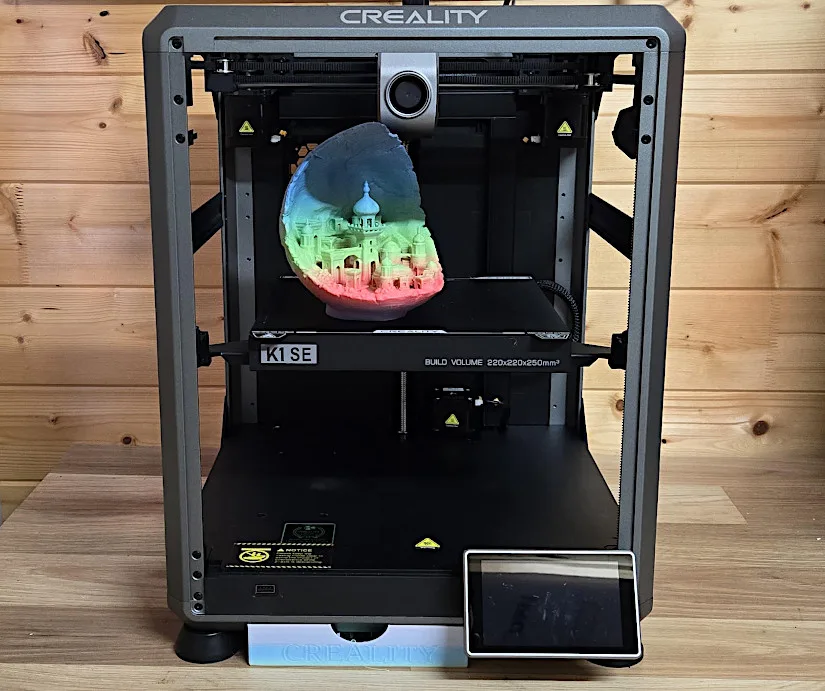
On first impression, the K1 SE is a CoreXY printer similar to the K1C, but it lacks some features. Both printers possess a build volume of 220 x 220 x 250mm and can attain the identical claimed top speeds of 600 mm/sec and 20,000 mm/sec. They also use the same Flagship-level Extruder Kit and a new Quick-swap Tri-metal Nozzle, an upgrade from the original K1.
– No Enclosure. The main difference is the lack of a full enclosure: the K1 SE arrives with only a metal die-cast frame. Furthermore, in lieu of the K1C’s three-fan cooling system, the K1 SE boasts a singular, “dynamically balanced” fan.
– Add-ons. Although the K1 SE does not have a built-in, AI-enabled camera, it does have features like input shaping, auto Z offset, and auto leveling.
Software – Creality Print 5
Creality Print 5.1 meets all requirements. The Creality slicer has been updated with several new features and a new user interface, keeping up with some of the more powerful ones. One could also employ Orca Slicer, which has the added ability to slice and send to print, a widely utilized software for slicing, uploading, and monitoring compatible printers.
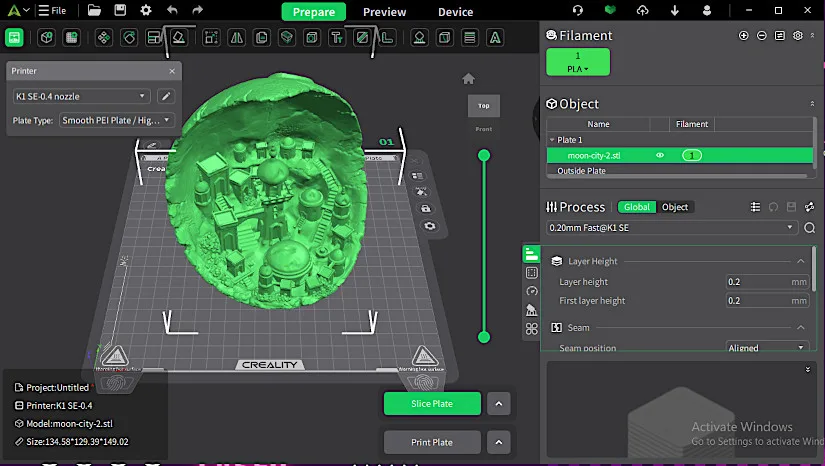
All the prints in our review had a layer height of 0.2mm and a 25% grid fill. To strike a balance between speed and quality, we went with three walls and a speed between 150mm/s and 300mm/s. The scarf seam tool in the new Creality Print software drastically eliminates seam lines commonly found on FDM 3D prints. The default settings on the included K1SE profile effectively minimize seam visibility when the scarf checkbox is checked.
Testing and Results
The K1SE seems to handle all tasks exceptionally well. There were no issues with any of the overhangs, and the details came out clean with no visible defects.
– Model 1. I selected the Nine-Tailed Demon Fox by Kijai on to challenge the K1SE using SUNLU chocolate PLA plus filament. Support free Nine Tailed Fox, inspired by the Kyuubi (Kurama) from Naruto. This model was printed at 150mm/s, as high speed isn’t advisable with certain filaments due to their melting point. With a layer height of 0.2 and three perimeter walls, the model took approximately eight hours to print, and the quality came out clean, as shown.
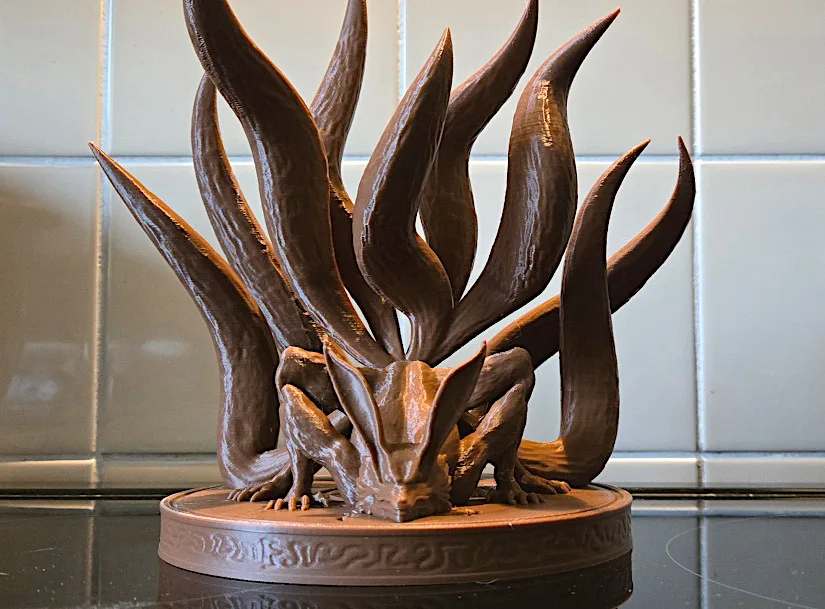
3D Model by Kijai on Printables
©3DWithUs – Print and Photo: Phil Macey
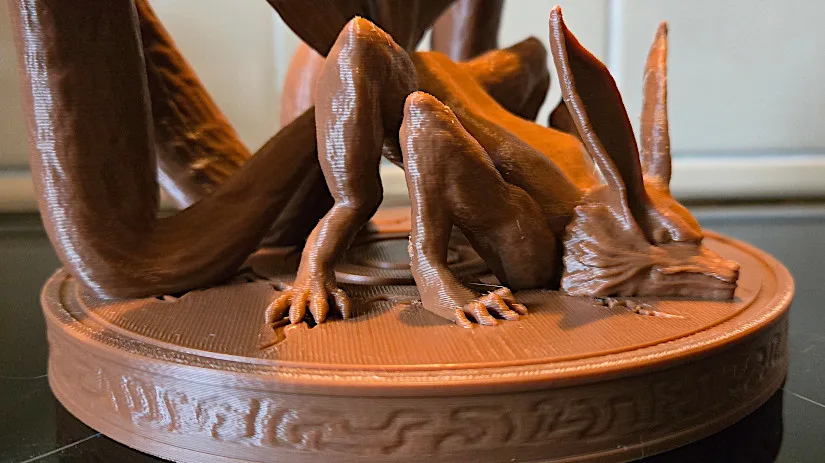
This model can be challenging due to its many retractions. Additionally, long tails may produce seams, and if the filament is wet or the printer is poorly tuned, there may be stringing. However, in most cases, these issues are minor and can be quickly resolved with a heat gun.
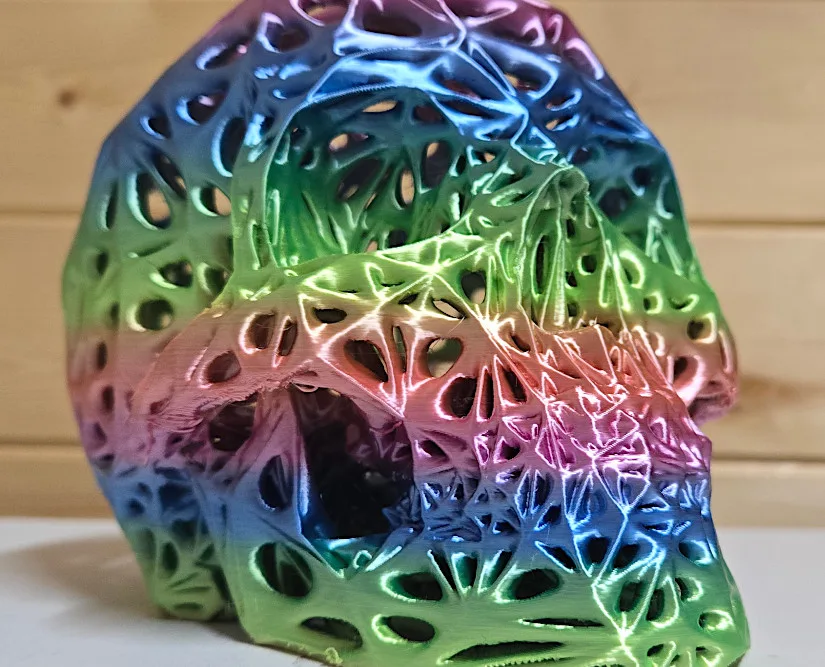
– Model 2. For the second model, I selected the Voronoi Skull by Joker3D on Maker World, which would challenge the K1SE for overhangs. I selected 0.22 layer height due to the length of the print time, an approximate 16-hour print using Conjure Silk Rainbow PLA from Amazon. The speed was set at 200 mm/s. Overall, quality was above average due to the speeds and quality levels selected.
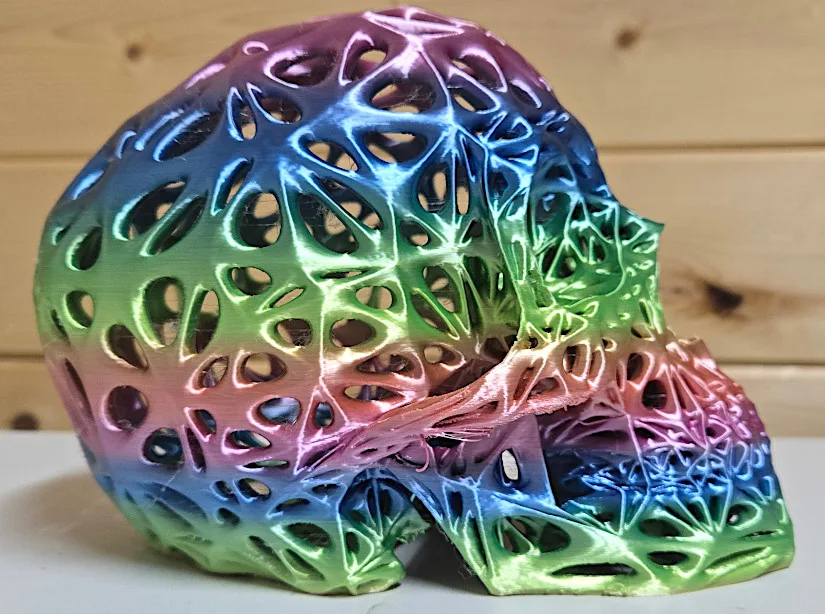
3D Model by Joker3D on MakerWorld
©3DWithUs – Print and Photo: Phil Macey
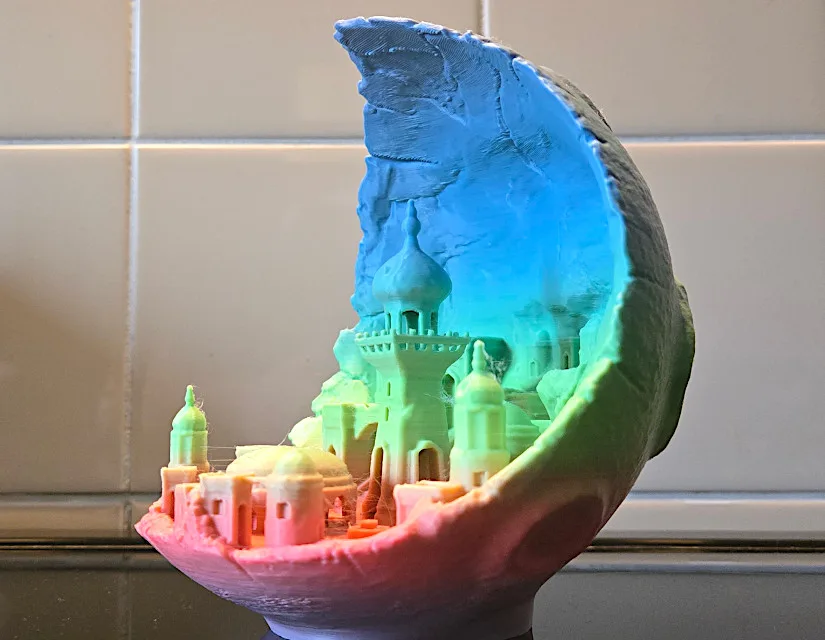
– Model 3. I selected the 3rd print as a Moon City 2.0 model from Kijai, which I found on printables. The print was 100% size, 0.2 layer height, and a speed of 150 mm/s using Creality Rainbow PLA. The K1SE delivered the model with amazing quality and a stunning print. As shown in the images.
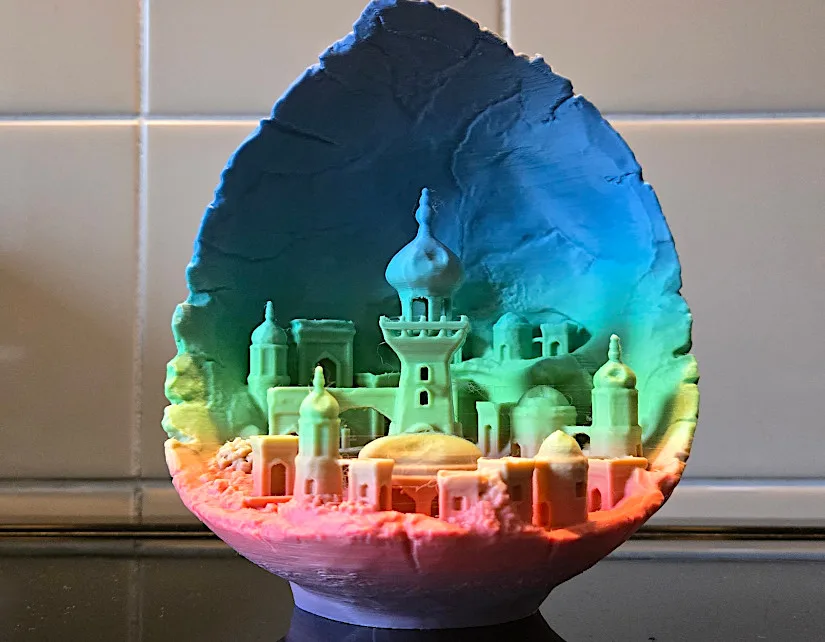
3D Model by Kijai on Printables
©3DWithUs – Print and Photo: Phil Macey
– Model 4. I chose to print the Ninja Turtle Raphael by Koza Designs at 100% scale using Iwecolor dual-color PLA, which looks stunning. The print settings were at a 0.2 mm layer height and a speed of 150 mm/s. The K1SE delivered the model with exceptional quality and impressive print results, as shown in the images.
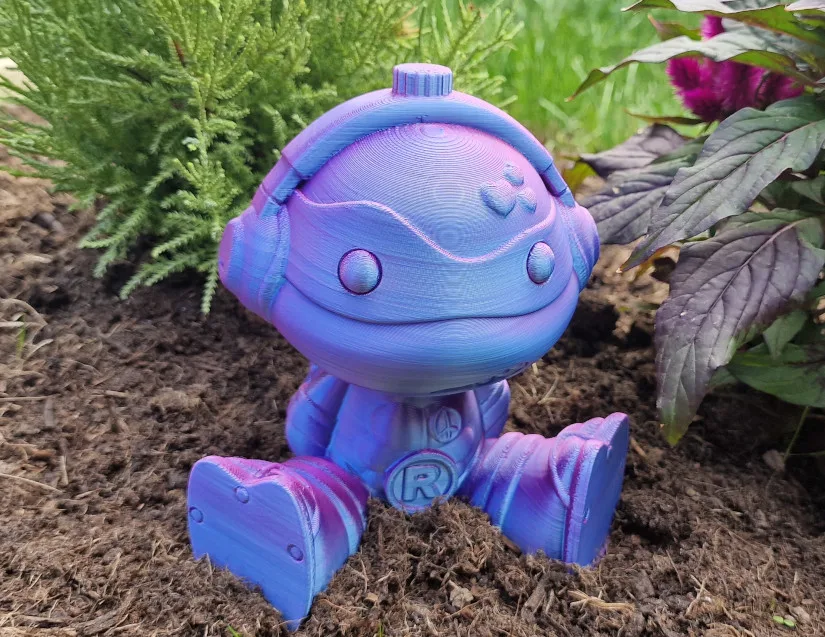
3D Model by KOZA Designs on Patreon
©3DWithUs – Print and Photo: Phil Macey
In my printing experience, the K1 SE effortlessly handles lower-temperature filaments like PLA, PETG, and TPU with style. With options to personalize the lid, door, and side panels, there’s a lot to love about this printer in its price range.
Compare Creality K1 SE to Other 3D Printers
The Creality K1 SE is one of Creality’s most recent CoreXY printers, building upon its previous K1 series of machines.
Compare to the Creality printers:
- Creality K1 (Review)
- Creality Ender-3 V3 KE/SE (Review)
- Creality Ender 3 V3 Plus (Review)
- Creality K1 Series (Shop)
The main difference to other K1 series 3D printers is the lack of a full enclosure: the K1 SE arrives with only a metal die-cast frame.
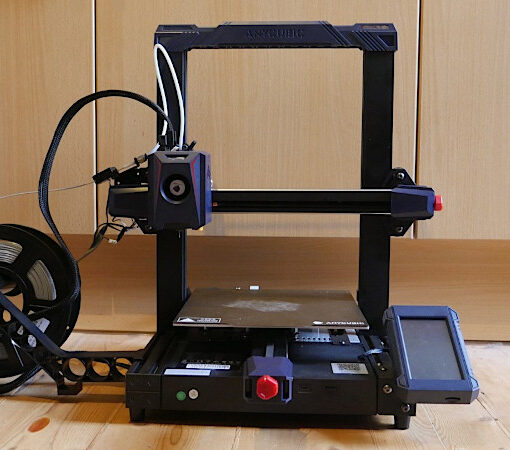
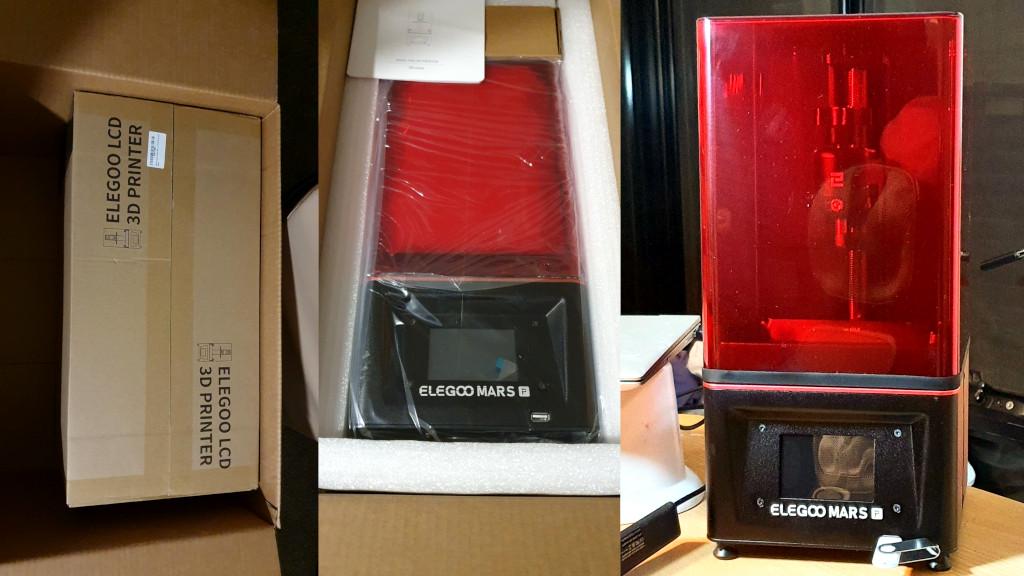
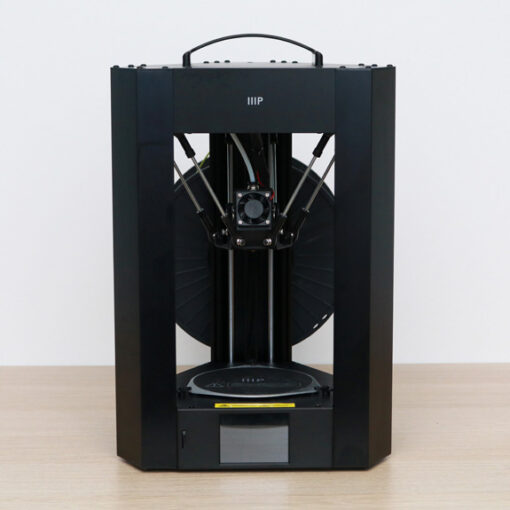
Compare to similar builds, volume and price range, FDM 3D printers.
These three machines are competitors to the Creality K1 SE in price, CoreXY build, and build volume. What makes the K1 SE stand out is price, the reputation of the previous K1 series machines, their vast community, and the availability of print profiles and various slicer software. Also, Creality has already announced its own CFS multi-filament system. It will be compatible with K1 series 3D printers and is expected to be delivered to the market soon.
©3DWithUs – Print and Photo: Phil Macey
Conclusion and Pros & Cons

Creality K1 SE Review
Review Summary
The Creality K1 SE bring an affordable coreXY printer to the K series, with improved features such as an improved flagship extruder and quick swap tri-metal nozzle while slimming down on the side panels, door, lid, side and rear fans and the exclusion of the AI camera seen on the K1C model.
The K1 SE is a vastly improved version of the original K1 minus the exclusion items. If you plan to print with lower-temperature filaments such as PLA, PETG and TPU, this printer will effortlessly do this with style and grace. And with the option of adding a personalised lid, door, and side panels in your own unique way, what isn’t to like about the K1 SE at this price range?
The K1 SE’s straightforward setup and user-friendly interface further enhance its appeal. The printer’s robust build, rapid print speeds, and comprehensive out-of-the-box capabilities surpass the minor drawbacks of the missing features.
The K1 SE is a prominent contender in budget 3D printing, combining cutting-edge capabilities with dependable output. Regardless of whether you are upgrading from an earlier model or embarking on a 3D printing journey for the first time, the K1 SE offers a superior printing experience.
Pros
• Fast print speeds
• Excellent print quality
• Improved extruder
• Quick swap tri-metal nozzle
• Affordable price range
• Epoxy resin build plate with silicone wiping strip
Cons
• Lacking full enclosure
• AI camera not supplied but can be added
• Lacking side and rear fan seen on k1/k1c

