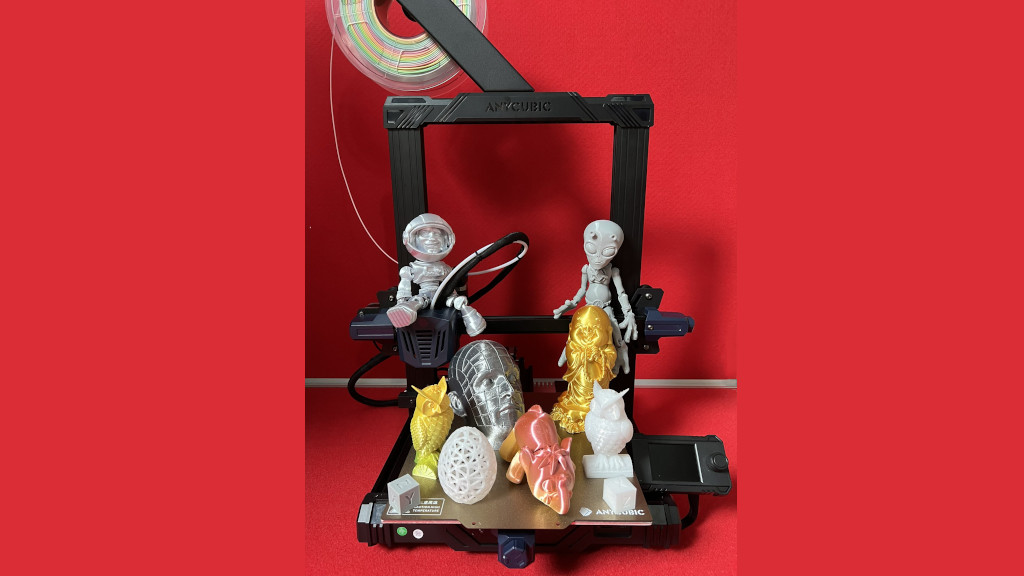
The Anycubic Kobra Go is a new self-assembly 3D printer addition to the Anycubic Kobra family. It is a DIY kit 3D printer that is very easy to put together and set up, even for beginners, compared to some other makes. It comes with clear instructions that are easy to follow. Let’s assemble and review the machine, print some awesome models, and list the Pros and Cons.
Table of Contents
- Specifications & Features
- Unboxing
- Assembly
- Anycubic LevyQ Auto-leveling
- Heated Bed and Removable PEI Plate
- Extruder, Motherboard and Noise Levels
- Display Screen and Print Interface
- Printing Test Models – Filament Choices
- Testing Other Models
- Compare to Other 3D Printers
- Conclusion and Pros & Cons
3D Printer Specifications
25-point Anycubic LeviQ Auto-levelling System
Mainboard: 32-bit
Build Volume: 222 x 222 x 252 mm
Layer Height: .1mm to .3mm (0.4mm nozzle)
Print Speed: Recommended 50-80mm/s
Materials: PLA, TPU, ABS, PETG, and other
Build Platform: Spring steel magnetic build plate
Interface: 2.4” colour screen knob-control
Connectivity: MicroSD Card, USB-C
Price: $189-257
Affiliate Links:

Amazon
AliExpress
Official Website
Kobra Go Unboxing and Setup
The package includes a printer base, XE-axis kit, printhead, Z-axis passive block, screen kit, X-axis limit switch, X-axis tensioner, Z-axis motor, anti-backlash nut, spool rack kit, top beam, X-axis profile, 2 Z-axis profiles, T-shaped screw rod, SD card, card reader, spare nozzle, tool kit, power cord, photoelectric switch blank, and a Teflon tube cable.
A DIY kit 3D printer, having many separate parts to assemble, may feel overwhelming and seem like it will take a long time to put together. But as the instructions are clear, it takes approximately 1 hour to complete the assembly and the setup process of Kobra Go. All the fastenings are in separate bags that are all numbered according to the set-up instructions which makes it very easy to pick the right ones.
A Quick Note About Assembly
The recommended assembly process is the following. Install the Z-axis profiles first, followed by the Z-axis motor backlash nut and a T-shaped screw rod. Then assemble the gantry with the XE and Z axes and install the print head and synchronous belt. After that, connect a wire harness and an x-axis limit switch to the gantry, a photoelectric switch, a baffle screen, and a filament holder. Finally, perform the X-axis calibration procedure, and inspect all fasteners, axis wheels, and belt tensions.
It may appear intimidating, but it was very simple to put together. A bonus point is that it gives beginners an idea of how things work and what is involved.
Auto-Leveling – 25-point Anycubic LeviQ
To begin printing, you must first perform an auto leveling and set your Z offset. When LeviQ leveling begins, it uses an ABL sensor to check 25 points on the print bed. The print head will return to its original position after levelling. This is the time to set your Z offset. Use post-it notes or a piece of paper to adjust the nozzle so that there is only a slight resistance between the bed and the nozzle, then save the offset. It does not need to be reset. The same goes for auto level. Unless you’re having issues or just want to double-check it between a few prints to make sure it’s still set correctly.
©3DWithUs – Photo: Richard Hirst
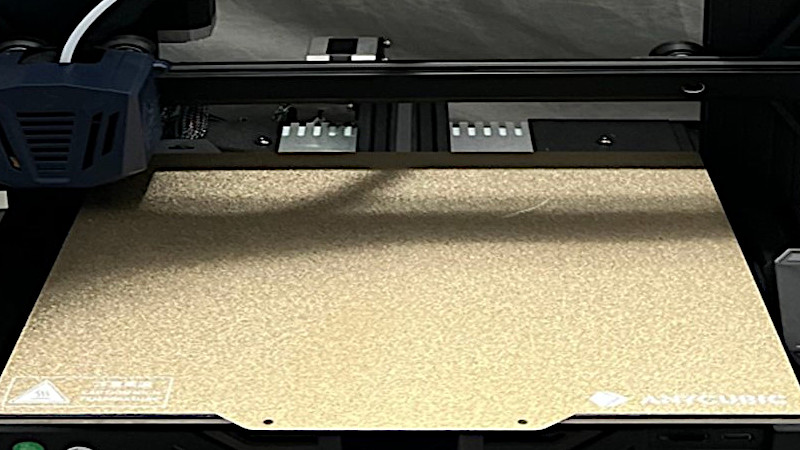
Heated Bed – Removable PEI Plate
A PEI spring steel plate is a nice addition that is usually comes with more expensive printers. Its textured surface makes it easy to remove prints and it provides excellent adhesion for prints, making it a popular choice for many printers. PLA and TPU prints come off easily on either a smooth or textured surface, giving you a couple of options.
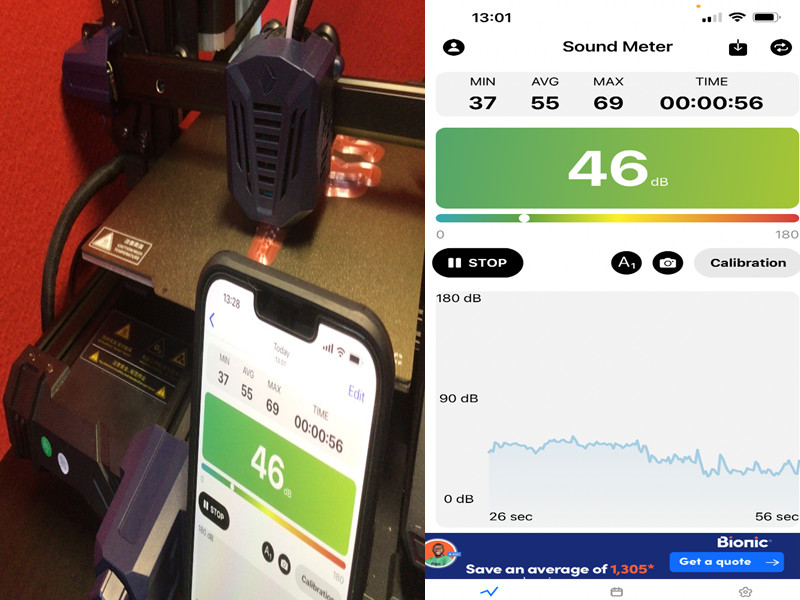
A 32-bit Motherboard and Noise Levels
The Kobra Go’s motherboard and stepper motor drivers are extremely quiet, with the only noise coming from the cooling fans. The 32-bit TriGorilla gen 3.0 motherboard has fixed steppers that are silent. I checked the decibel level when the printer was printing and as you can see the level was only 46 dB.
©3DWithUs – Image: Richard Hirst
Kobra Go Extruder
This model’s print head is small and compact, with the LeviQ ABL sensor built-in, making it a very neat and tidy unit. It has printed everything from PLA to TPU and the print quality has been excellent.

©3DWithUs – Photo: Richard Hirst
So, for a Bowden extrusion system setup, it printed flawlessly, even with TPU, which is typically a tricky material for a Bowden setup. It printed perfectly with only a few minor changes to the Cura profile I was using. Because the firmware is not yet accessible, tuning any additional settings, such as liner advance and junction deviation, may be limited.
Display Screen
This model’s screen is also unique. It has a 2.5-inch color-toggle-controlled display. It isn’t a touch screen. However, it’s a great little screen with all the controls, as well as an easy-to-use toggle control that takes you to some very detailed control menus.

©3DWithUs – Photo: Richard Hirst
Print Interface
This model has a micro-SD card slot as well as a USB C port. The USB port allows for connections to programs such as Octoprint and Pronterface, as well as a Mintion Beagleprint camera for creating 3D printing time-lapse videos.
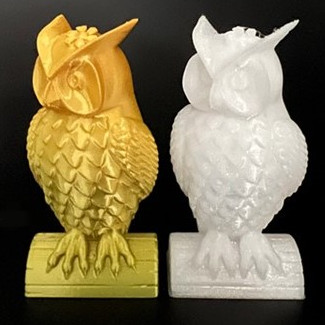
Printing Test Model – Filament Choices
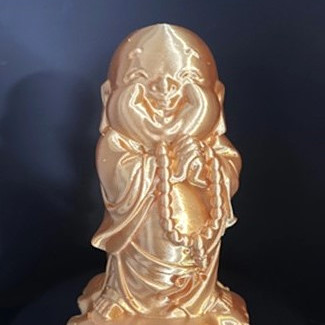
Here are two test prints from the SD card: a gold one in Anycubic Rainbow silk filament and a white one in Jayo white TPU. Both printed flawlessly, so I don’t expect any issues with other types of filaments like ABS or PETG.
©3DWithUs – Prints & Photo: Richard Hirst
©3DWithUs – Print & Photo: Richard Hirst
Printing with PLA Filament
Standard test print STL files were preloaded on the Anycubic Kobra Go card. The Cura slicer software settings were good, but I still wanted to create my own profile, so I tried Jayo black silk, Anycubic rainbow, and Sunlu gold silk for my next prints. I was printing a time-lapse of it at the same time, and the colors showed up nicely on camera.
©3DWithUs – Prints & Photo: Richard Hirst
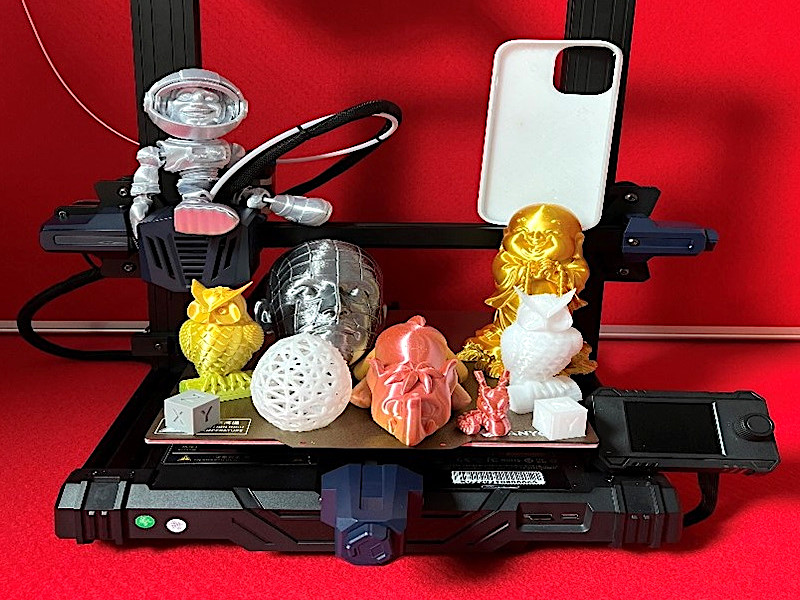
Testing Other Models
So, here are a few prints I’ve done with various filaments while testing the Kobra Go. Got a bit carried away with Anycubic rainbow silk filament but they all turned out great with only minor changes to the Cura profile. This printer is excellent for the price. It has very high specifications, excellent print quality, and is simple to use. The setup is simple, and the high-quality parts would make a good first printer or even another printer to add to the printing rooms of experienced users. This printer should be a good buy for anyone due to its small footprint, decent print area, Anycubic LeviQ auto leveling system, PEI spring steel bed, and a very quiet operation.
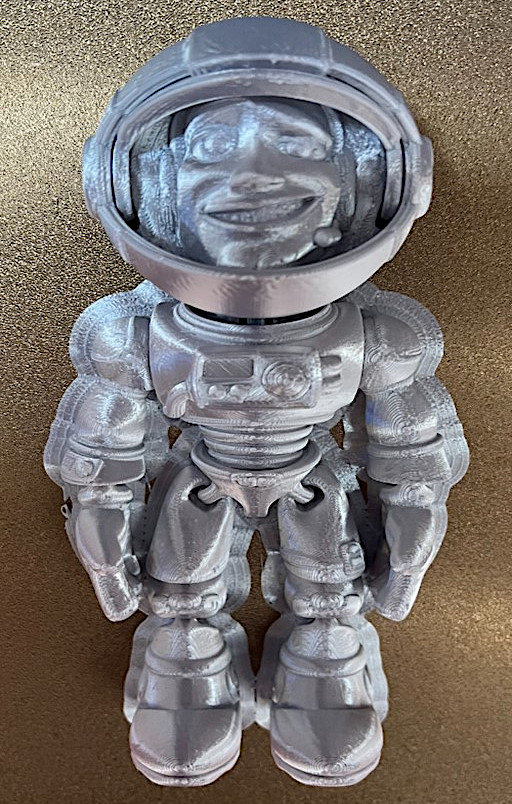
Design & STL: Flexi Factory on Cults3D
©3DWithUs – Print & Photo: Richard Hirst
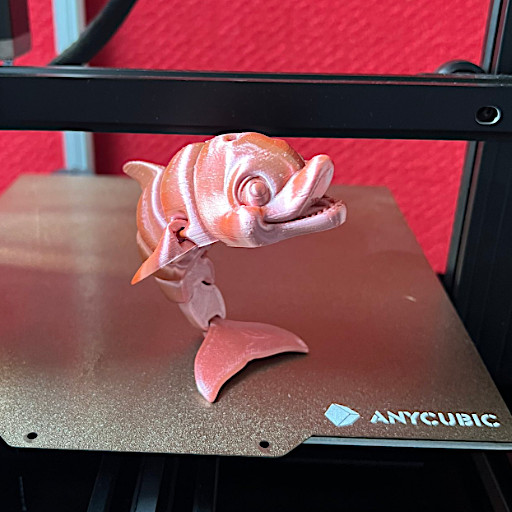
Design & STL: Flexi Factory on Cults3D
©3DWithUs – Print & Photo: Richard Hirst
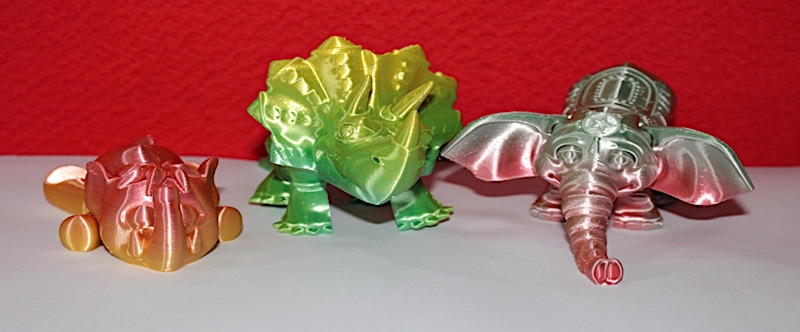
Printed on Kobra Go with Anycubic Rainbow Silk PLA
©3DWithUs – Prints & Photo: Richard Hirst

Design & STL: Hex3D on Patreon
©3DWithUs – Print & Photo: Richard Hirst
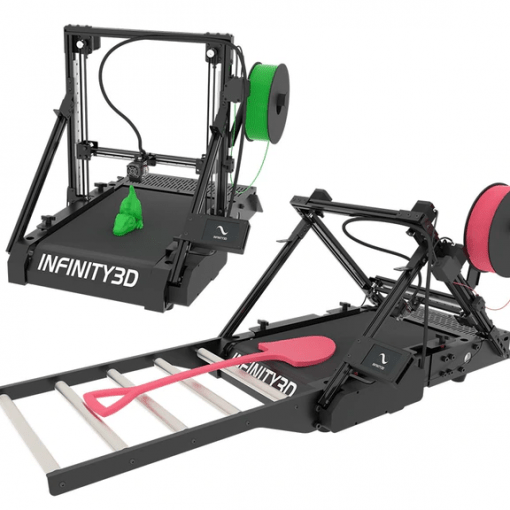
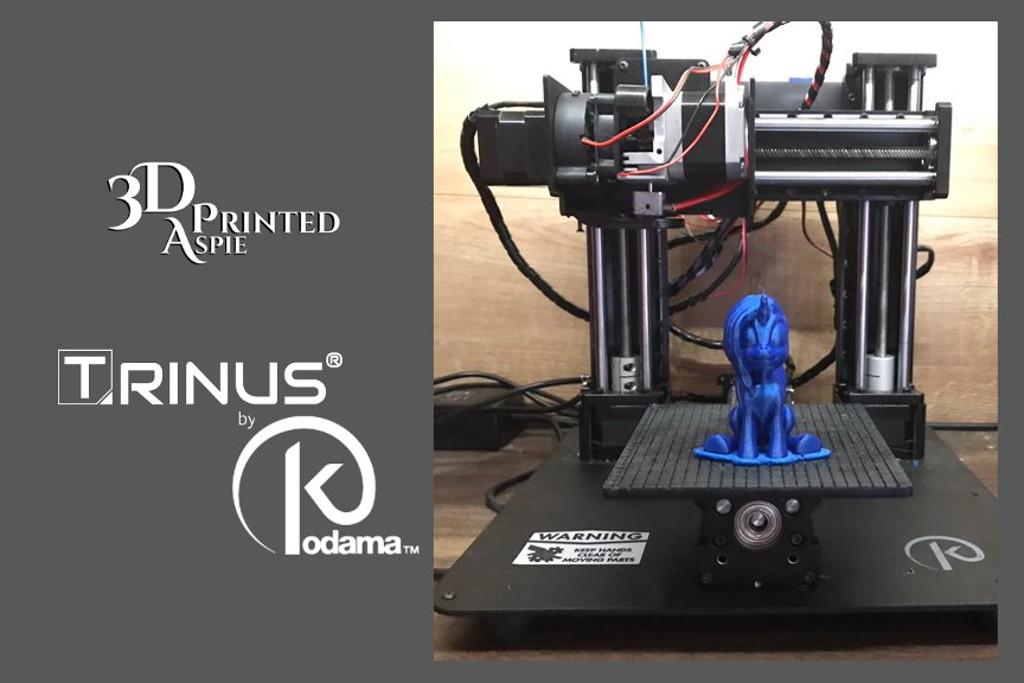
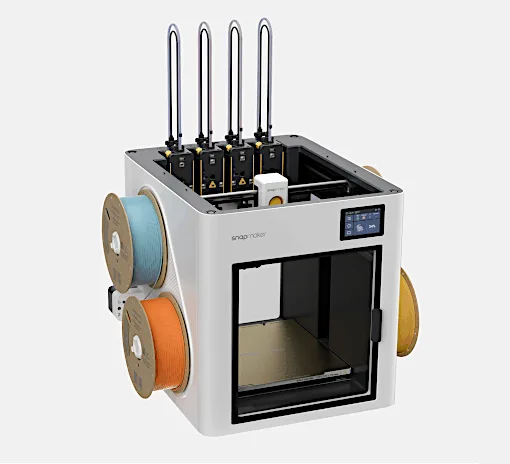
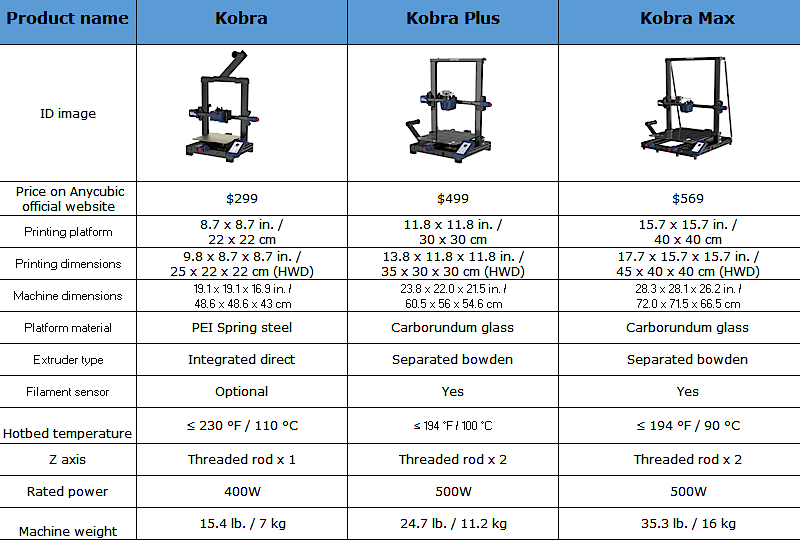
Compare to Other 3D Printers
Compare with the similar build volume FDM 3D printers in the same $200-400 price range:
Compare with other Anycubic FDM 3D printers:
Review Summary and Pros & Cons
After an easy setup following clear instructions, and a bit of time doing bed leveling and Z offset, I did the test prints for this review. I also tested printing a few flexible articulated models from established designers. Basically, I printed everything I needed without any issues. All prints came out perfectly, even in TPU material, and the Kobra Go handled it with ease. So, at the entry price that it has been released, this printer is going to be hard to beat. It will be ideal for both beginners and experts. The printer really surprised me. I was not expecting the easy setup and the print quality from a printer that came as self-assembly, but the quality of parts and the easy-to-follow instructions made it a joy to put together.
Amazon
AliExpress
Official Website
Anycubic Kobra Go Revirew
Review Summary
The Anycubic Kobra Go is a new self-assembly 3d printer to add to the Anycubic Kobra family of printers. It is a DIY Kit 3D printer that is very easy to put together and set up compared to some other makes even for beginners. It comes with excellent instructions that are easy to follow. Basically, I printed everything I needed without any issues. All prints came out perfectly, even in TPU material, and the Kobra Go handled it with ease. So, at the entry price that it has been released, this printer is going to be hard to beat.
PROS
– Easy to set up even for beginner’s
– Build quality and print quality
– Auto bed leveling
– Very quiet
– Removable PEI build plate
– Small footprint with the decent print build size
CONS
– Needs accessible firmware
– No tool drawer
– The extruder can be a little fiddly