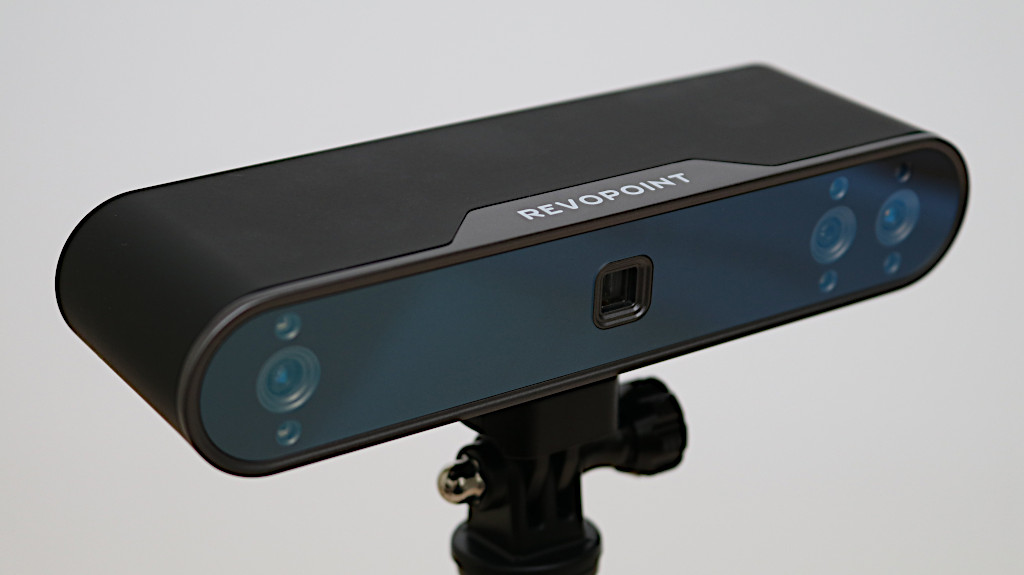
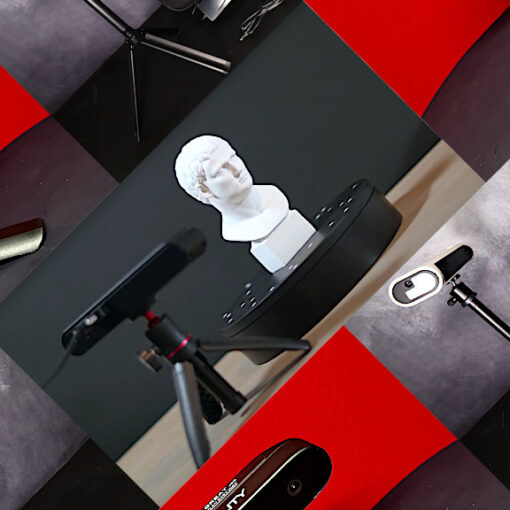
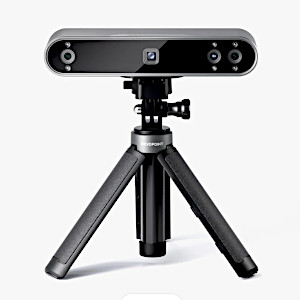
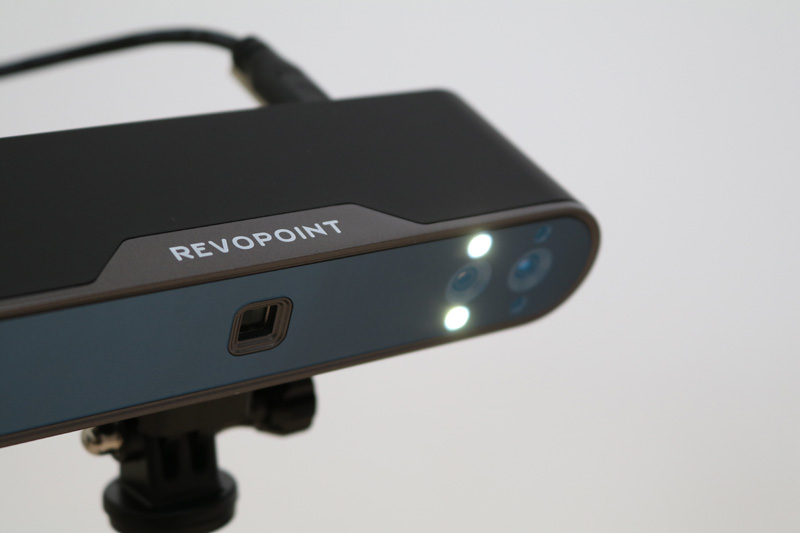
The latest addition to the POP family of 3D scanners, the Revopoint POP 3 offers full-color texture scanning with a 0.05mm single-frame precision and a minimum scan volume of 20 x 20 x 20 mm. The POP 3 can capture between 12-18 frames per second and is compatible with the free Revo Scan 5 software, which is capable of post-processing point cloud data and creating 3D print-ready models.
Table Of Contents
- Specifications
- Included Accessories
- Scanning Workflow with Revo Scan 5
- Color Scanning
- Creating 3D Printable Models
- Compare to Other 3D Scanners
- Conclusion and Pros & Cons
Revopoint POP 3 Specifications:
Technology: Binocular Dual Camera Infrared Light
Point Distance/Resolution: 0.05mm
Single-frame Accuracy: Up to 0.1mm
Scan Speed: 12fps – 18fps
Minimum Scan Volume: 20mm x 20mm x 20mm
Connectivity: USB, WiFi
Output Format: STL, PLY, OBJ (with texture)
Dimensions: 153 mm × 45 mm × 29 mm
Price: $659-$699
Product affiliate links: 3DWithUs is supported by its audience. Purchases via some links may earn us a small commission at no extra cost to you. This helps us to continue bringing you high-quality content. Our guides and reviews remain unbiased and independent.
Included Accessories
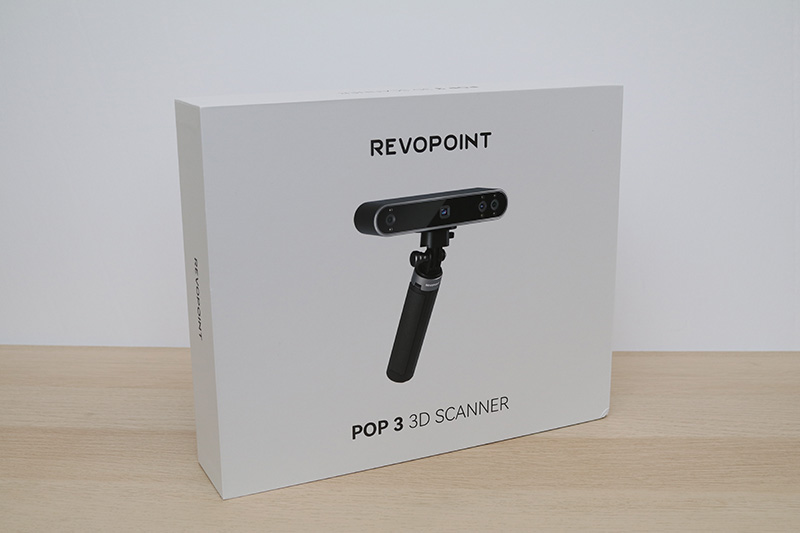
Like other Revopoint 3D scanners, the POP 3 is available in two packages: Standard and Advanced. The Standard package includes essentials such as the scanner itself, an extendable tripod that doubles as a handle, a phone holder, USB cables and adapters, a mini-turntable with an extension, and some scanning aids (black sheet for masking, markers, and blue tack), and a carrying case.
©3DWithUs – Photo: Andrew Sink
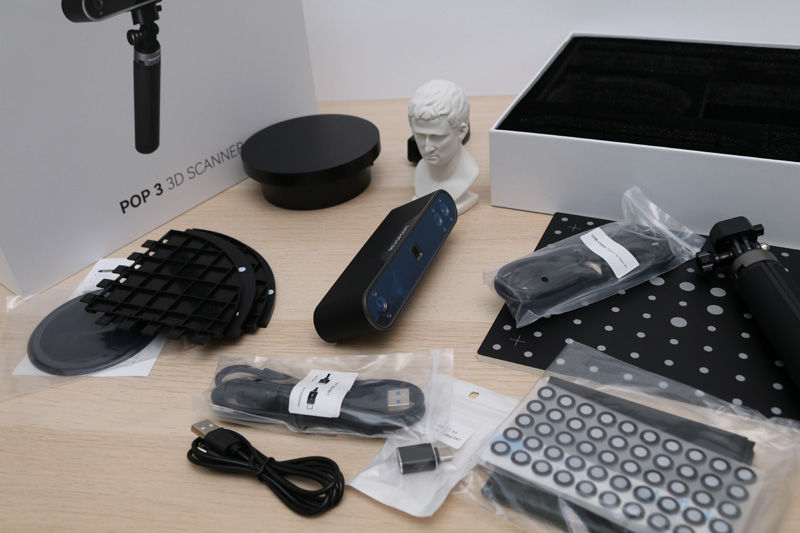
The Advanced package includes everything in the Standard package as well as a dual-axis turntable which can rotate and capture multiple angles without needing to reposition the model. I was sent the Standard package for review and received everything listed except the carrying case.
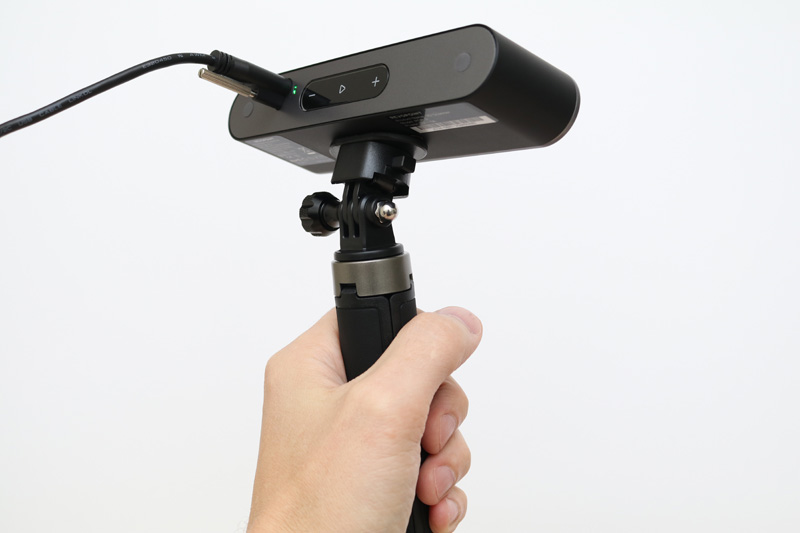
©3DWithUs – Photo: Andrew Sink
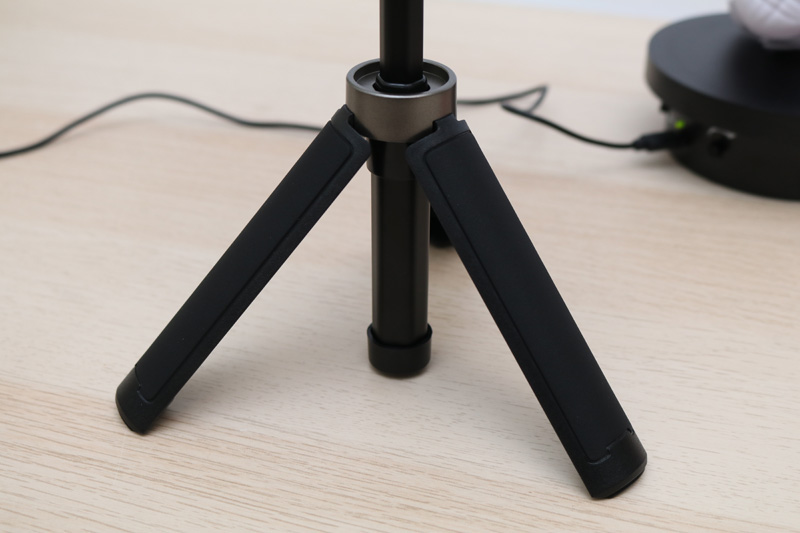
The tripod included with the POP 3 is a clever design that doubles as a grip. The neck of the tripod can be extended, increasing the height of the scanner and the functional volume it is able to scan. The tripod features a spring-loaded quick-release connection that can be easily attached and detached. The tripod feels sturdy and robust, and I had no stability-related issues during testing.
Scanning Workflow with Revo Scan 5
The Revopoint POP 3 is compatible with Revo Scan 5, a free-to-download software that offers a full suite of functional tools like scan alignment, point cloud simplification, mesh sharpening, hole filling, and more. These tools are powerful enough to create print-ready 3D models right in the software, and the overall scanning workflow is laid out in an intuitive fashion in the app.
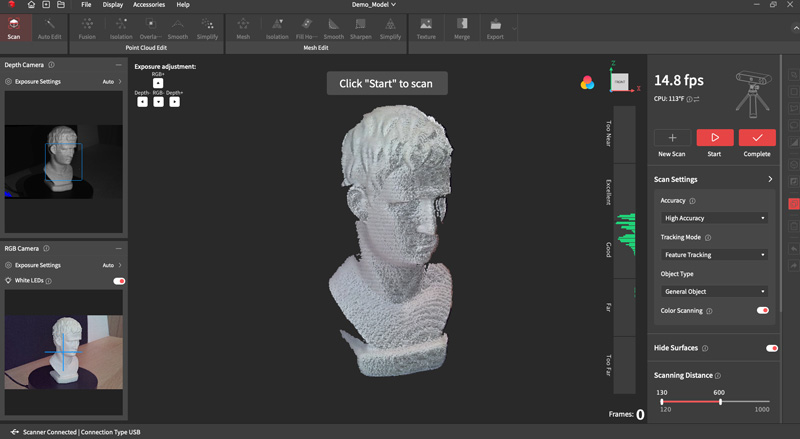
Revo Scan 5 offers both “High Accuracy” and “Standard Accuracy” scanning modes, as well as options for color texture capture, object color, and the ability to detect and hide planar surfaces (desks, walls, and other flat surfaces).
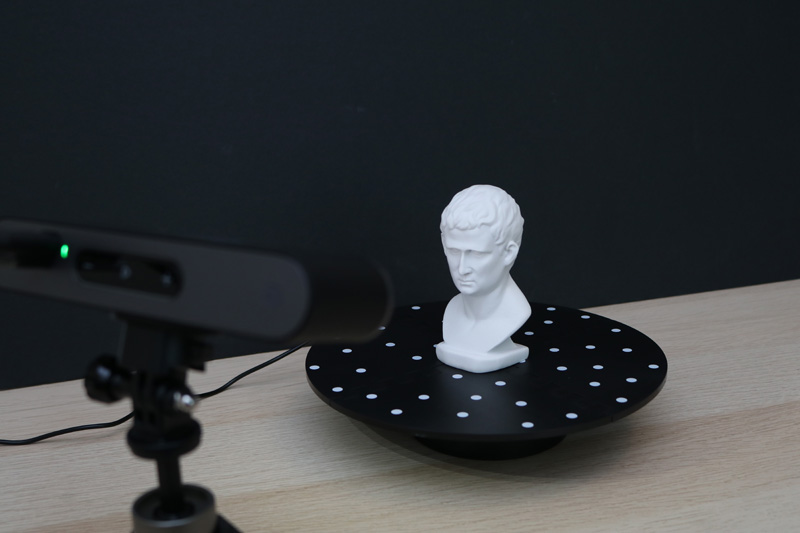
©3DWithUs – Photo: Andrew Sink
Just like the Revopoint Mini, the Revopoint POP 3 includes a turntable that can be used to rotate models. This rotation helps to automate the scanning process and generally provides a clean and consistent way to capture the geometry of a model without having to move around it. Revopoint includes a turntable extension topper that increases the diameter of the turntable and makes it easier to position larger objects. This turntable also has markers applied which can aid alignment when scanning in Marker Mode.
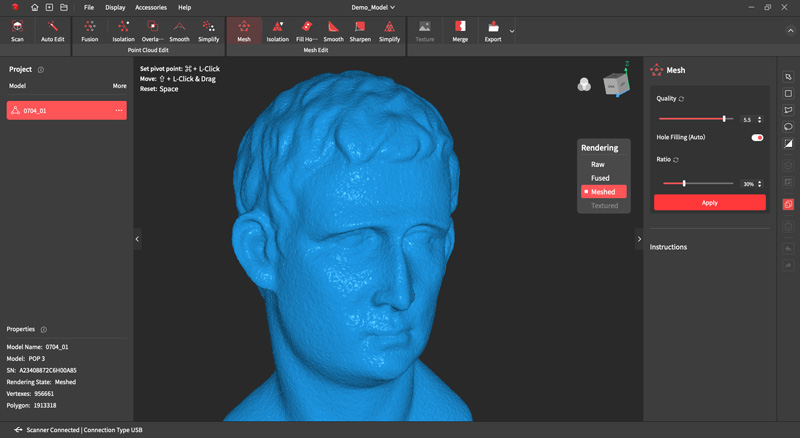
High-Quality mode created a model that looked grainy (above) but cleared up after simplification (below)
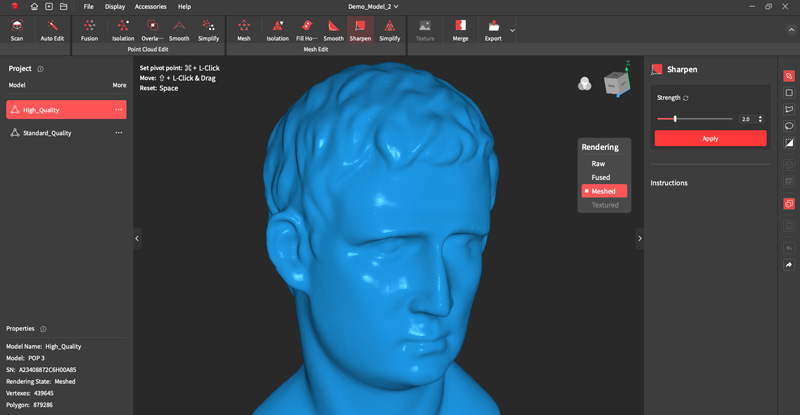
My first test using High Accuracy mode created a very dense point cloud, which isn’t ideal for immediately converting to a surface mesh. The typical process to create a surface mesh from a point cloud is to apply a point cloud fusion, isolate and remove any outlying points, simplify / reduce the number of points, and finally connect the points to create a triangulated mesh. Revo Scan 5 h
as an “Auto Edit” mode which will run through all of these settings sequentially but the resulting mesh looks grainy and uneven, indicating that further simplification or smoothing should be applied before meshing. Running through these steps resulted in a much more smooth and consistent mesh.
Color Scanning with the Revopoint POP 3
Revopoint has leaned heavily on the color texture capture of the POP 3 as a major selling point of the scanner, including the following text on the POP 3 page: “Get improved color and texture accuracy through the RGB camera’s bigger aperture capturing more light and dual white LEDs providing supporting illumination to eliminate shadows and make the colors vibrant.”
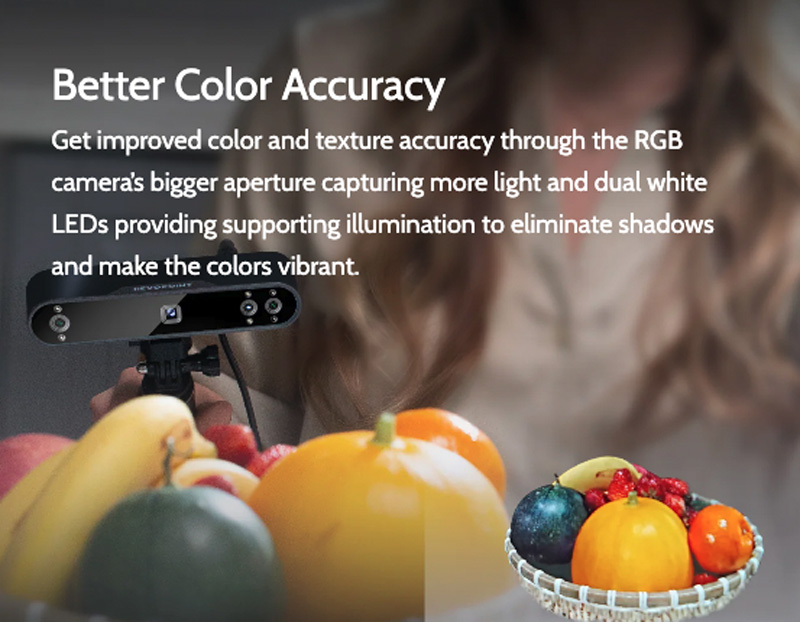
Image: Revopoint
©3DWithUs – Photo: Andrew Sink
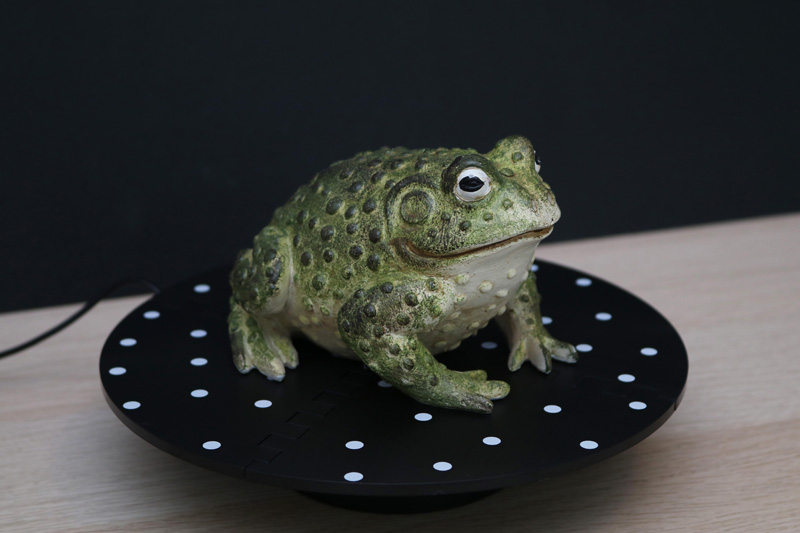
Despite this optimistic claim, I found that the POP 3 struggles to create clear and consistent color textures, a weakness shared by previous scanners from Revopoint. Scanning a model with “Color Scanning” mode enabled activates the white LED lights on the scanner, which helped to illuminate various colors and textures on the resin garden toad model I was using.
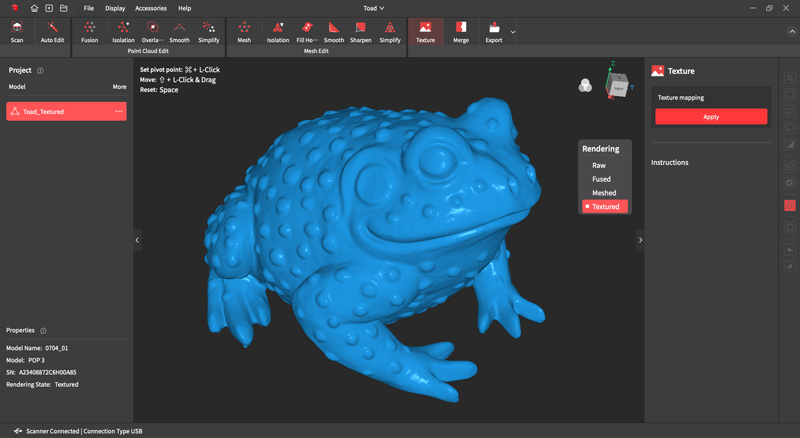
The geometry from the scan looks good, and the details captured (bumps, fingers, eyes, etc.) are all at the level that I would expect from a 3D scanner at this price point. Revo Scan 5 was able to easily handle the processing of the scan, and the resulting mesh is manifold and could be exported for use in VR, AR, 3D printing, or any other application that requires a water-tight mesh geometry.
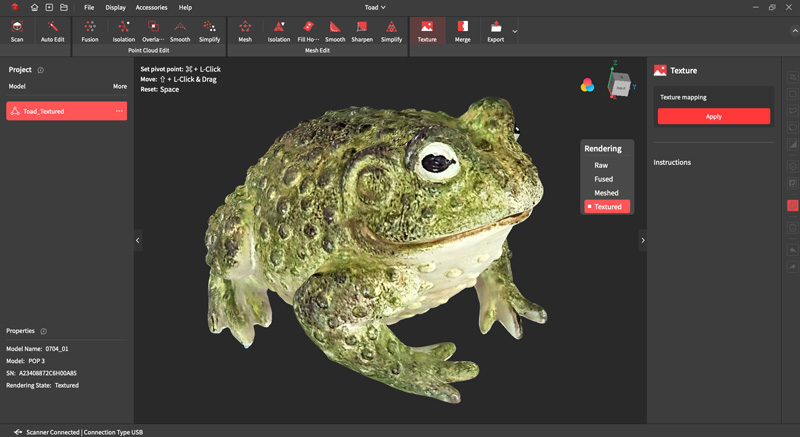
Similar to the color texture from the Revopoint Range, the POP 3 generated a color texture that looks chalky and uneven. There are visible seams where the lighting changes, the color is inconsistent across features and surfaces, and the overall quality of the color texture is not at a level that I would feel comfortable sharing. The POP 3 excels at capturing geometry and preparing it using Revo Scan 5, but the color texture is lacking in comparison.
©3DWithUs – Image: Andrew Sink
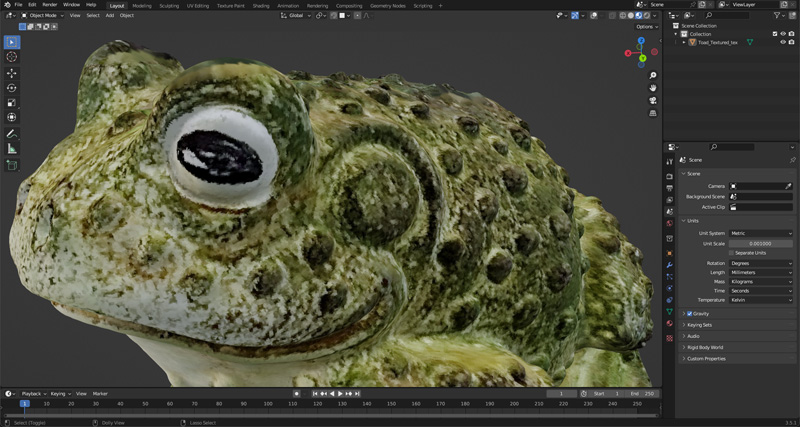
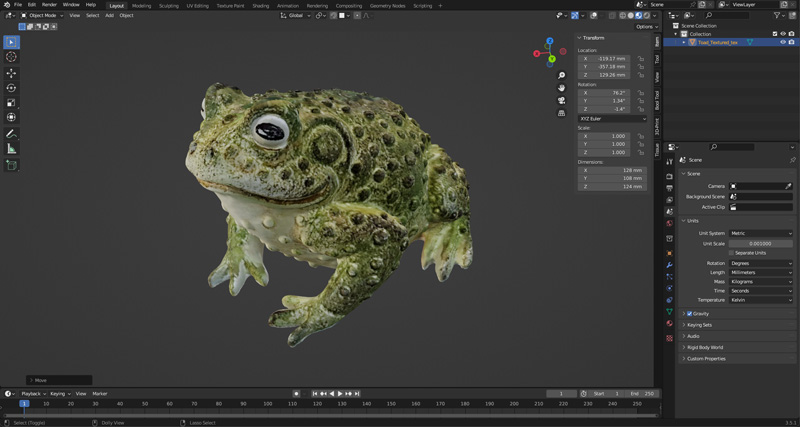
Examining the model in Blender shows the texture in a bit more detail. From a distance, the texture looks similar to the paint of the original model, if not a bit splotchier. Getting closer to the model reveals the pixelation, artifacts, and other issues on the texture. Considering the emphasis that Revopoint has placed on the color texture capture capabilities of the POP 3, it’s surprising to see results so similar to previous-generation Revopoint scanners.
©3DWithUs – Photo: Andrew Sink
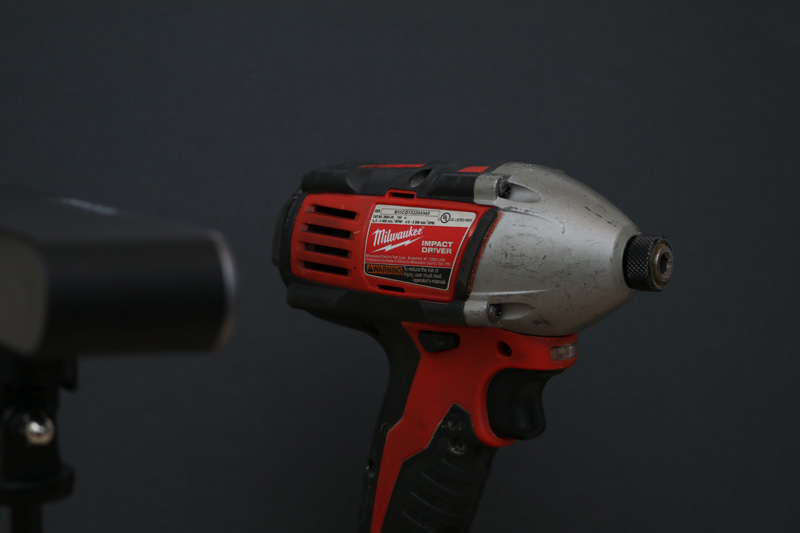
Scanning an impact driver with markers was one of the first tests I ran with the original Revopoint POP in July of 2021. The newly updated Revo Scan 5 software shows how far the scanning software has come in the past two years, and the driver can now be scanned easily without markers.
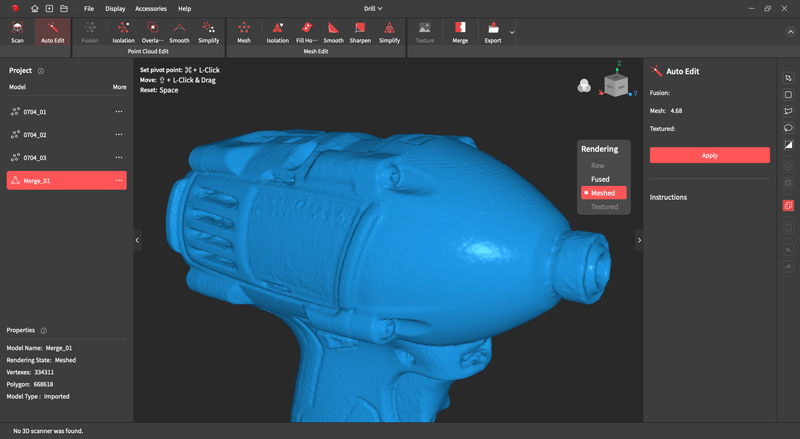
The geometry looked acceptable, but the color texture leaves much to be desired.
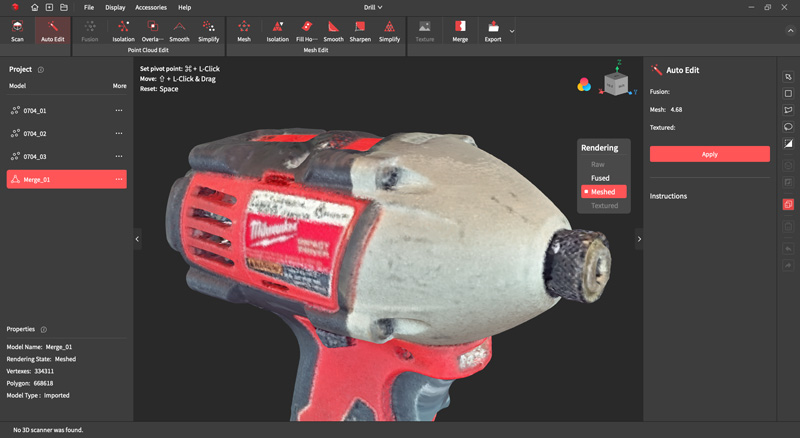
Unfortunately, the model still has issues with the color texture. Revo Scan 5 is not able to combine multiple scans and apply a texture over them, which leaves complex scans in an awkward position. These scans can have color applied on a per-vertex level as an OBJ file, but the model will lack the detailed texture that can be created for models made in a single scan.
Creating 3D printable models with the Revopoint POP 3
A common application for 3D scanning is creating models that can be 3D printed. Models can be reverse engineered, copied, archived, or any number of other applications that require a digital version of a physical object. Revo Scan 5 is capable of creating 3D printable models by processing point cloud data and exporting a water-tight triangulated mesh in .STL format, a common file format in 3D printing.
©3DWithUs – Photo: Andrew Sink
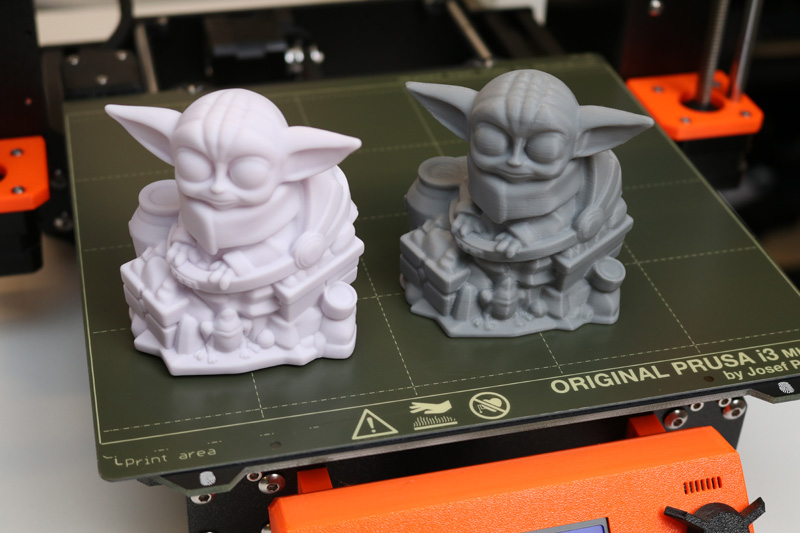
To test this process, I scanned a vinyl model of Grogu from The Mandalorian. This model is a single color with a matte finish, ideal for 3D scanning and processing.
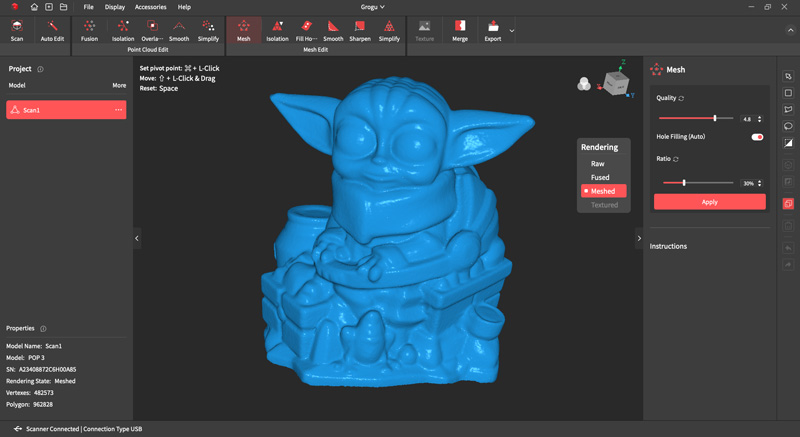
After processing the scan geometry and simplifying the point cloud, the resulting mesh was impressively detailed. An odd quirk of the Revo Scan 5 software is the material used for rendering; the shiny material has a high gloss which gives the model a ceramic appearance and makes it difficult to make out fine details.
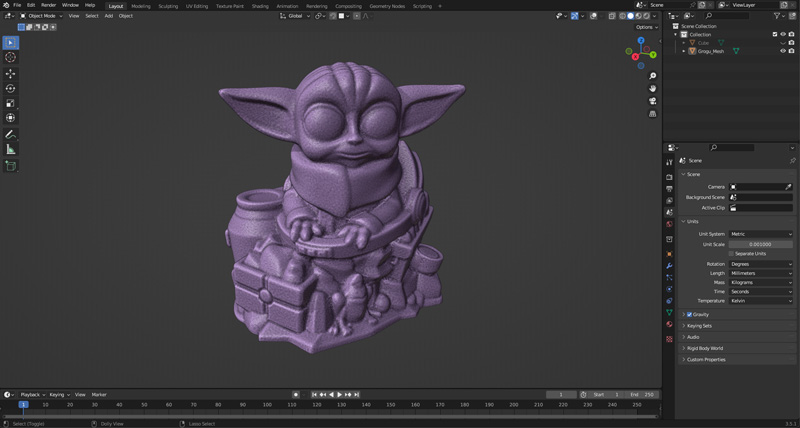
Importing the model into Blender and using a default material gives a much clearer picture as to the overall amount of detail captured by the scanner. Small details like the toes and mouth of the small frog at the base of the model are readily apparent, and there are no missing pieces or areas that require remeshing.
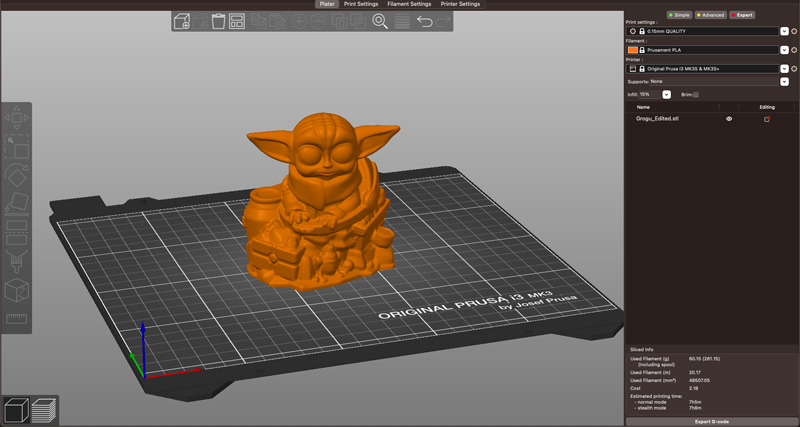
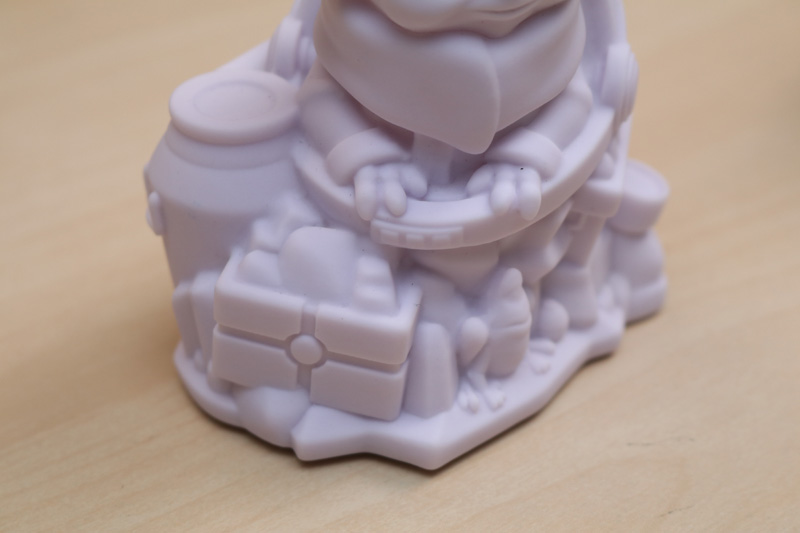
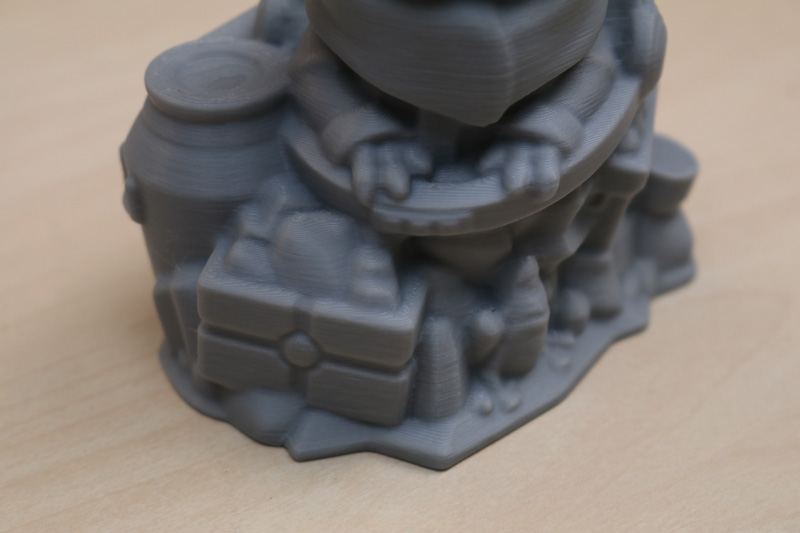
Because the model is a single manifold mesh, it can easily be processed for 3D printing using a slicer program like PrusaSlicer or Cura. I sliced this model at 0.15mm layer height on a Prusa MK3S+, and printed it using Elegoo Grey PLA from Amazon filament. The print took just over 7 hours, and the finished product looks very similar to the original that was used for the scan. For users interested in scanning vinyl figures or similarly sized and featured models, the POP 3 would be a logical choice in the sub-$1,000 3D scanner market.
©3DWithUs – Photo: Andrew Sink
Compare to Other 3D Scanners
Compare to similar budget 3D scanners in the same price range:
The Revopoint POP 3 Standard Edition package is currently priced at $659.00 direct from Revopoint, while the dual-axis turntable Advanced Edition package is priced at $769.00. This comes in at a more expensive price point than mobile-based photogrammetry apps like Polycam, but cheaper than industrial 3D scanners like the ones made by Artec. The POP 3 is ideal for 3D printing hobbyists and users interested in creating 3D models for 3D printing, where color is a nice-to-have but not the primary factor in selecting a scanner.
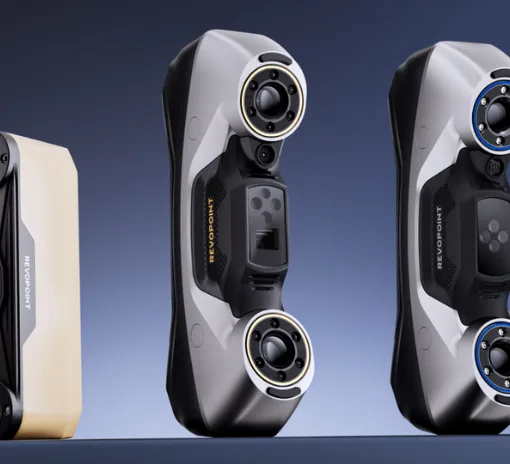
Compare to the Revopoint other 3D scanners series:
Conclusion and Pros & Cons
The POP 3 is ideal for 3D printing hobbyists and users interested in creating 3D models for 3D printing, where color is a nice-to-have but not the primary factor in selecting a scanner. I’m impressed with the Revo Scan 5 software, a feature that will be a major selling point of this scanner due to the simple processing workflow and access to powerful tools that users can grow into as they expand their expertise. Models created with this scanner are highly detailed, but I had issues with the color textures being blotchy and uneven. Similar to other Revopoint 3D scanners like the Revopoint Mini, the weakest point of the scanner is the color texture generation. This is disappointing considering the amount of marketing Revopoint has invested in the color capture capabilities of this scanner. Hopefully future software updates can do a better job of mapping the color textures to the 3D models and improving the overall color matching.

Revopoint POP 3 Review
Review Summary
The POP 3 is ideal for 3D printing hobbyists and users interested in creating 3D models for 3D printing, where color is a nice-to-have but not the primary factor in selecting a scanner. Creating 3D models is a straight-forward process thanks to the simplified user interface of Revo Scan 5, and it’s easy to get started with 3D scanning shortly after unboxing the scanner and getting it set up. Unfortunately, the color texture created by the POP 3 lacks detail and makes it difficult for me to recommend this scanner to anyone interested in capturing and recreating vibrant colors or detailed textures. The touch-sensitive controls on the rear of the scanner make it easy to use, and it’s clear that this scanner will be a good fit for users who are new to 3D scanning.
PROS:
– Highly detailed scans in “High Accuracy” mode
– Simplified process to create 3D print-ready .STL files
– Included tripod is extendable and easy to set-up
– Turntable is helpful for scanning small objects
CONS:
– Color texture is chalky and uneven
– Scanner struggles to keep tracking on thin objects
– No ability to add texture to merged scans

